Graphics Tutorials: GIMP, Part 2
by Meemaw
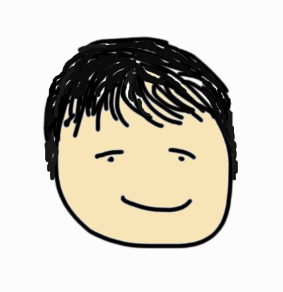
Last time we learned about the toolbox and the color chooser in Gimp, and started a drawing. Mine is shown below.
However, we never talked about the tools in the right-hand window. If you haven’t closed that window, the first thing you will see is the Layers toolbox.
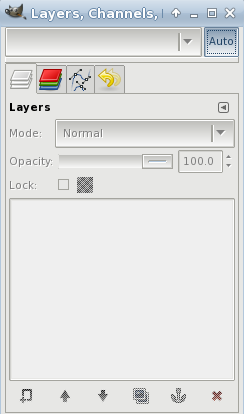
When I first started using the Gimp, I didn’t use layers, but as I’ve learned more about Gimp, I have found that layers are very useful. You can use as many layers as you want to make your drawing, and reorder the layers any way you desire. Using different techniques on the layers can make your finished product look different than it would if it was all on one layer. Also, when one layer is finished the way you want it, you can do whatever you want to another layer without disturbing anything else. The tools across the bottom of the window are, from left to right, New Layer, Raise Selected Layer, Lower Selected Layer, Duplicate Layer, Anchor Layer and Delete Layer.
When you started your drawing, it had only one layer (called Background). In the layers window, click the New layer button (the button at bottom left that looks like a piece of paper with the plus sign on one corner). A window will appear asking you to name your layer, designate how big you want it and whether you want it white, black or transparent (choose transparent because you want the face to show through). If you don’t give it a new name, a new entry, called New Layer, will appear in the list above the Background. You’ll notice now that many of the tools I just named are active.
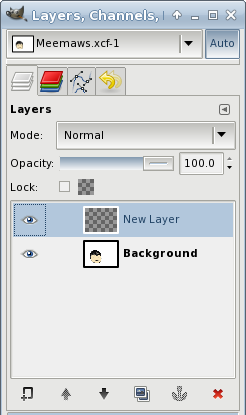
You may also notice that your drawing appears in the Background icon in the Layers window. This is done to help you stay organized, so you can choose the correct layer when you want to work on another one. If you didn’t name your layer before you created it, you can right-click and choose “Edit Layer Attributes” from the menu, and rename it with a more meaningful name. Let’s name it “Bow”.
Choose a color you like and draw a bow on this layer. If your “person” is a man, it can be a bow-tie, and if it’s a girl, you could put it in her hair. It’s your drawing, so do whatever you want. You can even put it out to one side of the face, as we can move it around later.
Now, instead of choosing the Bucket Fill, we’re going to do something a little different. Bucket fill often leaves unfilled areas. Choose the Free Select tool (looks like a lasso) and trace around one part of your bow. Click inside the colored line you already made and make segments until you have closed your curve. Every place you click will leave a small circle. But when your curve is closed, it will look like a moving dotted line instead. Now choose your Bucket Fill and fill your bow. Click on the color you have already drawn and then click inside. It should fill properly. Looking at the shot below, you can see the difference. The top was bucket fill only - the bottom is bucket fill after the free select. After this, I will outline the top bow with the Rectangle Select tool and delete that one because I don’t want it.
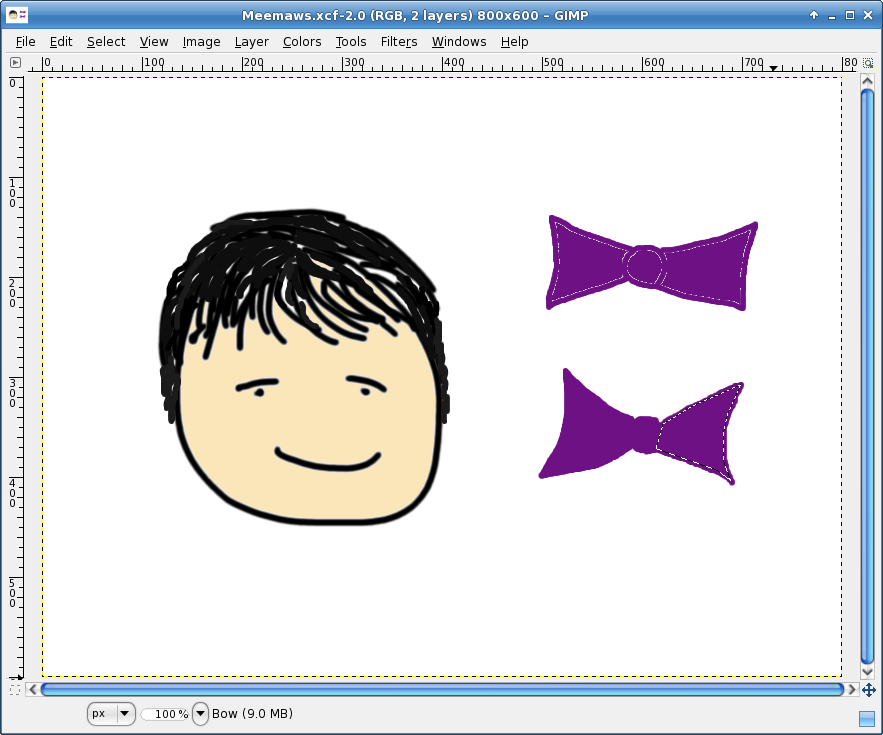
Since we have our bow on another layer, we can rotate it or move it anywhere we want. Using the Move tool (4-pointed arrow) and putting your cursor on the bow, you can move the layer around as you wish. I put mine below my face. You can see the layer boundary on the drawing.
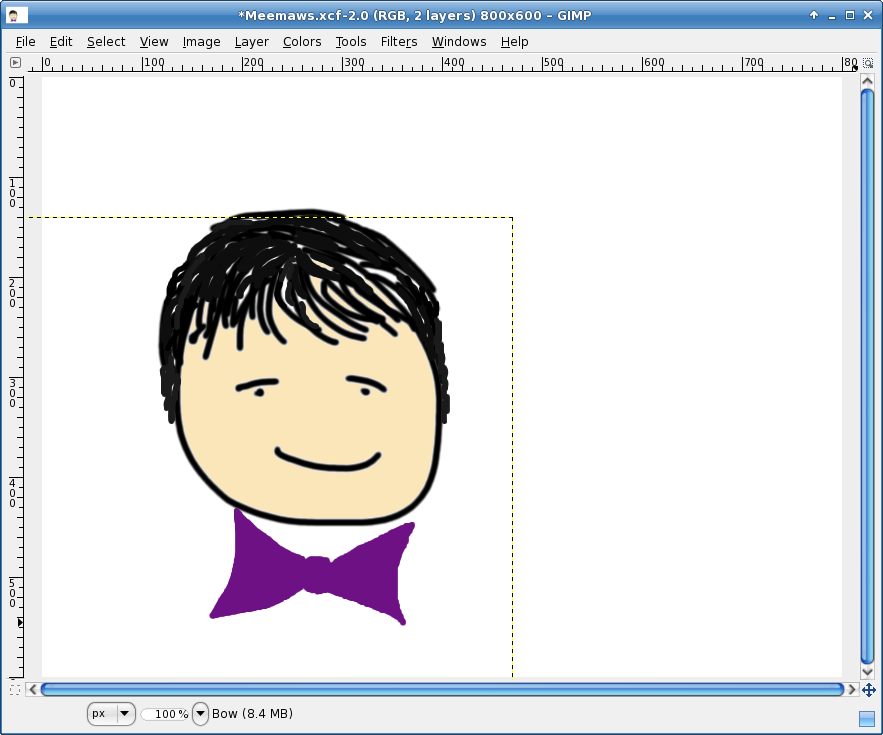
Sometimes you want things rotated. I want the bow in a different position, so I’m going to choose the Rotate tool (looks like 2 sheets of paper with curved arrows around them). When you click on it and then on the bow, a window will pop up with the rotate tools. You will see a circle with a plus sign inside. That is the rotation axis, and you should click and drag it to wherever you want as the center of rotation. I dragged mine to the center of the bow, then in the rotation window, clicked the arrow next to the degrees to change the angle of the bows. As the degrees get larger your bow will rotate clockwise, and the larger negative degrees will rotate counter-clockwise. Rotate it however you want it, then click “Rotate” in the tool window (below). Before and after views will show up, which is why my bow now looks like it has four points on each end.
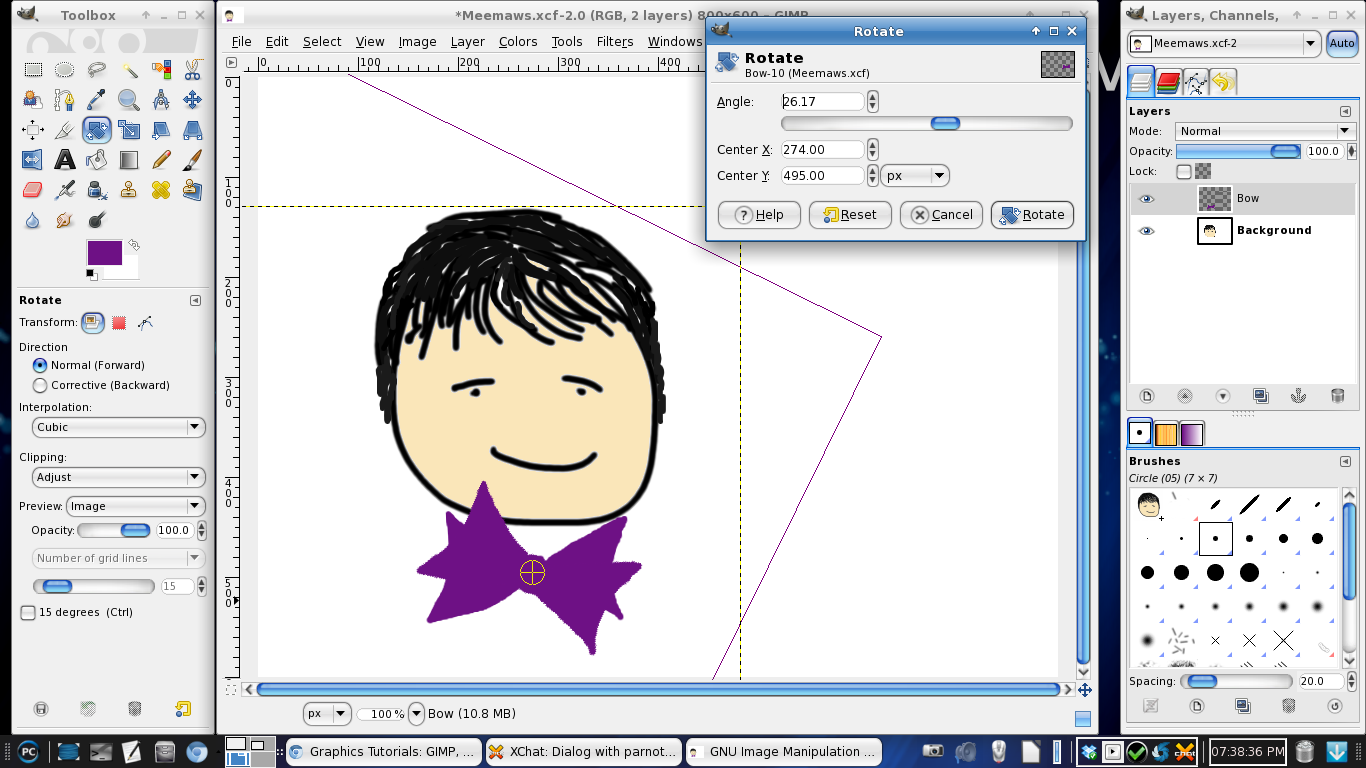
When you get it the way you want it, choose another tool to keep the Rotate tool window from popping up again. Make sure you save your drawing when you have it as you want it.
I should note that this particular rotation method is different than the method you would use to rotate a picture. It can be used, but the rotation commands under the "Transform" menu item are easier to rotate an entire image.
Next time, we’ll add more to our drawing.