Graphics Tutorials: Gimp, Part 4
by Meemaw
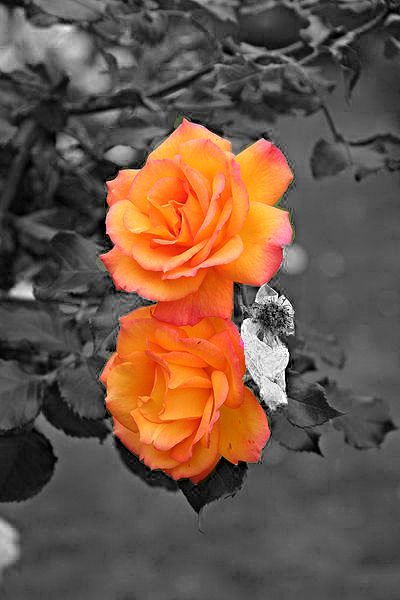
One of the first tutorials I ever did was one from the Linux Graphics Users Forum. One of the members posted several neat ways to manipulate a photo and I’m going to share this one with you. I used a photo of flowers and did a Layer Mask. It creates an effect like the one shown below:
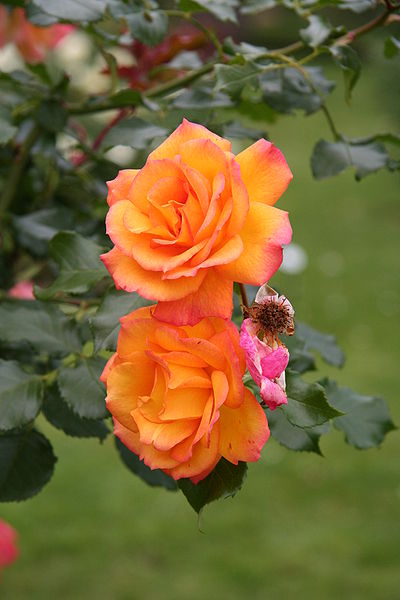
Choose a photo and open the image up in the Gimp. I chose this one:
Next, create a copy of the background layer by clicking on Copy Layer in the layer tools.
You can name your new layer something else if you want by right clicking the new layer and selecting Edit Layer Attributes... and change the layer name to mask or something else.
First, make the new layer invisible by clicking on the eye next to the layers thumbnail and name. When you click on it, the eye disappears.
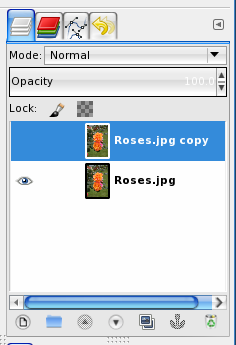
Now click on the original layer, so that it's highlighted, which means that it's the layer you're working on. We’re going to make this layer black and white. You can use the Desaturate tool, but it will have better detail with the Channel mixer (Colors -> Components -> Channel mixer).
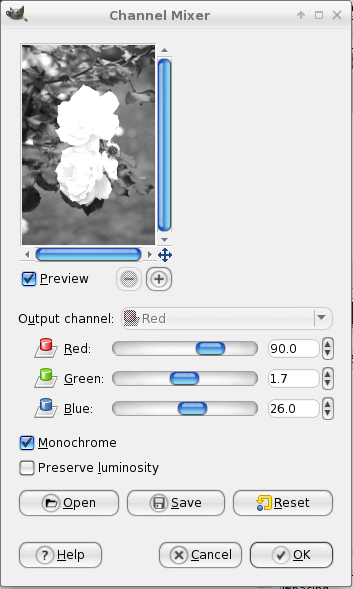
To get a B&W image, click the Monochrome checkbox. Now start moving the Red, Blue and Green controls back and forth and you'll notice that lower values make the image darker (or underexposed) and higher values make the image brighter (overexposed). The values to use have to be found by experimenting. There probably is a scientific explanation on how to do this, but play around with different settings and then see what you get. Every image is different so there isn't a setting that will give good results on all images. On this photo I had to be careful not to have Red or Green too high since it would make parts of the flower overexposed (too white, loss of detail). After clicking OK, I get this.
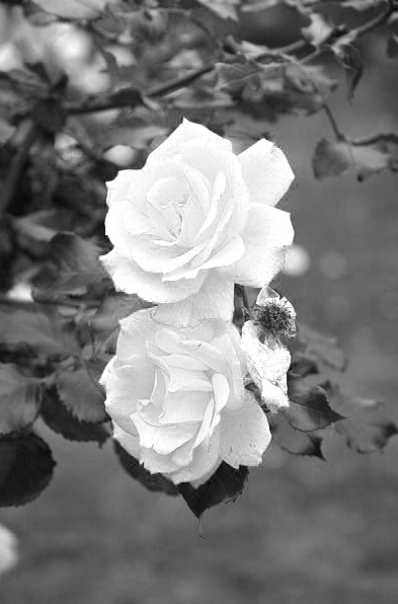
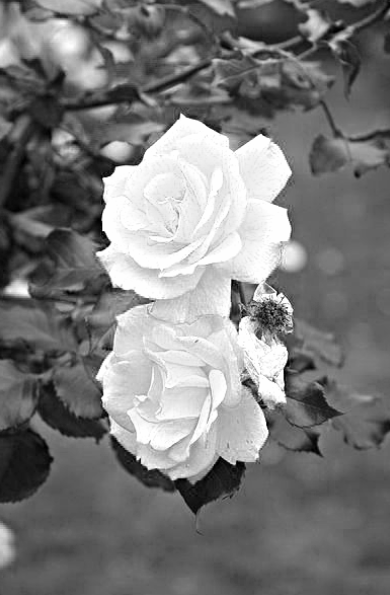
Finally, to really make the image 'pop' we need to use the Unsharp mask (Filters -> Enchance -> Unsharp mask) filter, that sharpens the image and also adds some contrast. The settings I used here are Radius 4.2, Amount .51, and Threshold 5. The screenshot doesn’t really show it, but the detail in the flower was better after the Unsharp mask than before.
Now click the eye again on the mask layer (the background copy we created), and also click on the layer so it's highlighted. You should now see the colored variant of the image again.
In the toolbar click Layer->Mask->Add Layer Mask in the pop-up window click Black (full transparency) and then click Add.
You should now see this in your Layers, Channels... window:
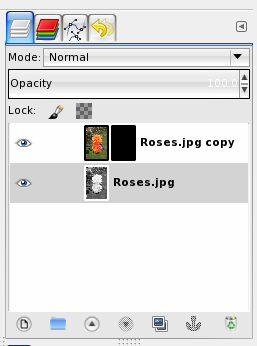
...and the image will be all black and white.
Now, we will start painting the color back. Make sure the mask layer is highlighted in the Layers, Channels... window. Make sure the mask itself (the black box in the layers toolbox) is highlighted. It will have a white frame.
Now select the Pencil tool.
Since the layer mask is black you must paint with white to get the original color back. The image above has white as the Foreground color
Using the pencil tool start painting the part of the image you want in color.
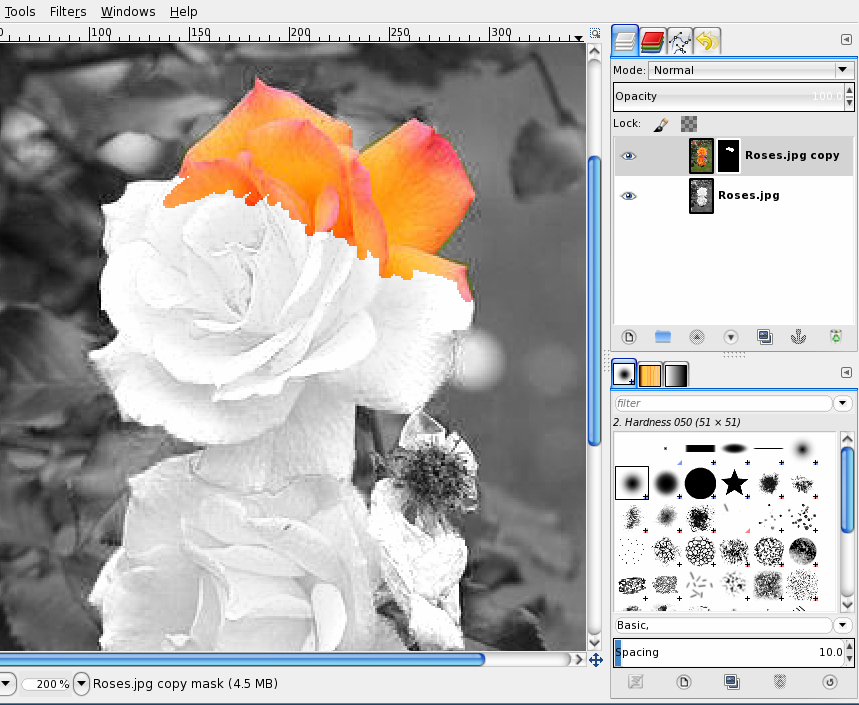
Change the size of the brush to have better control: a bigger brush for the middle parts and a smaller brush for finer ends of the petals. I changed the size of my pencil to 5 until I got the edges established. Use <Ctrl> + Z to undo it if you go outside the 'lines'. I’ve learned to make short strokes until I get the edges outlined so I won’t have so much to redo if I stray outside the area I’m changing. Zooming in on the image also helps. You can Use View... Zoom and change the zoom or hold down <Ctrl> on the keyboard and scroll the mouse wheel forward.
When you have it the way you want it, right-click the mask layer and select Apply layer mask then right-click the same layer again and select Merge down, then Export to a picture file.
You’re done!!!
My thanks to conholster on the Linux Graphics Users Forum for the two tuts I used.
http://linuxgraphicsusers.com/forum/?topic=505.0
http://linuxgraphicsusers.com/forum/index.php?topic=565.0