Graphics Tutorials: GIMP, Part 7
by Meemaw
We see text reflections all the time. I think they are pretty neat, and I always wondered how it was done. This tutorial will show you a simple text reflection.
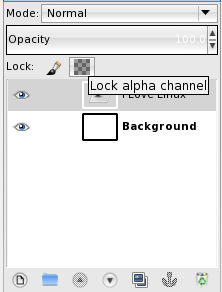
Open a new image (I made mine 400x300), select the Text tool from the Tools Dialog, choose your font and type in a word. If you want, you can rename the Text layer to Main Text or it will end up being named using the text you typed. In the layer dialog tick the Lock Alpha Channel.
We want to put a border around our text. In creating smooth outlines, we want to use the text as a guide.... to do this, right-click on the Main text layer and select Alpha to Selection.
Then go to Select > Grow to access the Grow Selection dialog or you can right-click on top of the Text and in the menu click on Select > Grow. I added 2px for the Grow Selection.

Click on Create New Layer, name it Border and fill it with a darker color using the Bucket Fill Tool, then place it behind the Main Text layer to become a border.
Now we want to create the reflection effect. First, right-click on the Border Layer and in the menu click on Duplicate Layer. Move the layer on top of the Main text layer by clicking the up arrow in the Layers Dialog box. Do the same for the for the Main text layer and move it on top of the border Copy layer.
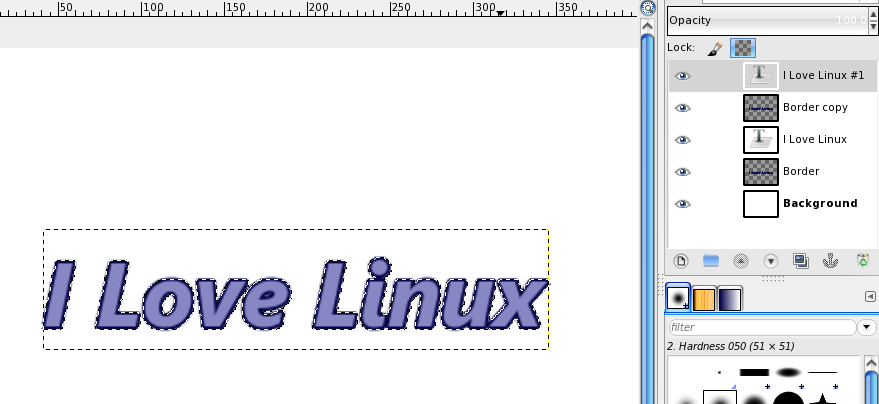
Now merge the two new duplicated layers by right-clicking on on the Main Text Copy layer and in the menu click on Merge Down. Now rename the layer Reflection.
Before we do anything else, de-select any selected layer by going to Select > None. We want to be working with only the reflection layer, and this makes sure nothing else is selected.
Using the Move tool, place the the new duplicated text logo image below the original text logo. Choose the Flip tool, make sure it’s on Vertical mode, then drag upwards to finally flip it, or select Layer > Transform > Flip Vertically. Make sure they are lined up the way you want them.

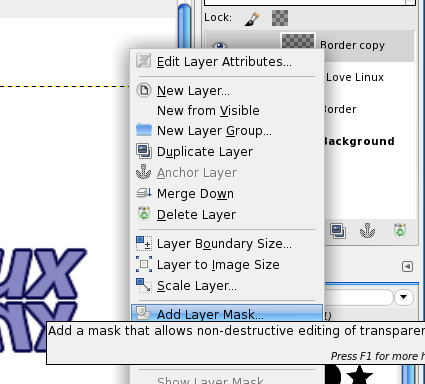
Right-click on the Reflection layer and in the menu click on Add Layer Mask, selecting Black Full Transparency, and then click Add. Your reflection will disappear.
Grab the Blend tool and select the FG to BG (RGB) Gradient and apply it to the reflection from bottom to top. Make sure your foreground color is black and the background color is white.
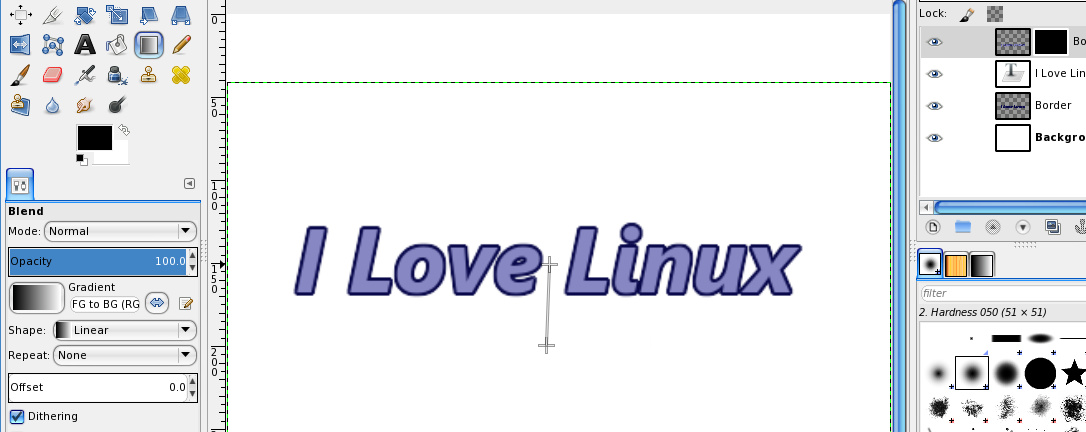
Where you start and end your gradient determines the visibility of your reflection. Starting at the bottom of your reflection text and going to the middle of your main text results in a bigger reflection (below, left). Starting in the middle of the reflection text and going to the top of your main text results in a much smaller visible reflection (below, right).

Experiment with it until you get what you want (remember <CTRL> + Z is the key combination for Undo). When you get your reflection the length you want it, you can always play with the transparency of that layer to make the reflection lighter.

This can be as simple or fancy as you want. Make sure your Main Text editing is finished before you do the reflection.
Have fun!
