GIMP From A Beginner's Perspective: Part 1
by Dan Malewski (Blndsyd)
First of all I would like to introduce myself to everyone. My name is Dan, and I go by Blndsyd on the forums. I'm a converted Microsoft Windows and Photoshop user. I am a self learner of all my computing needs. In using Photoshop for the last 6 years, I've learned enough to be dangerous. In no way am I a pro in Photoshop or GIMP, but I can find my way around both of these great photo manipulation programs. In fact, I was using GIMP for a few short days before volunteering my time to the magizine. So you and I will be learning some of this together.
My goal here will be to show you some basics, followed by (hopefully) some more advanced usage all while keeping you awake. Remember, I am a beginner as well so let's learn a bit together.
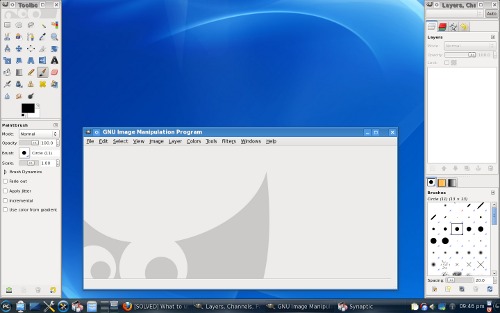
Shall we start from the beginning? I will assume you have a working GIMP program on your install of your favorite OS. By this, of course, I mean PCLinuxOS. Let's fire it up. Your screen will look something like this.
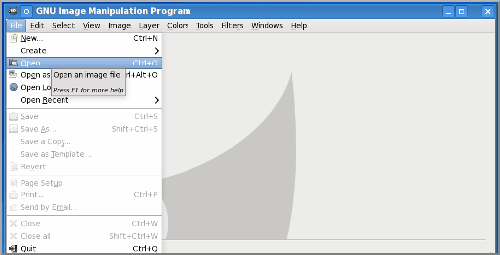
How about we open one of your favorite pictures. In your middle "window," select File > Open.
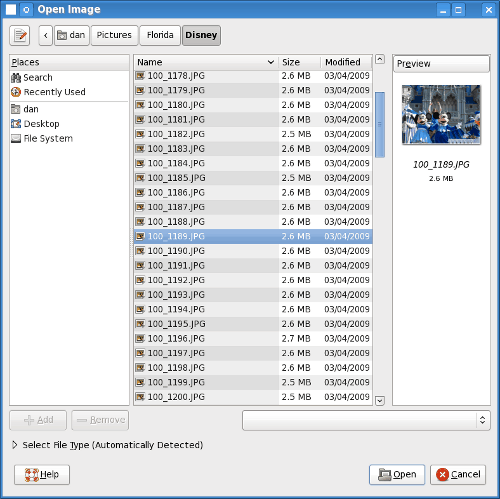
Now finally let's select your picture. Double click the file and open the picture.
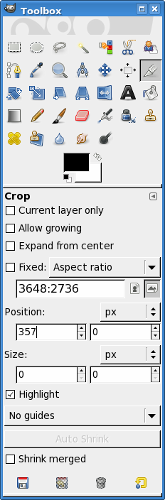
I will use this same picture for a few things we will talk about. The first will be what I will call "slicing" out part of the picture. Lets select the knife in the "toolbox". Of course GIMP calls it the "Crop Tool".
Now let's "slice" out the part of the picture you really want. Using your cursor draw a box around the part you want. For this I want Mickey's head.
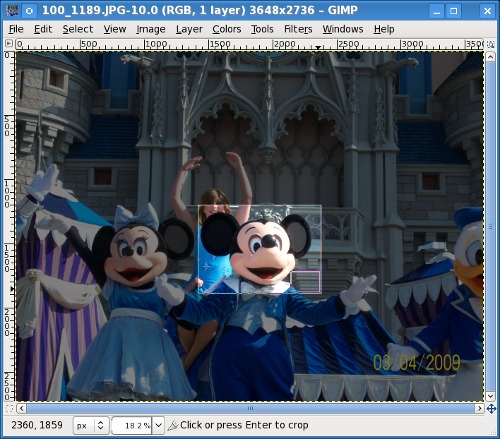
See the "box" at the lower right had corner of our slice? Click it. Now you have this.
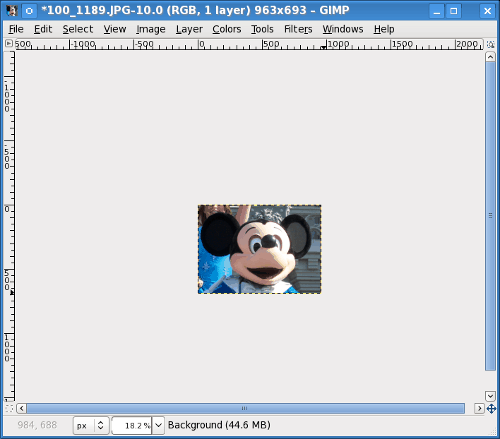
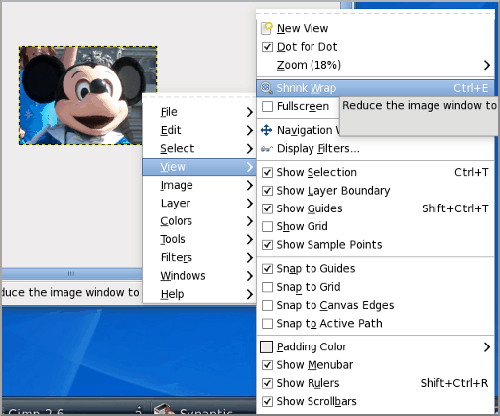
The only thing we have left is to get rid of the extra space around the layer. Right click your image and select View > Shrink Wrap.
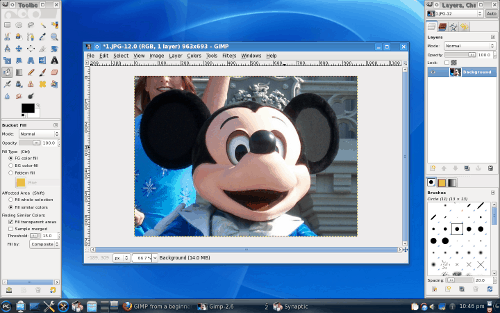
Now all you have to do is save your new image. Click File > Save As. Give it a unique name, and bang! You have a brand new image.
While it may seem like a rather simplistic beginning, we have to start somewhere. Hopefully as we move on, these articles will become more challenging.
Next time I plan to show how to place some text and give the text some good effects. Feel free to email me at blndsyd(AT)gmail.com if you would like to see some specific tutorials.
Thanks and see you next time.
Works for me :)