Using Scribus, Part 1: Getting Acquainted
by Meemaw
"I'm doing a newsletter at work, and I need a desktop publishing application. I used to use (Windows or Mac) Program X, but now that I've changed to Linux, I need to know what's available."
Sound familiar? Never fear, we have the right program for you: Scribus. From their website:
Scribus is an Open Source program that brings award-winning professional page layout to Linux/UNIX, Mac OS X, OS/2 Warp 4/eComStation and Windows desktops with a combination of "press-ready" output and new approaches to page layout. Underneath the modern and user friendly interface, Scribus supports professional publishing features, such as CMYK color, separations, Spot Colors, ICC color management and versatile PDF creation.
Why would you want to use Scribus? Scribus is powerful software that helps you create great looking documents of all kinds.
Oh, by the way, this magazine is made using Scribus! The current stable version in the repos is Ver. 1.3.8. Let's get started.
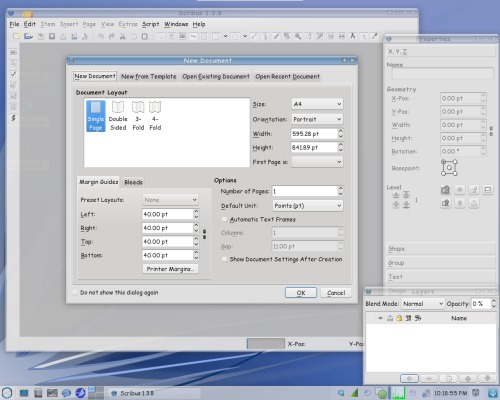
The start-up screen will be the first thing you see. The first thing you want to do is to edit your page properties. Your page properties will be for this project only. The default settings are shown above. You have the choice of single page, double-sided, 3-fold or 4-fold. You can also put in many other configuration items such as your margins, paper size, portrait or landscape orientation and even if you need more than one page. If you aren't sure how many pages you need, don't worry as you can add pages later. You can also designate the unit of measure you wish to use. We do the magazine using points, but you can change it to inches, centimeters, or other units you wish to use (I use inches at work). For our example, I am keeping the defaults, except to change the paper size to Letter. If you change your mind about margins afterward you can go to File > Document Setup and make your changes.
When you open your document, the default toolbar should look as shown below.
From left to right, we have New, Open, Save, Close, Preflight Verifier, Convert to PDF, Undo, Redo, Cut, Copy, Paste, Selection, Create Text Frame, Create Image Frame, Create Render Frame, Create Table, Insert Shape, Insert Polygon, Insert Line, Insert Bezier Curve, Insert Freehand Line, Rotate Item, Zoom In or Out, Edit Contents of Frame, Edit Text, Link Text Frames, Unlink Text Frames, Measurements, Copy Item Properties and Eye Dropper. Insert Shape and Insert Polygon each have drop down menus so you can designate the type of object you want to insert.
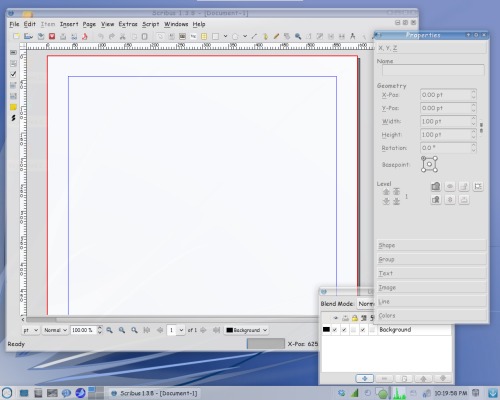
The two extra windows open at right are Document Properties and Layers. I have these open all the time because most of the design is done using these windows. If you mess up and close one, you can always go to the menu bar and click on Windows. You will see a whole list of windows you can use; just click on the one you want. We'll use a few more of these soon. Also, at the bottom of your main window you will see a few other handy things... zoom, page navigation, level navigation and preview mode (looks like an open eye).
Items are added to your document by the use of frames. If you want text, add a text frame. If you want to place a picture, add an image frame and put the picture in it. Let's start by adding a text frame. From your toolbar, click on the Create Text Frame button (it looks like a piece of paper with a big A in the corner). Then click and drag to make a rectangle on your page.
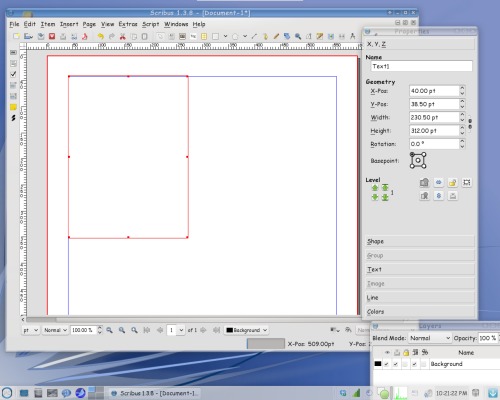
Don't worry if it isn't the right size or in the right spot, but notice that the text in the Properties window that was grayed out before is now suddenly 'active' and the boxes are filled with numbers. The Properties window is where you can configure each item you put into your document. Using this window you can not only make your items the right size, but also place them exactly where you want them, which is much easier than trying to place it with the mouse.
I want my text box edges to be exactly on my top and left margins, so I will set the X-Pos and Y-Pos both at 40 pt – right where I set my margins. In many newsletters, the size of the text box will generally depend on the length of the article, so I will leave the height and width alone for now.
On your toolbar, you saw a button that looked like a notepad with a pencil on it toward the right end. With your text box selected as in the above picture, click on the notepad — that is the Story Editor tool, and will give you the window shown below (or right click inside the text frame and choose Edit Text from the context menu):
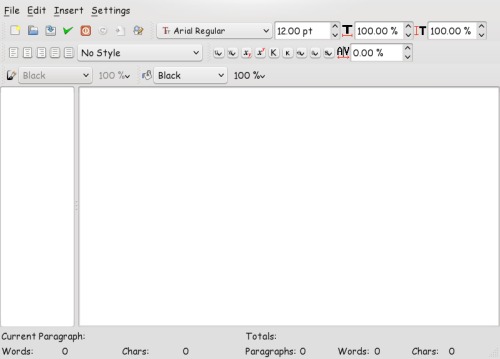
This is the Story Editor window. You can use it to write your article or, if you have a text document that you want to use, you can copy and paste the text into this window. When you click on the green check mark in the top row, the window will close and your text will be in the text frame. All of your text frames will be filled in this manner.
You can add graphics too. Click the Create Image Frame button and click and drag, just like you made your text frame.

Properties
To insert the image, right-click somewhere in the frame and choose Get Image.
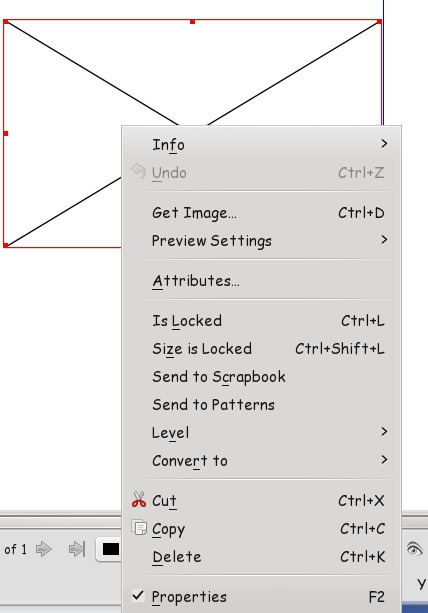
Get Image
When it is inserted, you can configure it. You can right click on the image and choose Fit Image to Frame. That choice will shrink your image down to fit within the frame you have drawn, but it may not fit precisely. If you know what size your image needs to be you can enter those numbers into the dimensions in the Properties window. You can also choose Fit Frame to Image, which changes the frame so it is exactly the same size as the image.
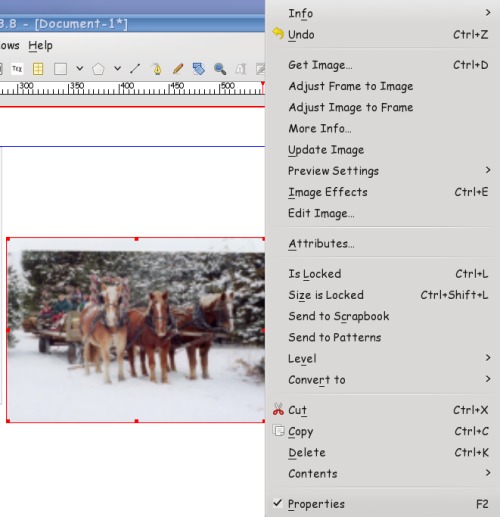
Configure Image
Let's look at the Properties window again. Everything can be configured using this window. The sections in the window are X,Y,Z, Shape, Group, Text, Image, Line and Colors.
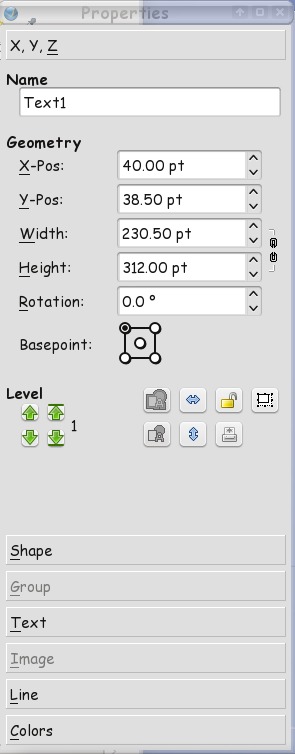
X,Y,Z is the one you see and use most often. It is the one you use for size and placement of your frame. You can raise or lower your frame from the arrows under 'Level' (which helps if you have two pictures that overlap.) Notice also the button at right that looks like a lock: it is used for 'locking' an item in a certain spot. This is particularly helpful when you have several frames and some need text wrapped around them. If you lock the frame, it won't move accidentally and you can go on and work with something else.
Shape is for text wrap. After you put in a picture and get it placed correctly, you can set the shape so the text wraps around the picture and can all be seen.
Group is used to set text flow around a group of objects (rather than Shape for an image). Some of the things you use may be shapes that have been grouped together, and this is supposed to configure the text flow. However, it doesn't work correctly quite yet in the more recent versions of Scribus, so in later articles, we'll look at ways to accomplish that another way.
Text is where you will configure your text. Font and size are configured here, as well as color and text effects. If you want a big title with blue text outlined in red, you can do that here. There are text configuration items in the text editing window that you can use, but you really should do most of it from the Text tab in Properties. We'll explore that in a later article as well.
Line — If you want your text or image frame to have a border, you can configure it here. You are given many line styles and sizes. Before you can see it, however, you must go to Colors and choose a color, as the default is none.
Colors — Here you configure the color of any object you insert (although text color is configured in the Text tab). If you insert a rectangle for decoration, you can choose the border and fill color and also the transparency. Horizontal and vertical gradients can be configured as well.
We can start our newsletter next month.