Using Scribus Part 6 - Templates and Master Pages
by MeemawIf you do a document on a regular basis, it might be a good idea to save it as a Template or a Master Page. With my newsletter at work, I use the same basic layout every time, with the title page being of one design and the remaining pages being different. I have saved the basic layout as a template, which I can open from the start screen (remember one of the tabs said 'New From Template'). If I want to change anything in the basic layout, I can do it because it's a template.
On the other hand, here at the magazine, we use a Master Page so every page of the magazine has exactly the same border at the top and bottom. You can always cover those borders with something else, but the master page is locked so it can't be altered easily.
Both the template and the master page are handy items to have, each very useful in its own way.
Templates
Making a template is the same as doing a one-page or several-page project. The difference is, in your newsletter or magazine, you will fill the text frames with your stories. In your template, you will place the text and graphics frames you plan to use most of the time, but won't enter any text into the story editor or any images into the image frames. The first page of my newsletter looks very much like the image here.
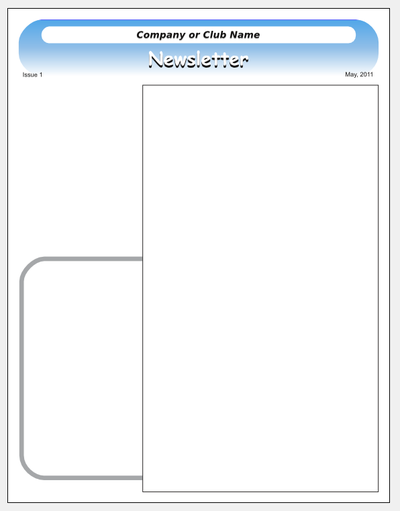
My first page generally has the main story in the frame on the right, one small story or announcement in the rounded frame at the bottom left, and the table of contents of the newsletter in the open space at top left. My second, third and fourth pages have a different, smaller header than the first page, but are more identical to each other, and have the page numbers already on them. I generally use the same page format as page 1, with a narrow column on the left and a bigger column on the right, and one of the stories on each page having the rounded frame around it. Since the reader’s eye will be drawn to a darker or thicker frame, I try to place more important notices or stories in that frame.
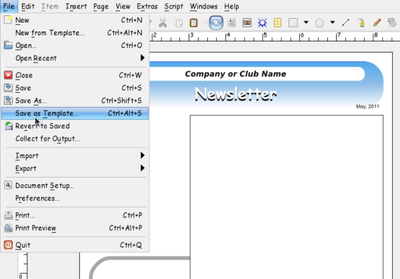
Since I use this format most of the time, I have made it into a template. To save it as a template, just choose File > Save As Template... You will be asked to name your template. If you use something frequently, you should save it.
To use your template, simply open it, and then resave it with the title of your present project. My newsletters are generally saved as “Company_Newsletter_June2011” or something similar. After you have it saved, create!
I found a couple of sites that have templates you can download for yourself:
http://scribusstuff.org/
http://www.oak-tree.us/2010/08/21/modern-templates/
http://www.scribustemplates.org/ (seems to be a site in a state of change)
Master Pages
On the other hand, maybe you have a specific page design you want to apply to some or all of the pages of your newsletter. Maybe you aren’t sure how many pages your newsletter will be, or what will be on each page. My newsletter is four pages every time, and each page, while being the same general design, can be changed any time I choose to change it.
The magazine, however, has the same design for every page, so when several people work on it, the finished product has a unified look. The magazine uses a Master Page. It is a one-page design that has the header and footer and the columns already established.
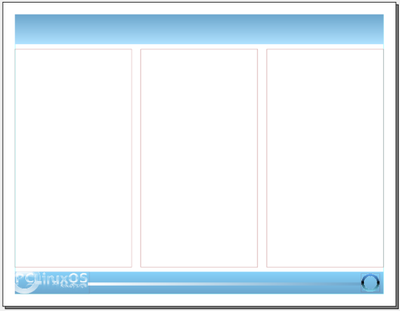
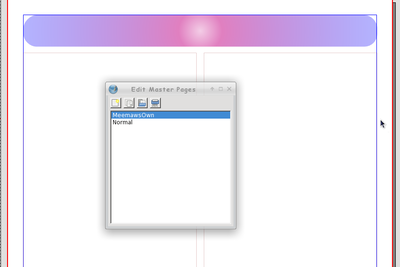
(Looks pretty empty, doesn’t it?)
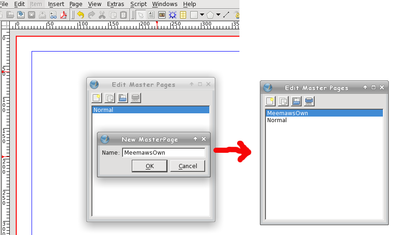
To do a Master Page, you open a new document, format it the way you want it (margins, orientation & so on), then choose Edit > Master Page. You will get a small window which has several buttons (New, Copy, Import and Delete) plus one entry, Normal. Since you are creating a new page, click on the first button on the left (it should say ‘New’ when you hover your mouse over it.) Another small window will pop up, asking you to name your brand new master page. I named mine MeemawsOwn, but you should name yours something more appropriate for you. Click OK. Now you will see the name of your new master page in the list.
Make sure it’s highlighted, because that’s the one you want to edit. Leave this small window open! That is how the program knows you are editing that master page.
Now, put in the header and footer information you want to have on that page. If you use 2 columns all the time, put frames in for them. If the text should flow from left to right through the columns, you can put that in as well. If you always have a logo in a certain spot, put that in and lock it down.
When you are finished editing your page, you can click on the save button in the main toolbar, and give your document a name. Only when you have saved your page should you close the Edit Master Pages window. If in the future you want to alter your page, you simply go to Edit > Master Pages again, edit the page the way you want, re-save, and close again.
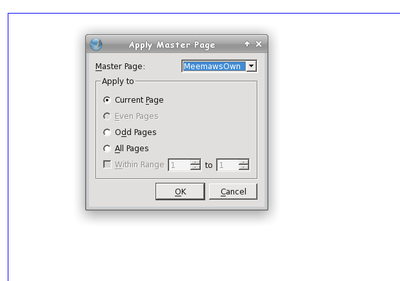
If you have opened a document and decide that you want to use your master page, you can go to Page > Apply Master Page and a window will open asking which pages you want to apply it to. Choose yours. If you have a multi-page document, you have the option of applying the master page to certain pages, or all of them. It will be applied to the page or pages you have designated.
Templates and Master Pages are very useful, each in their own way. If you want to save some time in your creation, experiment with each and develop what works for you.
Next time, we will look at ways to give your document a little flair.