Gnome 2.32: gLabels Label Designer
by Meemaw
One program available in Gnome is gLabels. It is a very simple program that can do any kind of label or business card. While written for the Gnome desktop environment, gLabels will also run quite nicely on any other graphical Linux desktop environment. Like many Linux applications released under the GPL, it does one thing, and does it well. Unless you have Gnome 3, the version you are likely to see in the repo is version 2.3.0.
When you first open gLabels you get the following screen:
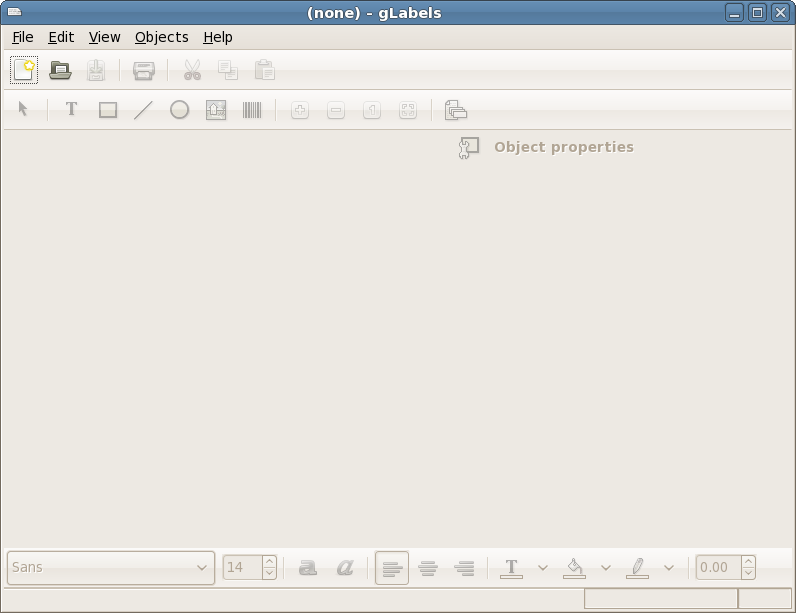
Notice that the only tools that are active are the ‘New’ and ‘Open’ buttons. When you click on ‘New,’ you will get a screen that asks which label type you wish to use.
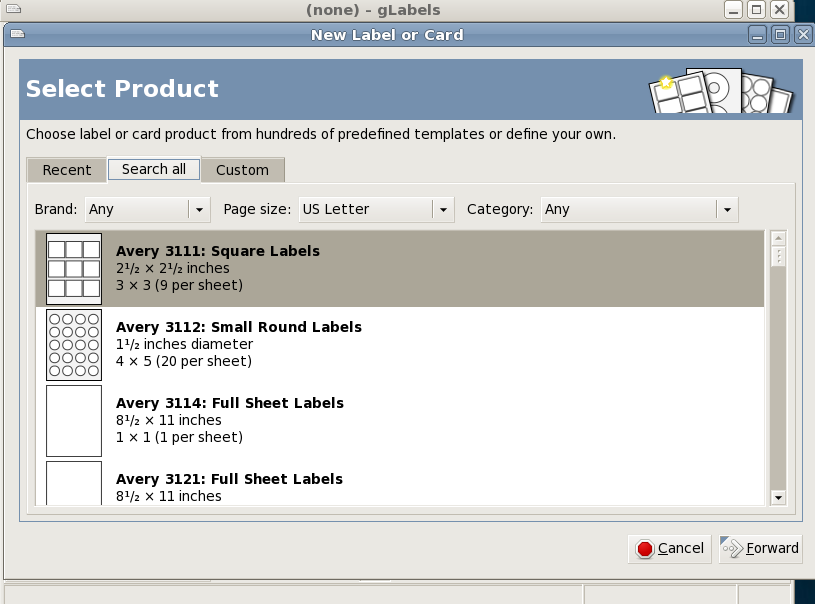
You can search for the one you want in the ‘Search All’ tab, or you can design your own in the ‘Custom’ tab. Any label you use will be saved in the ‘Recent’ tab, so it will be easy to find later. I chose the Avery 5160 address label because that’s what I use the most. You will also get a screen asking if you want your chosen label oriented horizontally or vertically, and another window giving you a page preview of the sheet you have chosen. After clicking on the OK button to verify your choices, the window below is visible.
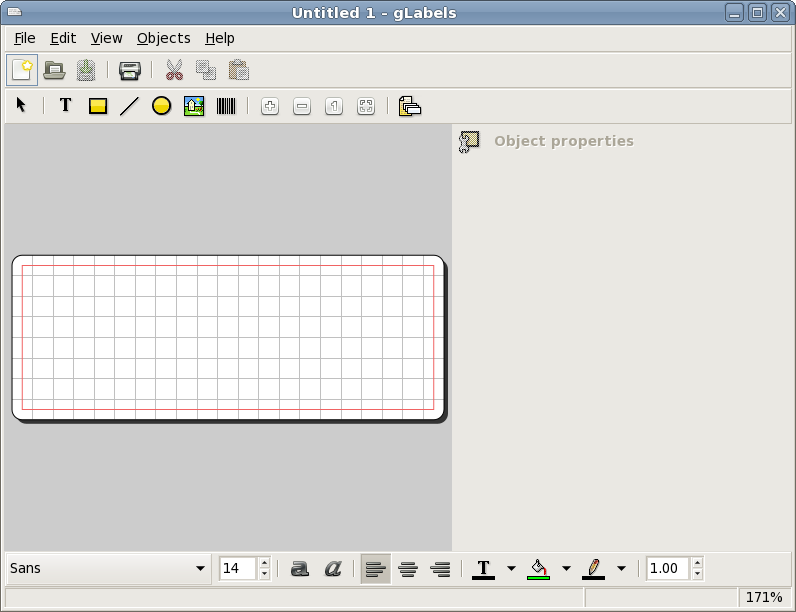
Notice that now all the tools are active. We have in the top toolbar: New, Open, Save, Print, Cut Copy and Paste. In the second line of tools you will see: Selection tool, Text tool, Add Rectasngle, Add Line, Add Circle, Add Image and Add Barcode. The four buttons to the right of that are the sizing buttons, where you can increase or decrease the size of your label in the window (zoom in, zoom out, actual size and fit in window). The last button in that row is the Mail Merge Properties button.
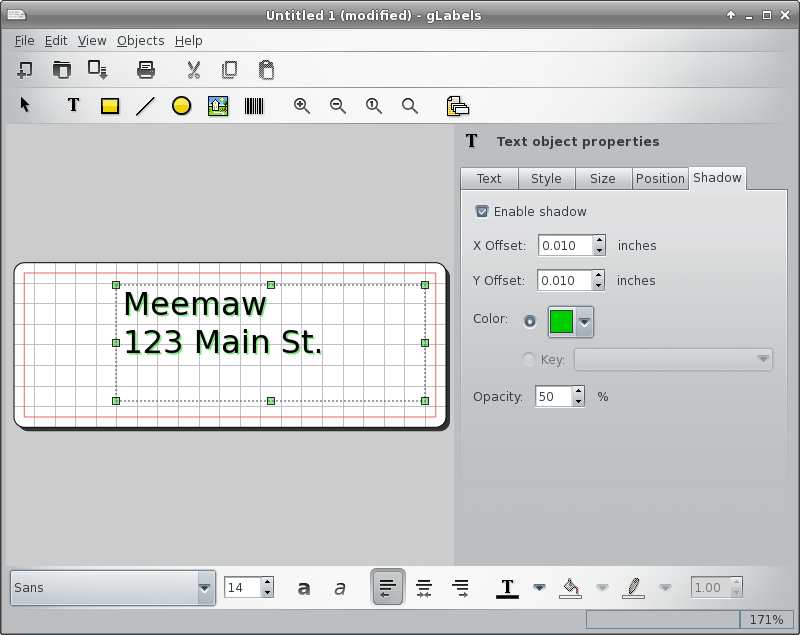
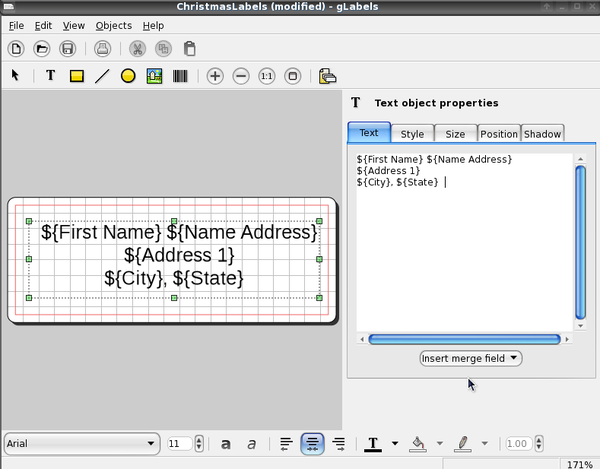
If you click the Add Text button, your pointer will change to a plus sign with the word Text next to it, and you can click on the label to place the text frame. Wherever you click will nplace the top left corner of the text frame. At right, the text formatting window will open and allow you to enter your text (the first tab in the section on the right is the text tab), then use the other tabs to format your text as desired. In addition, the toolbar across the bottom also includes text formatting items. You can always increase the size of your text frame by grabbing one of the corners and dragging and move it by hovering over the text until the cursor turns into a 4-arrowed cross, then clicking and dragging. In the other tabs, you can set the style and size of the text and the position of the text frame. At the bottom, you can change the alignment of your text.
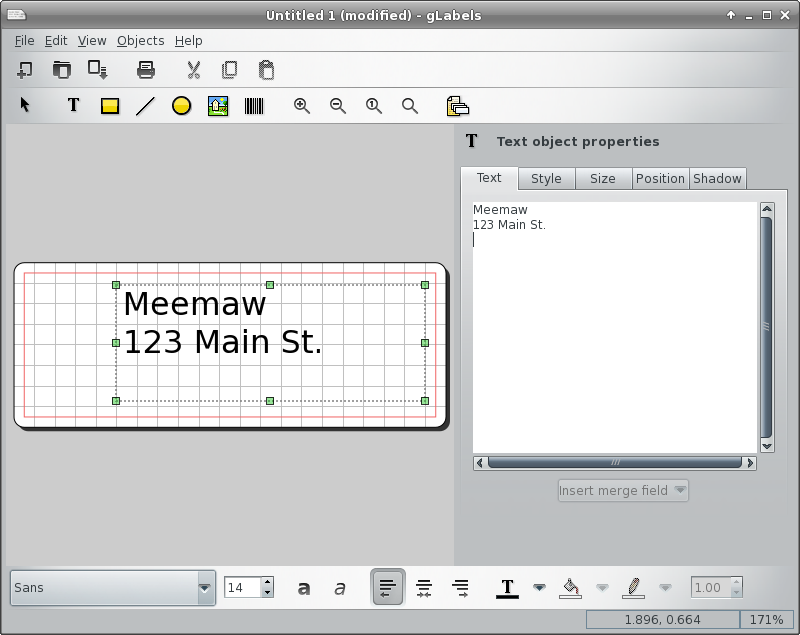
One thing that is in gLabels that I haven’t seen other programs is a specific tab just for text shadow. You have to enable the shadow, and then choose the offset color and opacity of the shadow. I made the shadow green so you could see it.
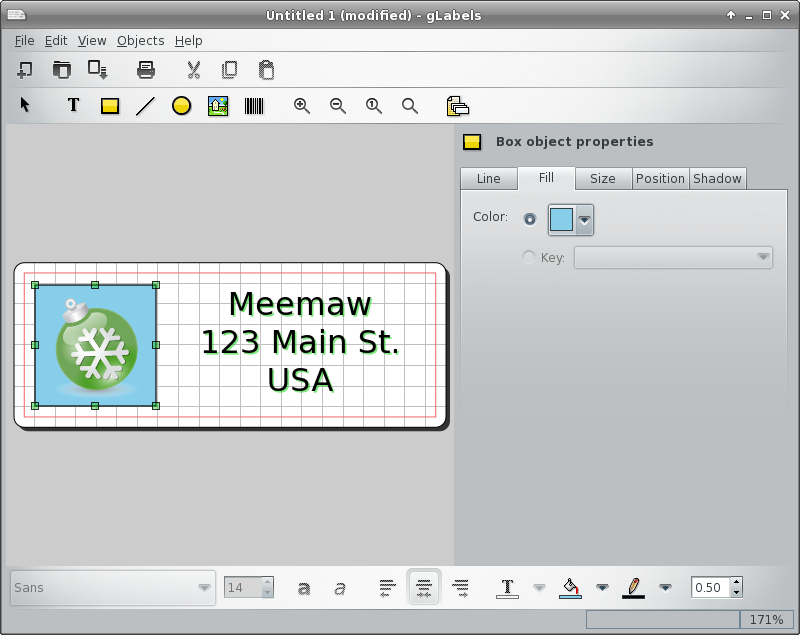
Using the toolbar at the top, you can also insert a rectangle, line, circle or picture into your label. Each item you choose opens a set of tabs at the right side of the window with your configuration choices. In the screenshot below, I added a blue rectangle and inserted a photo of a green Christmas decoration on top of it. The rectangle is selected and can be edited..
Don’t forget to save your label design in a convenient place.
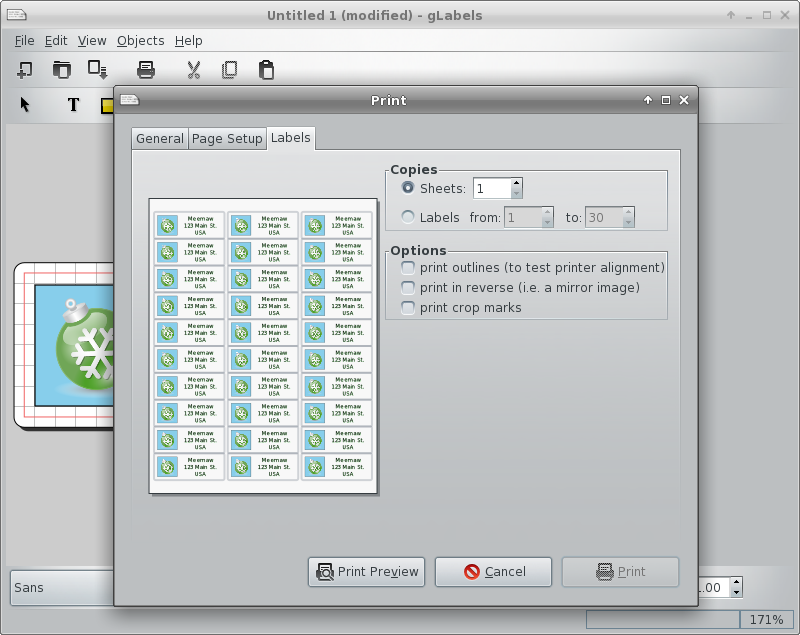
Printing is easy, as well. Clicking the print icon gives you a window that lets you designate your printer, verify your page setup (paper size, type, printer tray to use, orientation, etc.), and choose how many labels you want printed. The third tab, ‘Labels,’ shows you a preview of your page, and lets you print a certain number of labels on a page, or a certain number of full pages. I have printed 15 of one label on the top of one page, then turned the page upside down and printed 15 of another label on the remainder using a 30-label sheet like this.
This latter feature is handy if you have a sheet of labels that have some labels missing. You can start printing from the first available label, and print out as many labels as you like (or use the rest of the labels on the sheet with missing labels) on the sheet with the missing labels. It sure beats having to throw away a sheet of labels just because some labels are missing. Just select the radio button next to “Labels” under “Copies.” Then, adjust the label number you want to start printing from, to skip the missing labels. Label 1 is in the upper left corner, label 3 is in the upper right corner, label 28 is in the lower left corner, and label 30 is in the lower right corner.
While it’s nice to print a sheet of return address labels, we usually want to print a group of mailing labels with different names and addresses using a mail merge list. Merging a mailing list in gLabels is actually fairly easy. Many people use LibreOffice to do spreadsheets and labels. While I use LibreOffice for labels most of the time, I recently had gLabels open because I had some address labels designed in it. So, I decided to use it for the mailing labels for my Christmas cards. Click that last icon in the top toolbar, Edit Merge Properties.
Assuming you have your mailing list in a spreadsheet, the first thing you need to do to use it in gLabels is to open it in the spreadsheet program you use, then save your spreadsheet as a comma or tab-separated text file. In LibreOffice, I saved mine as MeemawsList.csv. You can also use your Evolution addressbook or Vcards if you use those programs.
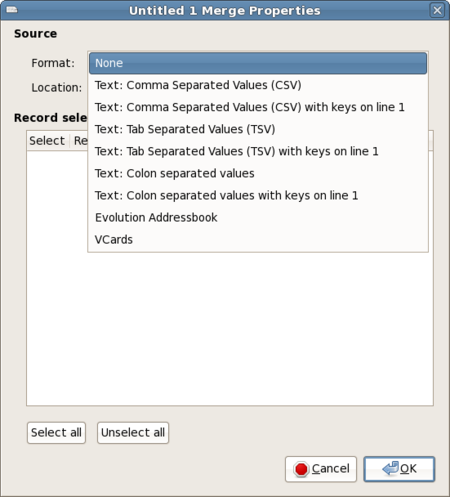
Select the type of file you are using and then designate the location of that file. You can even choose which records you want to include in your merge by checking or unchecking the ‘Select’ column in the merge properties box. (I don’t send Christmas cards to my whole address book.) Put in your text frame, then click ‘Insert merge field’ at the bottom of the text frame properties window. Choose your fields, and arrange them in your label the way you want them. Save your file.
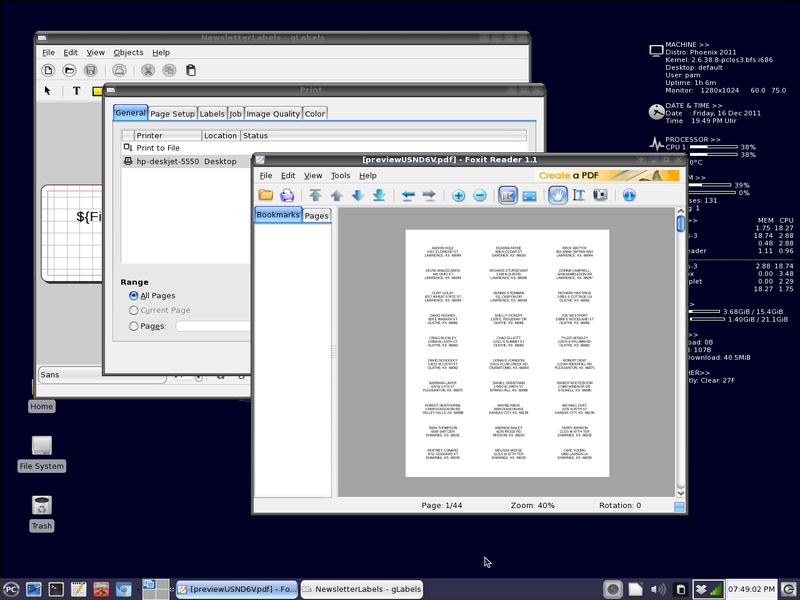
You can now go to Print. When you click on the Labels tab you will see a merged sheet. If you click on Print Preview at the bottom of that window, gLabels will display the merged labels as a PDF document in whatever reader you are using. The Print Preview might take a minute or two, if your list is long.
Having used more than one word processing program for labels, I will say that I found gLabels to actually be easier. I once had a glitch during a larger printing. My newsletter mailing at work was almost 1,300 labels. During the printing, I found that one sheet of labels had fed through the printer improperly, and all the addresses on that sheet printed over 2 labels, rather than each one on its own. I went back into the merge properties window, selected only those addresses that misprinted, and printed a new sheet. Perfect!
You don’t have to use it for just address
labels! Some of the pages made today are also business
cards, name badges, file folder labels, disk and tape
labels, CD case plates and even table tent cards. You
can also create custom designs on one of the many full
sheet labels or plain paper. Let your imagination be
your guide!