Graphics Tutorials: Gimp, Part 1
by Meemaw
I’ve been using GIMP since I started using Linux. While I can do most of what I want to do fairly easily, GIMP contains many options that I haven’t used much. In these articles, I will try to explain a little about GIMP and how to use it.
GIMP, of course, stands for Gnu Image Manipulation Program. The website is http://www.gimp.org/. It can be found in most any distro’s repository and PCLinuxOS is no exception. It can also be installed in Mac and Windows, so I use it at work in Win7, as well as at home with PCLinuxOS.
When you open it, you are shown three windows as shown below:
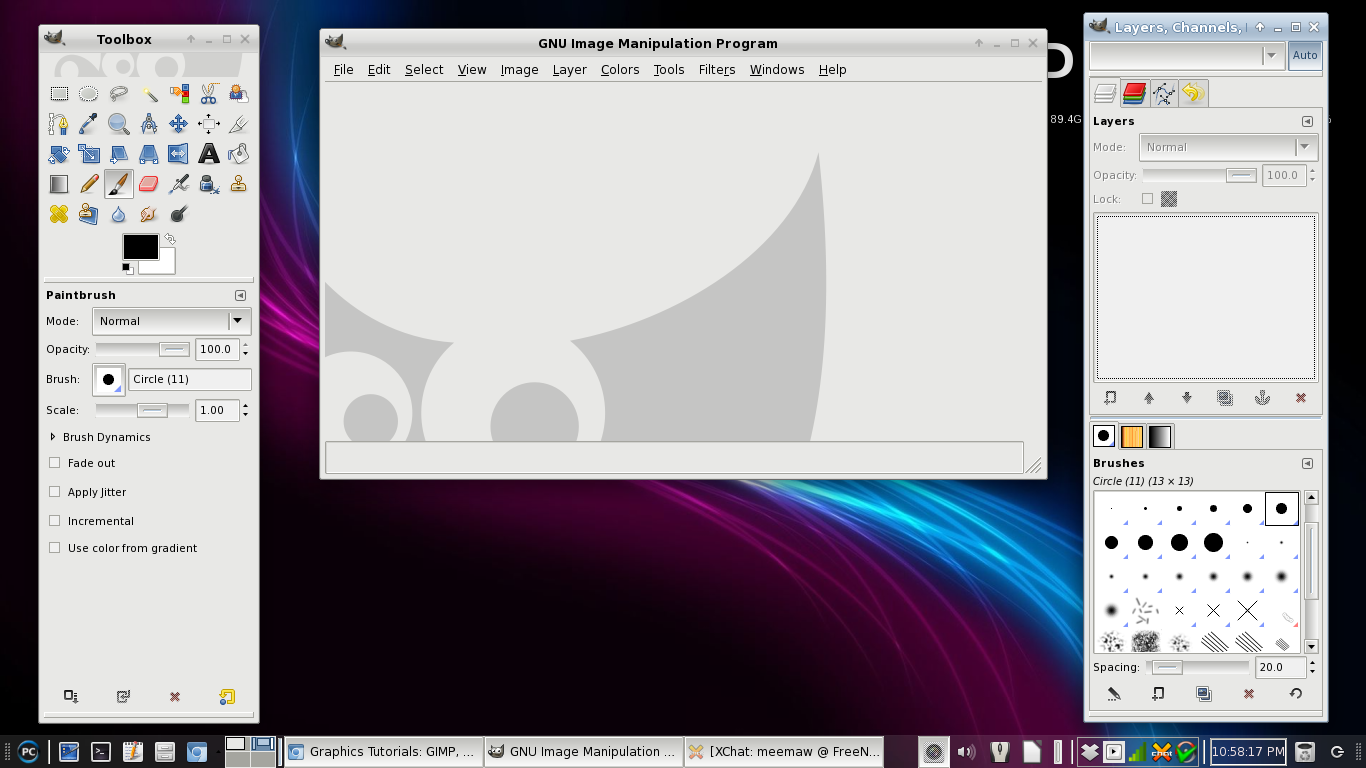
While many of our graphics programs are displayed all in one window, Gimp has had them separate for years. GIMP 2.8 has been released now. It has a single window display, but has the option of leaving the windows separate. I really like the separate windows, because I can arrange the them the way I want them. However, it hasn’t made it to our repos yet, so be patient – GIMP 2.6 works very well.
The window on the left of the screen is your main toolbox. The tools there are the ones you will use the most. For each tool, there is a corresponding config section, so the bottom of that window will change depending on the tool chosen at the top. The area at the top of the toolbox (where you see Wilber, the Gimp critter’s eyes and nose) is the Drop Target area. If you have a file manager open too, you can drag the item you want to work on to this area and it will open in Gimp.
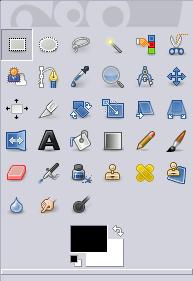
Going across the rows in order, the tools are as follows:
Rectangle Select - You can designate a rectangular area and manipulate it.
Elliptical Select - Create a circular or elliptical area and manipulate it.
Freehand Select - Create an irregular-shaped area by clicking your mouse along the outside of the area. Very handy!
Continuous Region Select - This selects connected areas.
Color Select - Selects areas of similar color.
Intelligent Scissors (Select from image) - Selects along an edge ….
Foreground Select - You can use this for cutting items out of photographs... complicated tool.
Path Tool - You can use this to create a path, which you can then edit
Color Picker - If you want to exactly duplicate a color in a picture, choose this tool and click on the color. You can use the selected color to edit your drawing.
Zoom - You can see your work close-up with the Zoom tool.
Measure Tool - Measures distances in your drawing.
Move Tool - Click on this to move your object into place.
Align - You can choose 2 or more objects or layers and align them
Crop - You can crop an image. Click and drag for your area, then press enter to crop.
Rotate - Clicking on this tool will let you rotate your object.
Scale - To resize your drawing or object
Shear - To skew an object. (Example: You can change a square to a diamond.)
Perspective - You can apply perspective to a 2 dimensional image to make it look more 3D.
Flip - Used to flip your object horizontally or vertically
Text Tool - To add text to your creation
Bucket Fill - To add one color to a large area
Gradient Fill - To create a gradient in your object
Pencil - Draws thin lines, like a pencil line, but not smooth. Works better for very small objects where the pixels have to be in exactly the right spot.
Paintbrush - This tool draws smoother lines than the pencil, and this is probably the most used tool.
Eraser - Erases the color from your image. Actually, it changes whatever you stroke to transparency, so it can also be used as a paint tool.
Airbrush - Paints like an airbrush, using a spray or fuzzy effect rather than a solid line.
Ink Tool - Draws lines more like a calligraphy pen.
Clone Tool - Use this to clone parts of an image.
Healing Tool - This will heal small blemishes in photos.
Perspective Clone - Advanced tool for cloning something into the image which may not look as it looks now (like cloning a face so it looks like it’s a picture on the wall).
Blur/Sharpen - Softens or sharpens colored edges and blends colors together.
Smudge - Drawing with this through two colors will cause the colors to blend, although maybe not the way you want.
Dodge/Burn - Can make an area darker or lighter.
The window on the right contains the Layers, Channels, Paths and Undo tools, and we will use that as well, but I will cover it separately, in an upcoming article.
OK, let’s experiment. Your center window contains all your menus (and all of your tools can be accessed from here as well). Click on File > New. You will see a window for a new image. Here you should designate the size of your image, and in Advanced Options, whether the background should be white, black or transparent. I clicked on the dropdown and selected 800 px x 600 px, then opened the Advanced Options and selected white, and clicked OK.
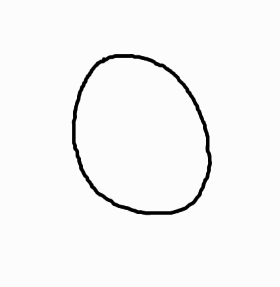
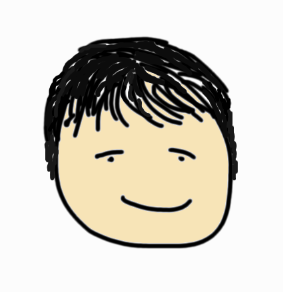
Select either the paintbrush or pencil, and draw a circle. Play with it a little bit just to get the feel of the tool. It doesn’t have to be a perfect circle.
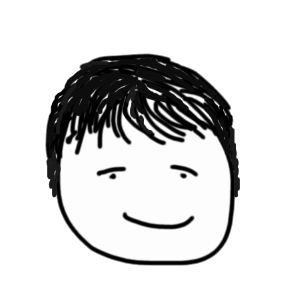
Playing more with your brush tool, make a face on your circle. Since some of us aren’t artists (myself included!), your face will look different from mine. Getting the feel of the tool, you can make several strokes. If you make one you don’t like, you can go to Edit > Undo, or press <CTRL> + <Z> to remove the stroke. If you use the keystroke CTRL-Z, you can hold down CTRL and press the Z as many times as you wish to remove as many strokes as you need.
Sooner or later you’ll have to save your file. Just as with other programs, go to File > Save as... and name your file, then designate a location in which to save it so you can find it again. The default file format for Gimp is .xcf, which is designed to save all your layers while you are working on your creation. You can save your finished product as any number of image types, such as *.jpg or *.png.
Lets add some color to our drawing. From the toolbox, you will see a color swatch (the black & white rectangles underneath the tools). Click on the swatch and the Edit Foreground or Edit Background color window will open. From here you can choose whatever color you want to use. The default foreground color is black and the default background color is white.
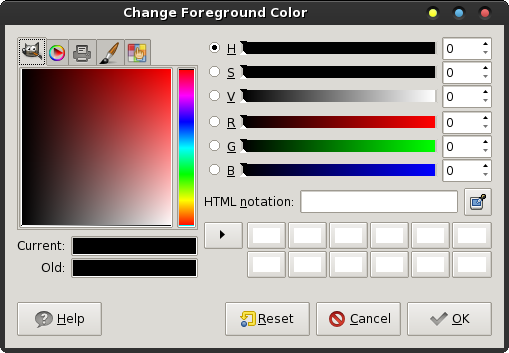
You will have several tabs in your window (top left corner). On the first tab, you will see the default color square (probably in shades of red & black) with a rainbow-colored vertical bar to the right of it. To the right of that you will see six horizontal bars of color with letters next to them. Those letters are for the following words, which are color settings you can adjust:
Hue: This is the color you want. You should probably click it in the vertical bar first, then all the other settings will display the color you are working with.
Saturation: This is how pale a color is (I think of it as how much of the color used). The slider will make it more or less intense.
Value: I think of this as how light or dark a color is, but Gimp’s glossary says it is how much light is emitted by a color.
Red, Blue & Green: These are the colors that will be mixed for everything you do. Each individual slider can be adjusted separately to produce just the right color. To the right of each slider is a blank containing a number. Each color can be described with a series of numbers from 0 to 255 (0,0,0 is black and 255,255,255 is white. All other colors are in between.) If you have the numerical code for the perfect color, you can adjust the numbers in these blanks. If you are deciding on a color, each slider can be adjusted individually.
In addition, all colors can also be described with a 6-digit hexidecimal code. (000000 is black and ffffff is white. One shade of purple is 430da9.) If you know the code for your perfect color, you can enter it in the space provided in this window. (Also called HTML notation)
One of the tabs will have a printer on it and be the CYMK, referring to the printer colors Cyan, Magenta, Yellow & Black. This is not really supported in Gimp so they don’t describe it much, but it is apparently to adjust your colors according to the cartridge colors of your printer. That would have been a great idea with one of my older printers - it printed everything several shades too dark.
One tab will have a paintbrush on it and it is the Watercolor wheel. It gives you a color square and you click the color you want. The more times you click, the more intense the color will be.
One tab will have the “color wheel” on it (also called the Triangle Selector). It is the multi-colored circle around a multi-colored triangle. Click the color (Hue) you want in the circle, then drag the white ring into the interior of the triangle to adjust Saturation and Value.
The Palette tab will have a grid of the colors contained in the color palette being used by Gimp. You can choose one of those, and go back to the first tab and edit your color there.
I use the first tab and the color wheel the most. Click on the vertical bar between yellow and orange. Looking at the horizontal bars to the right, you can adjust your color until it is an approximate skin tone, whatever color you want to make the face. The color will show in a bar underneath the color square or wheel. You can keep adjusting until you get it just right. There are also small swatches that will save up a record of the last 12 colors you used. Click OK, then choose the Bucket Fill tool and click inside your face. Your drawing should now have a skin-tone color in it. If you don’t like the color after all, press your <CTRL> + <Z> to undo it, then go to your color window and adjust your color again.
NOTE: The Undo function keeps track of everything you do so you can click undo over and over to remove lots of things. HOWEVER, once you save your drawing, all the undo history is gone, so make sure it is the way you want it before you save it and close down Gimp.
Play with this a little, and have some fun! Next month we’ll learn more about the interface and then add more to our drawing.