Creating A Video Presentation In PCLinuxOS Using KDenLive
by Ken M. (bnc75ohm)
When I was asked to write an article for PCLinuxOS magazine about my recent video project, I felt honored. Here, I'll tell how I used PCLinuxOS and open source software to produce a professional video presentation.
I've been working in video and television all my career as an engineer and video editor. Up to this point, I really couldn't say there were any good open source applications for non-linear video editing. I tried Cinelerra a few years ago, but then the version I used was not very stable and would crash often. About a year ago I tried Kdenlive for some simple projects for family and friends, and it showed great promise. I filed this away and knew I could use it on a real project if I ever needed to.
A little about the Kdenlive interface here – Kdenlive looks a lot like other video editing programs in that it is based on the “timeline.” On the timeline there appear tracks that can be dedicated to either video or audio. You assemble your project by dropping the various video/audio clips on one of the tracks and move it into relative position on the timeline. You can then add effects such as dissolves, wipes or composites between the tracks.
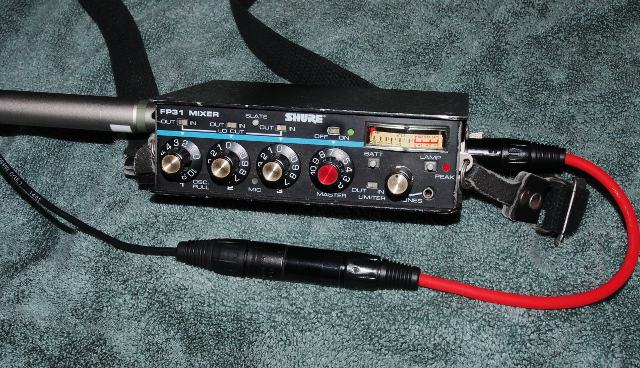
Here's what Kdenlive looks like when you first open it up with no project selected:
Earlier this year I decided it was time to upgrade to a new digital still camera that could also shoot HD video. There are quite a few cameras like this on the market today. I decided on the Olympus OMD-EM5, a truly remarkable piece of technology. Gone are the days of recording video to tape and then having to digitize it into a computer for post-production. Recording directly to a SD memory card greatly simplifies the workflow.
Around the same time, I was asked by the folks at the NJ chapter of the Northeast Organic Farming Association if I could help out with the video piece for their kickstarter campaign. If you're not familiar with kickstarter, check it out here. It's a great place for startups to raise capital for all sorts of projects. NOFA-NJ was looking to raise money to buy some needed equipment to start an incubator program for beginner farmers. I thought this could be a good project for Kdenlive and the new camera.
Before I committed to doing a real project I wanted to make sure my technical systems were sound and that I had a solid workflow. This started with making sure I could record good quality sound and video. It may sound funny, but all throughout my career I found that recording good video was the easy part, while getting good sound on tape was always more difficult. The Olympus camera came with a built in microphone, but I wasn't sure it would be up to the task. I was going for the best recorded sound so I chose to use a clip-on condenser microphone like the type used by TV news anchors. I'd also use an external audio mixer to control the level of the mic. With the mixer, I could also monitor the sound being recorded with a pair of headphones.
This is the microphone I used for recording. It is very small but capable of recording high quality sound.
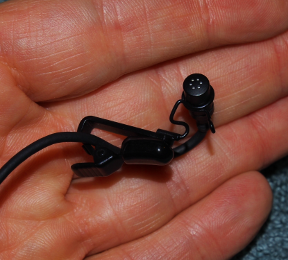
This is the camera with the audio cable I constructed. It is shown connected to the audio input.
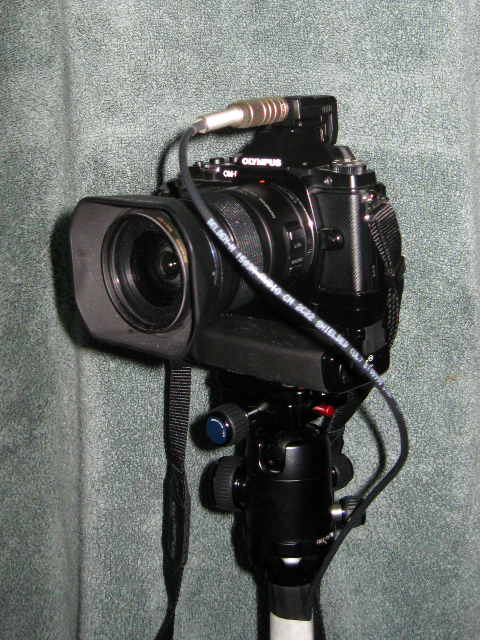
Here is the audio mixer with the microphone cable attached on the left and the cable feeding the camera on the right. The short red cable is an “audio pad,” which reduces the level coming from the mixer to match the audio input on the camera.
It took a bit of trial and error to come up with the cables and adjust the mixer's output level to match the input of the camera, but once I was happy, we did a test recording to check things out. We shot the test in the barn where we'd eventually shoot the real on-camera segment with Alison, the on-camera presenter.
Here are two pictures of my “Rig” set up in the barn:
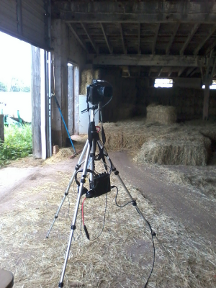
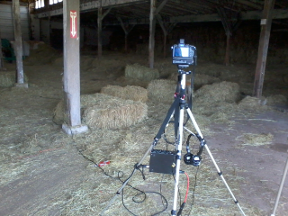
(Sorry about the quality of these photos, they were quick grab shots with my cellphone camera)
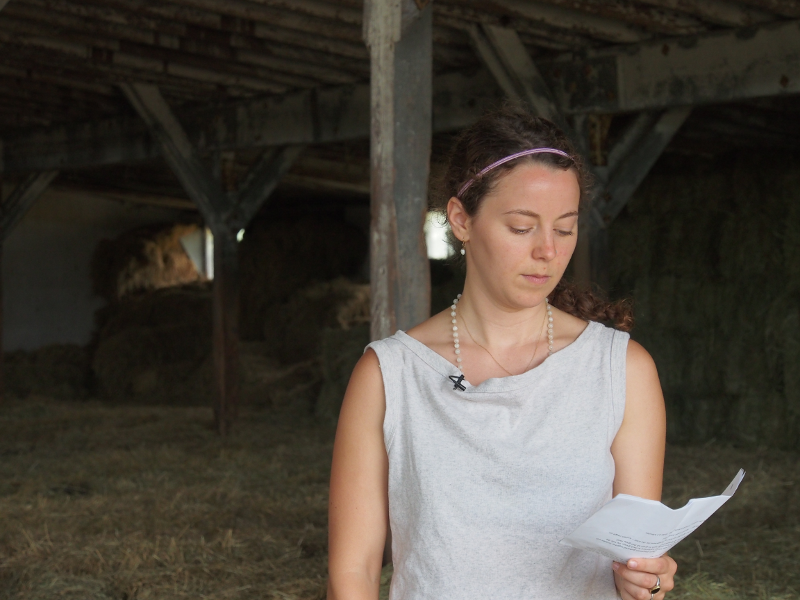
Here's a shot of Alison between takes at the test recording session:
It took us about an hour to shoot the test material (you really can't call it footage anymore since there's no tape!). I brought the files back to the NOFA-NJ office and spent the rest of the day editing them together. Kdenlive worked flawlessly. It was very easy to use and I had no trouble importing the MOV format video files from the camera.
Here is a screenshot of the Kdenlive timeline from the test session edit.
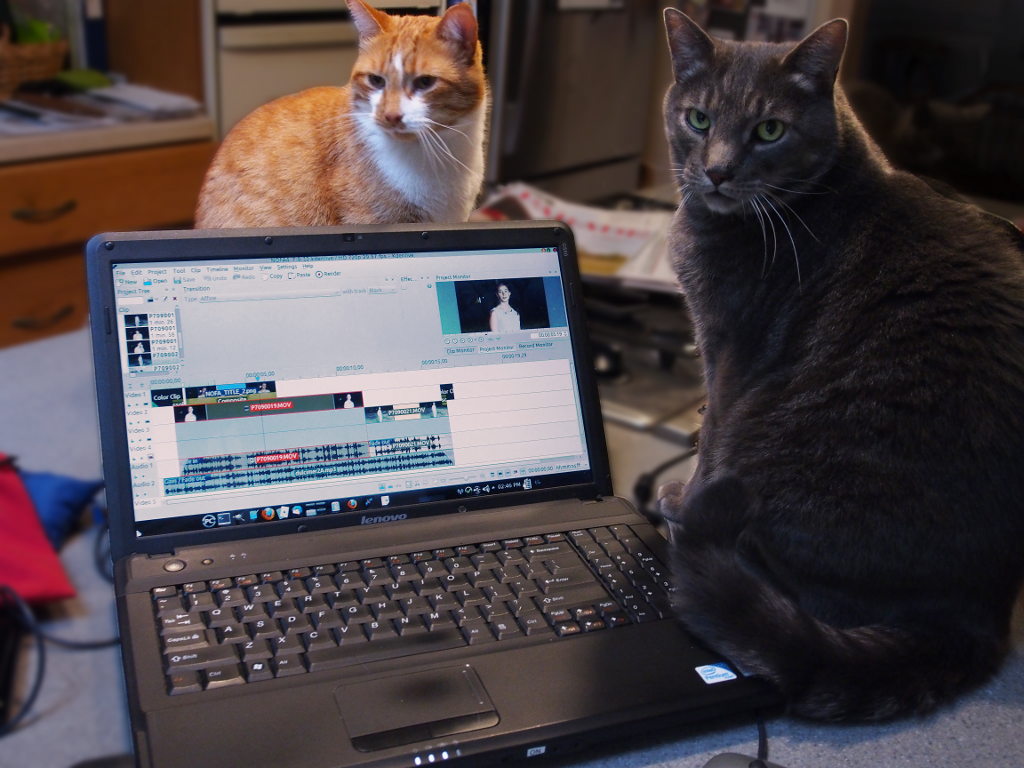
Here's a shot of the notebook PC where I did all the work (along with two of my assistants). It's a Lenovo G550 with a dual core Pentium processor running at 2 GHz with 3 GB of RAM. It had no trouble running Kdenlive and all the other programs I used for the project.
The result was successful, and it proved the technical systems and workflow were sound and we could start the real work on the project.
While I was working out the technical details I met with NOFA-NJ several times to talk over the details of the project. After discussing several treatments, we came up with an outline for how we would tell our story. We hammered the outline into a script and from there we came up with the shooting plan. We divided our shooting into three major pieces – the main on-camera recording of Alison, the presenter, the “B” roll (or background footage) of a working farm showing the equipment NOFA-NJ was looking to purchase, and the “B” roll of a local farmers' market showing produce from local farms. The really cool part about doing things this way is that you don't need to do the shooting in any particular order! We shot the local farm “B” roll first, next the on-camera presenter segment, and finally the farmers' market “B” roll. A footnote here: I like to shoot outdoors on overcast days for both video and still photography. The overall light is less harsh and more diffused, so this produces softer shadows and yields a more flattering look for people.
Once we recorded all the material, the editing started. I first put together an end-to-end timeline of the audio narration we recorded with Alison on-camera. It didn't matter if there were jumps in video going from take to take, the objective here was to get the words from the script down from beginning to end.
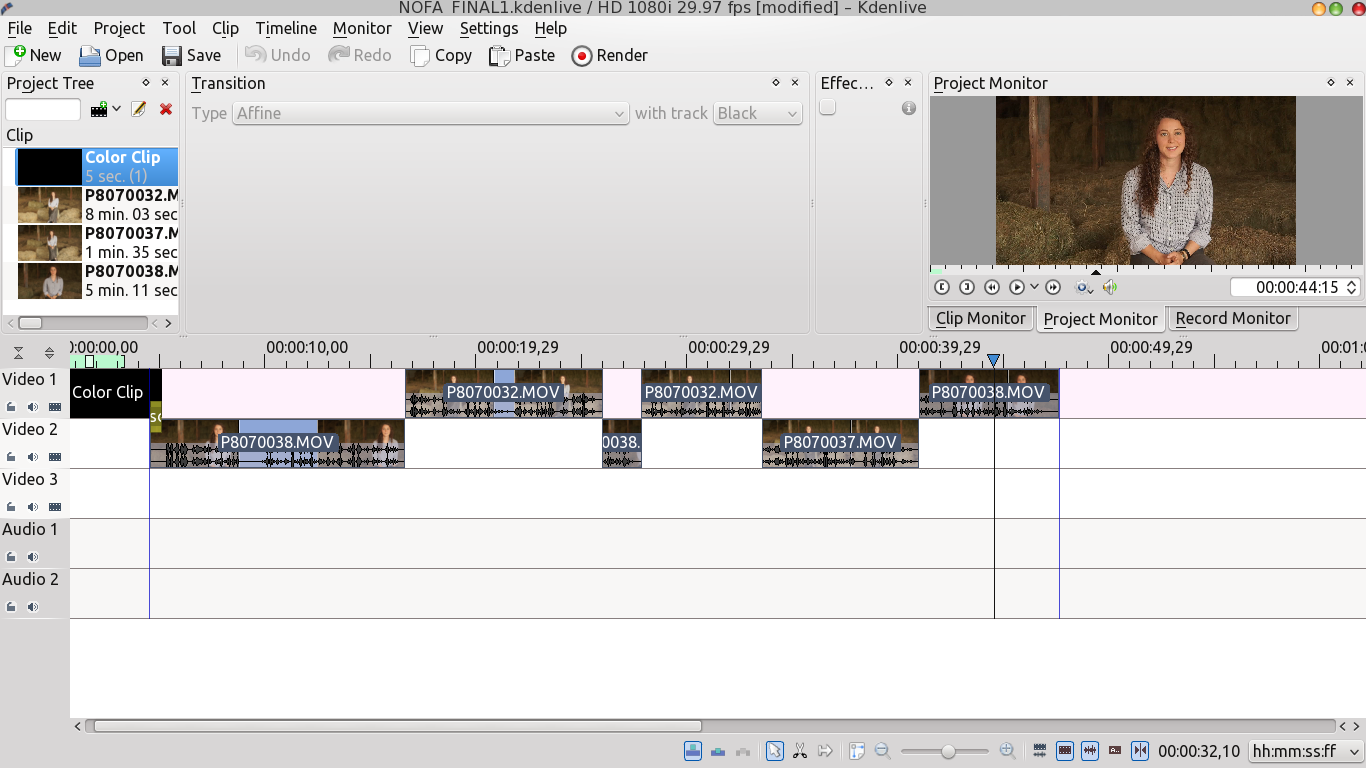
Here's a screenshot of that first Kdenlive timeline. Notice only two video tracks are used, and it's relatively clean and uncomplicated at this point.
Then I added visuals from the video “B-roll” we shot previously to illustrate the points being described by the narration. These were the sequences showing the various items, such as the Tiller or the Cooler, as they were being described in the narration.
Here's a screenshot of that timeline. The video “B” roll images are placed on the Video 1 & 2 tracks. The audio narration and accompanying video are moved down to the Video 3 & 4 tracks. The timeline is starting to get more interesting.
Next, it was time to add the titles. At first, I used static titles and I was all set to go with that style. But then one day I was over at the Kdenlive forum and found a link to Kevin Deldyke's blog where he described how he shot and edited a music video for a rock band. His technique for doing titles gave me the idea of how I could animate the titles for this project. (Thanks Kevin!)
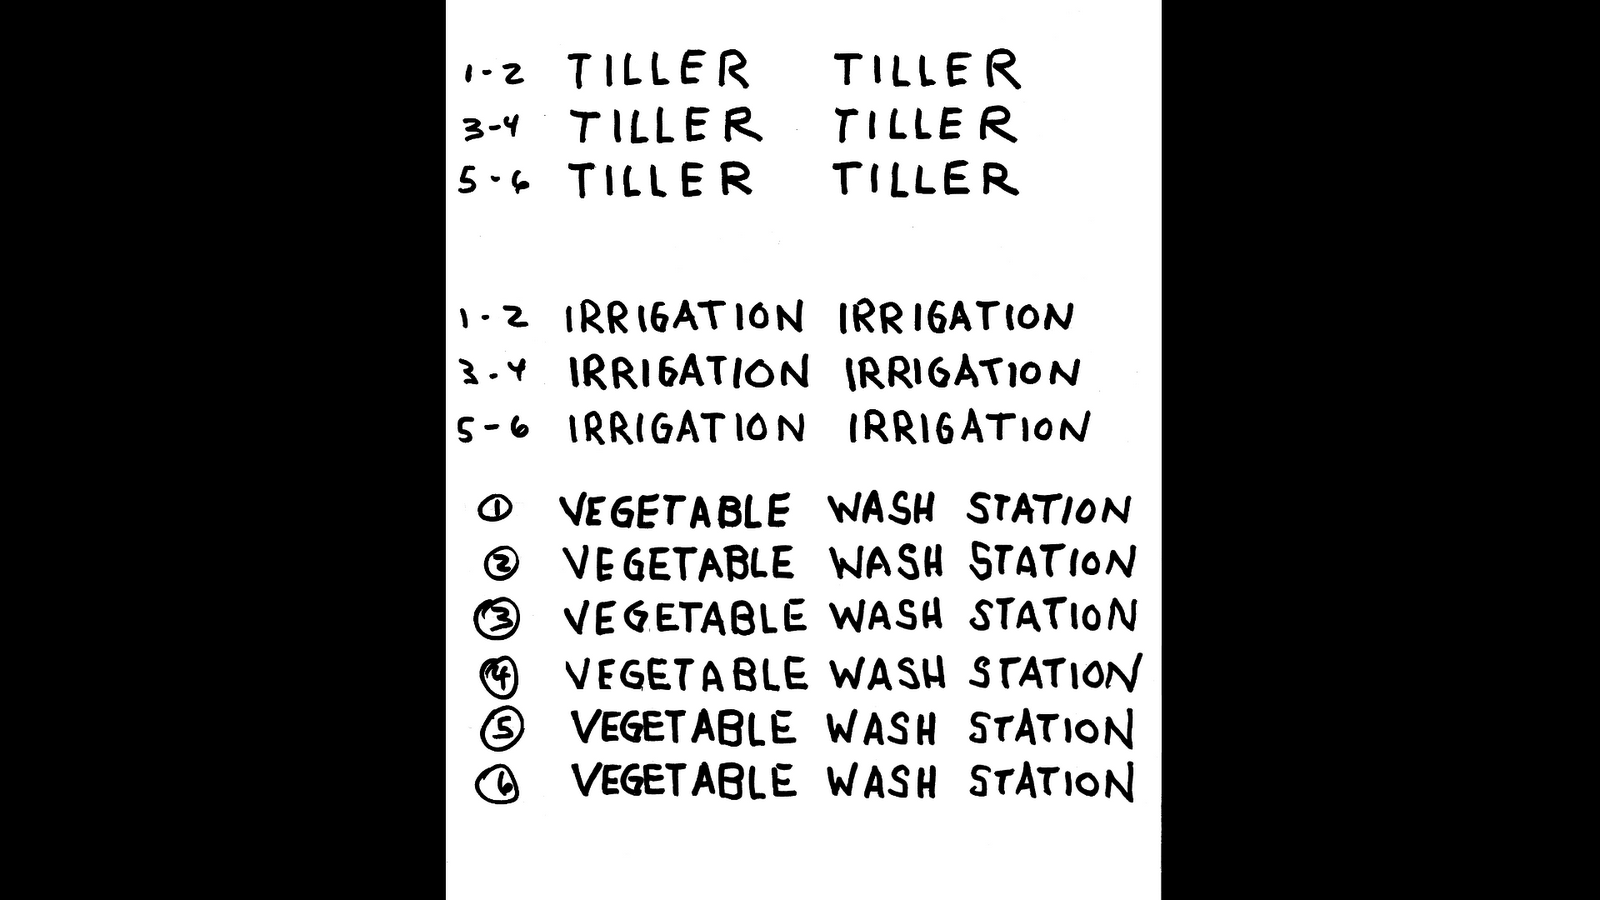
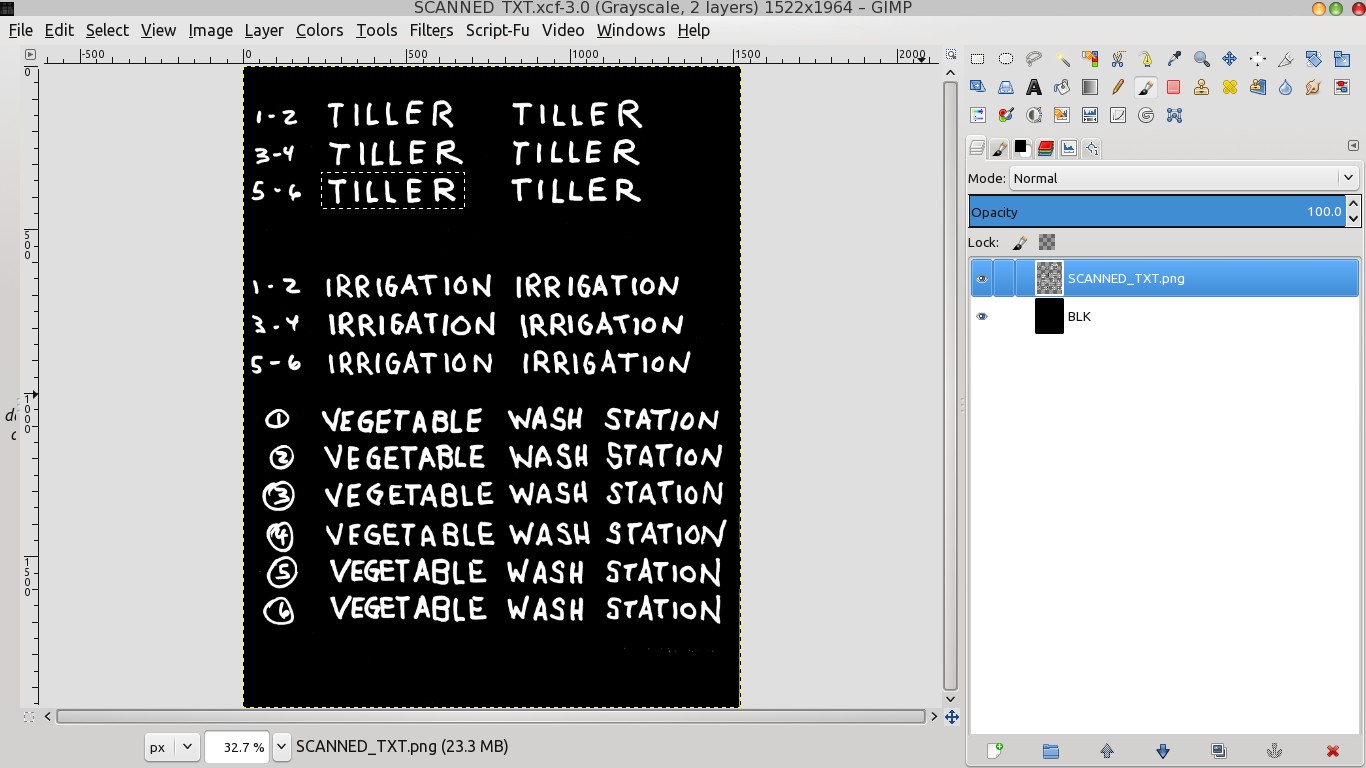
The titles took a fair amount of time to do, but I kind of knew this before I started. Each title is composed of five or six text images of very short duration, repeated over and over, then superimposed over the video. The end visual result is the “shaky” style seen on screen. The process started by drawing out the words on paper using a black marker. I scanned this text and converted converted it to a PNG image.
I opened this PNG image in GIMP and inverted it as shown here:
Then I made a separate layer with each title frame, making sure the text was placed in the proper position relative to the visual it would appear over.
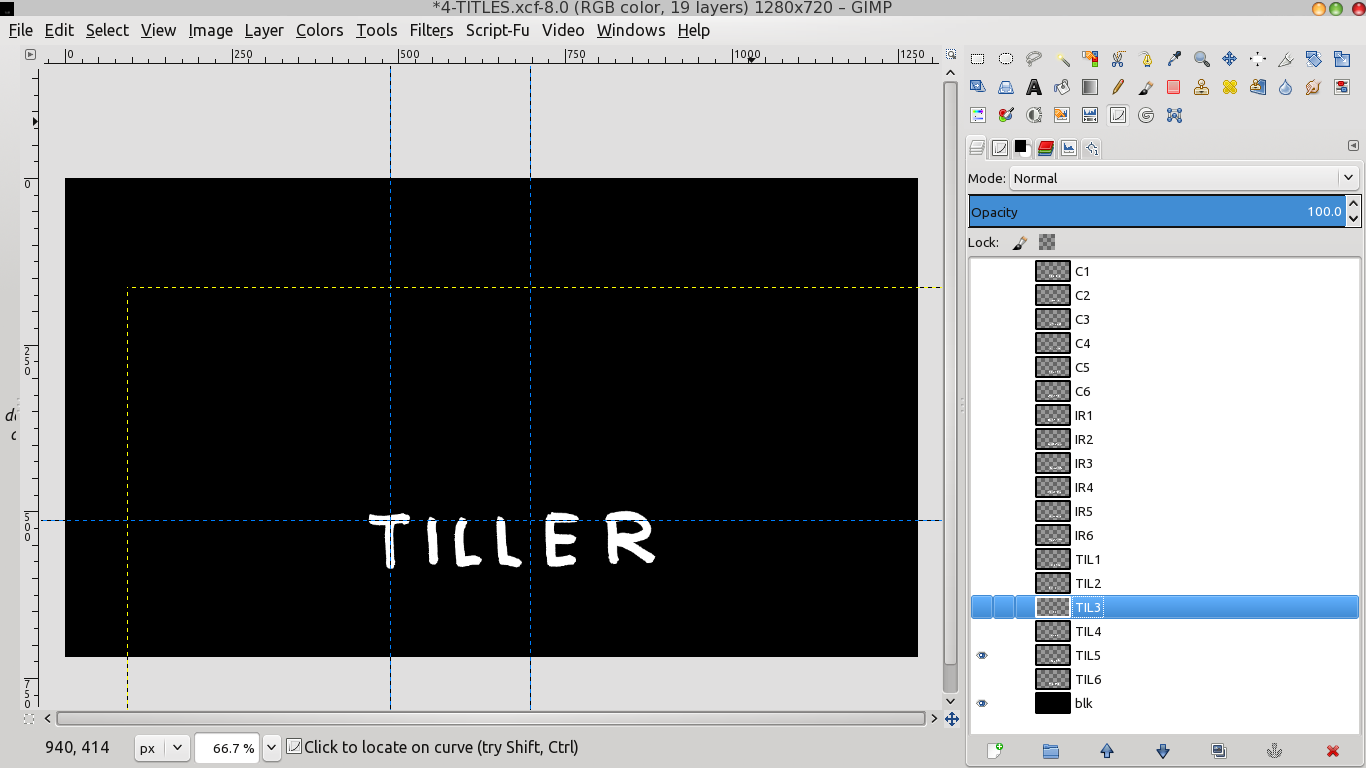
Finally, each layer was exported as a separate PNG image so I could bring it into the Kdenlive timeline to be super-imposed over the background video. As I mentioned, each title is an animation of five or six individual short duration PNG text images superimposed over the background video. Each image is slightly different from the preceeding one and this gives the shaky effect seen on screen. I found a duration of three video frames for each PNG image worked well. It was important to export to PNG since this has the transparent background needed to composite with Kdenlive.
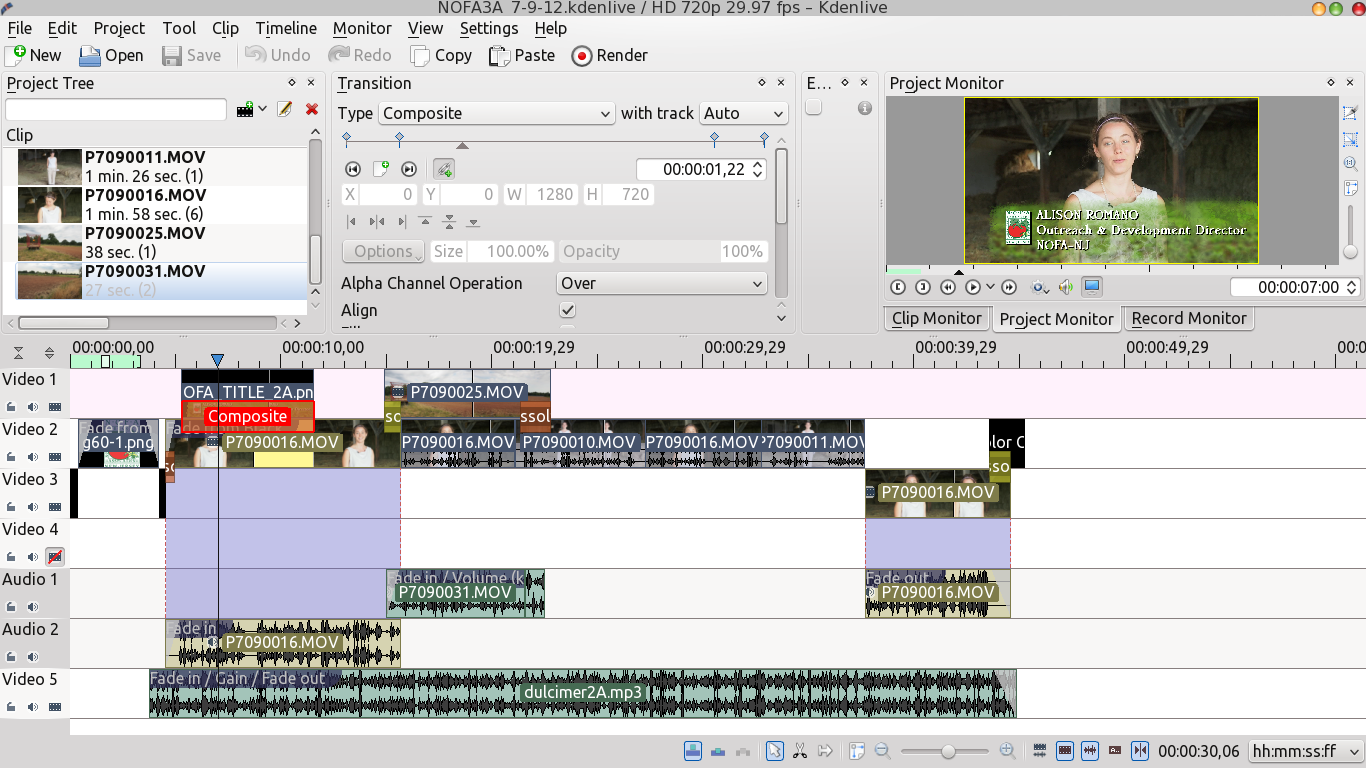
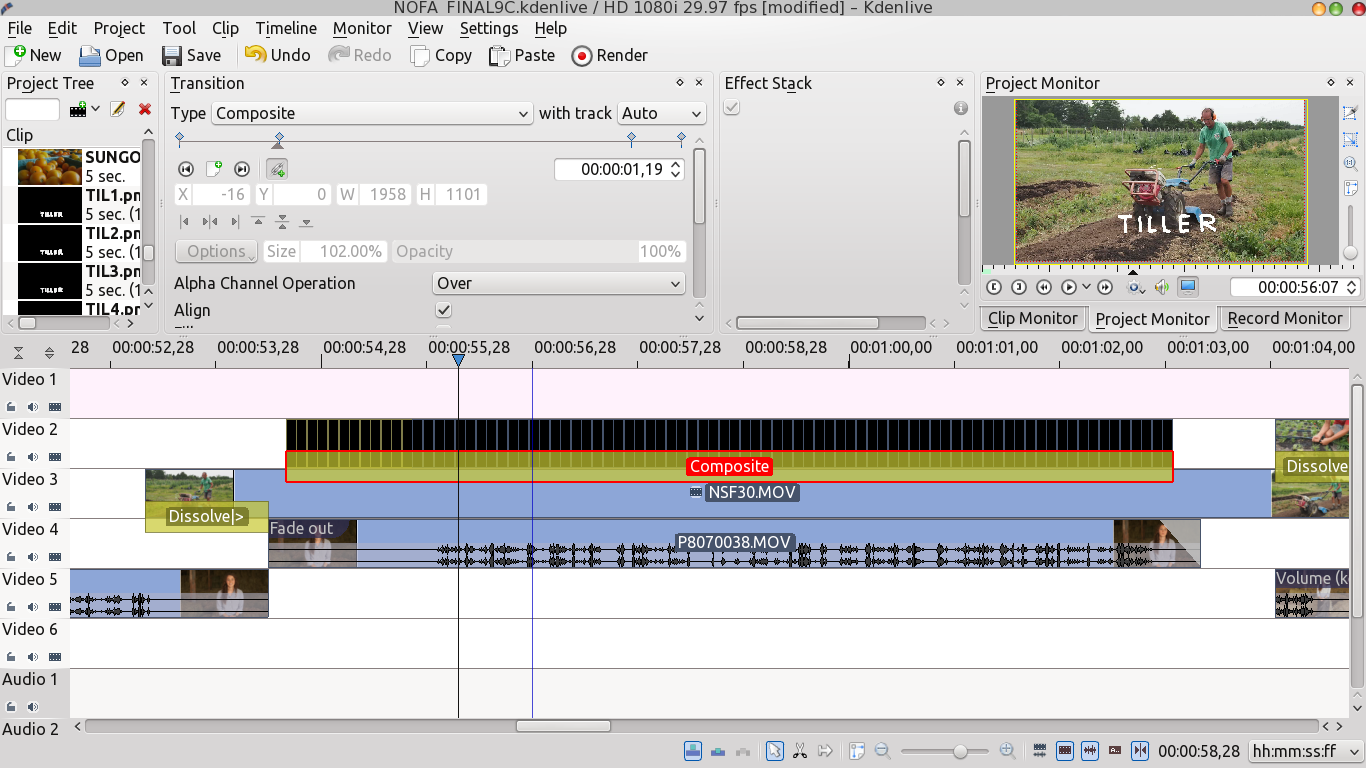
Here's a screenshot of the part of the Kdenlive timeline where the animated title was added over the background video. Here the title PNGs are on the Video 2 Track and the Composite effect is selected to superimpose them over the image on screen. If you look closely you can see short duration PNG images on the Video 2 track.
Next the full frame graphics were added at the head and tail of the show. I added a slight “push” on the opening graphic using the Pan and Zoom effect. That part of the timeline is shown here.

One of the final steps was adding and mixing the music. It's always hard to select music for video and a good music track can really enhance the finished project. There are many sites on the web where music for video is available and some of these sites provide really good music for free or for a small charge. I wanted to create an original music track for this project so I started to experiment with LMMS, the Linux MultiMedia Studio. But since I have no real knowledge of music theory or composition I wasn't able to come up with anything. I had much better luck when I turned to a windows loop based program. Using prerecorded loops I was able to “construct” a music track that complemented the video well.
After the music was added, I did a final adjustment on the sound levels. Kdenlive provides some great audio correction tools. I made extensive use of the Key-Frame-able Volume tool to bring the audio up or down at various points on the timeline.
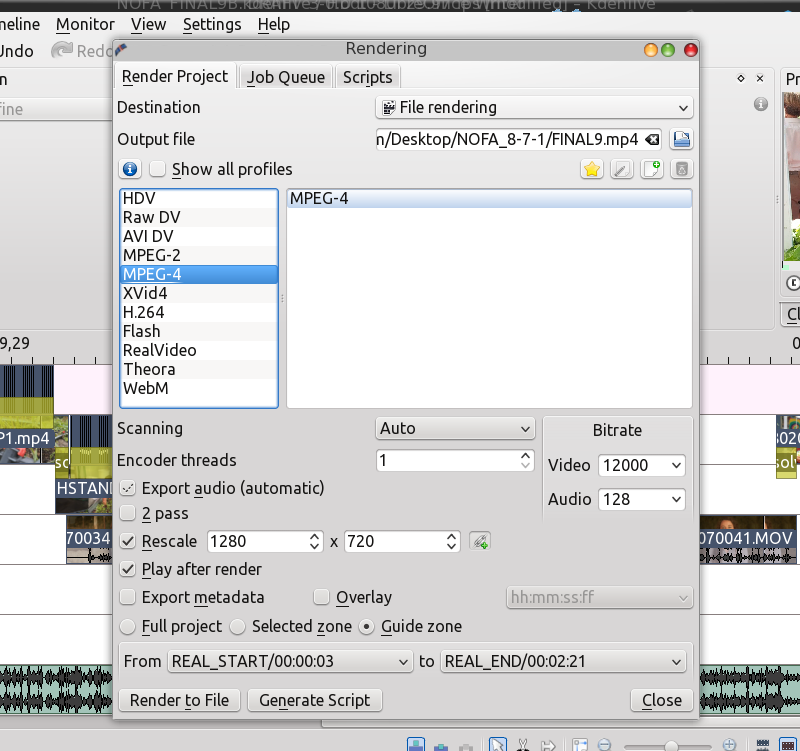
All that was left to do was to render the finished project to a file format that Kickstarter would accept, and that format could be either MP4 or FLV (flash). Kdenlive can output to either and choosing the different parameters was easy. When you select “Render,” a dialog box pops up showing you all the different choices. Kickstarter had a maximum file size of 250 MB and it took a bit of trial and error to render the project with maximum quality that would not exceed that limit. Since I shot the original material in true 720 x 1280 HD video, I rendered the finished project as a MP4 file in 720 x 1280 at a high video bitrate.
Here's a screenshot of the Kdenlive rendering dialog
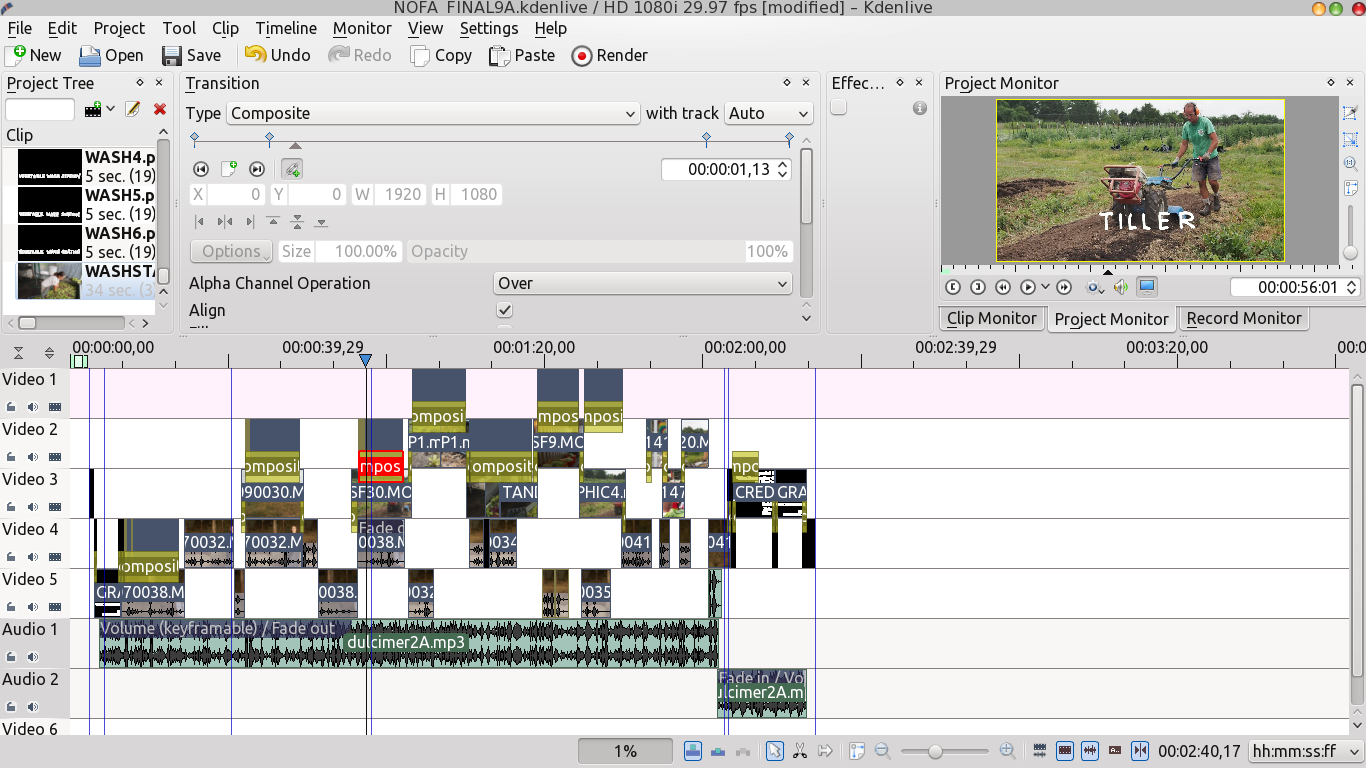
In the end, it took 9 “rough cuts” or working edits of the project before I got to the final version that was approved by the client. In the final version, five video tracks and 2 separate audio tracks were used.
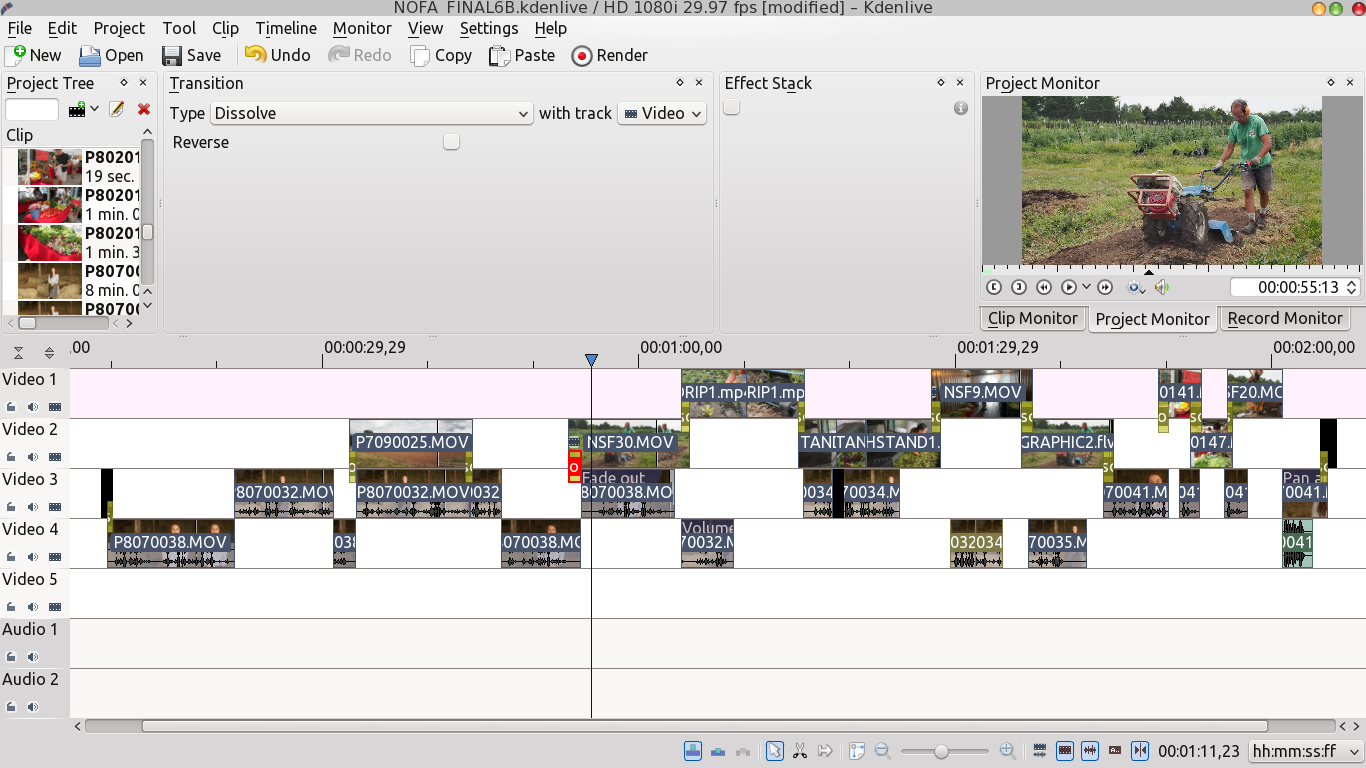
Here's a screenshot of the timeline for the finished project.
The final project can be seen here on the kickstarter.com web page for the NOFA-NJ Beginner Farmer Incubator.
All in
all, it was a fun project to work on, and the folks at NOFA-NJ
were great to work with. Kdenlive is an outstanding program,
and I learned a great deal using it. In the end I was really
happy to have completed this project using open source
programs running on PCLinuxOS.