| Previous
Page |
PCLinuxOS
Magazine |
PCLinuxOS |
Article List |
Disclaimer |
Next Page |
Kdenlive, Part 2 |
|
by loudog In part two of our KDenLive article, we will be working with single video clips, and some of the different things we can do with them. It is important to have studied the KDenLive part one article first and look over the screenshots closely, as we continue to build on what we have already learned. The first clip we will be working with is a fishing video. In the video, there is some footage of the catch, in particular, the big fish of the day, and we want to capture an image of it. We load the video into the project tree and start it playing in the monitor. When we get to the area where the desired image is, we pause the player. Using the mouse, grab the timeline arrow below the player and zero in on the image you like best. 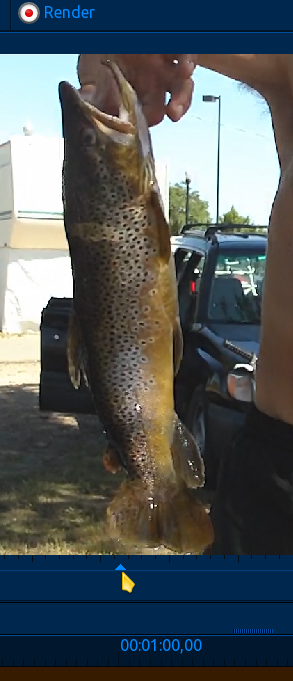 Now we right click on the displayed image and select extract frame. 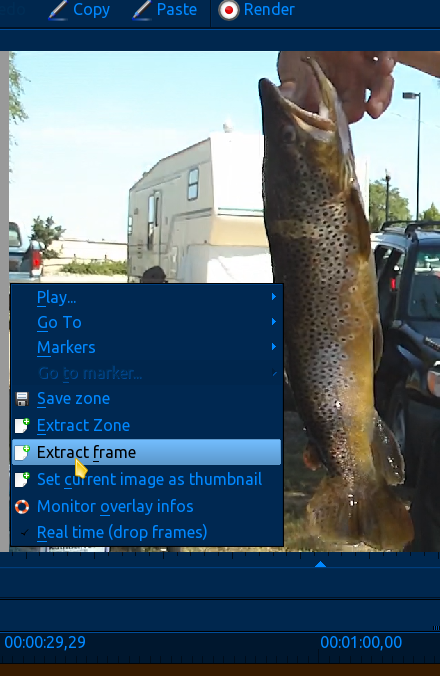 The typical window, asking you to name the file and storage location appears, and the image is saved with the default extension being .png. Now, that is the easy, simple method to extract an image from your video, and it works well if your video is fairly high quality, as this one was. Unfortunately, people, animals, cars etc. have a way of moving around so much it can be tough to get that exact frame we want to show in the player. How do we find that perfect image? We need to look at the individual frames of the video and select one from there. I will be using an old video clip of my aquarium with very poor quality and attempting to capture an image of a moving fish. First, let's take a closer look at the window that shows the "extract frame" option. Notice the other options presented. The "set current image as thumbnail" is very handy, enabling you to quickly recognise the clip by its thumbnail instead of filename. The "Real Time (drop frames)" option is for converting the reference signatures from 30 fps (frames per second) to 29.97 fps. This has to do with the timeline vs. physical address aspect of different frame rate ratios and will be covered later rather than sooner, as it is primarily used in professional video editing. As for now, the default is fine. "Save zone" will just save the zone we create to a file we can use later, good for movie making. We will be focusing on the "extract zone" option for this next part. Creating a "zone" is a fairly simple task, and just means we will be selecting a portion of the clip and excluding the rest. The first thing we need to do is find the image we desire with the timeline marker as we did earlier. When you have found it, back up the timeline just a hair, and go over to the player controls and select set zone start. 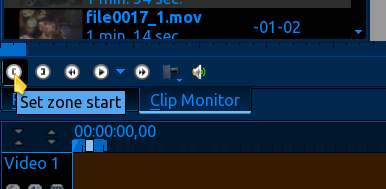 Next, move the timeline just a hair ahead and select set zone end. This newly created zone will be highlighted on the timeline. Check to see that the zone is about 5 seconds long by hovering the mouse over the highlighted area. Mine is about 7 seconds long. Note: This is not actual time per se but the physical addresses of individual frames. For now it's a close enough comparison. 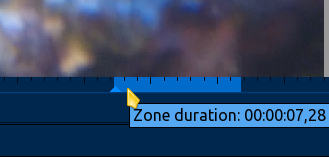 Now we want to select the "extract zone" option. Right click the "zone" in the timeline. This brings up the extract window with the typical options. The default is to add the zone to the project tree and this is what we want. 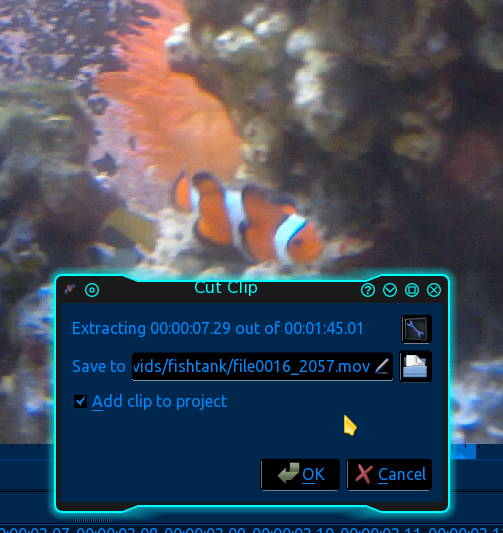 Since this was shot with a little cheapo video camera years ago, it will take a little time to find a fair quality image to extract. The next thing we want to do is add the newly created clip to the video timeline by the drag and drop method described in part one. Next, using the zoom option at the bottom right, we zoom in as far as we can.  Now that the clip is stretched out, we can look at each frame individually by clicking on the timeline. I have decided this image is about as good as it's going to get for the quality of the video. Notice the time signatures (or more appropriately addresses) denoting each individual frame at the bottom. 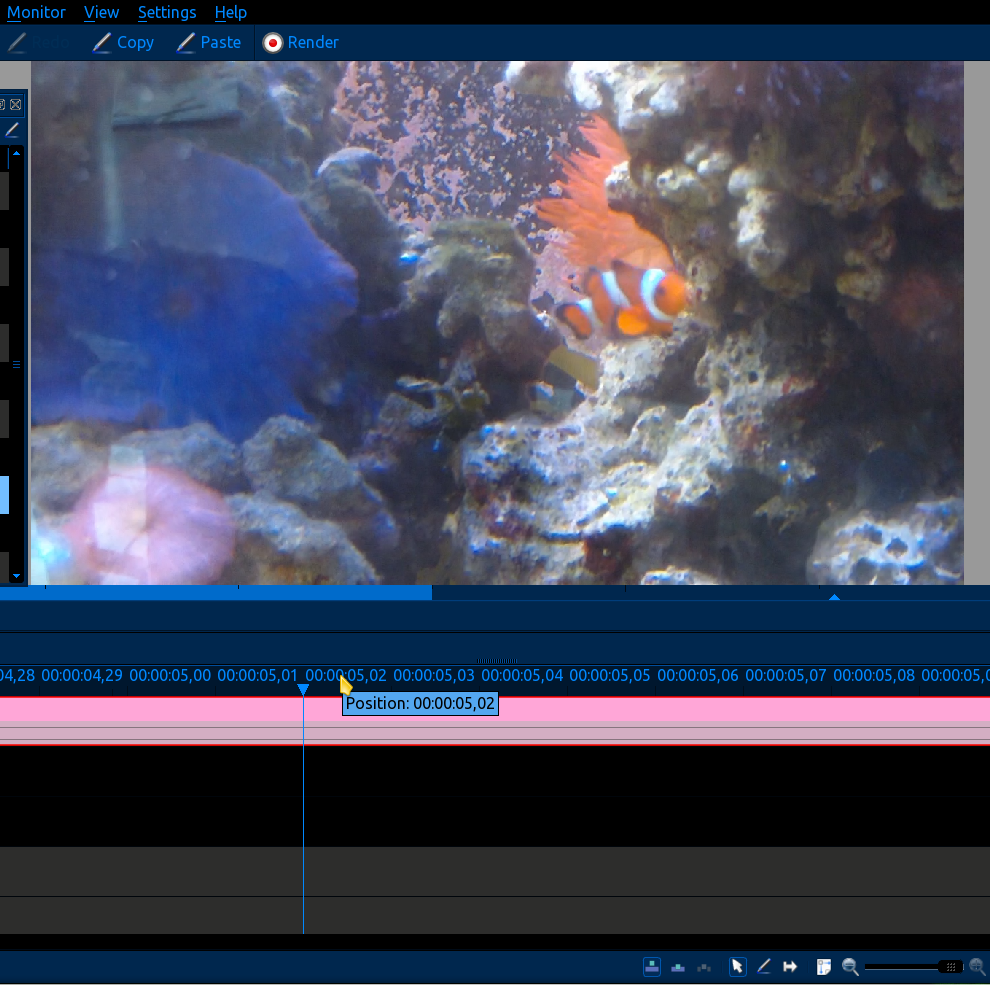 If the image you're wanting is out of the viewable timeline, there is a slider at the bottom you can use to adjust your orientation. Now, it's a simple matter of extracting the image. I will work this one over in Gimp later to polish it up a bit (something I learned in earlier magazine articles). The zone creation and extraction technique is a fantastic tool to trim unwanted video from your clips, such as those shaky beginnings and/or cutting out that annoying someone, (you know who I mean) or something you just don't want in the clip. The other thing you can do is extract small zones of different individuals talking and stitch them together to make it appear they are engaging in a conversation. This works great with pets, especially when the audio is supplied by you the editor (and we will be getting to that). My personal favorite is the ability to video several scenes of our homemade movies (yes an actual home-scripted movie) at the same time and cut the zones for reassembly into the proper sequence later. Now it's time for something different, something to help us build on our ever growing knowledge of KDenLive. More effects. Effects that you can implement into your videos with an astounding impact. And guess what? You can't see the effect ... at all. At least not literally. You know, sometimes that footage of the children or pet doing something silly was great at the time, but somehow lost some of its joyful or happy feeling in the raw playback. Really, it kind of sucks now and you never want to play it again. Why? What happened to the "feeling" there? The answer for this is the addition of some playful background music to recreate that feeling again. So let's do this. I am using a small narrated clip of a particularly hard to keep stony coral that is flourishing in my reef tank. As I narrate on the coral's healthy attributes and the images of things rarely seen in captivity, I want a happy healthful feeling to envelop the viewer's subconscious. The first thing we will do is import the video clip into the project tree, drag it into the video timeline, right click the video in the timeline and select split audio. You will see the video's audio track move into the first audio timeline. 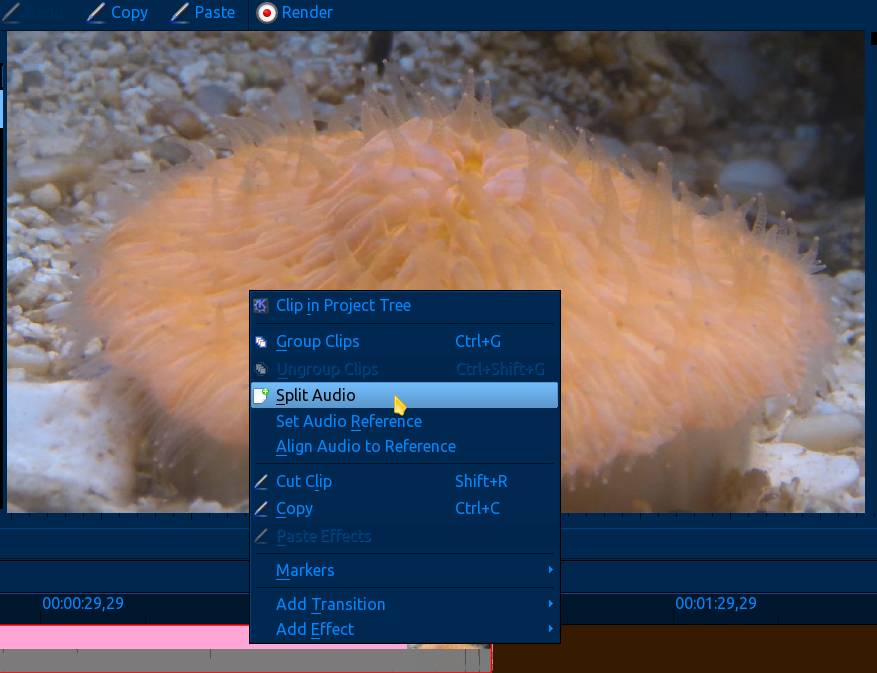 Next we want to add the background music audio clip. I selected a nice happy symphony clip from the online resources option and added it to the second audio track timeline. Since the audio clip is not as long as the video clip, I just kept adding it over and over until it overlapped the video. 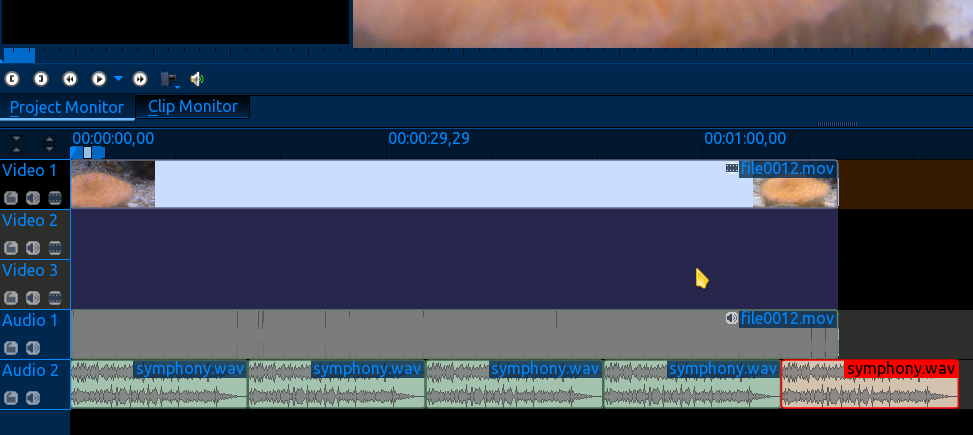 Cutting and merging audio clips together will be covered in future articles, as will the benefits of splitting the video and audio tracks. For now, we are still in the basics. When we play the project in the monitor, we notice the background audio overpowers the narration until it's unintelligible. To fix this, we need some more tools, so up to the view tab we go. Select the audio signal option. Play the project and adjust all windows accordingly so you see something like this on the right hand side of the screen. This is the audio output decibel indicator.  OK, that looks good. Now it's back to the view tab to select the Effect Stack. Again, adjust the windows (this may take a little time) to fit it in the appropriate place. I use the right side of the monitor screen. Now right click the music clip in the timeline, select add effect/audio correction/volume (keyframable). You will see the volume adjuster show up in the effects stack window. 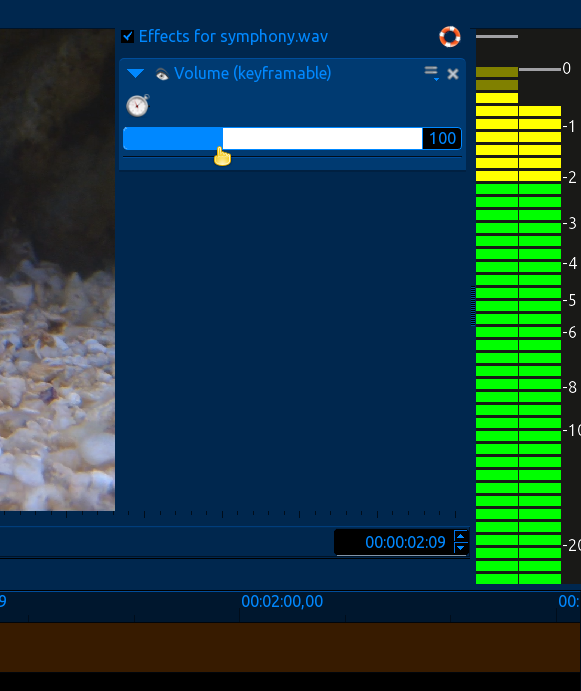 Adjust the volume slider and replay the project until you find a happy blend of background music and video audio. This effect can be used on any audio clip, including the split audio from the video, to boost or suppress the output. It is important though to remain vigilant of the audio output decibel indicator while doing this, as you do not want to see it jump into the red (audio clipping) to retain optimum audio quality. I have fun with this by adding my own smart remarks to an existing video of my family talking together. Imagine the friend watching the video and saying "I can't believe you said that to them" or "I can't believe they didn't kick your butt for saying that". Yes we can all be stinkers and I'm high on the list. So, until next month, ta ta. |


