| Previous
Page |
PCLinuxOS
Magazine |
PCLinuxOS |
Article List |
Disclaimer |
Next Page |
GIMP Tutorial: Blending Multiple Images |
|
by Meemaw I saw this the other day, and had thought about combining some photos. I have grandchildren and it seems like a neat way to show them at different ages. However, I'm going to practice with other photos. This is a pretty quick process. 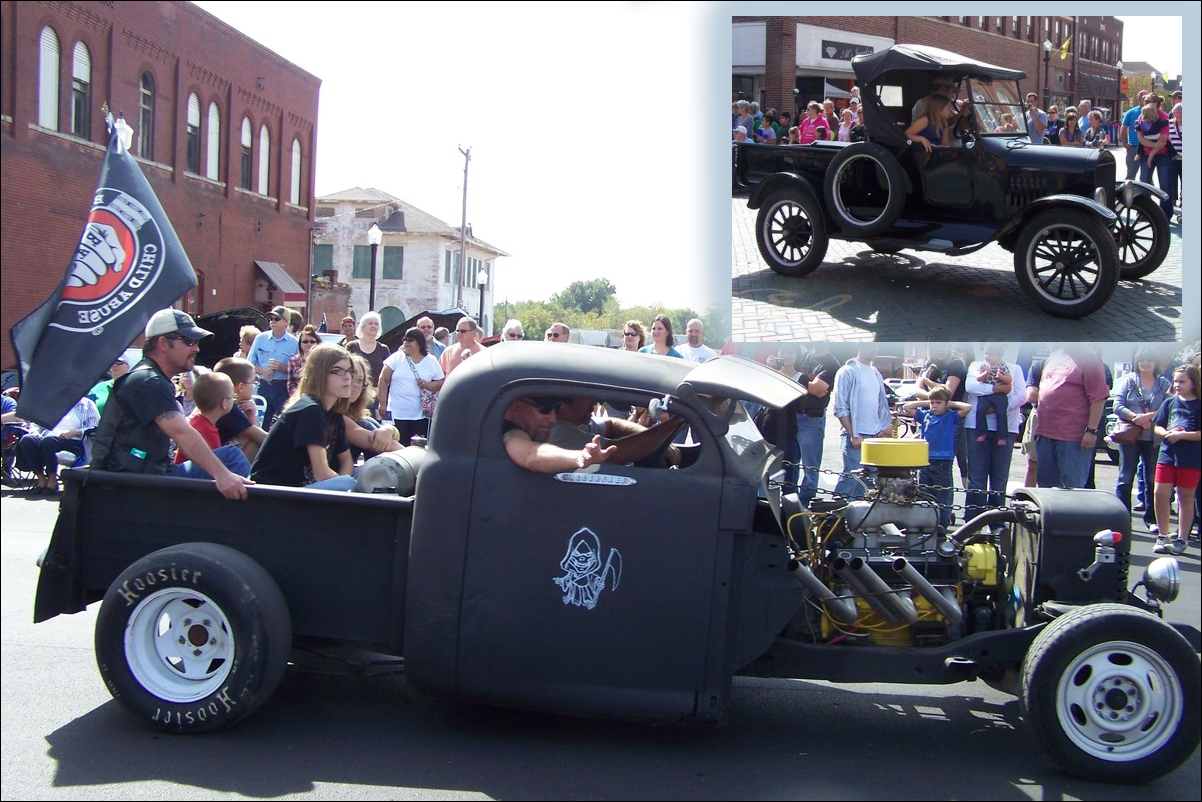 To blend multiple images together, you will need to erase the background of one of the top layers in order to reveal what's underneath. You can do this very quickly using Masks. Open your two images on separate layers in the same file. What I did was to open my main image in one layer, then created a white layer in the same drawing. I then copied and pasted my other photos to the bottom layer layer. Select the top layer and click the Masks button at the bottom of the Layers dock. When the window comes up, leave the default - White (Full Opacity), then click Add. Select the Brush tool and set the color to black. Now start painting onto the top layer. Where you paint black, the top layer will be erased and the bottom layer will become visible. 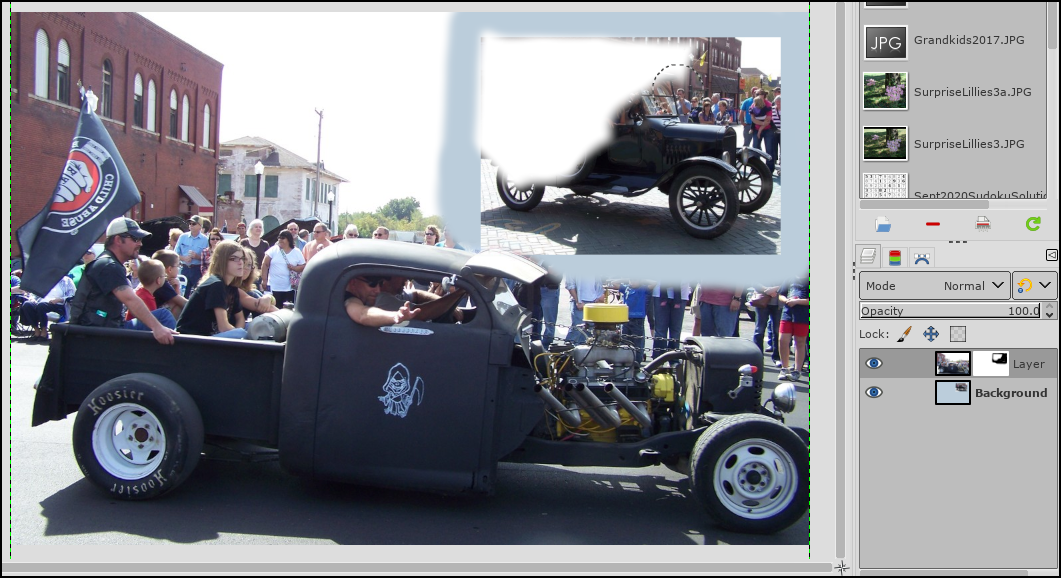 If you make a mistake, change the brush color to white. Now paint over the black areas of the mask and that will make the top layer visible once again. If it's a stroke you just made, you can always undo it using <CTRL> + Z. Hint: If you want your background color different, you can always change that layer's color by using Bucket Fill before you open the photo for that layer. In the photo above, I made my bottom layer blue so it would show through around the photo. Remember also, you can make a straight line with your brush by holding down Shift and clicking each end of where you want your line. GIMP will draw a straight line between those two points. I also did a sort of collage of some of our ATV riding photos from last summer. 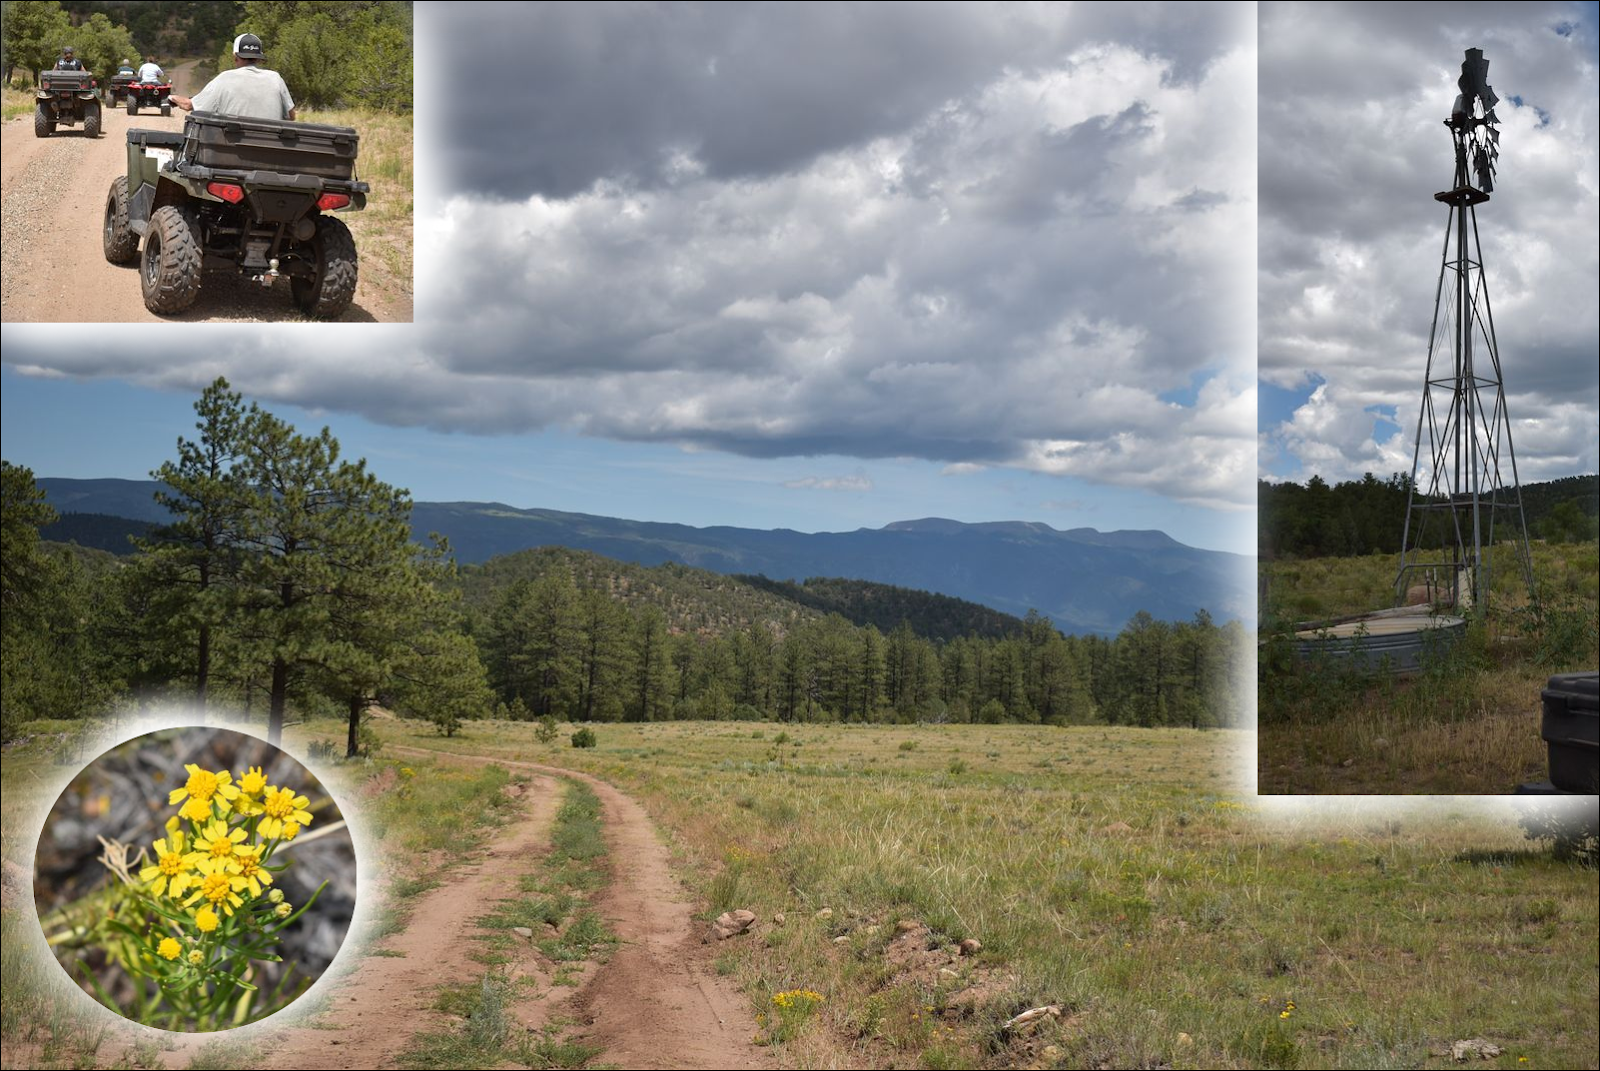 The hardest thing is remembering where your photos are to uncover them! Have fun! |