| Previous
Page |
PCLinuxOS
Magazine |
PCLinuxOS |
Article List |
Disclaimer |
Next Page |
GIMP Tutorial: Remove A Background, Part 2 |
|
by Meemaw In May, I started a series of ways that you can remove the background from most any photo, referencing this video how-to on YouTube. The author has several other videos that are very good. This month I'll finish covering the five methods. Select by Color  This works really well with a graphic that has a specific colored background. Loads of clipart is made with backgrounds that I wouldn't mind deleting. The one below is a cute Christmas background, but it has that blue area behind it.  With it open in GIMP, choose the Select By Color tool and click in the blue area. The blue and only the blue will be selected with the “moving ants” to show what's selected. Notice that the border between the blue and everything else is kind of dotted - in your window, the dots will be moving. Remember to add an Alpha channel! Again, if you right-click on the layer, and Add Alpha channel is greyed out, you already have one. 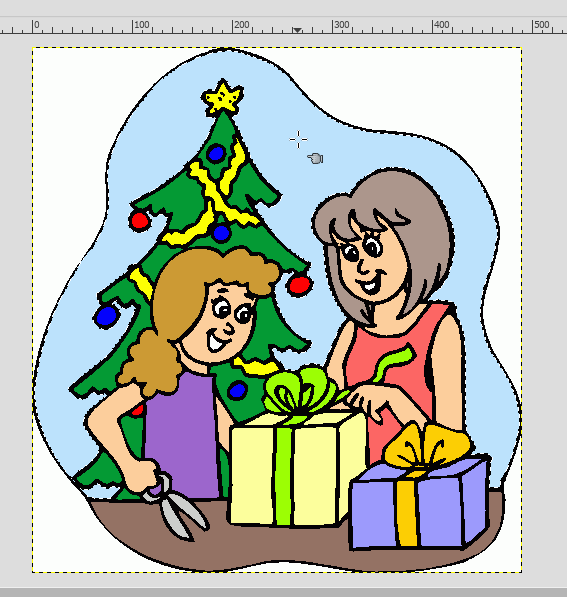 Now you can press the delete key, and the blue area will be transparent. 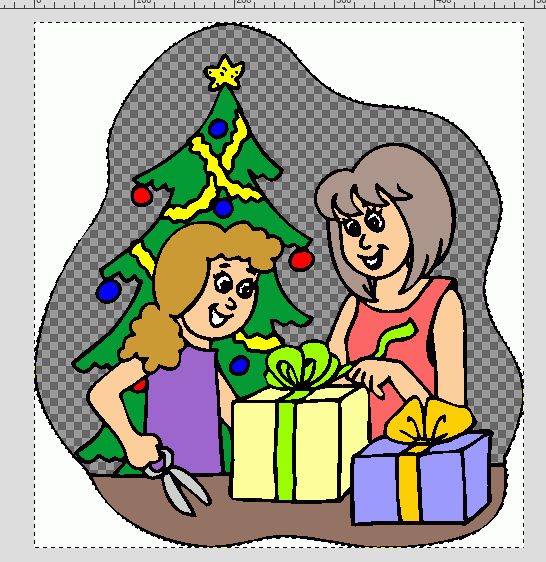 In this clipart, I then selected the white to delete. NOTE: you have to be careful there because there is some white in the eyes and mouths. After I selected the white, I used a large eraser to erase the white around the outside while leaving the eyes and mouths. If you have a certain color selected, and go over it with the eraser, only the color you have selected will be affected. For my use, I then chose Select > None, to deselect everything, and used my eraser to carefully erase the black line that had been between the blue and the white.  I exported it as a png, and though it shows a white background here, I can insert it into another picture and the white will be transparent. Layer Mask The layer mask is a little more involved, but it will help remove a background in a photo which has someone with wisps of hair extending into the background. You could cut them off, of course, but the photo won't look the same. This is an image by Esther Merbt, free on Pixabay. 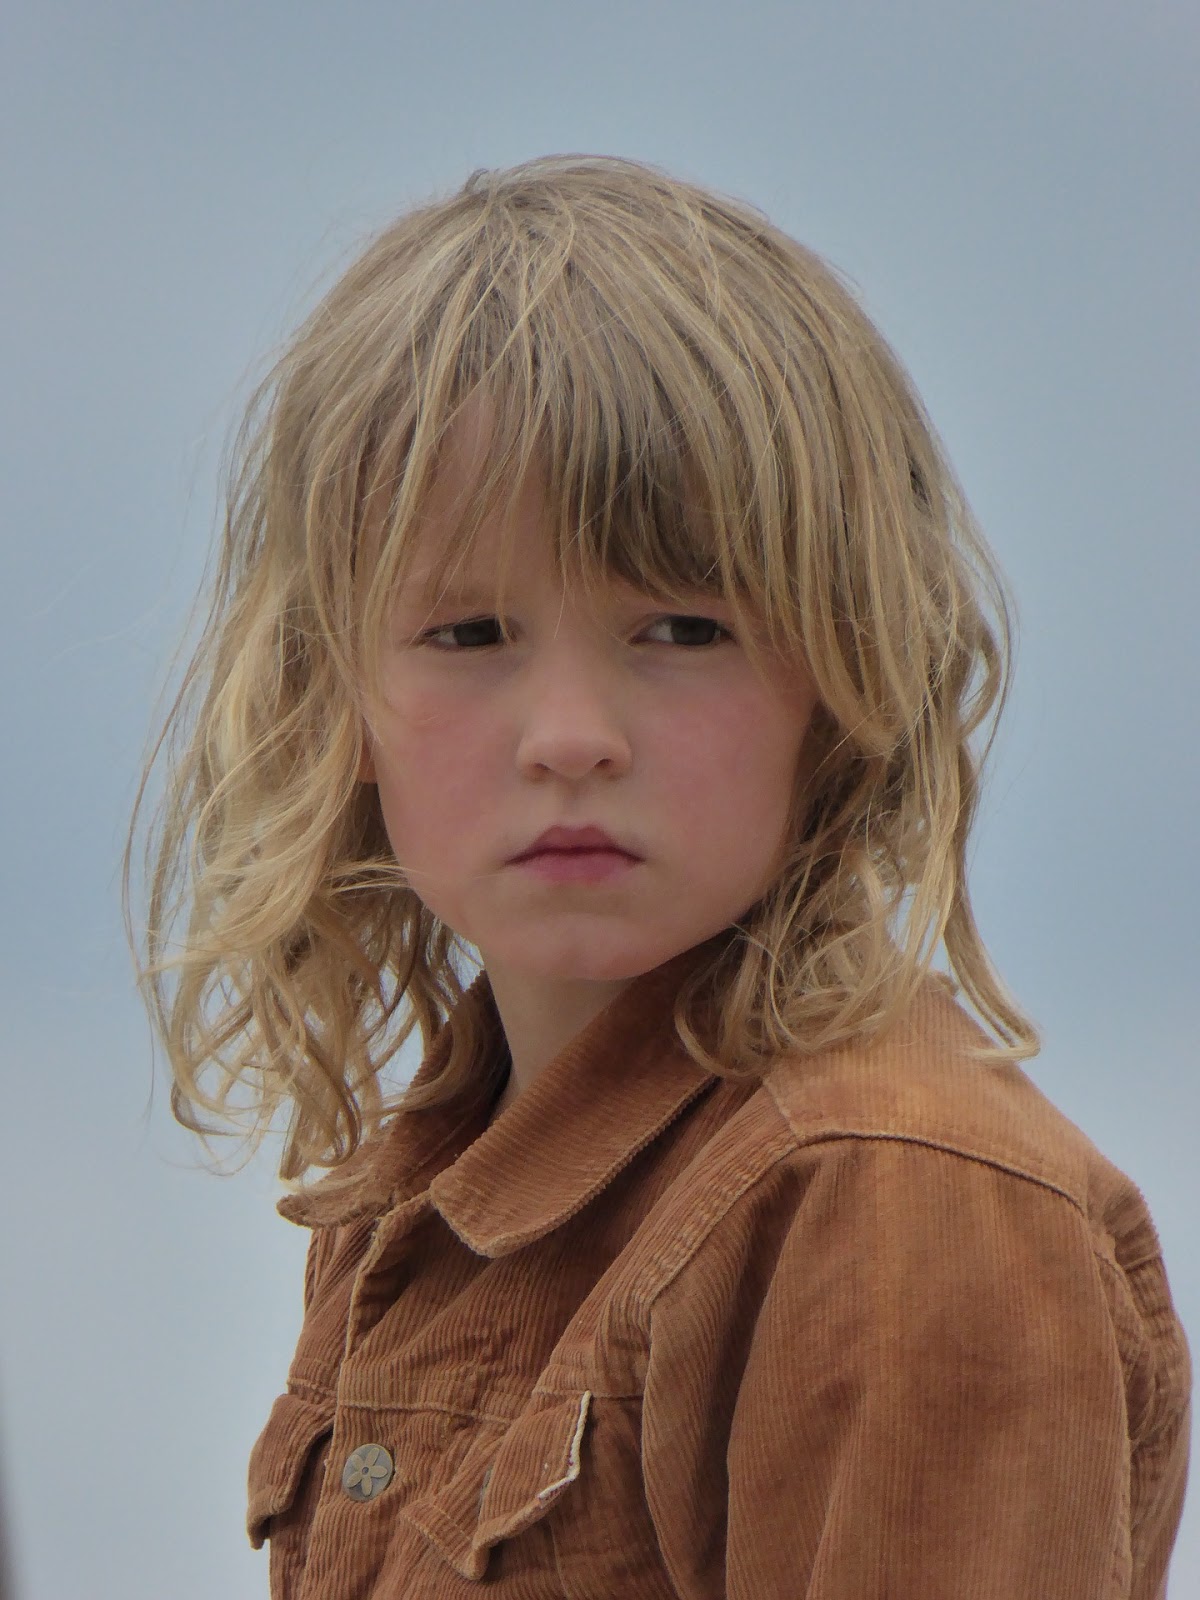 Now, if I just trace around the main part of the hair and cut off the “wild child” part on the left, the photo won't look the same. So, let's use a layer mask. This works really well if there is a big contrast between the subject and the background. There are several steps: Open it in GIMP (of course) and duplicate the layer. With the duplicate chosen, go to Colors > Saturation, and slide the setting clear down to the left until the photo is black & white. 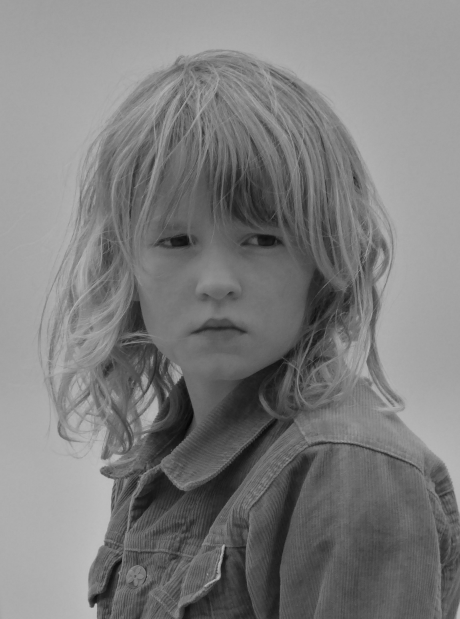 Go to Colors > Curves, and adjust the curve until the subject is mostly black and the background is mostly white. 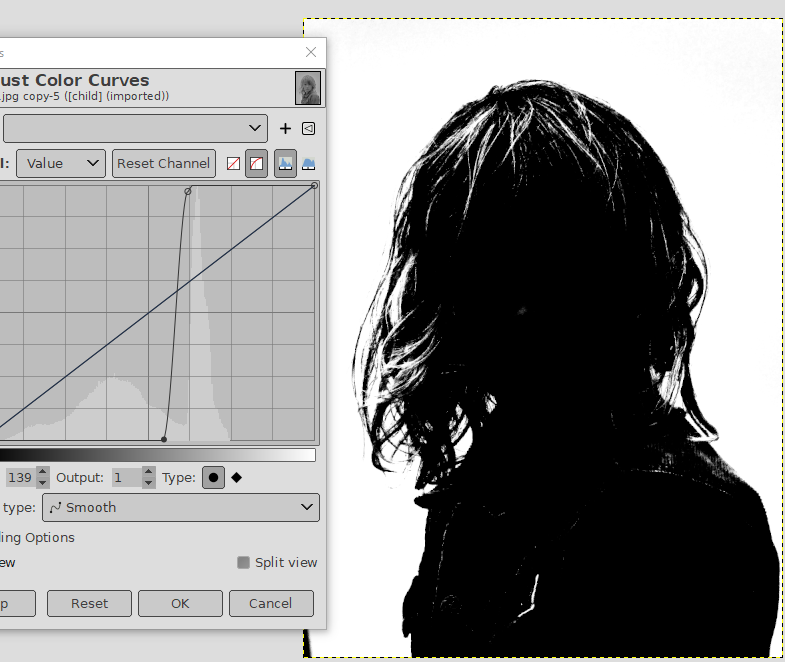 Go back to Colors and choose Invert. Copy this to your clipboard using Edit > Copy Visible. Now, click on the eye next to the copy in the Layers dialog to make it invisible, and choose the color layer. 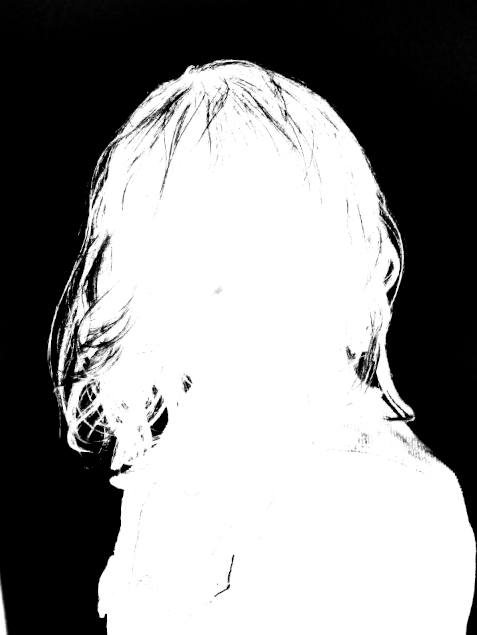 Right click on the original layer and choose Add Layer Mask. When the window comes up, the default is White (Full Opacity). That's what you want, so click OK. Then go to Edit > Paste into selection. In your Layers dialog you'll see an anchor at the bottom that has turned green. Click that to anchor the pasted selection into the layer mask. 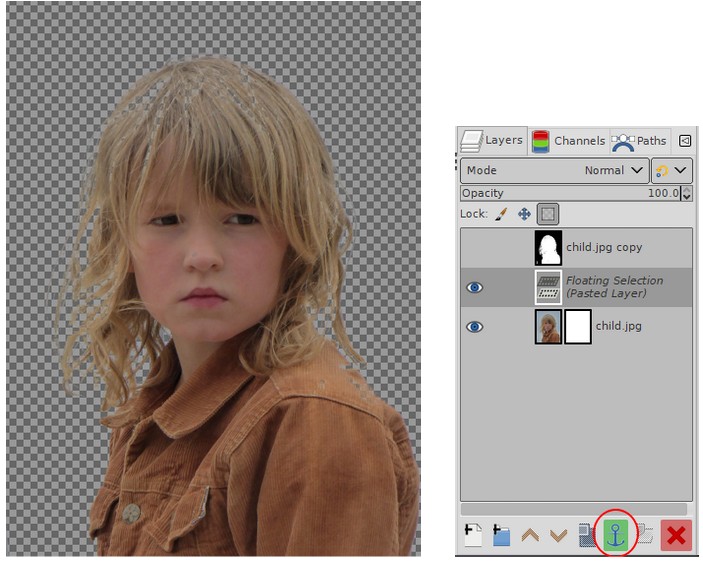 You'll see that the background is gone, but you may have some areas (like the hair on top of her head) that are also gone. We'll just fill those back in with a white brush. This is the tricky part, so take it slow and zoom in to get what you want. Depending on the photo, you might have to fill in some skin, lighter hair and clothing as well (there's a white tab on her jacket, her lighter hair, and her shoulder that I had to work on.) Rather than fighting with the background to put in all of her hair, I elected to just put in a bit and leave the rest out. It doesn't have all of her lighter highlights, but it came out pretty well. On the left, how it looks in GIMP, and on the right, the exported photo. If you add it to a scene, the white will be transparent. 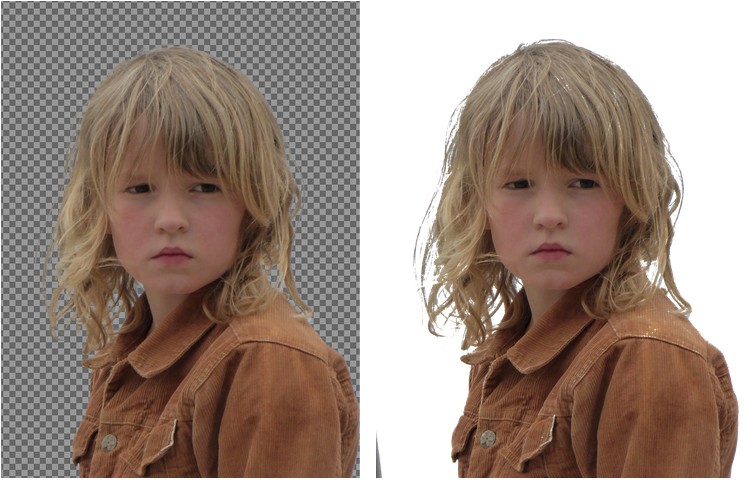 Foreground Select  Our last method is foreground select. Open the photo you want to use, and choose the Foreground Select tool. I'm using this photo of a lion.  Draw a rough outline around the foreground object. When you finish the outline, connecting the start and finish, and press the Enter key, the background outside your outline will turn blue and everything inside the outline will be a lighter blue. 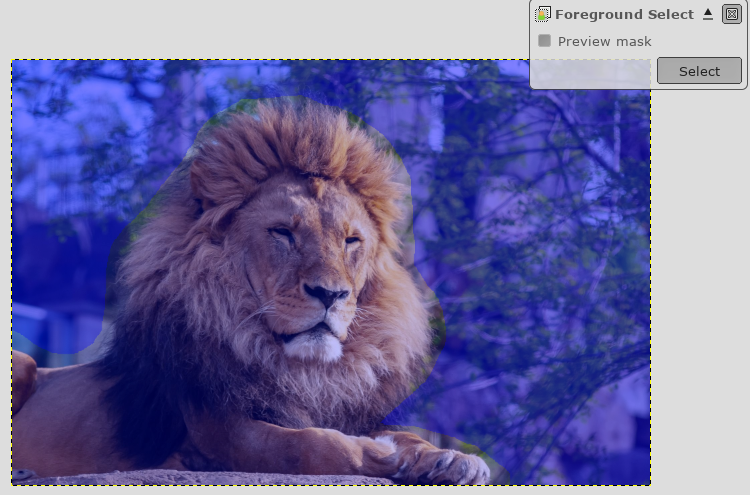 You'll also see a small window at top right named Foreground Select, and you'll also see that your mouse pointer has turned into a brush. Using the brush (and it can be resized at left), paint over the foreground you want to keep. It will paint white, but when you release your mouse button, the white will disappear and you will see your foreground object. 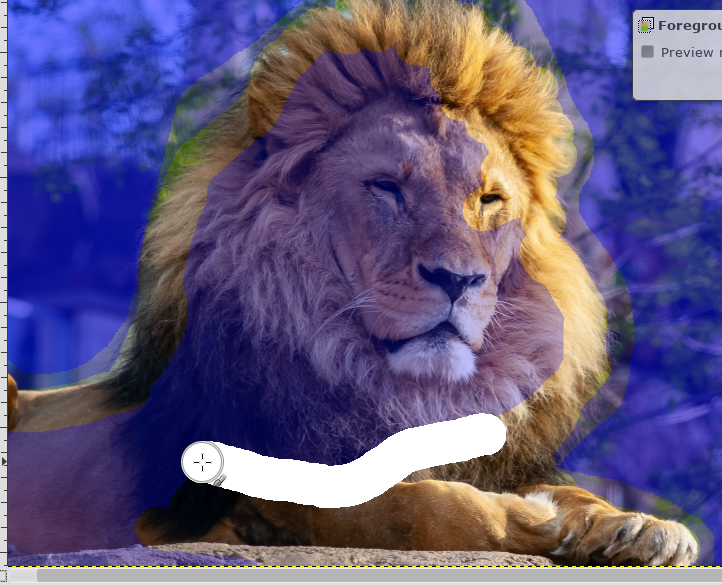 When you've painted it the way you want, click on Preview in the Foreground Select window, and you can see how it's going to turn out. When you are happy with it, press Select in that window, and your paint will turn into a selection. Invert the selection and press Delete. 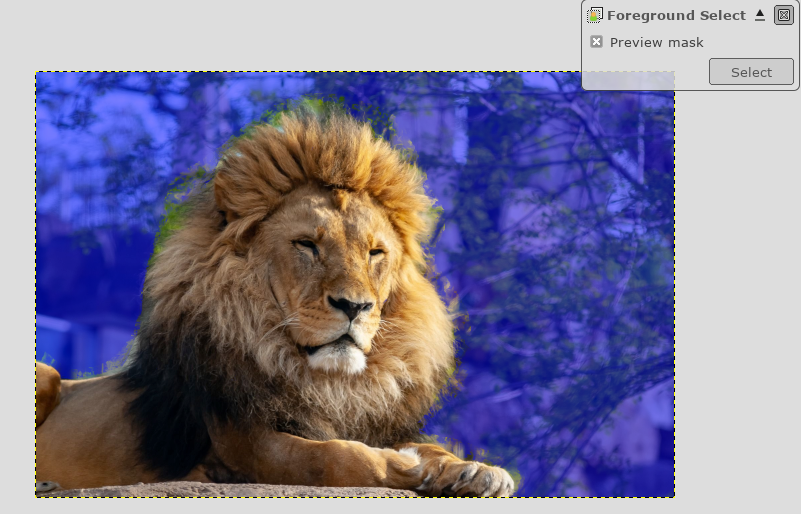 This works better if the foreground and background have more contrast than the photo that I used has. I got a little extra green from the plants around the lion's mane. You can go in and fix it, but you have to zoom in and paint it with a really small brush. Mostly, it works well. Top, how it looks in GIMP, and bottom, the exported file inserted on this white background. 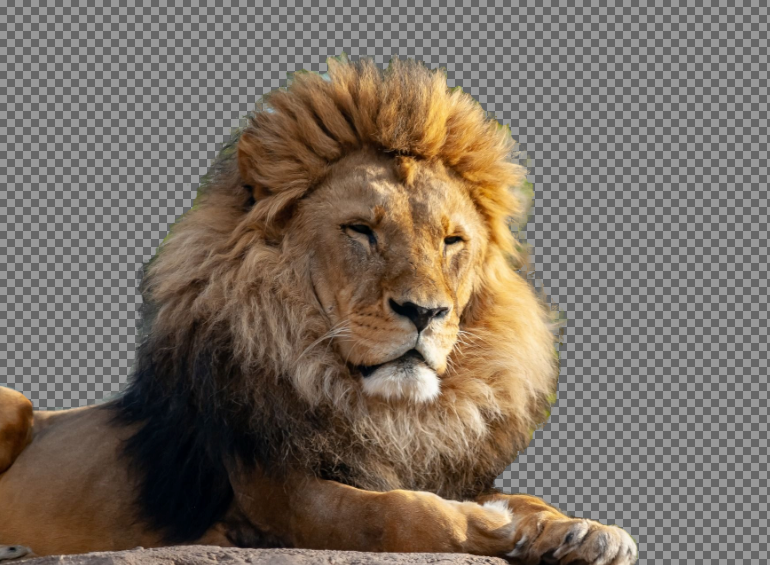 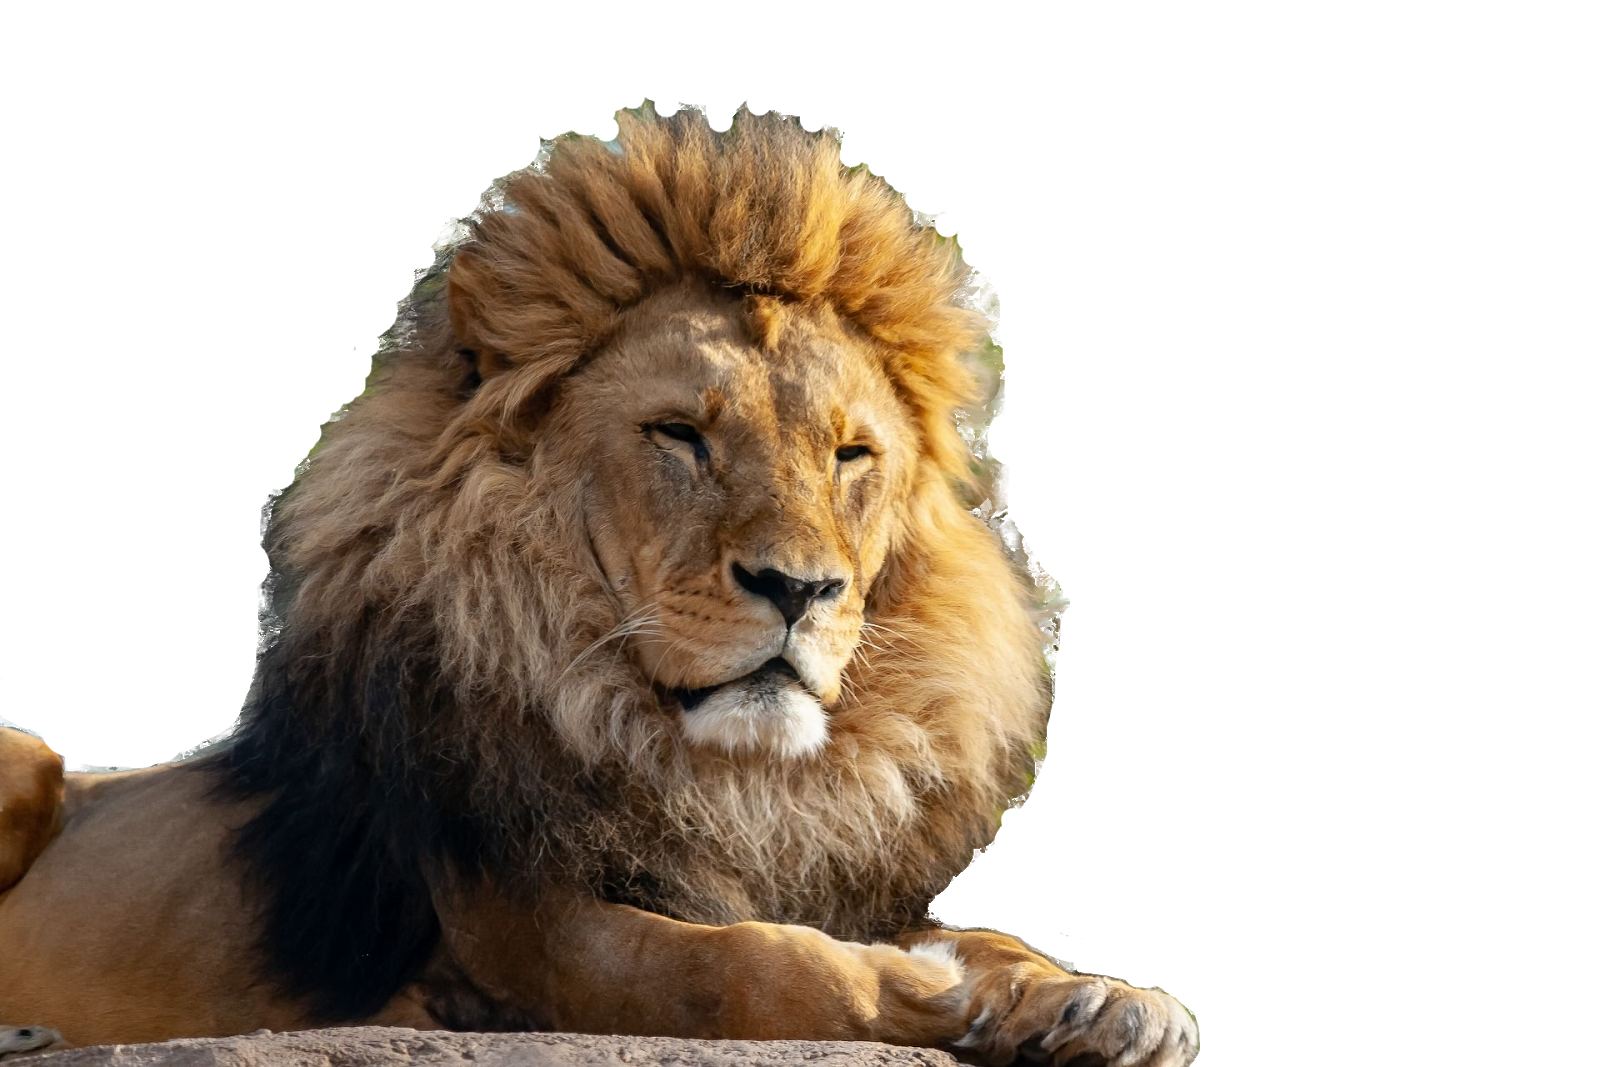 I hope you've found a method that works for whatever image you're using! |