| Previous
Page |
PCLinuxOS
Magazine |
PCLinuxOS |
Article List |
Disclaimer |
Next Page |
Inkscape Tutorial: Create A Text Portrait Effect |
|
by Meemaw I go to YouTube occasionally and watch graphics tutorials. A couple of my favorite posters are Logos by Nick and Davies Media Design. I saw one on Logos by Nick the other day that looked interesting so I thought I'd recreate it here. This might be a neat effect for a different artwork piece to give as a gift or something that might advertise your graphics skills. You want to start out deciding what photo you want to use, and what text you need. For this project, I'm going to use a photo I have, but I'm going to use the lorem ipsum generator in Inkscape. First, after opening Inkscape, import your image (my brother has the cutest dog!) I edited this one so the background was a single color. 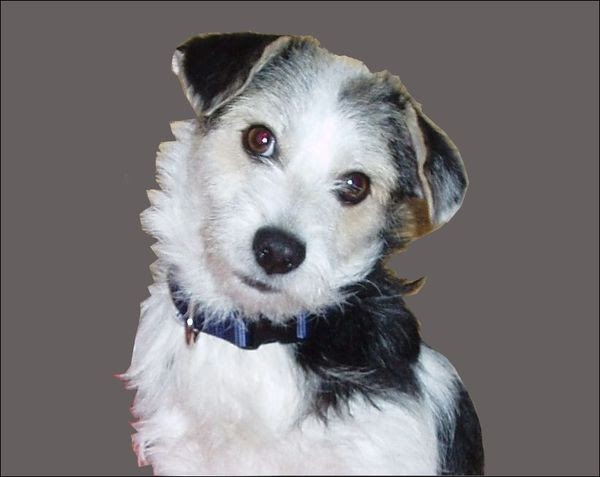 Make a rectangle the same size as your image. The way to make sure of that is to select your image, then click Edit > Copy. Create a rectangle - just make sure the corners are square instead of rounded. Now, click Edit > Paste Size > Paste Size and your rectangle will change to the same size as your image. I filled mine with a dark grey. 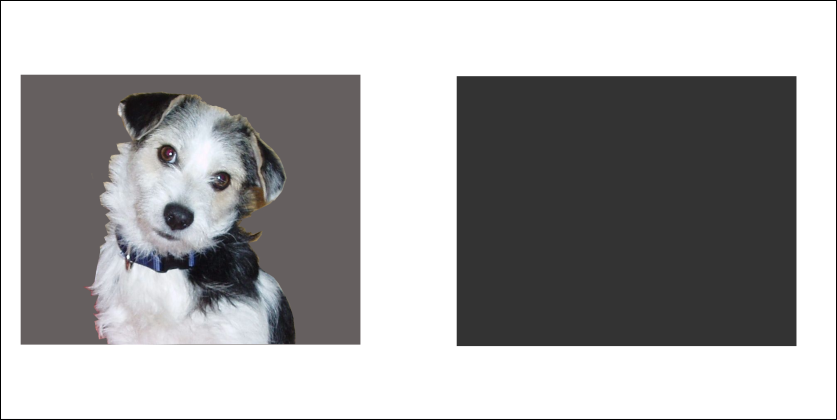 Now we want our text. If you have text you want to use, that's fine, and you can copy and paste it into a text box. I'm going to use a text generator in Inkscape. Click Extensions > Text > Lorem ipsum. It will make its own text box. While you have a text box open you want to change to a thick font, and make it bold, at least 10 pixel size. (I used Bookman Old Style, but you can use whatever looks good to you.) You also want to "compact" the text by changing the settings on the letter spacing and line spacing. I used -0.25 on the letter spacing, and 0.90 on the spacing between lines, but depending on which font you use, it could be different. 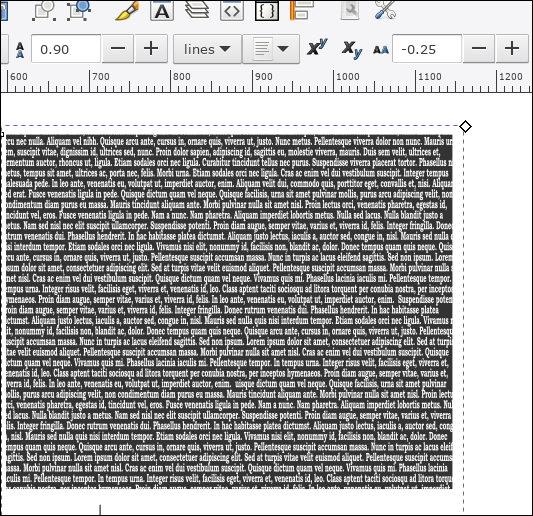 When you have it the way you want it, hold the Shift key to also select the rectangle, then select Text > Flow into frame. Deselect the two items, then select only your text, center it and make it white. 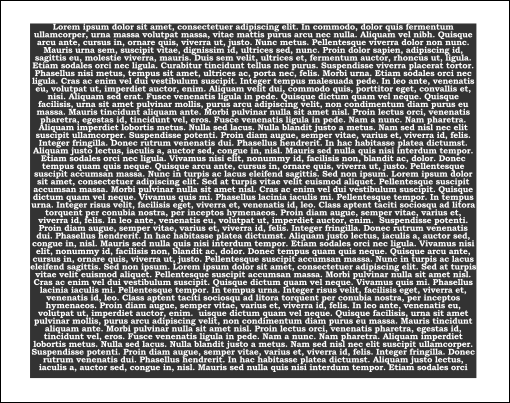 Select your image, and click on "Raise To Top" to make sure it will be above your text. Holding the Shift key, now select your text - ONLY your text, not the rectangle under it. Now open the Align and Distribute dialog, and using Last selected in the "Relative to" dropdown, center your two items horizontally and vertically. 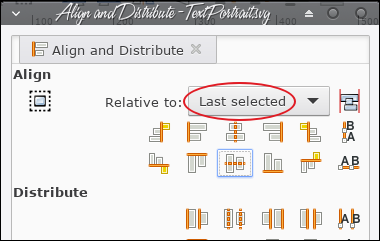 Now, select Object > Mask > Set. WOW! I think that's cool!  I'm sure yours will be just as awesome. |