
| Previous
Page |
PCLinuxOS
Magazine |
PCLinuxOS |
Article List |
Disclaimer |
Next Page |
Inkscape Tutorial: Create A Sketch Effect |
|
by Meemaw I've been looking at some of the Inkscape tutorials on the YouTube channel "Logos by Nick". He has a lot of good stuff. One tutorial I enjoyed was one called the Sketch Effect. I'll review it here. Sketch Effect uses the path effect, Hatches, and it's kinda fun. You can apply the path effect to nearly anything, and most of what I'll explain here is the settings included to make things look the way you want. To start, create a square in Inkscape. Click on Paths > Path effects. The window you get has nothing because this is a new project and you haven't chosen any path effects for it yet. At the bottom, it says Click button to add an effect, and there's a plus sign in the bottom left corner of the window. 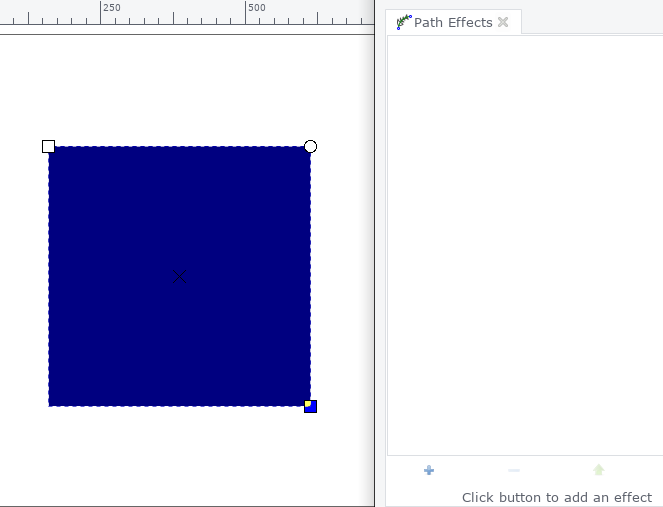 Click on the plus sign, and the following window appears:  This window has about 40 effects, in alphabetical order, so you should be able to find what you want pretty quickly, but just in case, there is a search box at the top. Click on Hatches. The effect will be applied, and you'll also get a settings window.  I'm sure you've noticed that this is a far cry from the square that was there at first. However, you'll also see four handles, two green and two yellow. The green ones control the density and direction of the hatches, and the yellow ones allow you to curve them. Click on the right-hand green handle and move it towards the other green handle. You'll see the stroke density increase. 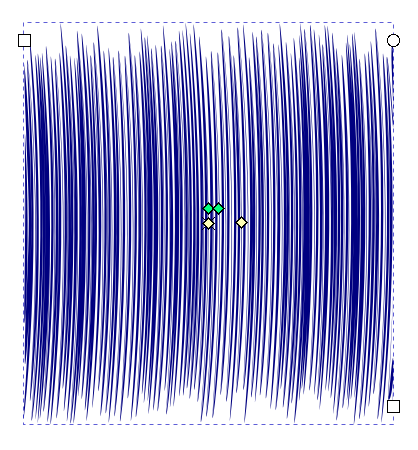 If you rotated the handle at all, you noticed that the hatch direction changed. You can rotate that handle all the way around to create the angle you want. 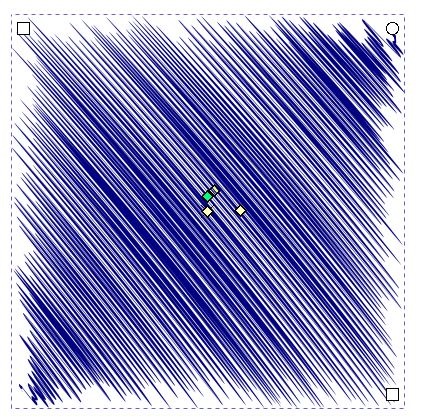 The yellow handles control the curve. The left handle is the starting point for the curve and the right hand handle increases the curve when you move it farther away from the starting handle. Grab the left-hand yellow handle and drag it to the left. 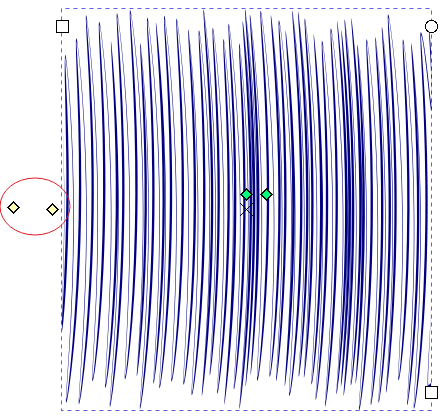 Now drag the right-hand handle to the right. Your hatch should start curving. 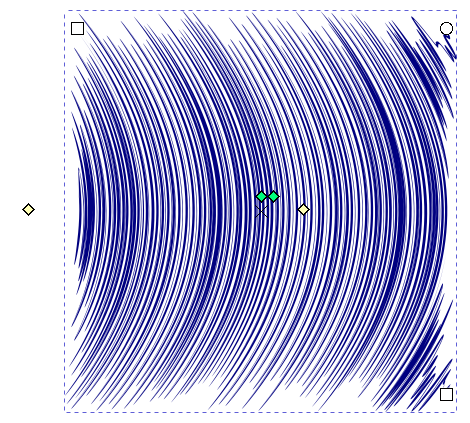 Depending on how far you drag, you'll get more curve. There are more settings in the window. One of the settings is for thickness, and I set two of them to 10.00. 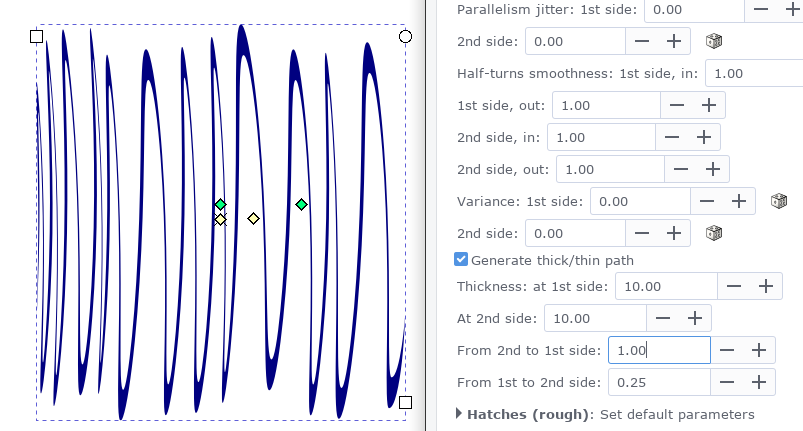 As long as you're messing with it, you can change things, and undo to your heart's content. When you get it the way you want it, click on Path > Object to path, and your Path effects window will empty and you won't be able to make any more changes. 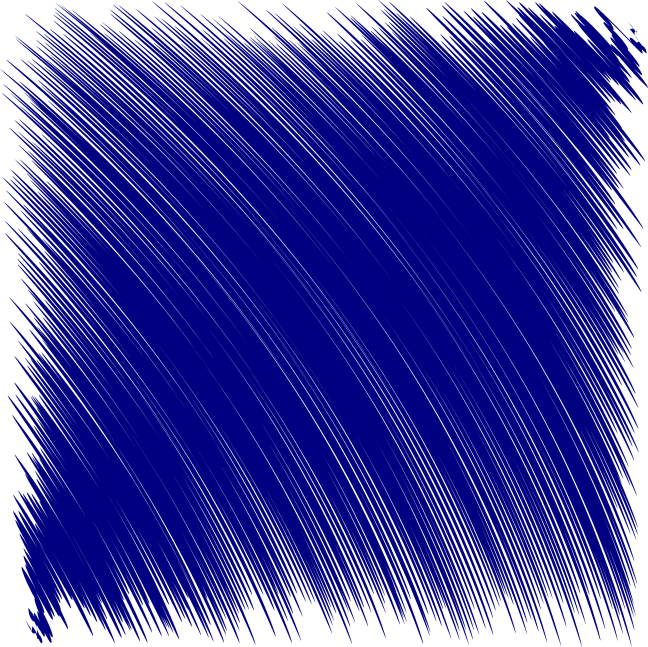 Let's do this with some text! It works best with heavier text, so I'm going to use the Impact font.  Path effects don't work on text unless you click Path > Object to path to start, then we'll do it again when we are finished. Click on Path > Path effects, and choose your Hatches again. 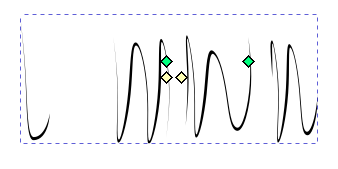 Well, that doesn't look like anything. Remember to grab your right-hand green handle, and start dragging. 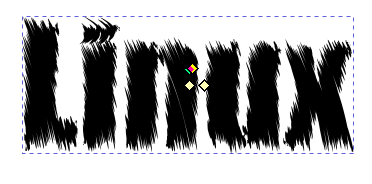 Mess with it until you have it the way you want it, then do Path > Object to path again. I'm sure anything you do with this particular effect will be wonderful! |

