
| Previous
Page |
PCLinuxOS
Magazine |
PCLinuxOS |
Article List |
Disclaimer |
Next Page |
Inkscape Tutorial: Line Art Designs |
|
by Meemaw Again, watching YouTube for graphics tips, I came across a video on the channel Logos by Nick where he shows us how to make a simple line art logo using some of the Path tools. His was a mountain, trees and water with the sun behind it, and it was really good! I decided to go a different direction, so I used a trace I made of tuxlink's awesome Dobie from the wallpaper he gave us recently, and made something sort of similar. When you set up your page, make sure the setting "Scale Stroke Width" is turned off. That way, when you make your stroke width 5 pixels, and then resize something, the pixel width will stay 5, making things uniform. It's much easier than going to Fill & Stroke and changing it with every line. Also, remember to use the command Path > Object to path on the objects that you draw, since we're using path commands. I started with the tracing of Dobie and drew a circle around it. I set my pixel width at 5 as well. 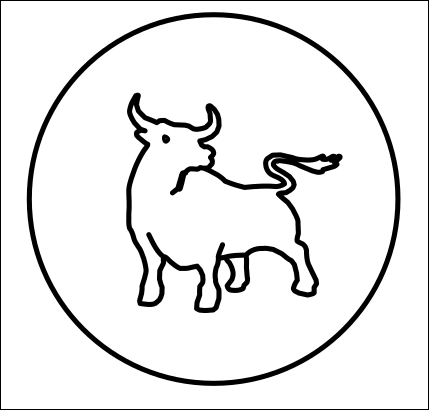 In my design I added lines so it sorta looks like there's a bit of floor under him. I made them a little long, so I'm going to fix that soon. The first thing I'm going to do is space the lines the same distance apart. Select them all, then using Align & Distribute, choose the vertical distribution.  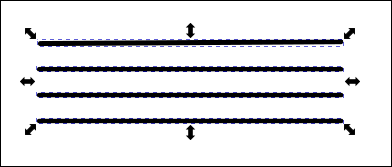 Since you have your lines chosen, go to Path > Combine (<CTRL> + K) and combine them together. That way, when you move them, they'll all move together and not slip out of alignment while you are moving them. I had already drawn mine over the circle, so they were where I wanted them. I also planned the top and bottom lines to be in a certain spot, and drew the other two in between, then aligned and combined. Also remember that while you are dragging a duplicate, and need another, you can just hit your spacebar. Now I have this: 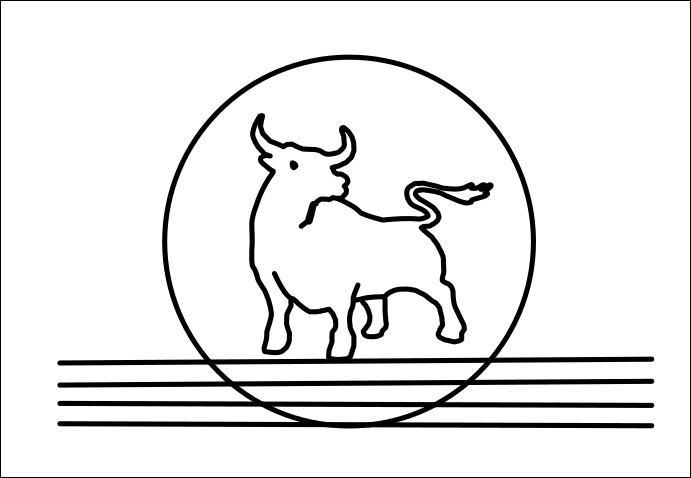 I've decided I want my lines ONLY inside the circle. I could mess with them, trying to get them reduced in size, but there is an easy method, since they need to end up all different lengths. I'm going to duplicate the circle, choose the lines, then the new circle, and then go to Path > Cut path (<CTRL> + <ALT> + /). This cuts the lines where the circle intersects, and I can move the lines and delete them. 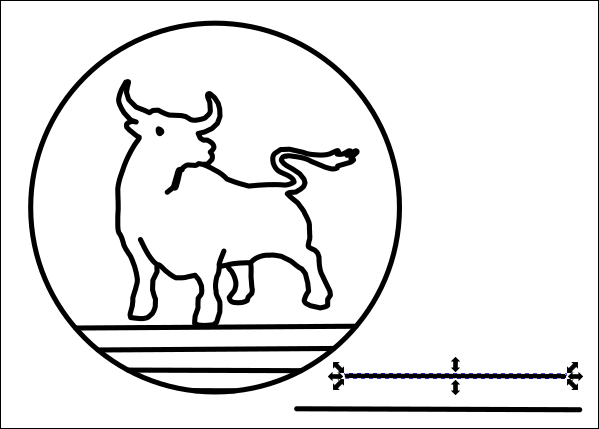 I plan to put some text at the top of my circle (PCLinuxOS), but I'm going to cut part of the circle out to emphasize the text. I'll use the same method that I used on the lines. I drew an object over the top of the circle, selected it and the circle, and did a Path > Cut path (<CTRL> + <ALT> + /). 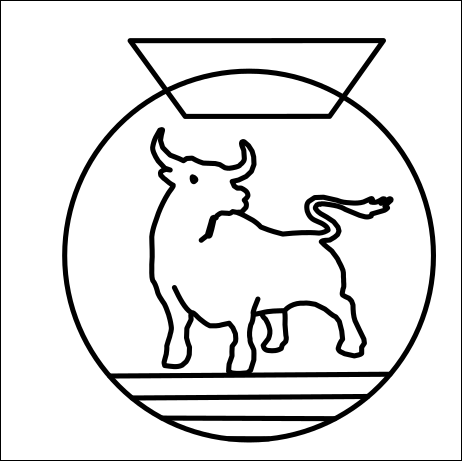 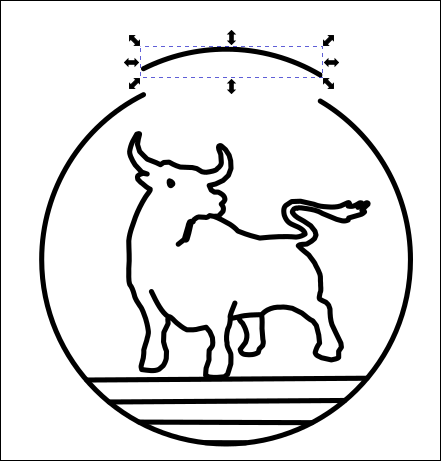 I deleted that section. Now for the text. I had always planned to have another circle inside the first, so I drew it the same distance from the outer circle as the lines are apart. I edited my text, changing the font and size to my liking. (I did have to change the font so it had black fill and no stroke.) Choosing the text and the circle, I chose Text > Put on path. 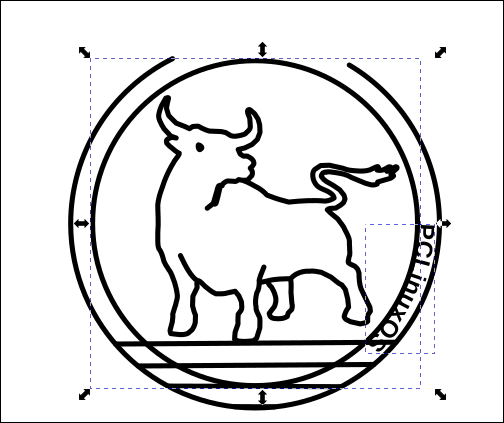 Well, that's strange… that's not at all where I wanted that text! However, instead of trying to move the text, select the circle and rotate it until the text is in the right spot. Then I de-selected everything and re-selected the text, and moved it away from the inner circle. 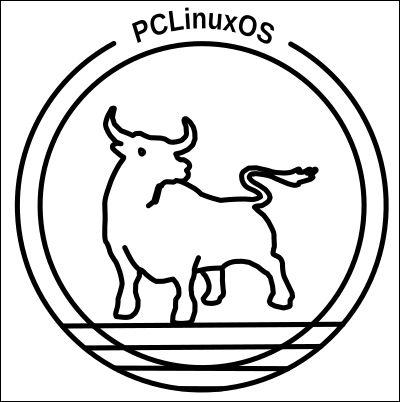 You might add to this if it was yours, but I think I'm finished. This is a pretty simple line art design that might look good on a t-shirt or something like that. Hope you have some fun! |