Alternate OS: ReactOS
by Darrel Johnston (djohnston)
To start off an examination of alternate, non-Linux, non-commercial operating systems for the PC, I downloaded and installed ReactOS in VirtualBox 3.1.2 OSE on PCLinuxOS 2007, fully updated through 2009, running KDE 3.5.10. The specifications for the test machine are: 2.6 GHz AMD dual-core CPU, 4 GB of system RAM, and an nVidia GeForce 8500 GT video card with 1 GB of video RAM. My CRT is run at a resolution of 1280x1024. I like to run the VirtualBox machine at a screen resolution of 1152x864, whenever possible. You can download ReactOS 0.3.11-REL from here:
http://www.reactos.org/en/download.html.
So, just what is ReactOS? From the ReactOS Home page:
"ReactOS® is a free, modern operating system based on the design of Windows® XP/2003. Written completely from scratch, it aims to follow the Windows-NT® architecture designed by Microsoft from the hardware level right through to the application level. This is not a Linux based system, and shares none of the unix architecture.
The main goal of the ReactOS project is to provide an operating system which is binary compatible with Windows. This will allow your Windows applications and drivers to run as they would on your Windows system. Additionally, the look and feel of the Windows operating system is used, such that people accustomed to the familiar user interface of Windows® would find using ReactOS straightforward. The ultimate goal of ReactOS is to allow you to remove Windows® and install ReactOS without the end user noticing the change."
Please note the admonition on the download page: "Please bear in mind that ReactOS 0.3.11 is still in alpha stage and is not recommended for everyday use."
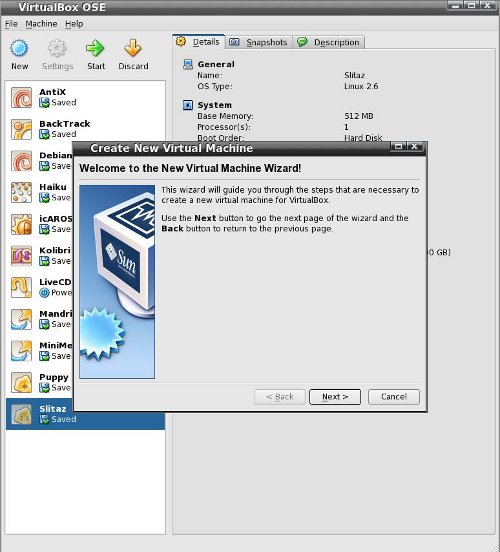
With that in mind, I began this journey by installing the OS from the downloaded iso file. Begin by starting VirtualBox (available from PCLOS repositories). Click the "New" icon in the upper left-hand corner. Click the Next button.
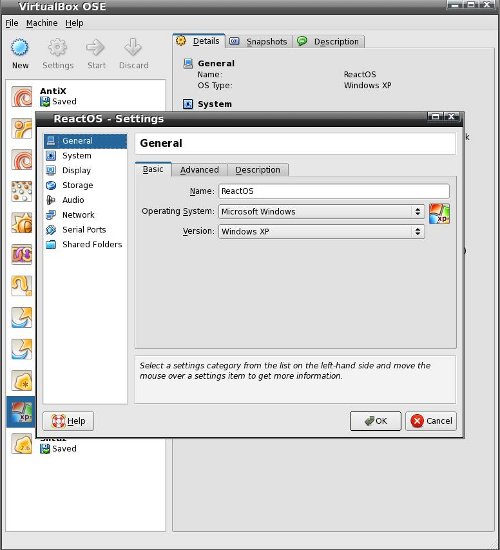
Give the VB image a name. I chose ReactOS as the name and WindowsXP as the operating system type. After all, that is what ReactOS is shooting for. Click Next. You will be asked to choose the base memory for the virtual machine. 192 MB is the recommended RAM for this type of install. Since I have plenty, I like to give almost every install I do 512 MB of RAM. Click Next to choose the size of the Virtual Hard Disk. Hard disk size is recommended at 10gB. I know ReactOS is not going to use all that, but I accept the default and click Next. A new virtual disk needs to be created, so click Next. The Hard Disk Storage Type is self-explanatory. I accepted the default and clicked Next.
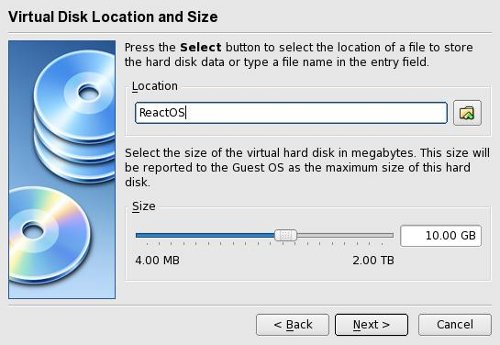
Give the hard disk image a name and click Next. NOTE: By default VBox stores created hard disk images in the folder at ~/.VirtualBox/HardDisks. (~ is your home directory, and .VirtualBox is a hidden directory in your home directory.) The location for the stored virtual hard disk can be changed to anything you like by clicking on the folder icon, next to the Location Name. Click Next on the next window. Click Finish on the Summary window. You will now be back at the main VirtualBox window. Click the Settings icon to open the Settings configuration dialog.
Click on "System" in the left pane. Ordinarily, I have no use for a floppy drive, or for it "cluttering up" the boot sequence. I unchecked the floppy drive and moved it down. I also turned IO APIC on. Note the displayed warning, and click Next.
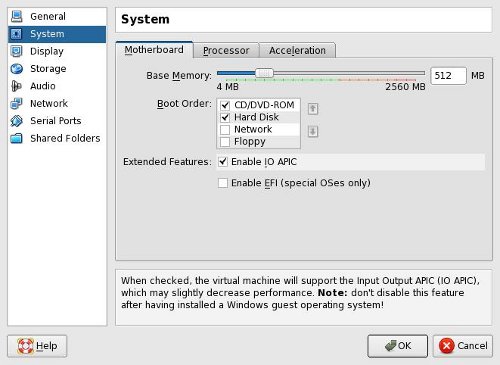
The default for Video Memory is set at 16MB. I have plenty of video to spare, so I changed it to 64 MB. Click Next.

Click "Storage" in the left pane. You can delete the floppy controller. I did. Select the empty CD device, then click the folder icon at right. In the Actions window, click the Add icon.

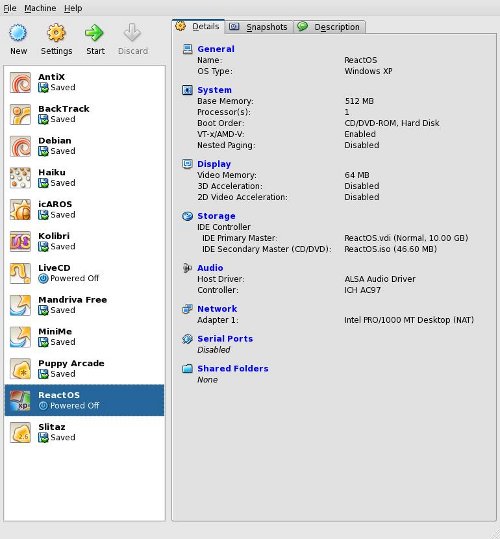
Browse to whatever directory contains the ISO file and select it. Make sure the correct file is highlighted, then click the Select button. I won't cover the Audio, Network, Serial Ports and Shared Folders, since I left them all at default settings. Back in the main VirtualBox window, we can see the general settings summarised. To launch the newly-created virtual machine, click the big green arrow Start icon, or simply double-click the VM you want to start.
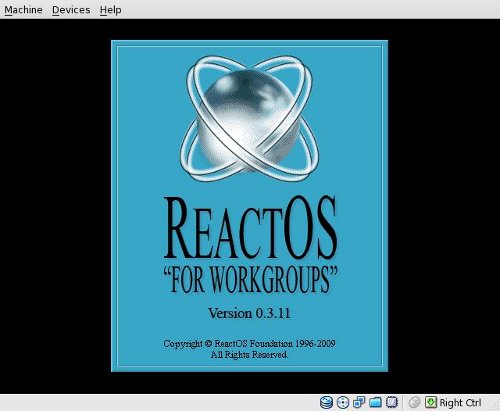
This thing boots very quickly. I missed the bootsplash the first time around.
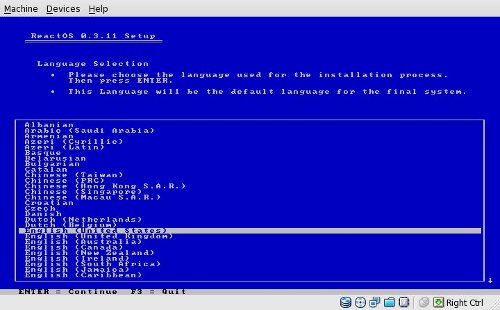
Select your language, and press Enter to begin the installation process.
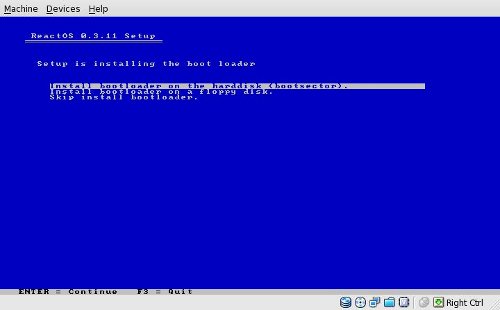
Press Enter again. In the setup, I changed the display parameters. Change the device settings to your liking, highlight "Accept these device settings", then press Enter. Choose unpartitioned space, and format as FAT. Accept the default install location. The setup procedure copies files (very quickly). Install the bootloader to the harddisk. This entire process will look very, very familiar to anyone who has installed Microsoft Windows over the last 15 years or more. Many of the screens are virtually identical, and for that reason, are not shown here.
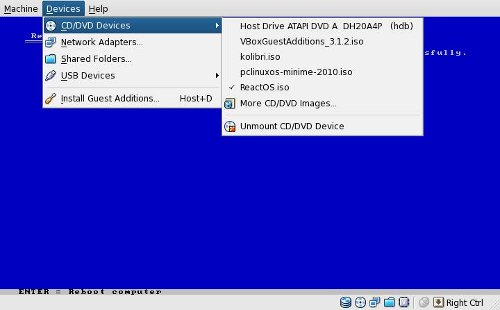
Well, there's no floppy to remove, but I do need to remove the CD before re-booting. In the lower right-hand corner of the virtual machine's window, we see "Right Ctrl" displayed. That is the hot key combination to regain control of the system's mouse, previously captured by the VirtualBox session. Press the CTRL key on the right side of the keyboard, and our system mouse re-appears. Click (in upper left-hand corner) on Devices, then CD/DVD Devices, then Unmount CD/DVD Device.
Then press Enter to re-boot the virtual machine, this time from the hard drive. The startup screen
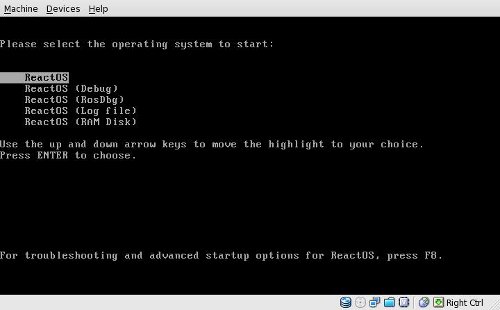
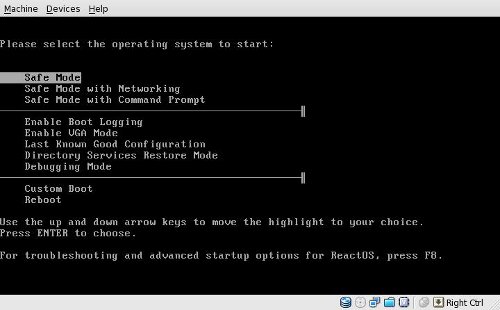
Pressing F8 shows:
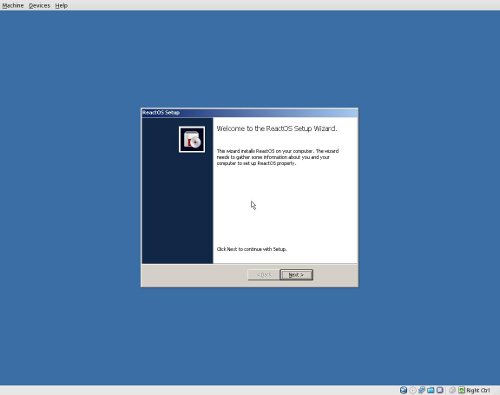
Start the installation wizard:
You will see the Acknowledgements screen, and can see the GPL screen by pressing View GPL button.
Next, you will go through two more setup screens. When I got to the Locale settings screen, I pressed the top Customize button. This locked up the installation routine, and ReactOS would no longer respond. So, I pressed the Right-CTRL button, clicked the close button on the VM session, and chose "Power off the machine".
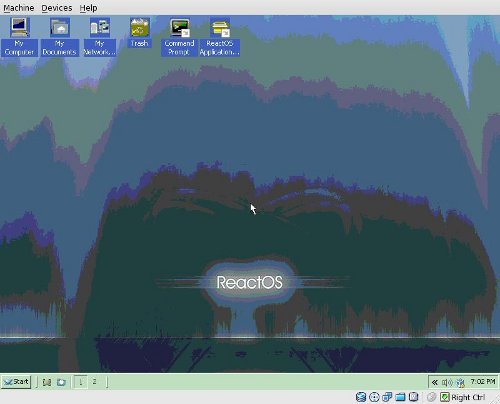
After booting again, I was taken through the final setup procedure as before. I left the locale options alone and continued. Set your date and time accordingly. Once I arrived at the desktop, a nice ReactOS wallpaper appeared, but it was sized for 800x600 display. The Device installation wizard began and showed my audio device.
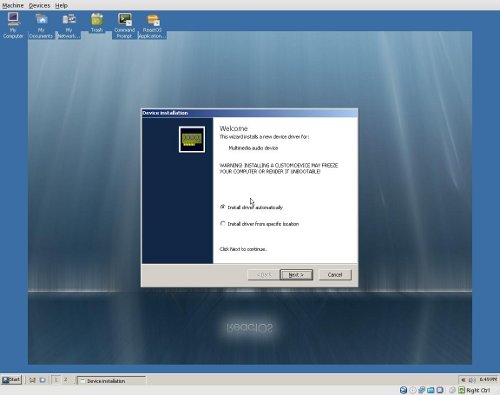
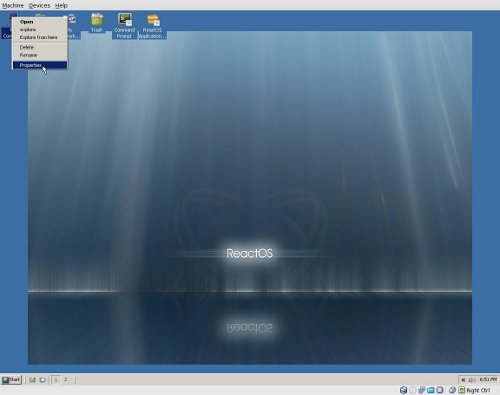
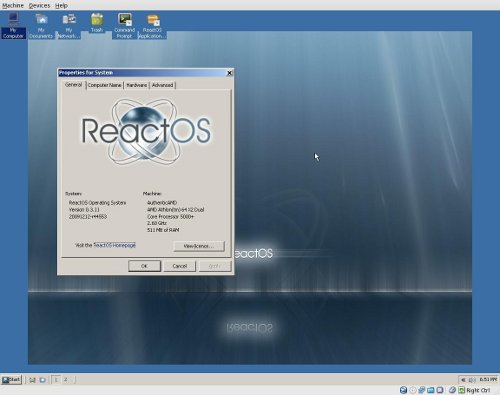
Hmmm. Installation failed. Next, the installer found a system device, then an ethernet controller. Driver installation for those devices failed as well. Well, to see what is going on with the devices, right-click My Computer and select Properties.
Click the Hardware tab in the Properties window.
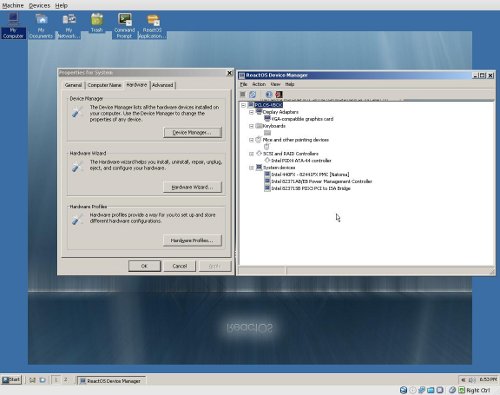
Then click the Device Manager button, (just like WindowsXP). Device Manager doesn't show any semaphores (red or yellow symbols denoting a hardware issue). It simply lists the devices found.
Well, opening a command prompt and looking at the environment set shows this is pretty standard Windows fare. NOTE: Using the same "set" command on a *nix box will return much, much more information than is shown at the DOS prompt.
OK, maybe the VirtualBox additions will rectify these driver issues. Click Right-CTRL, Click on Devices, then select Install Guest Additions.

ReactOS has autoplay turned on, so the VB additions CD shows up in a new file Explorer window. Double-click the VBOXADDITIONS icon, then double-click the VBoxWindowsAdditions-x86.exe icon. The guest additions installation will launch. Agree to the license and follow the prompts. Finally, select "Reboot now" in the last window and let the machine reboot.
Well, this didn't look good, but it is often an after-effect of installing guest additions. For some odd reason, the guest OS will revert to the lowest common-denominator on screen resolution. From past experience, I knew this was an easy fix, and wasn't necessarily the fault of the guest OS.
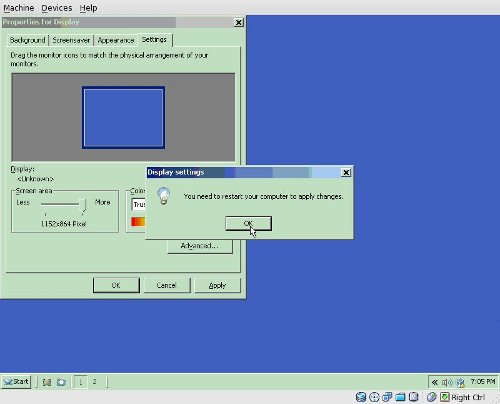
Right-click the screen, select Properties, and change the properties from 256 colors @ 800x600 to 24-bit truecolor @ 1152x864.
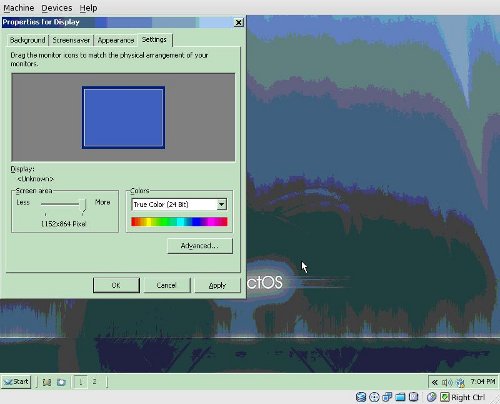
No matter what I did in the advanced display settings, such as "Apply color changes without restart", the settings just would not stick. I re-booted.
OK, now we have a decent-looking desktop, albeit without a wallpaper. I played for a while with putting the wallpaper back in "stretched" mode, but whenever I tried out a screensaver, the wallpaper would just disappear.
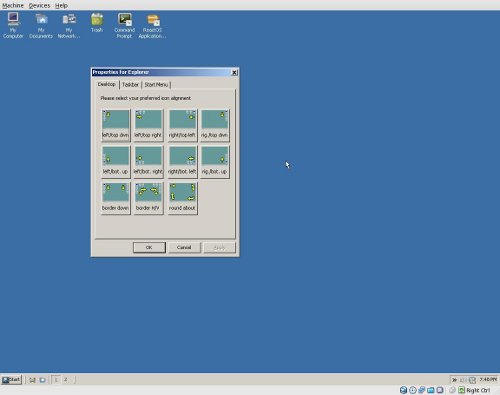
So I began looking at ReactOS's features. One interesting feature is its multiple desktops. When I right-clicked the desktop #1 icon on the task bar, I selected Properties and got this screen.
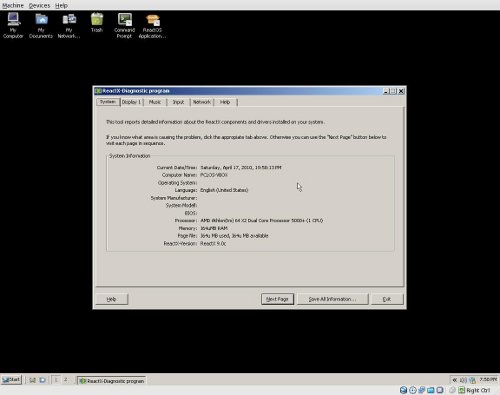
There seemed to be no way to configure the number of desktops. I selected the equivalent of dxdiag.exe from the Start menu.
I killed a little time playing Solitaire. The ReactOS Explorer's behavior is somewhat predictable, but often artifacts are displayed in the window. I spent some 15 minutes going through the configuration tools. They were what you would expect with a Windows-type OS, but many seemed to have no function at all (functionality not implemented). Some implemented settings just would not "stick." I went to the screensaver settings, selected the Matrix screensaver, and clicked on Preview. It was showing, all right. But it locked up the VirtualBox session, and locked up my X display session, as well. I could not regain control of either the hosts's or the guests's mouse. I restarted the X server and logged back in to a PCLinuxOS desktop session.
It was at this point that I realized ReactOS may need a more specialized environment than I had given it. Not being one to give up easily, I deleted the newly-created VirtualBox setup and the created harddrive. I wanted no confusion with the pre-configured VirtualBox image I would import. The downloaded file is ReactOS-0.3.11-REL-vbox.zip. After extracting the contents, you will have a folder containing an .ovf and a .vmdk file. To import into VirtualBox, select "File > Import Appliance" from the VirtualBox menu.
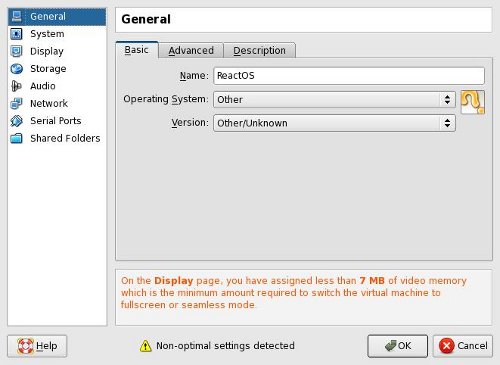
Click Choose button, then select the downloaded .ovf in the file browser. The VM settings are shown in the Appliance Import Wizard window. Click Next, agree to the license and import the machine. Well, the settings are somewhat different than the ones I chose. For one, the OS type chosen is Other/Unknown. Also, the display size was set at 4 MB, so I got this error message when changing the pre-configured image settings:
I changed the VM settings to 512MB of RAM and 64MB of video RAM and launched ReactOS again. In my first sessions, installing from iso, I saw that I had no network connections. Now I did. A quick ping to Google confirmed this. Whereas I had no system services running on the last go-around, now I did.
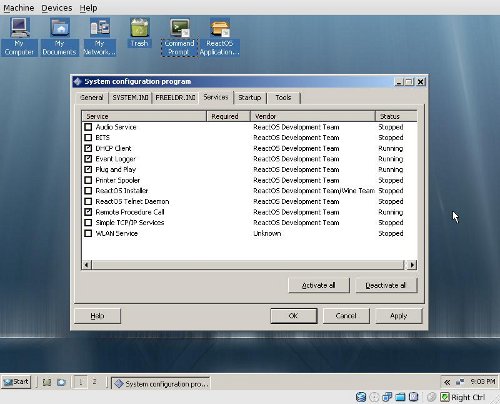
Hmmm, in the C:\ReactOS folder, we see an explorer.exe and an explorer_new.exe. It appears the new one is running. The audio output device was now working, but no mixer controls were found. Although I had basic TCP/IP, I could find no web browser. Except for basic Windows-type accessories, Notepad, Paint, etc., I could find no programs in the menu.
All in all, I found ReactOS to be exactly what the authors claim. It is an alpha-quality clone of WindowsXP. Not all basic functionality is there yet. I didn't try any "outside" Windows executables to see what would happen. I stayed within the confines of the ReactOS environment to see what it was capable of "out of the box". I was not disappointed. This project has come a long, long way from where I remember it last, some two or three years ago. The installer is pretty much automated and straightforward. The OS actually boots and runs. I would say the developers are on target.
To those who may view this as a critique of ReactOS, nothing could be further from the truth. A true critique should be installed on a real computer, not a virtual one. A real critique should include "real world" tests to gauge the performance of the OS. None of that is here, because this is simply an article on how to install the OS to VirtualBox. There are some who lament that the ReactOS developers are aiming at a too rapidly changing target. On their website, they say that "The main goal of the ReactOS project is to provide an operating system which is binary compatible with Windows." Elsewhere on the page, they say XP/2003. Although I do not agree with their goals, I still admire anyone who can re-create the functionality of an operating system FROM SCRATCH. ReactOS underwent a self-imposed code audit during which all development was frozen. After the audit was concluded, the project found no Microsoft Windows code in their base. In other words, they really did start FROM SCRATCH. Quite an achievement, in my book.
If you would like to check out ReactOS for yourself, I would recommend downloading the pre-installed VM image and installing it in VirtualBox. That location, again, is:
http://www.reactos.org/en/download.html.
Answers to Mark Szorady's Double Take:
(1) Hair longer in back; (2) Shirt collar missing; (3) Shirt stripes different; (4) Laptop moved; (5) Arm moved; (6) cloud moved; (7) “Tex” changed to “Texstar”
This month's Double Take features Texstar, a.k.a Bill Reynolds, the founder and lead developer of PCLinuxOS. PCLinuxOS was "born" in 2003, and was initially based on Mandriva. Prior to that, Texstar had developed and maintained a special repository of Linux apps for Mandriva.
Today, PCLinuxOS stands on its own, drawing elements from many different open source Linux distributions, such as Ubuntu, Fedora, openSUSE, Mandriva, and many others, as well as developing some items "inhouse" through the PCLinuxOS Development Team.