GIMP From A Beginner's Perspective:
Part #2
by Dan Malewski (Blndsyd)
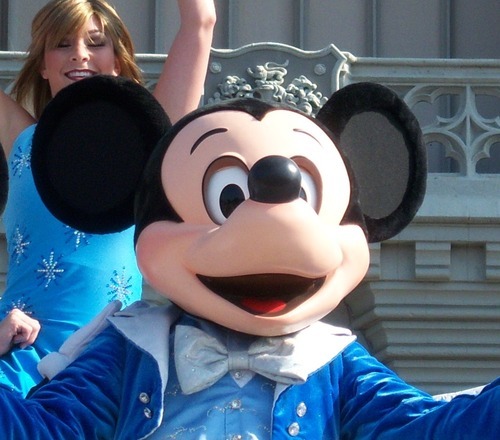
Hi all, and welcome back to the beginners Gimp workshop. This time around we will look at adding some text to our picture. Let's jump right in where we left off last time. Open your picture that we "sliced" or "cropped". Here is mine.
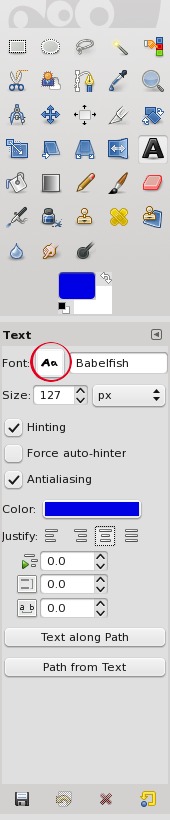
Let's add some text to our new picture. Select the "Big A" in the toolbox. From the same screen, you can choose your font size and color. You will be able to choose a different size once you place it on your image as well.
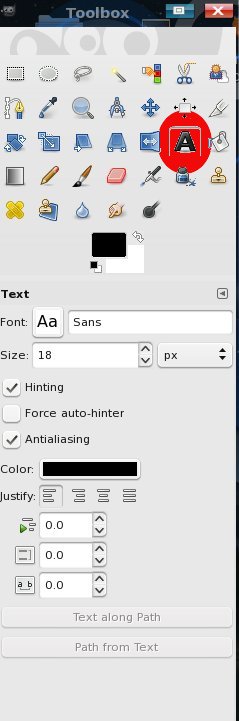
After selecting that, you will have to choose which font you want. In order to do that, select the "Aa" next to "Font" and choose from the drop down. I am going to choose something fun, and I picked Bablefish.
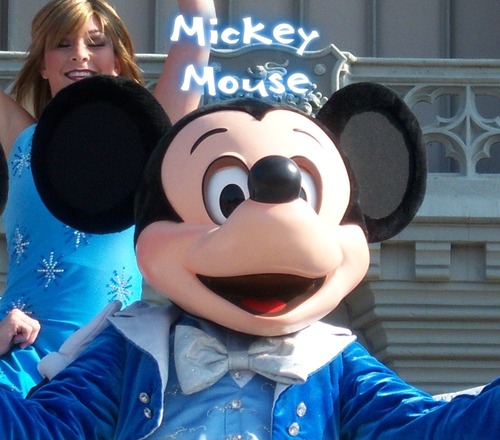
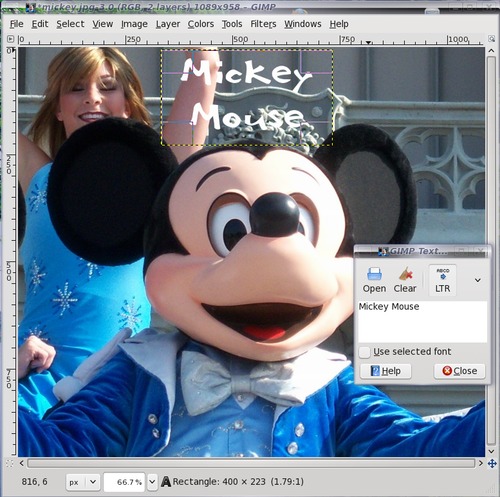
From here, we can place our text onto our image. I'll be adding the word "Mickey" right above his head. Basically we just point our mouse on the image and a new "Box" will open where we place our desired text. The great thing about the way Gimp adds text is that we don't have to worry about adding "layers". It is done automatically. I will explain "layers" in another article. Just remember that "layers" are very important.
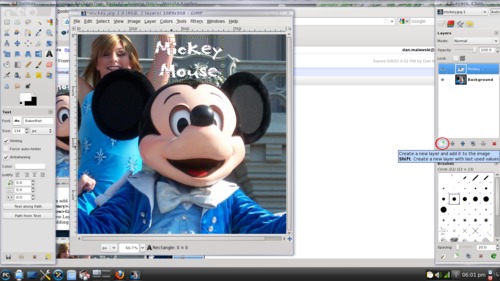
For our grand finale, let's add some glow to our text. The first step will be to add Alpha to Selection. Select Layer>Transparency>Alpha to Selection. Next, let's do Select>Grow>Grow Selection by 3 pixels. Next, we need to add a new Layer. To do this, click the piece of paper with the green plus sign. In future articles I will show you how and why adding plenty of Layers will be beneficial.
So add a new Layer and call it Glow. From here, go to the Toolbox and select a nice Light Blue Color. Click the Paint bucket and Fill the Layer. The next thing to do is to slide that layer under the main text layer so it looks like this.
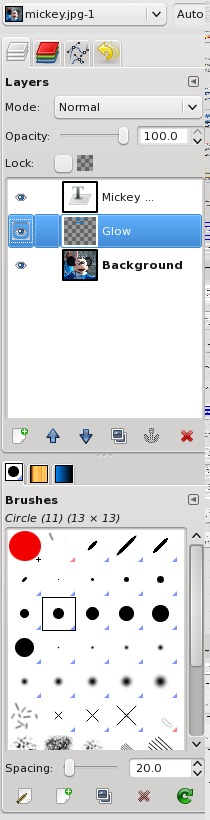
Now we need to Select/None (Ctrl Shift A). Keeping that layer highlighted, select Filter>Blur>Gaussian Blur to 45. Right click the Glow Layer and select Duplicate Layer. We will add the blur effect to this layer as well, by setting Filter>Blur>Gaussian Blur to 30. In the last step, lets Duplicate the Mickey Mouse text Layer, then select Filter>Blur>Gaussian Blur to 15. Here is my finished product.