Alternate OS: Visopsys
by Darrel Johnston (djohnston)
Though it’s been in development since 1997, Visopsys is a relatively unknown operating system. It is developed and maintained by a single programmer, Andy McLaughlin. His primary focus is not on the operating system, but on a partitioning tool, Partition Logic. Andy created Visopsys as the vehicle to house the Partition Logic live CD. From Visopsys’s About web page, Andy says,
Visopsys is free software and the source code is available under the terms of the GNU General Public License. The libraries and header files are licensed under the terms of the GNU Lesser General Public License.
Other operating systems can do more than Visopsys; it doesn't include many applications. Needless to say, it's not as good as Linux or even SkyOS or Syllable. On the other hand, it's still a one-person project.
From the perspective of a user — the "but what the heck is it good for?" perspective — its primary selling point is a reasonably functional partition management program (the 'Disk Manager') in the vein of Symantec's Partition Magic. Visopsys and its Disk Manager comprise the popular Partition Logic system. It can create, format, delete, resize, defragment, and move partitions, and modify their attributes. It can also copy hard disks, and has a simple and friendly graphical interface, but can fit on a bootable floppy disk (or CD-ROM, if you're feeling naughty).
He further states that,
The primary goal of Visopsys is to cherry-pick the best ideas from other operating systems, preferably contribute a few new ideas, and hopefully avoid (re-) introducing some of the more annoying elements.
However many ideas Visopsys borrows from other products, it is not a Windows or UNIX lookalike, nor a clone of any other system. On the other hand, much of what you see in Visopsys will be familiar. There are a number of command line programs that are superficially UNIX- or DOS-like, so you shouldn't have too much trouble finding your way around. It is compatible with existing filesystems, file formats, protocols, and encryption algorithms (among other things).
You can download the current version’s iso image (0.71) from here. After decompressing the 6.5MB zip file, you will have an 11.9MB iso. That’s certainly small by today’s standards. I set up the VirtualBox environment with 512MB of RAM and 64MB of video RAM, which is my standard practice. In addition, I allocated 512MB for a hard disk. After booting from the iso, we see the following window on the screen.
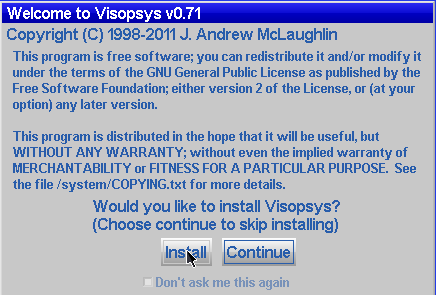
I elected to install. You can select Continue here to boot into the live Visopsys environment. However, I learned from trial and error that running the Install option at bootup would prompt for an admin user password. Installing from a live session would not. Since the allocated hard drive has no partition table yet, the Partition Logic program is automatically launched.
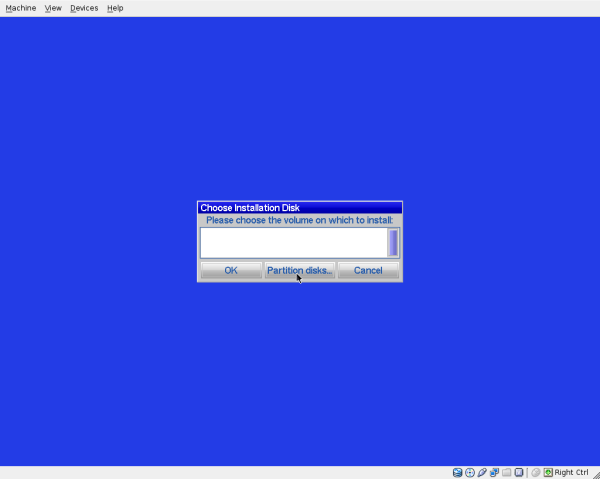
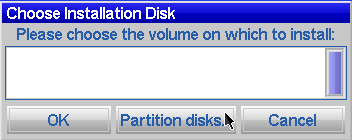
Here, we choose to partition disks. The following window is the one shown on the screen above.
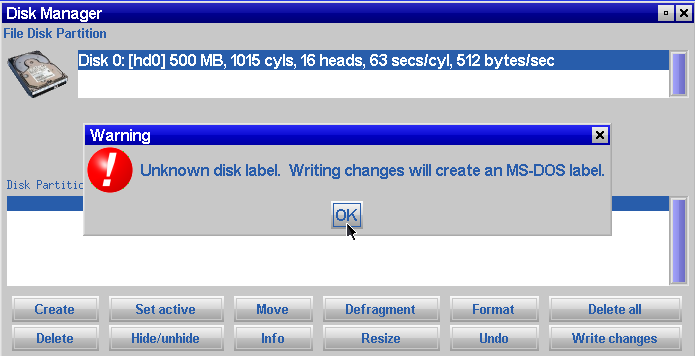
Selecting OK in the above window will create an MSDOS type master boot record.
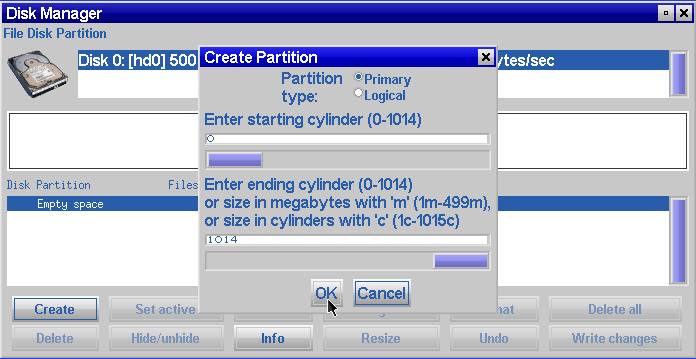
I created a primary partition the size of the entire hard drive.
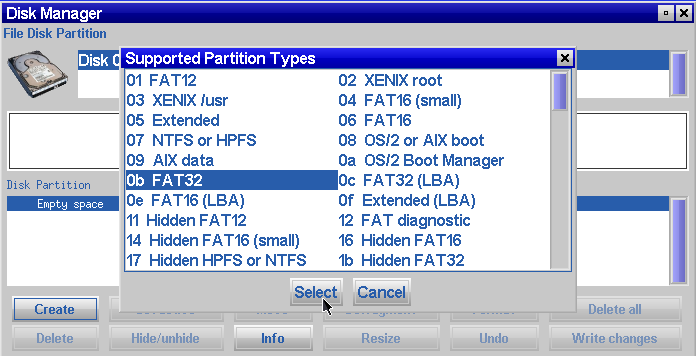
I chose partition type hexadecimal 0B, FAT32 without long block addressing.
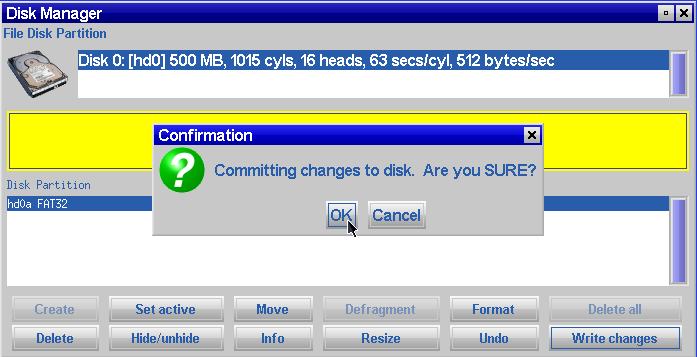
Select OK to commit the changes to the partition table. After doing so, click the Write changes button to make the change permanent.
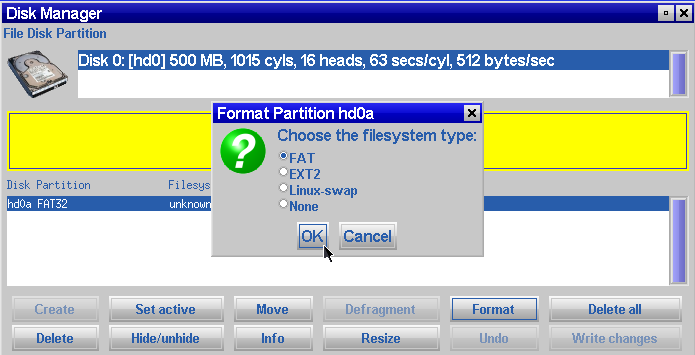
Next, we need to format the partition. Click the Format button to get the format partition dialog window.
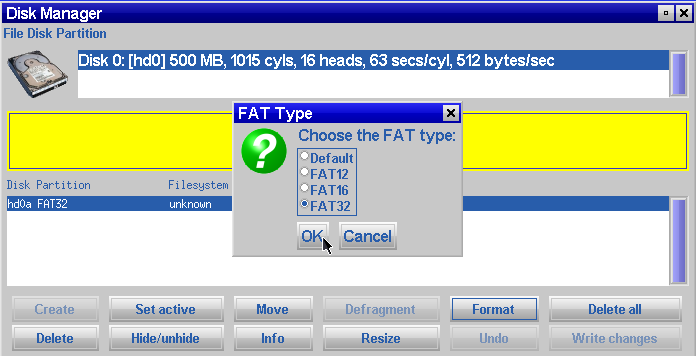
I chose FAT32 filesystem. Any other filesystem wouldn’t work properly for the partition type I chose.
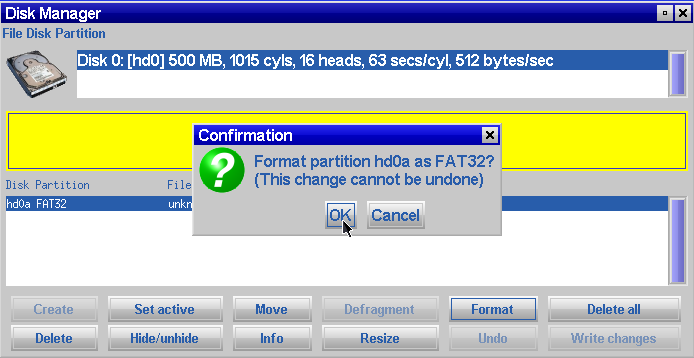
The actual formatting step must be done.
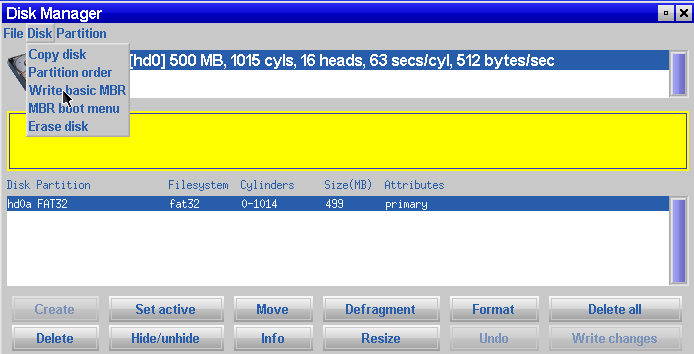
The Write basic MBR option in the Disk pulldown menu is a bit misleading. The MBR has already been written, or we wouldn’t be able to format the created partition. However, the partition has not been set to active, allowing the partition to be bootable, which is what we want.
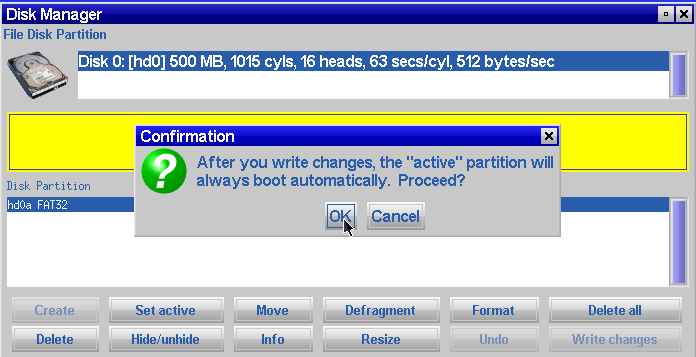
We want the partition to be bootable. However, from trial and error after rebooting, I discovered there was one more step necessary in order to boot from the hard drive.
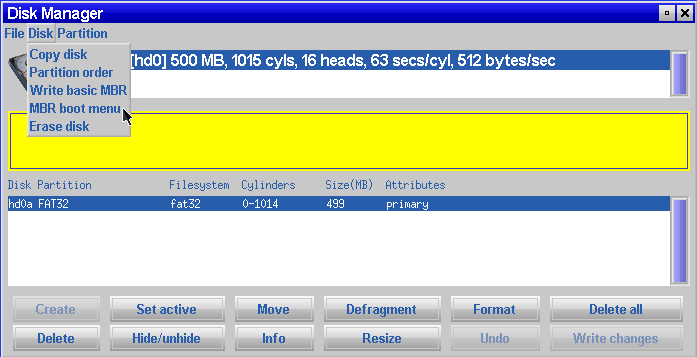
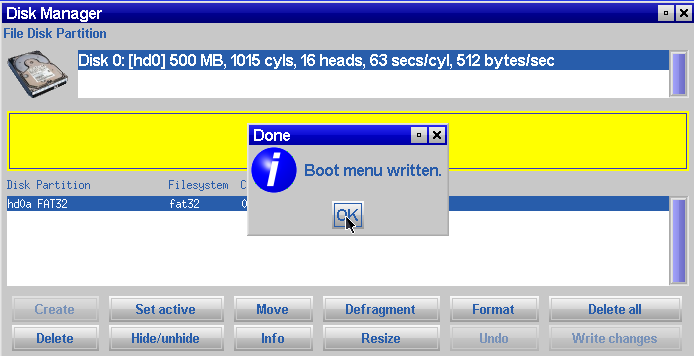
We want to create a boot menu in order to be able to boot from the hard drive.
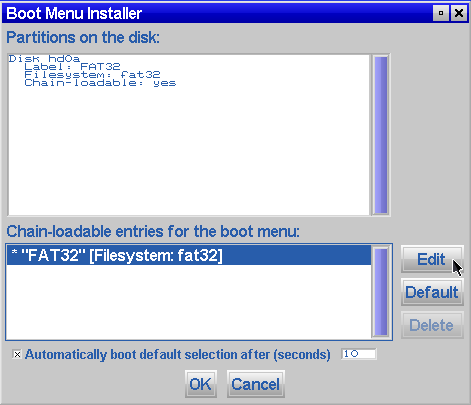
FAT32 is not very descriptive. Let’s change that. Click the Edit button.
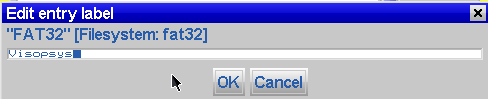
Visopsys is a more fitting boot screen label. Click OK.
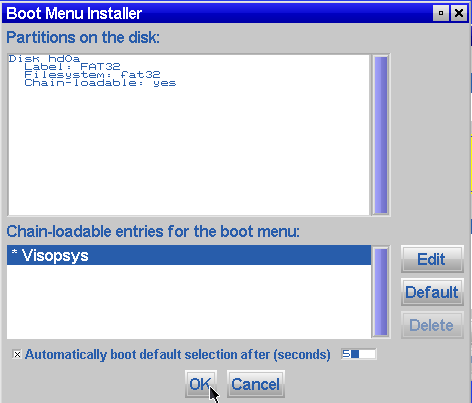
I also changed the boot screen wait time from 10 seconds to 5. Click OK to save the boot menu.
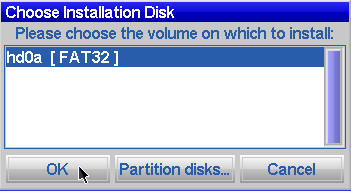
After closing the Disk Manager window, the installation procedure continues. We want the operating system installed on the partition we just created.
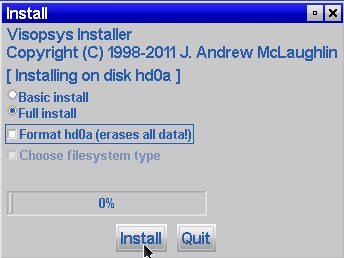
Choose the full install. There’s no need to format the partition, as that was done in a previous step.

The installer copies files to the system partition.
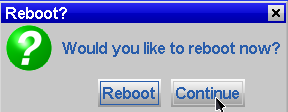
Although the default option is to reboot after installation, there is still only the admin user on the system. We want to create a regular user without admin priviledges, as well. Although I haven’t shown the password dialog which runs for admin user, it is the same as the one shown for a regular user.
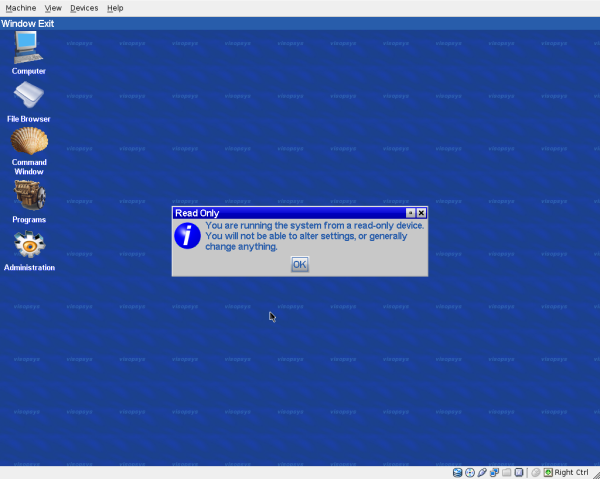
The Read Only dialog window says we cannot save changes. Actually, we can save them to the hard drive. The routine is called because we are still running from a Live CD.
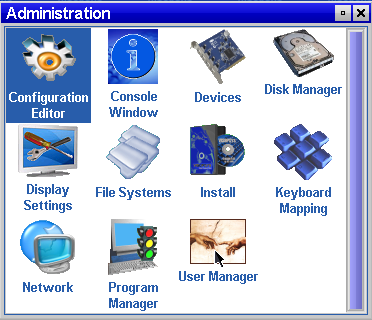
The program launch icons are shown on the left side of the desktop. Select the Administration tool by single clicking its icon to see the window above.
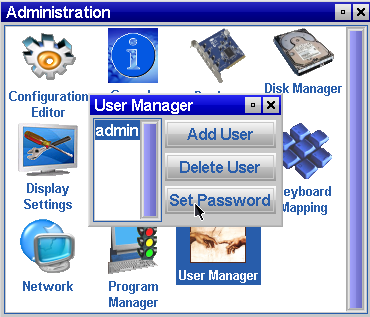
Click the Add User button to add another user to the system.
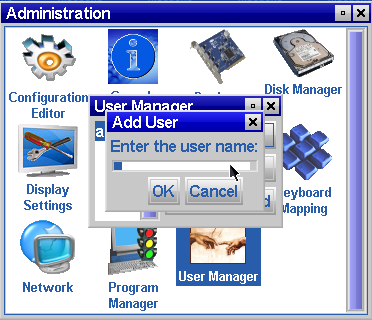
Enter a username, then click OK.
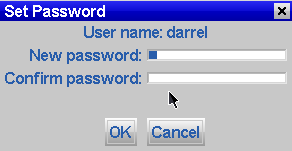
Set the password for the new user. Use the TAB key to get from the New password field to the Confirm password field, or this step will fail. After entering the password a second time, click OK.
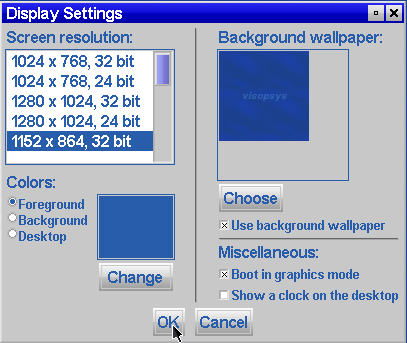
To make system changes, you must be logged in as the admin user. I want to change the screen resolution before rebooting, without having to log out as one user and log in as admin, and then reboot. Click OK to save changes.

I’ll make the desktop background, or wallpaper, a bit more spiffy than the stock blue one.
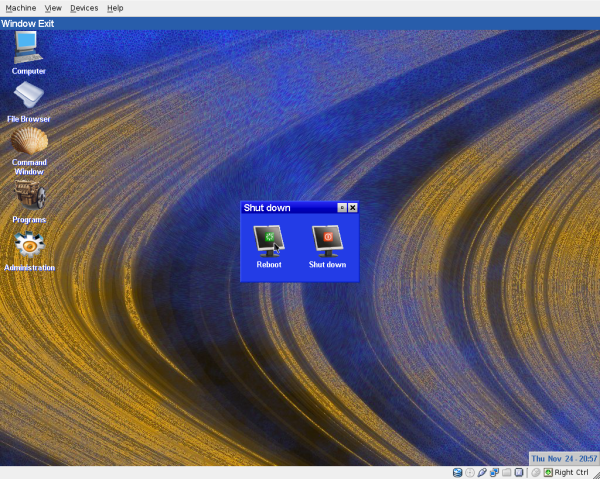
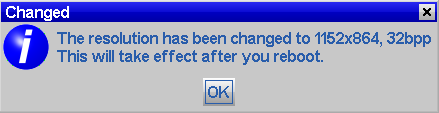
The wallpaper takes effect immediately. The screen resolution change won’t take effect until the next reboot. Select Exit from the desktop toolbar, then Shut down from the pulldown menu to see the dialog window shown. The Shut down dialog window choices are reboot or shut down.
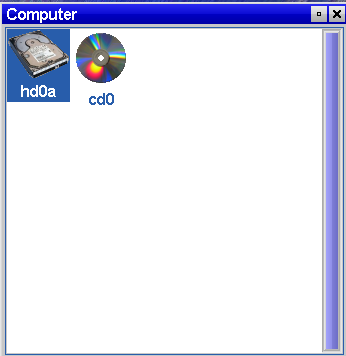
Clicking the Computer icon on the desktop brings up a device browser. Selecting a device will bring up the file browser.
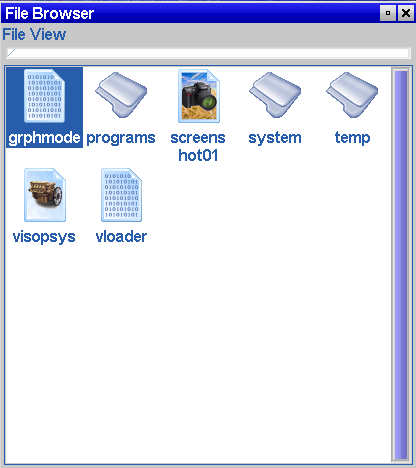
Clicking the File Browser icon on the desktop brings up the window shown above. The file browser is always in icon view, and there are no other options. Once you browse into the directories and subdirectories, an icon labelled (up) will always be displayed in the upper left corner of the File Browser window. Clicking (up) will bring you to the parent directory.
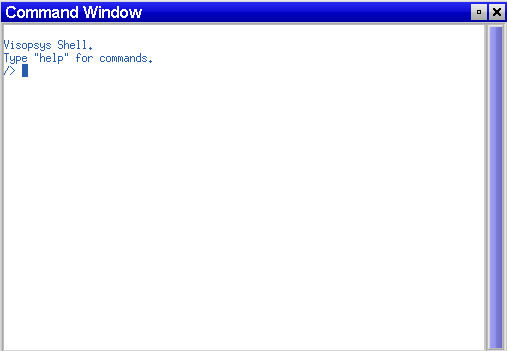
The results of clicking the Command Window icon on the desktop. The Command Window’s icon is a shell. Typing the word help will show a screen by screen list of all commands, each with a brief description.
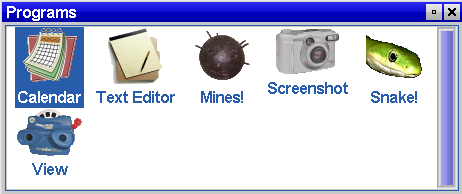
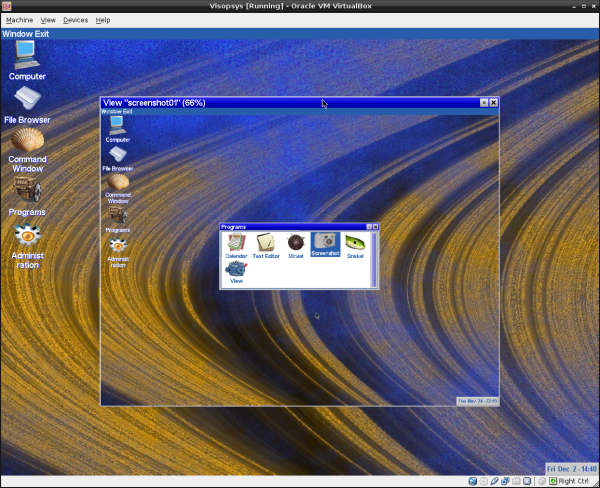
This is the list of application programs. As you can see, the list is small. The calendar program shows the current month and day, and can be scrolled forwards or backwards through the months and years. Text Editor has no copy and paste functions. The only program option is to save a file. Mines! and Snake! are both games. I took a screenshot and displayed it, using the Screenshot and View programs.
Visopsys is very sparse on
applications. However, as stated before, Andy’s main
focus is the Partition Logic partitioning tool, which
can be downloaded separately from
the Visopsys live CD. Like SkyOS, only one man works on
Visopsys. But, unlike the developer of SkyOS, Andy has never charged anyone a
fee in order to be able to download and use a beta
release. Also, unlike SkyOS’s developer, Andy is still
working on his creation. The previous version of
Visopsys crashed a few times on me with page faults. To
Andy’s credit, version 0.71 has not crashed once.

