Installing Moodle On A PCLinuxOS Server

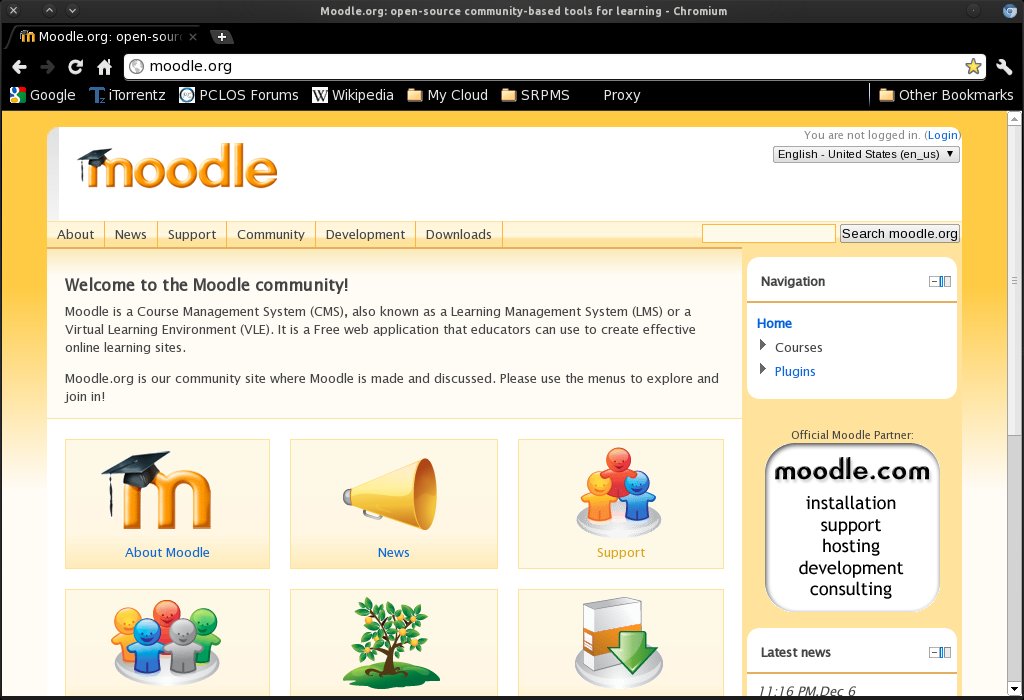
Moodle is a Course Management System (CMS), also known as a Learning Management System (LMS) or a Virtual Learning Environment (VLE). It is a system designed to help educators who want to create quality online courses. The software is used all over the world by universities, schools, companies and independent teachers. Moodle is open source and completely free to use.
We will install it on our localhost for evaluation. You will need to install task-lamp. Note that you have to check whether the packages meet the requirements, i.e. Apache 2.2.17, MySQL 5.0.25, PHP 5.3.2. I also use phpMyAdmin 3.4.8 to manage my database. Once you have installed the essential packages, you will also need to install the following:
- php-curl
- php-iconv
- php-intl
- php-mysqli
- php-soap
- php-xmlrpc
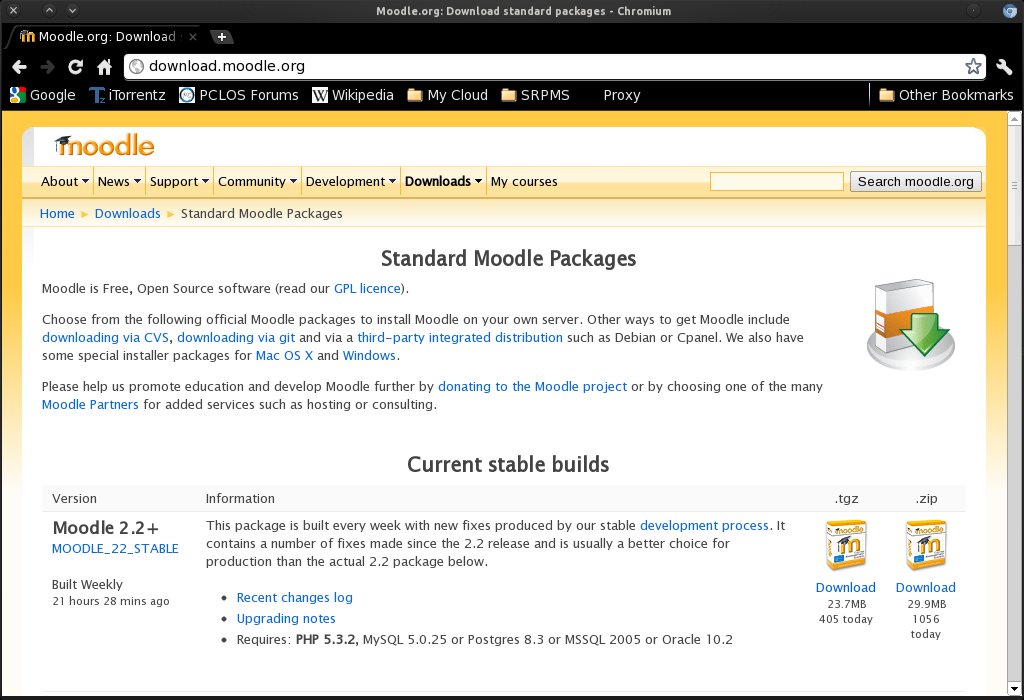
From the Moodle website, click Downloads and download either the .tgz or .zip file. Save the file anywhere on your desktop or on your preferred download location.
There are several ways to extract the archive. The most important thing and what we needed to do is to move the whole moodle/ folder to your /var/www/html folder.
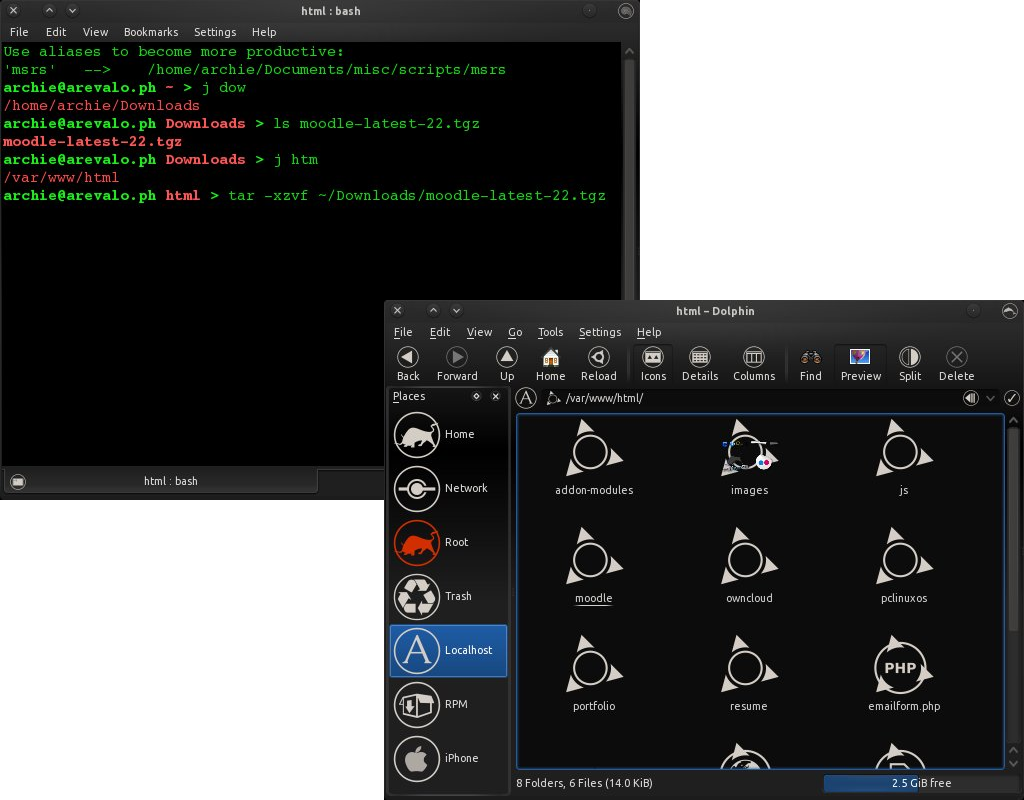
Once the whole folder had been moved to your web document root location (/var/www/html/), change the owner/group to apache and the permission to 0770.
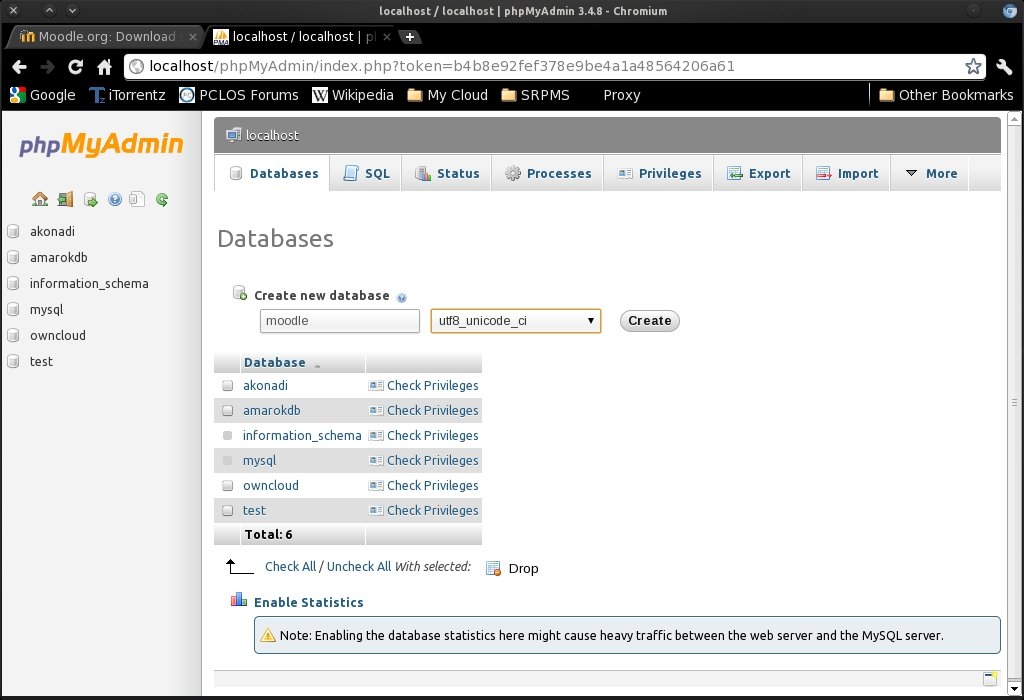
Create a new database called moodle. Don't worry about creating the tables; these will be automatically generated during the installation. I used phpMyAdmin for this task. Note on the Privileges the Users having access to the DB.
Great! We are ready to start the installation of Moodle. From the same browser, type in http://localhost/moodle on the address bar, and the first page of the Installation wizard wants you to choose a language.
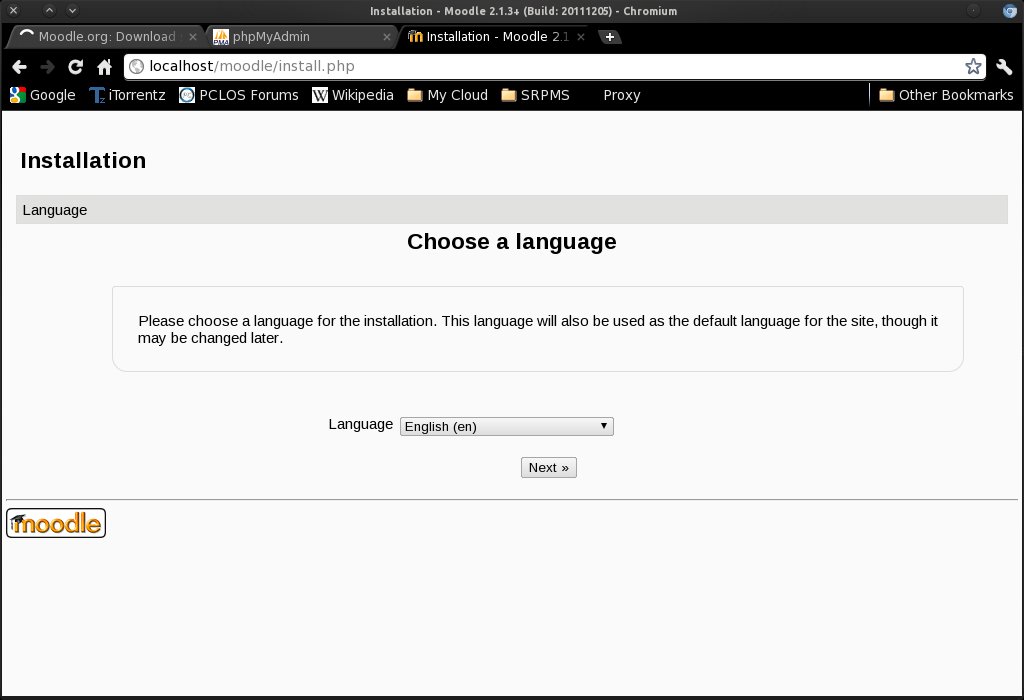
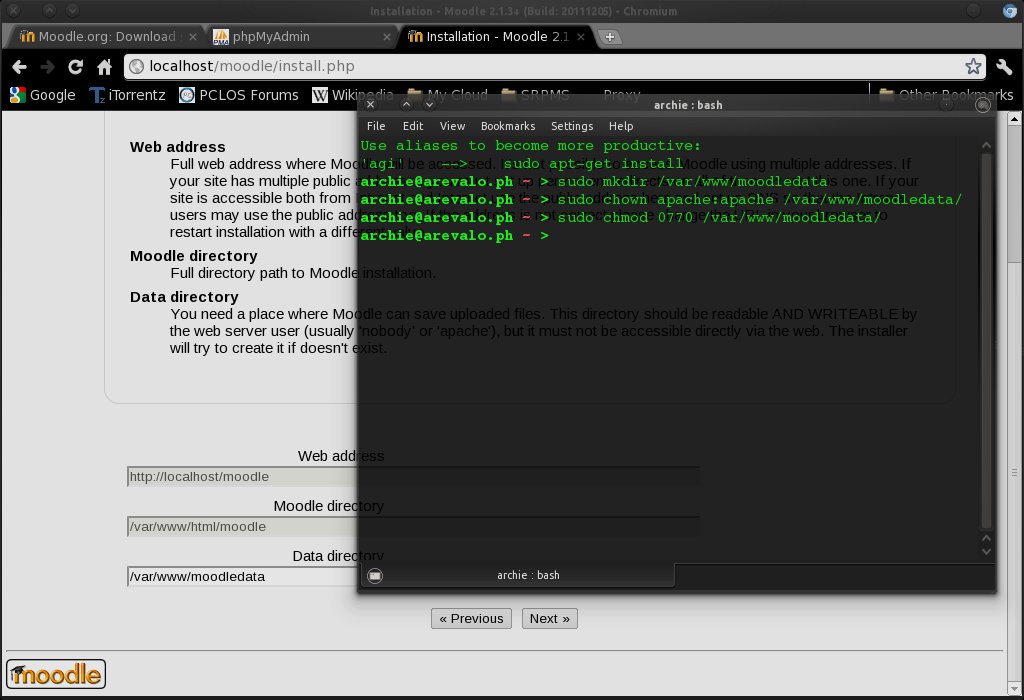
I opted for the default English (en) and clicked Next. The next page needed our confirmation of the application's paths. Other than the Data directory, the Web address and Moodle directory need not change. So, we'll need to manually create the /var/www/moodledata folder and change its ownership and permission. Once done, click Next.
Editor’s Note: The author of this article makes use of sudo, despite its use being discouraged with PCLinuxOS, due to the vulnerabilities it brings to your system when used incorrectly, improperly or injudiciously. sudo is available for installation on your PCLinuxOS system, via a special section of the repository that is not enabled by default. For more information about installing sudo, along with the hazards associated with its improper use, refer to the discussions in the PCLinuxOS forum.
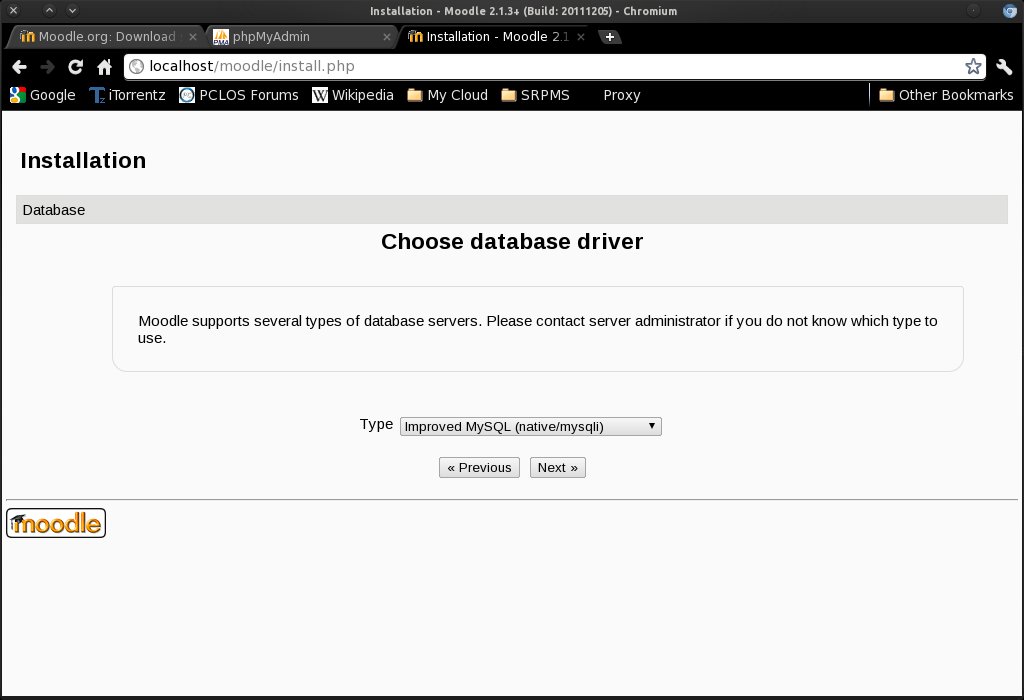
On the next page, we need to Choose database driver, and this is why we needed to install the package php-mysqli. The selected default, Improved MySQL (native/mysqli) would be good unless you'd rather use one that you are already familiar with. Click Next.
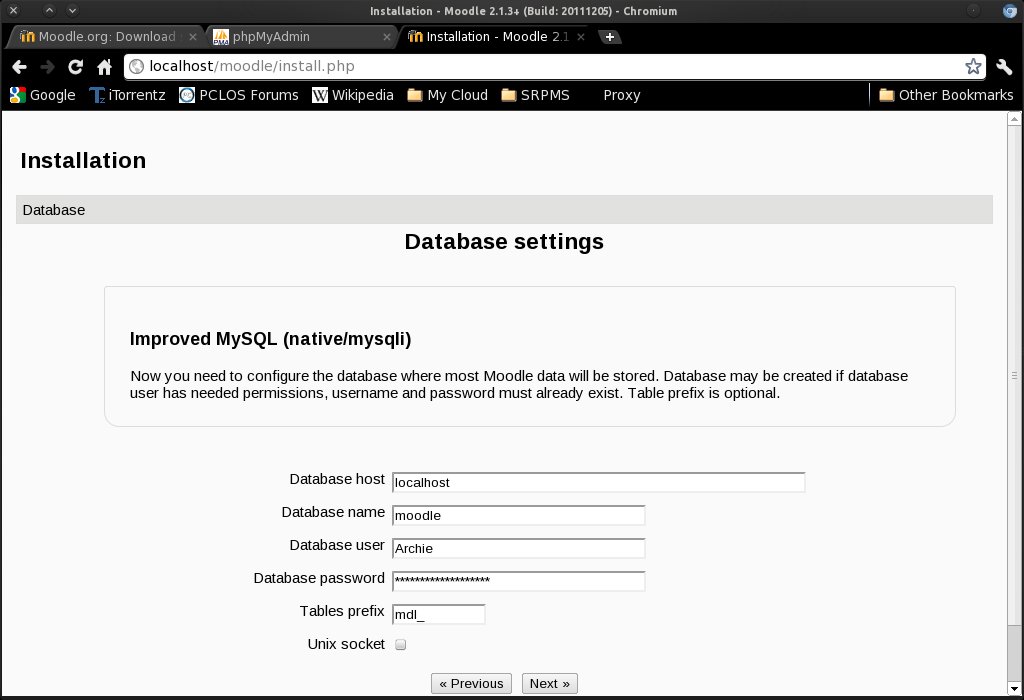
On the Database settings page, we'll need to provide a few information regarding the database Moodle will be using. The Database host and Database name have the default that we will be using (remember we created "moodle" in phpMyAdmin?). We only need to supply the Database user and Database password. You can leave the Tables prefix as is or change it to another 1-to-3 character prefix. You can enable the option Unix socket or leave it as is. Click Next.
Moodle is GPL and you need to agree with the author's license. Click Continue.
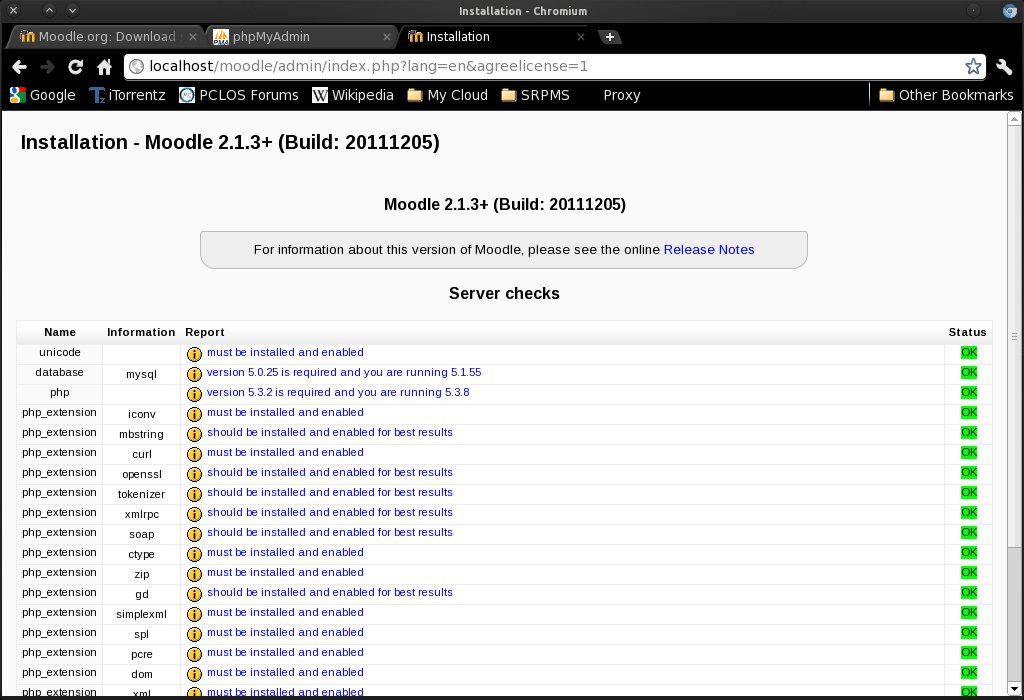
The next page is the Server check page. It displays a visual confirmation that our installation is either good to go, or we needed to fix the issues highlighted in red and yellow. I see mine is all green; yours should be as well. Click Continue and wait for the application to be installed on your localhost server. It may take a while so be patient.
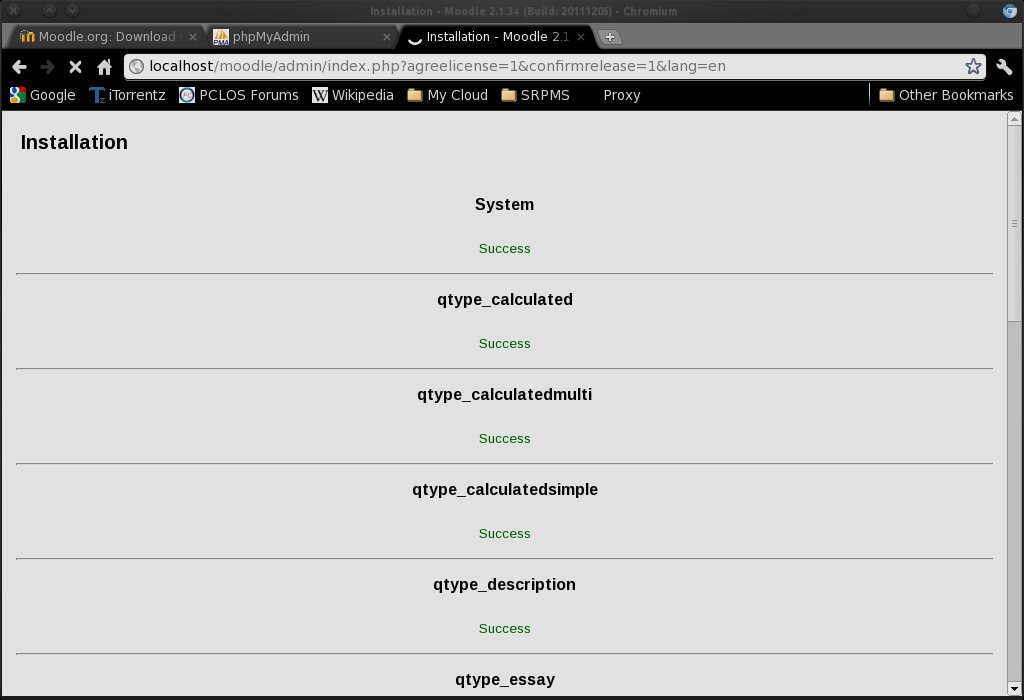
Once the application has been installed properly, we are presented with a list of items and modules installed on our copy of Moodle. When all items and modules are installed, the page will automatically scroll to the bottom of the page. click Continue.
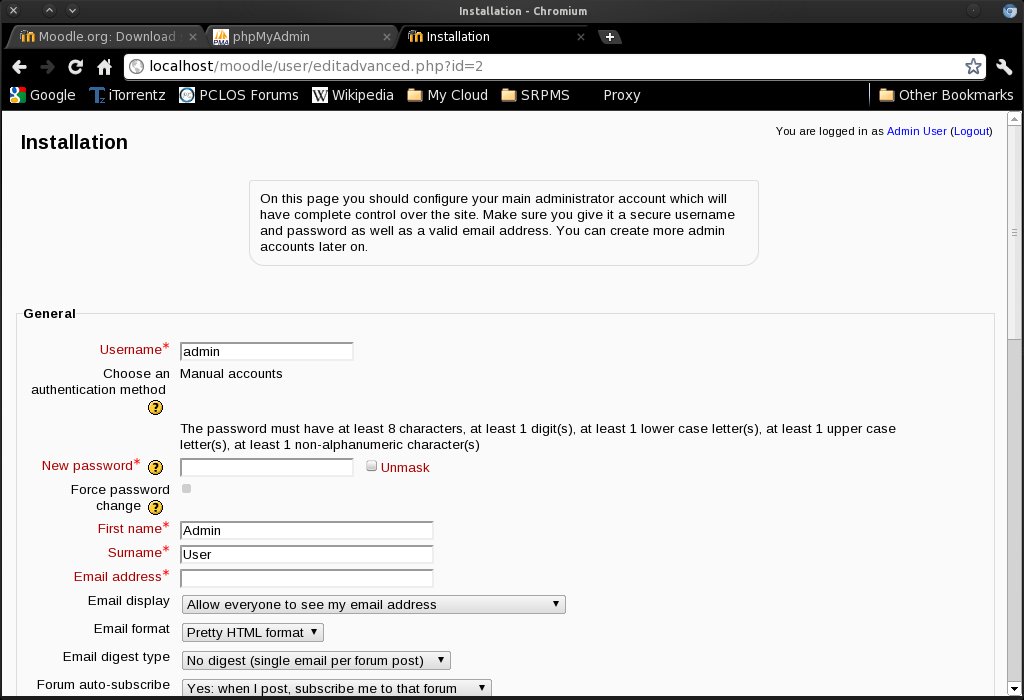
Our application has been installed properly and we'll need to set up the first user, which is the Main Administrator Account. The fields with the asterisks (*) are all necessary fields. Fill in your information appropriately ... and do not forget the admin password - it must be at least 8 characters with at least one number, a capital and a lower letter, and a non-alphanumeric character. If you are not sure what you are typing for the password, enable Unmask. Take time on each item. When you are satisfied and feel you can proceed, click Update profile at the bottom of the page.
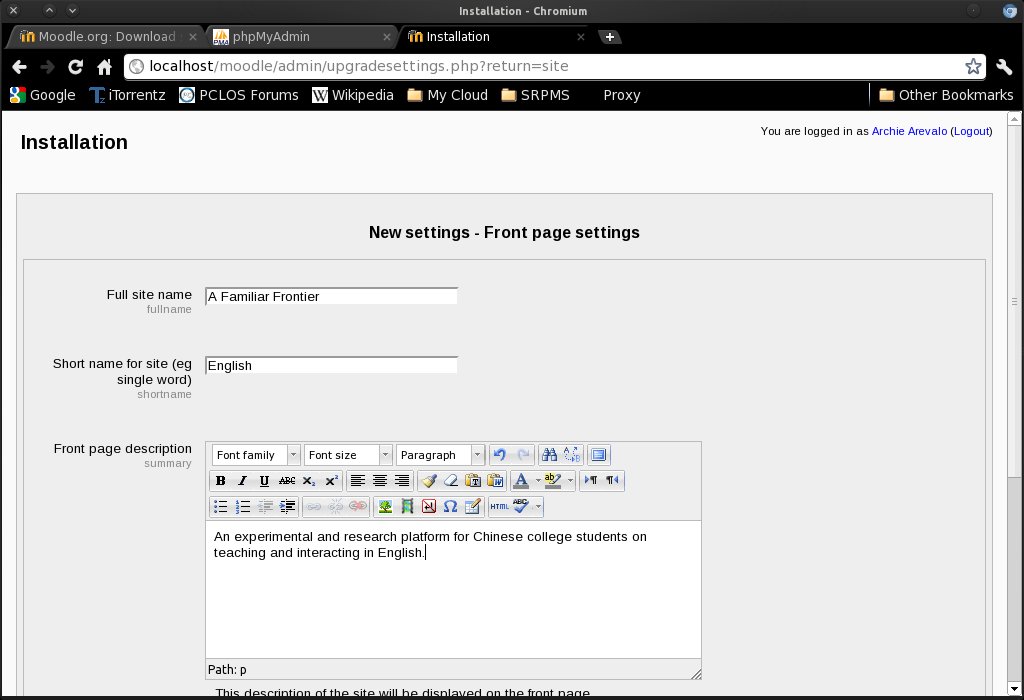
We are almost there. The next page is the Front page settings. Remember that Moodle is a Learning Management System meant to provide materials for education. Take the time to think of an appropriate name and description for your site.
Consider the New settings - Manage authentication section as well. I had mine set to Email-based self-registration. Other plugins are available. When done, click Save changes.
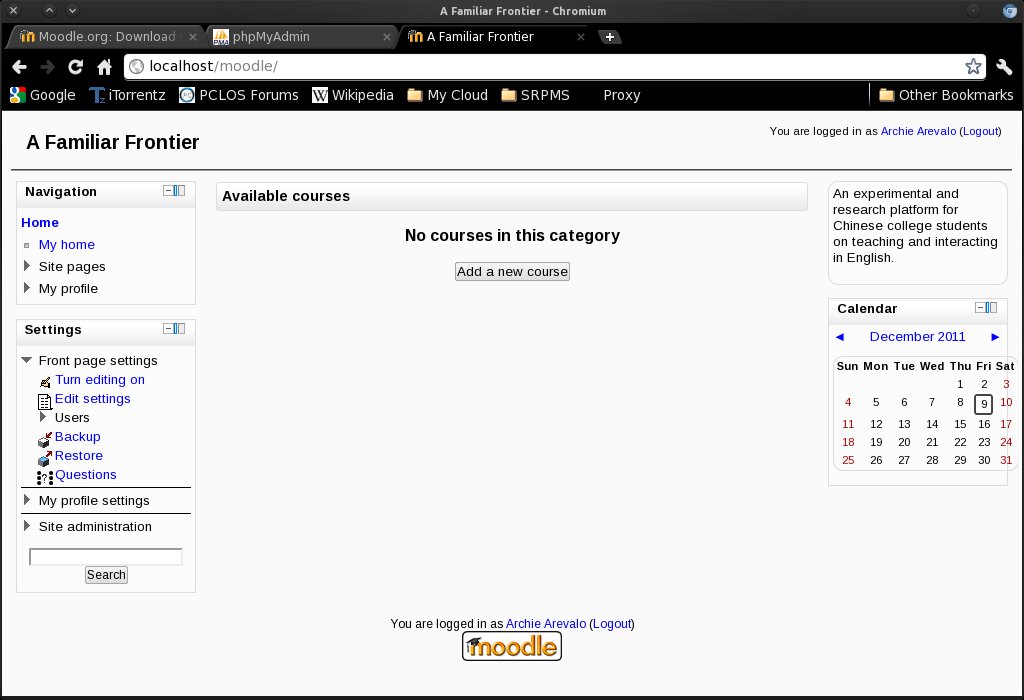
And that's it! All you need now is to tweak and fine tune Moodle to your preference, and your site is good to go!
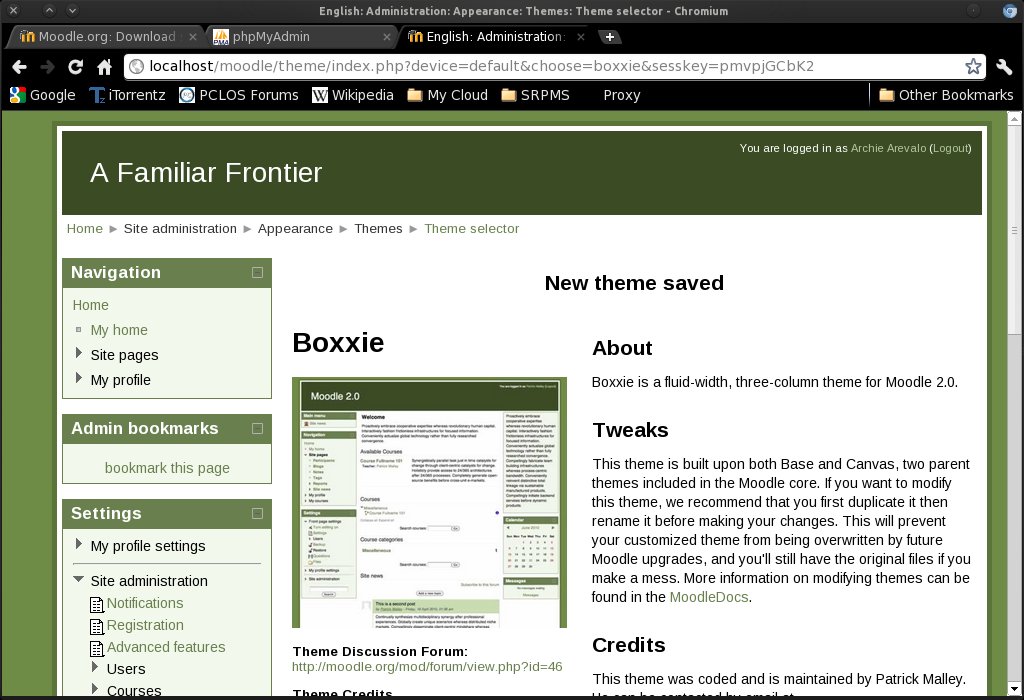
Changing the themes is easy as choosing one from the several themes with Theme Selector.
If you are an educator like myself, you might also consider installing Moodle on your webserver, or having your site hosted on one of the Moodle Partners, and support the Moodle development.