Install & Configure ProFTPD On PCLinuxOS
by D. Moore (YouCanToo)
This how-to focuses on how to setup and configure a ProFTPD server on your PCLinuxOS based computer. The ProFTPD stands for “Professional FTP Daemon”.
Installing ProFTPD on PCLinuxOS
Open the Synaptic Package Manager and do a search for proftpd.
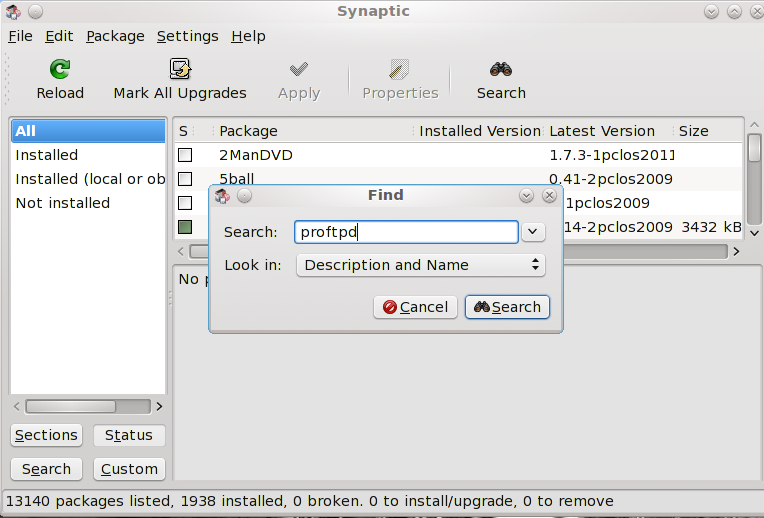
Mark it for installation.
NOTE: If you have any other ftpd service installed, it will be removed.
Click apply, and then click apply again. Now Synaptic will install ProFTPD. When finished click "Close" and then close Synaptic.
How to configure ProFTPD
We need to edit the proftpd config file. In your favorite text editor as the root user, open the /etc/proftpd.conf file.
We need to change the following options.
We should change the ftp server display name.
ServerName "ProFTPD Default Installation"
Example:
ServerName "brainiac"
Make sure all ftp users are "jailed" within their own directory. No snooping allowed!
#DefaultRoot ~
Uncomment this line and change to to read:
DefaultRoot ~
Now save your configuration file and exit your text editor.
Our basic configuration is now complete
Now we need to start our proftpd service. In a console window as root, enter the following command:
service proftpd start
You should see something like this:
[root@laptop etc]# service proftpd start
Starting proftpd [ OK ]
[root@laptop etc]#
If you see [ FAILED ], go back and double check your work, and try again.
Congratulations if you got the "OK.” Your ftp server is up and running.
Adding a new ftpuser
By default, the proftpd daemon reads the host's /etc/passwd file for logging in users. This means that to add FTP users, you simply need to create new system accounts for those users in your /etc/passwd file.
In a console window as root enter in the following:
adduser -d /path/to/the/ftpuser/home/directory -s /usr/bin/bash ftpuser*
where *ftpuser is the ftpusers name.
---EXAMPLE: ---
[root@laptop etc]# adduser -d /home/mastermid -s /usr/bin/bash mastermind
[root@laptop etc]#
Setup a password for the ftpuser:
passwd ftpuser*
where *ftpuser is the name of the user.
--- EXAMPLE: ---
[root@laptop etc]# passwd mastermind
Changing password for user mastermind.
New password:
Retype new password:
passwd: all authentication tokens updated successfully.
[root@laptop etc]#
NOTE: the password is not echoed to the screen.
That's it folks. Your new ftp server awaits your every command.
For those using Webmin, you will need to download and install the proftpd module. Log into your webmin admin page and click on the "webmin" tab and then select "Webmin Configuration."
In the main screen click on "Webmin Modules."
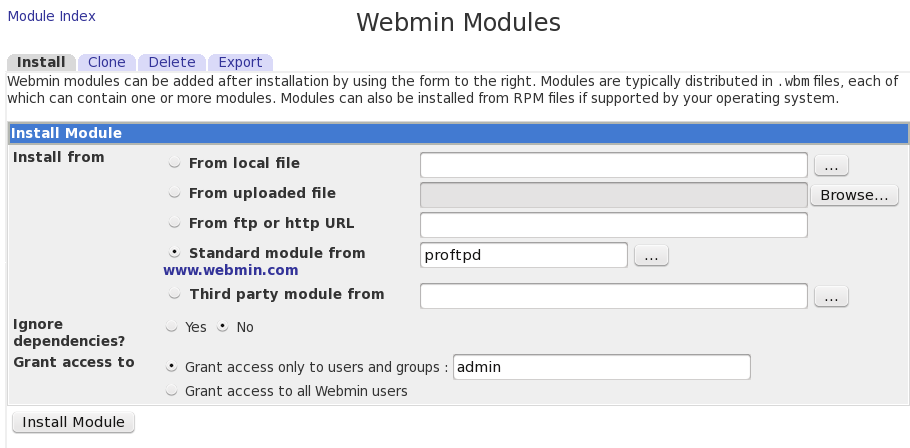
Now, mark the “Standard module from” and enter proftpd. Then click the “Install Module” button. Webmin will now download and install the ProFTPD module for you.
Now in the left hand pane, click on the "Un-used" Modules and then click on "ProFTPD Server" Webmin will tell you that it can not be loaded, click on "Module Config"
You will need to make the following changes to the configuration.
Test config file after manual changes? Select YES
Path to ProFTPD config file /etc/proftpd.conf
Path to ProFTPD executable /usr/sbin/proftpd
Path to ProFTPD PID file /usr/var/proftpd.pid
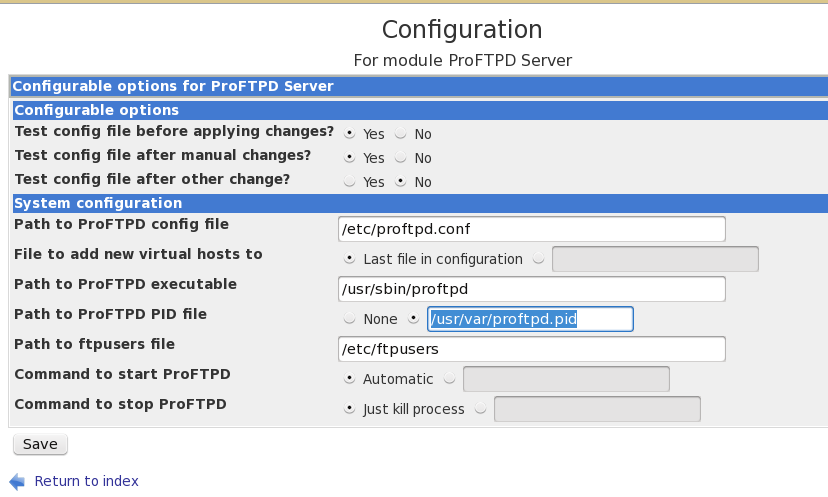
Now click on save and you should see the global configuration GUI.
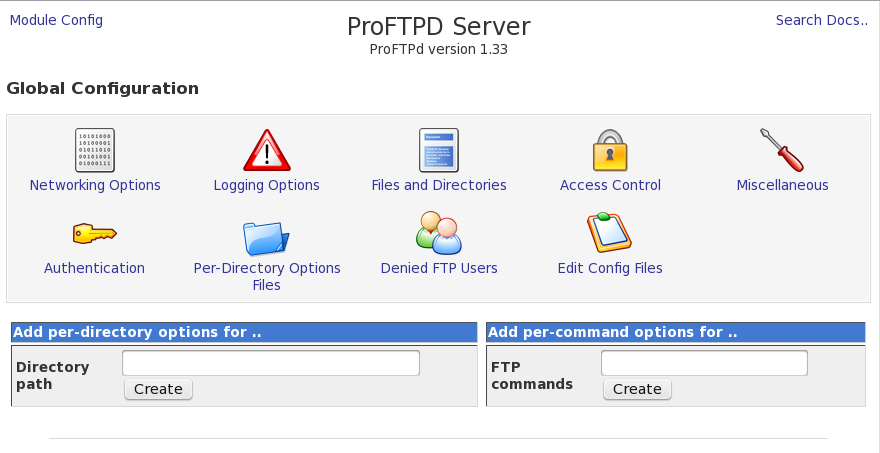
If you did not make the changes to the ProFTPD config file earlier in this HowTo, you can make them by clicking on the "Edit Config Files" icon. You can start and stop the ftp server by scrolling to the bottom of the window and clicking on the "Start Server" or "Stop Server" button.
For more detailed information about ProFTPD or different ProFTPD server configurations, visit their website at http://www.proftpd.org/