Setting Up A Web Server On PCLinuxOS
by YouCanToo
Apache is one of the most popular web servers, and part of its charm is that it's free. It also has a lot of features that make it very extensible and useful for many different types of websites. It is a server that is used for everything from personal web pages to enterprise level sites.
Before we get started lets get the warnings out of the way.
Please note: Running a server on your home computer is a risky undertaking, and before you start, make sure your computer has all the latest patches and security updates. This tutorial is for advanced users who feel comfortable editing textual configuration files and exposing port 80 on their home computer to the internet. As always, a strong firewall with explicit user-set rules is recommended. Still game?
Let's get started.
What you'll need:
1. A PC running your favorite version of Linux. PCLinuxOS of course!
2. An always on Broadband internet connection. (DSL or cable)
Step 1. Installing the Apache Web Server Software.
Open Synaptic and do a search for “Apache.”
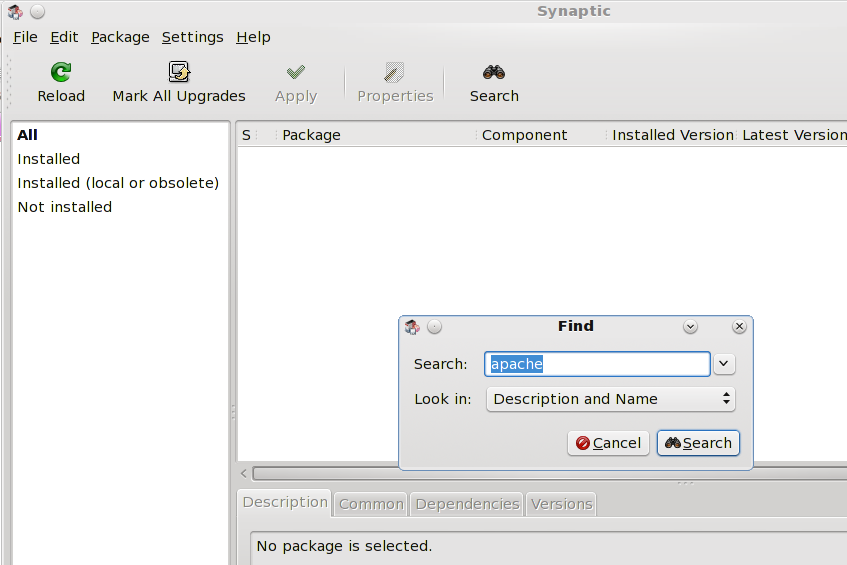
We now want to mark the following files (programs) to be installed
apache-base
apache-mod_deflate
apache-mod_perl
apache-mod_php
apache-mod_ssl
Check each of the files to be installed and accept any additional required files.
Now click apply In the summary window, you should see something like this.
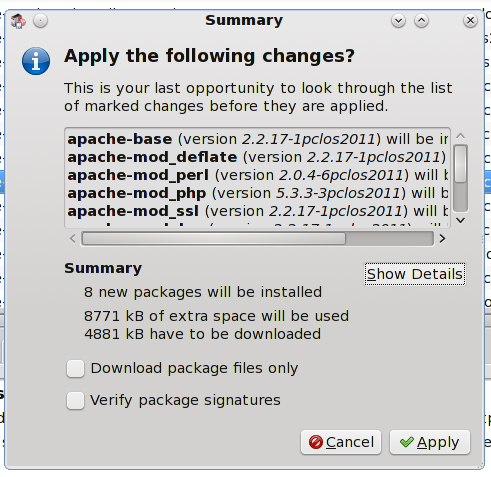
Once again, press the “Apply” button in the bottom right corner of the dialog box. Synaptic will now download and install the chosen files.

The Apache web server has now been installed on your computer. You can now close the Synaptic program.
Step 2. Starting the web server.
Open a console window and change to the root user.
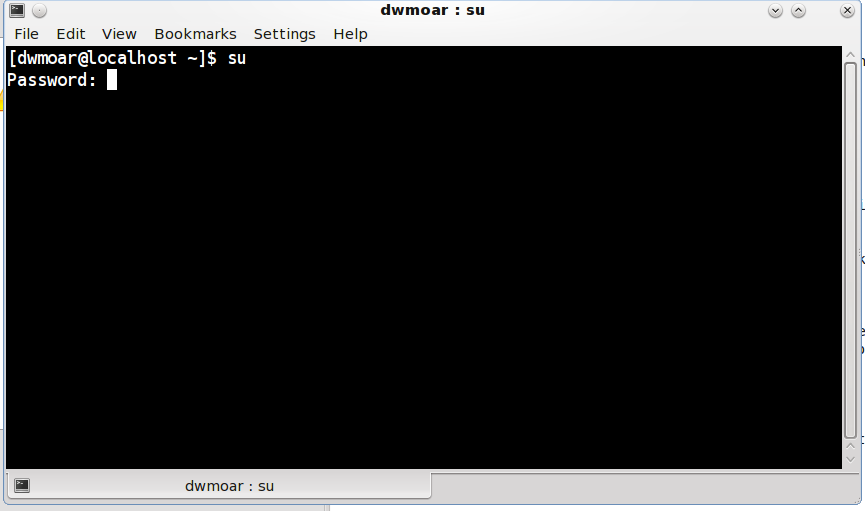
Enter your root password and press the return/enter key. NOTE: your password will not be shown on the screen.
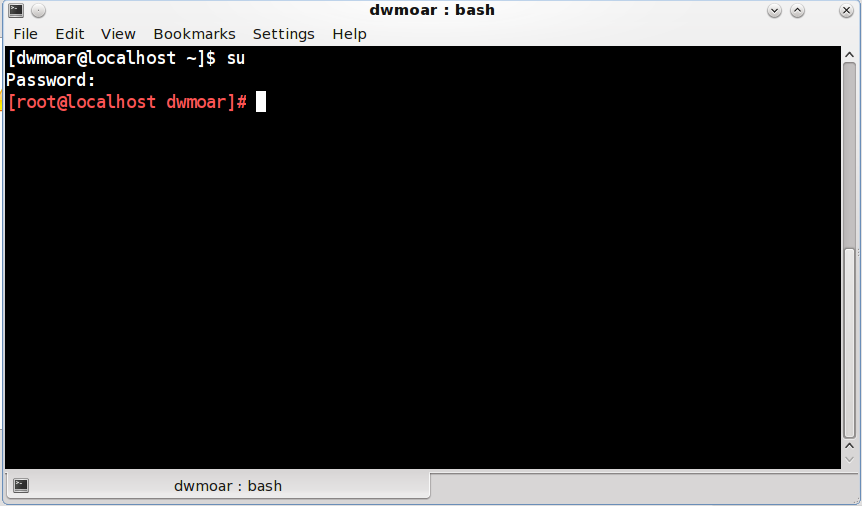
Did you notice the the prompt has changed from white with a $ to red with a # sign?
Now enter the following command at the prompt.
service httpd start <press return/enter>
You should see the following:
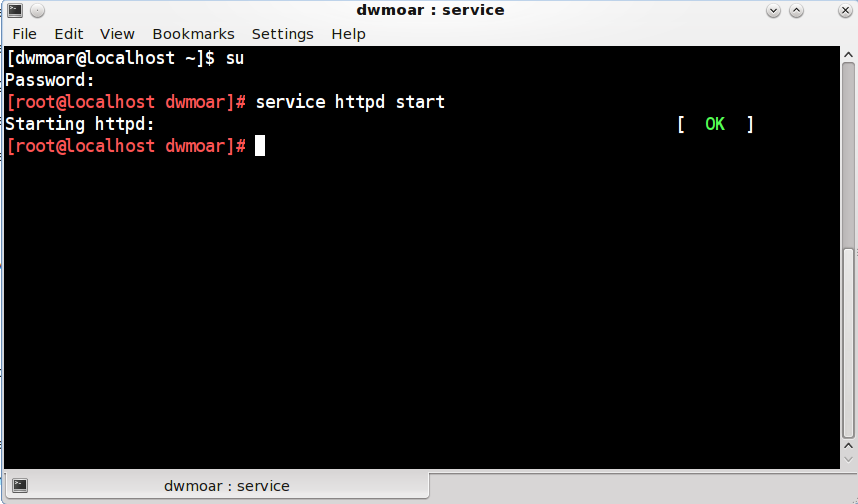
If you see a RED "Failed" go back and check your work to this point. If you see a GREEN "OK," open your web browser and go to http://localhost/ If you can see this, it means that the installation of the Apache web server software on this system was successful and is working.

Step 3. Configure Apache to share documents from the right folder.
Say you want to make your music collection downloadable using your new web server, and all your music files are located in /home/username/Music. Using a plain text editor like nano, open the /etc/httpd/conf/httpd.conf file. (NOTE: you must be root to edit this file.) This is Apache's configuration file. While it looks long and scary, most of all the defaults will work just fine for us. We just have to change a few things.
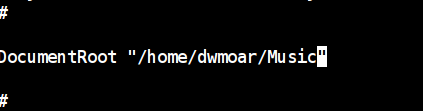
Search for "DocumentRoot" line number 425. This line currently currently reads DocumentRoot "/var/www/html". We want to change it to read DocumentRoot "/home/username/Music".
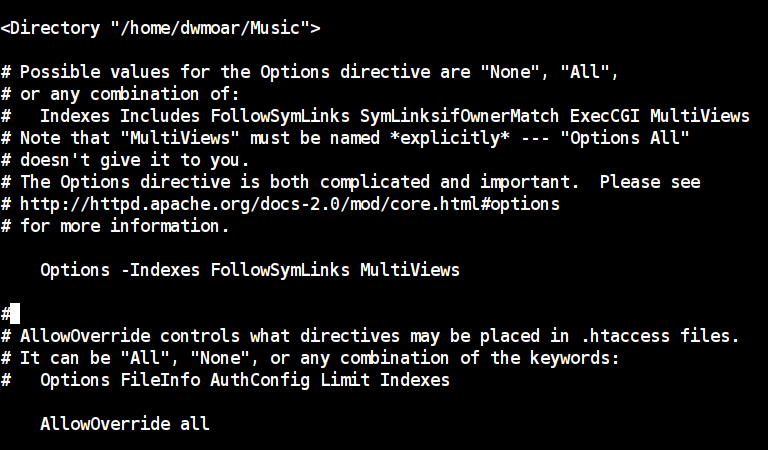
Now we need to change line 454 from <Directory "/var/www/html"> to <Directory "/home/username/Music">.
We have just a few more lines that need changing. On line 475 change AllowOverride none to AllowOverride all. Line 465 needs changed from Options -Indexes FollowSymLinks MultiViews to Options Indexes FollowSymLinks MultiViews. We are removing the "-" in front of the word Indexes. The last line to change is line 504. It now reads AccessFileName .htaccessb. Change it to # AccessFileName .htaccessb.
We have added a "#" at the beginning of the line.
Now we need to save our changes. If using nano, press <CTRL> + X. This will save the changes and close nano. Anytime you make a change to the apache configuration file, you MUST restart the web server for your changes to take effect. In a console window as the root user, enter the following command:
service httpd restart <press enter/return>
You should see the following:

You MUST see the GREEN "OK.” if you see a RED "FAIL" or any error message, go back and check your work.
Once again open your web browser and go to http://localhost/. If everything has gone right, you should see a listing of your Music directory.
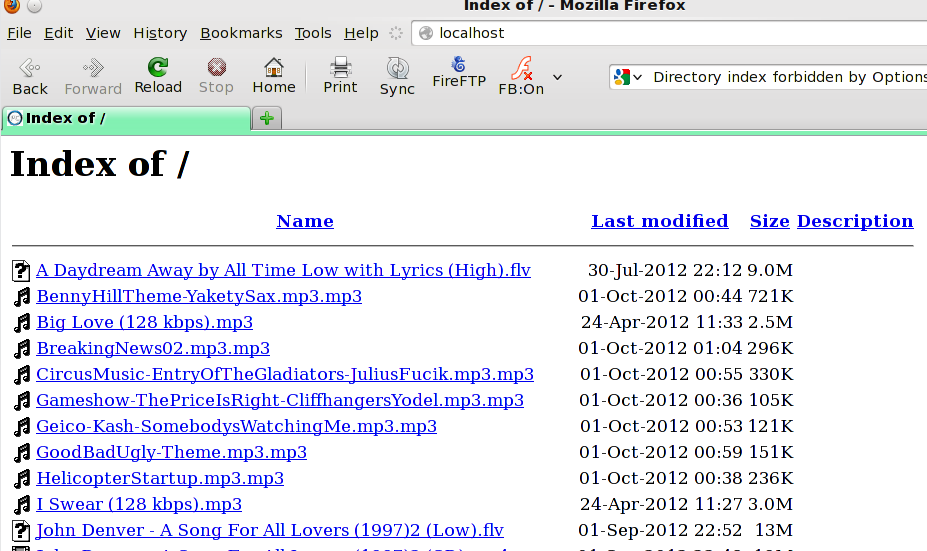
Notice I can also use my IP number:

Step 4. Congratulate yourself. You've got a home webserver running.
If you are NOT behind a firewall, you can access your web server from other computers by typing your computer's IP address into a web browser's address bar. If you're not sure what your IP is, visit What Is My IP to find out. If your IP is 12.34.567.890, then type http://12.34.567.890 into a browser's address bar.
If you
ARE behind a firewall (like a wireless router), you'll need to
open up port 80 on the firewall and forward it to your computer.
This part is beyond the scope of this article.