Graphics Tutorials: Gimp, Part 5
by Meemaw
I came across a cool tutorial the other day, and it’s a really easy way to customize a photo with a custom edge.
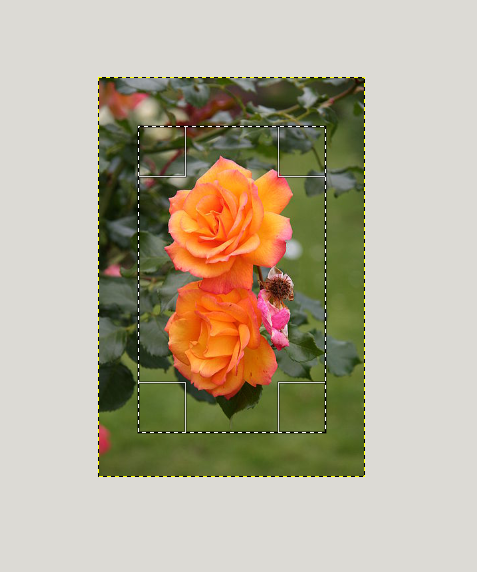
This takes advantage of the Quick Mask button at the bottom left of your work area. You should open the photo you want to use. I’m using the same rose photo that I used last time. After your photo is open, use the rectangle select to draw a border around your photo.
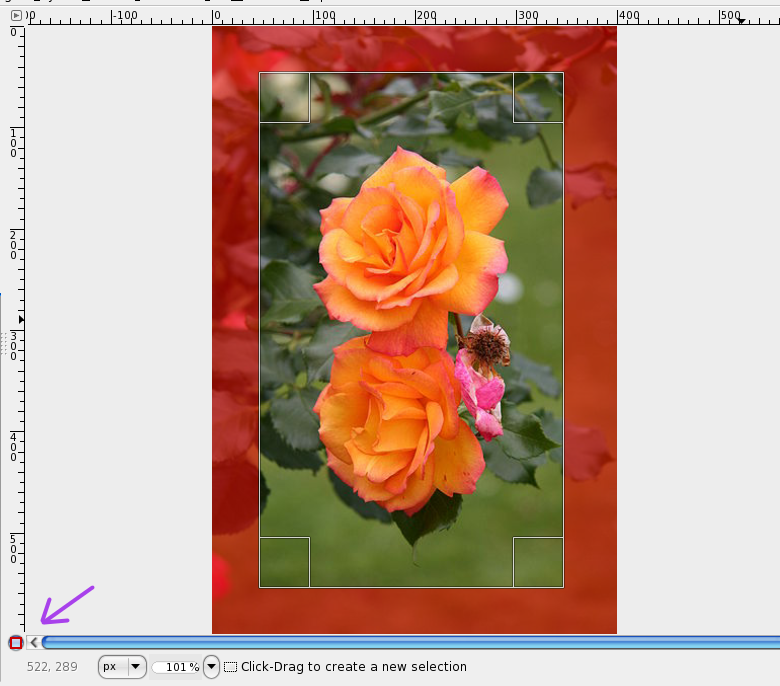
Now, click the Quick Mask button at the bottom left of your workspace. A red frame will appear on the outside of the rectangle you drew.
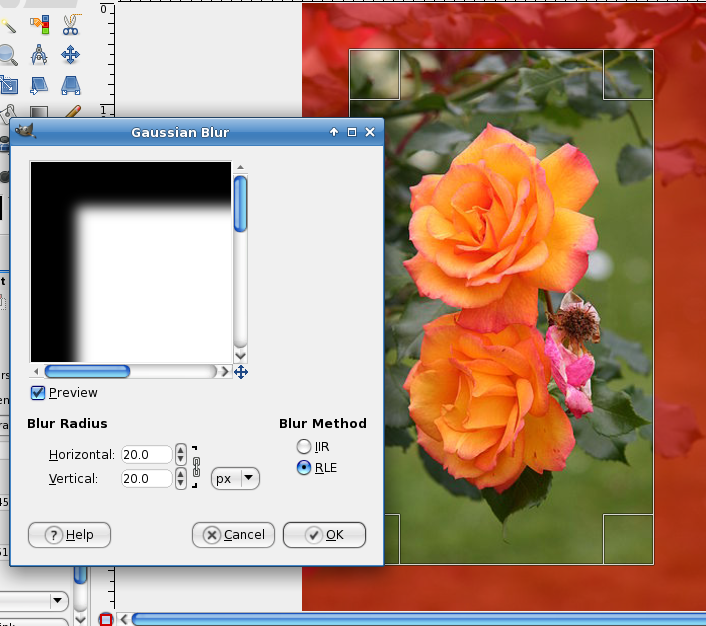
Next, choose Filters > Blur > Gaussian Blur. A configuration window will pop up. I set the blur radius to 20, but set it however you want. The higher the number, the more blur you will have. Click OK.
Now, click the Quick Mask button again. The red frame will disappear and the border you drew will change to a dotted line. Go to Select > Invert. This changes your selection to the frame around the outside of the photo. Now, choose Edit > Fill with BG color. Unless you have been using Gimp and changed the background color to something else, your background color should be white.
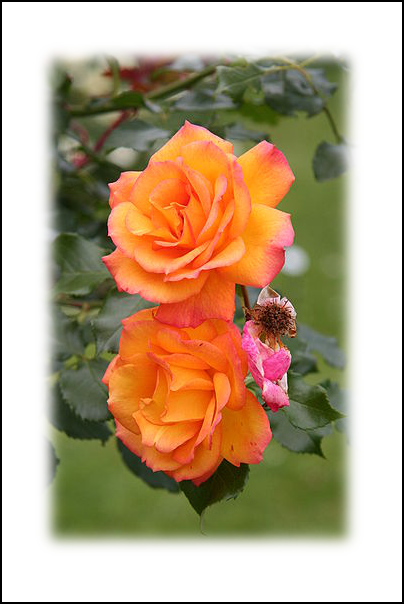
Export your drawing and save it as a picture file. You’re finished!
There are other filters you can use. I have included three other photos below with the filters used to create them. If you want to do something different with a photo, one of these treatments may be just what you need. Feel free to experiment with other filters to see what you get. By the way, I put a two pixel border on each to illustrate a frame (using a different program!), but you don’t have to do that.
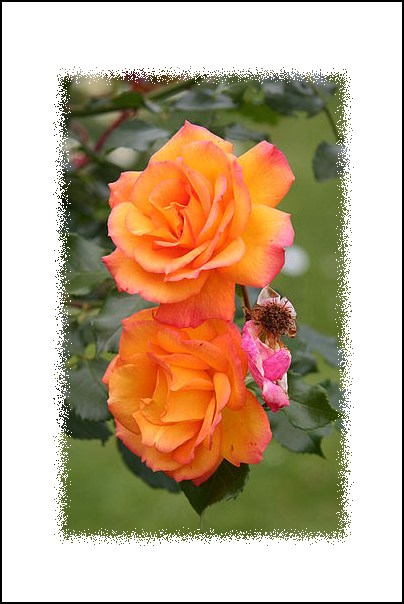
Noise - used Noise > Spread (15 or 20)
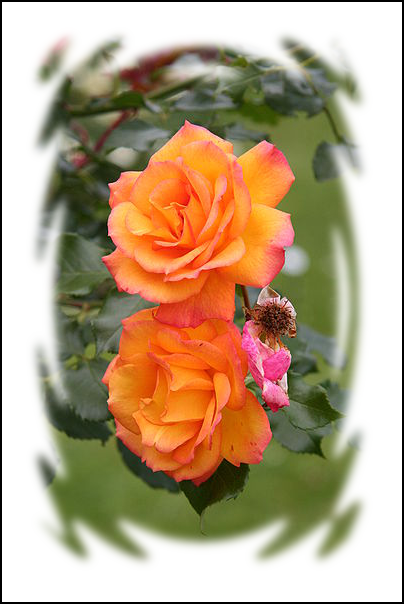
Waves - used Distorts > Waves (45), then Blur > Gaussian Blur
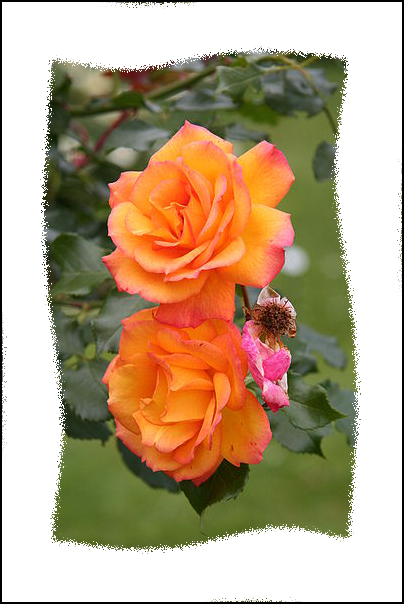
Whirl - used Distorts > Whirl & Pinch, then Noise > Spread
Have fun!