Nexus 7 To PCLinuxOS Connection Guide
by horusfalcon
I’ll start off by offering a disclaimer: this article is based on my own personal experiences, and does not purport to be the definitive all-inclusive solution. Your results may vary wildly - in fact, I hope they do, as this article is still very much a work-in-progress.
Greetings from the North Pole, and Ho! Ho! Ho!, Everyone! I hope some of you have found a tablet under the Christmas tree this year. Having recently become the proud owner of a Google (Asus) Nexus 7 Tablet myself, it was only natural that I would sooner or later want to transfer files to it from my PCLinuxOS laptop (a Dell Latitude D620 running PCLinuxOS 2012.08 Maintenance Release with both KDE-4 and LXDE desktop environments loaded).
First, I just plugged the USB cable into the laptop, and then the tablet, hoping they would simply connect up and go. I should be so lucky! All I saw was the notification from my tablet that it was now connected as a media device.
“Oh,” I said to myself, “Let’s see if Clementine can read from it.” Nope. Okay, so it’s time to hit the books (or at least the big virtual book that is the World Wide Web). After some fiddling about, and some reading, and some more fiddling about, here’s what I’ve come up with:
Connecting via USB Cable
The Nexus 7 comes with its own very nice little USB cable. This cable is capable of not only charging the device via a computer’s USB ports or the included USB charger, but is also capable of transferring data, once a few things are known to the user.
Caution: The mini-usb port on the tablet is quite small. Don’t force the cable in - go gently and if it doesn’t fit easily, take another look and try again. This precaution is a good one to follow with all cables and connectors, but especially here.
Since the device mounts as a media device by default (and it can also be selected to mount as a camera), the tools to use for mounting and dismounting the tablet for access are mtpfs (for mounting) and fusermount -u (for unmounting).
On my first attempt, I set up a folder at ~/media/Nexus_7 (read the ~ character as “the current user’s home directory”). I naturally reasoned that since ~/media/ is the usual path for removable storage devices, it might be best to mount the tablet somewhere on that path.
This worked the first time I used it, but did not on subsequent tries. Rather than figure out why that was true, I chose to create a new mount point at ~/000_USB/Nexus_7 (which is away from the removable devices tree) and try again. This has worked more consistently but seems to be a bit slow loading data from the tablet. Creating this mount point was easy from within a file manager (e.g. Dolphin, PCManFM) or can be done from the shell as:
[xxxxx@localhost ~] mkdir -p ~/000_USB/Nexus_7
Avoid spaces and “special” characters in the pathnames for a mount point to avoid unnecessary complications.
To mount the tablet, I open a shell in a terminal, and issue the following command:
[xxxxx@localhost ~] $mtpfs ~/000_USB/Nexus_7
You will, of course, wish to substitute the path you create on your system for the one I have used above. To unmount, close all applications using or viewing data on this path, and issue the following command from the shell prompt:
[xxxxx@locahost ~] fusermount -u ~/000_USB/Nexus_7
Once the mount point is created, the sequence of events to transfer files goes something like this:
- Connect the Nexus 7 to a USB port on your system via the cable supplied with the unit.
- Open a
shell (via Konsole or other terminal program) and issue the
mounting command as above, edited for your path (mtpfs).
- Minimize
the shell (or move to another virtual desktop) and leave it
open.
- Open
your favorite file manager.
- Use cut/copy/paste commands to move data as needed between the Nexus_7 and the rest of your system.
- Wait
for all file transfer operations to completely finish.
- When
done, close all file manager and other programs which are
accessing or viewing the Nexus 7’s files.
- Restore
the shell (or move to it if on another desktop) and issue the
unmounting command as given above, edited for your path
(fusermount -u).
- At this point, it is permissible to disconnect the tablet from the USB port. (You may leave it connected if you need for the tablet to charge.)
NOTE! When you issue the fusermount -u command, you may see a message stating that the device is busy. If this happens, check to see that no other program on the computer is still accessing/using the tablet (file managers are the most common culprits here). If nothing else is using the tablet, there may be some cached data that hasn’t yet been written to it. To be safe, shutdown the computer in an orderly manner and remove the tablet after the system is powered down. During shutdown, the operating system will flush its caches and do any pending writes so that all files on the tablet will be properly finished and closed out.
During file transfers by this method, I receive an error message for each file as seen below:
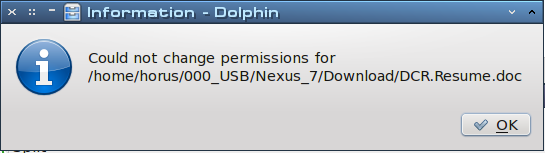
Despite the permissions issue, all video and image files (photos, etc.) are viewable and editable on the tablet. (I have yet to figure this part of it out - it is probable that I need to alter the permissions on the mount point in some way?)
Connecting The Tablet Wirelessly Using Airdroid
Airdroid is a free application available at the Google Play store. To be able to use it, your tablet and the computer with which you wish to exchange data must be on the same wireless network. (I have had intermittent success with a laptop connected via Ethernet to my wireless router, but results are definitely not consistent unless both devices are connected wirelessly. Again, your mileage may vary.)
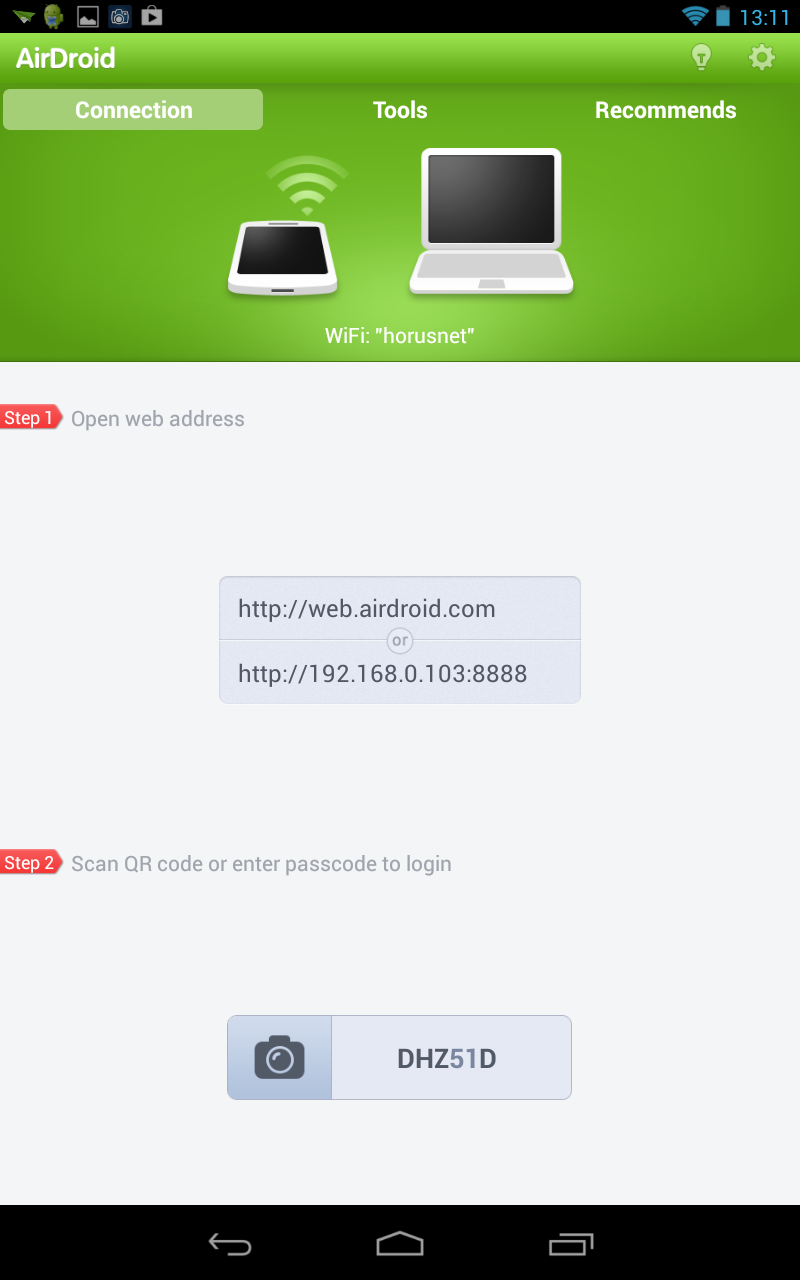
Install the application from Google Play in the usual manner and start it on the tablet. Airdroid will display a passcode near the bottom of the screen.
Above the passcode are instructions to visit either a URL or an IP Address and port number on your wirelessly connected system. I have had best results with the URL. For better functionality, I recommend using the Chromium browser (available in the Synaptic repositories for PCLinuxOS), as certain folder operations are not supported in Firefox or other browsers.
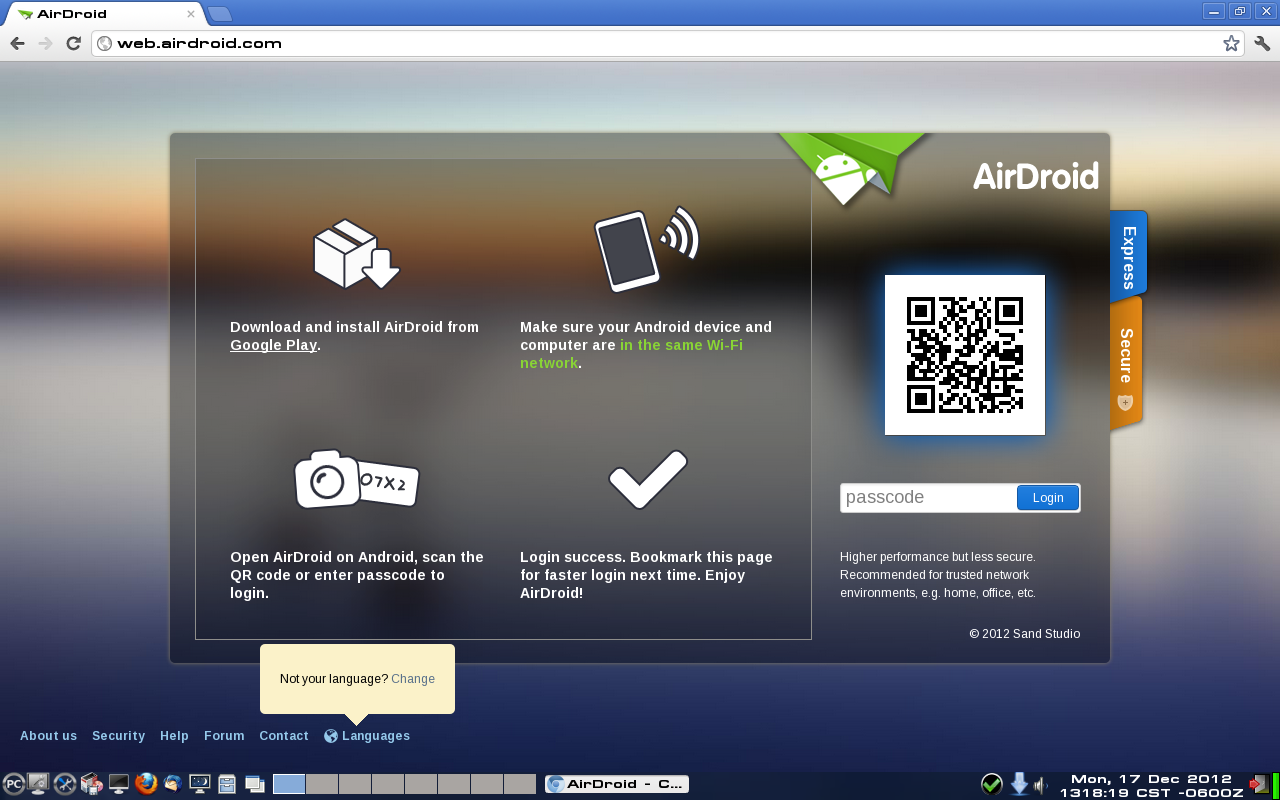
The URL to enter into Chromium’s address bar is: http://web.airdroid.com as shown below. Note: numbers in the passcode are shown in grey text. (This helps tell a zero from the letter O.)
Here’s a shot of the Airdroid welcome screen (below). Note the password field in the lower right. Click there before trying to enter the passcode.
Once the passcode is entered and a connection is established, the screen on the tablet will change to show the connection is working.

The airdroid client in Chromium will update to display several icons, one of which is Files.

Double-clicking this icon will open a file upload/download window in the client from which files may be moved to and fro.

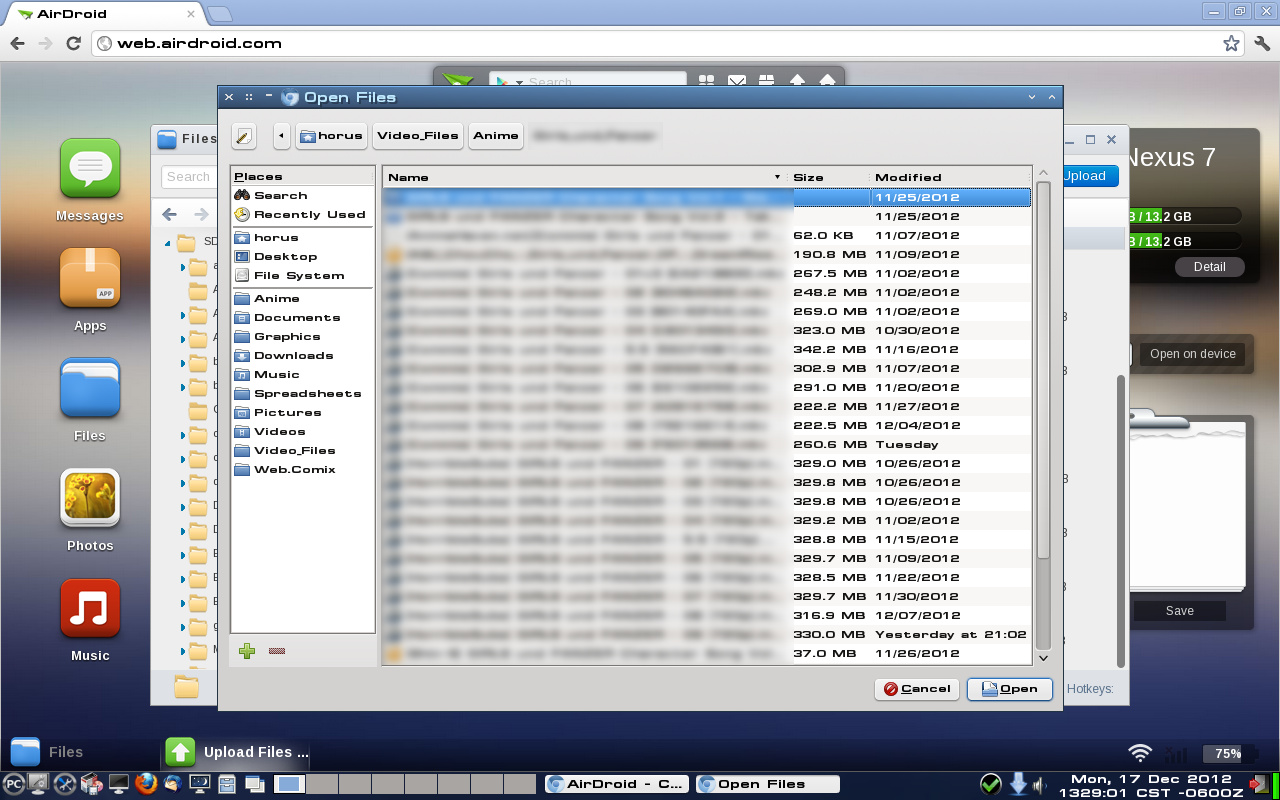
In the following screen, I have selected my /sdcard/Movies/ folder as the destination for uploading from my laptop to the tablet. I choose to use the “Select Files” button rather than do drag-n-drop as I feel it’s a safer way to move files, but that’s just me.
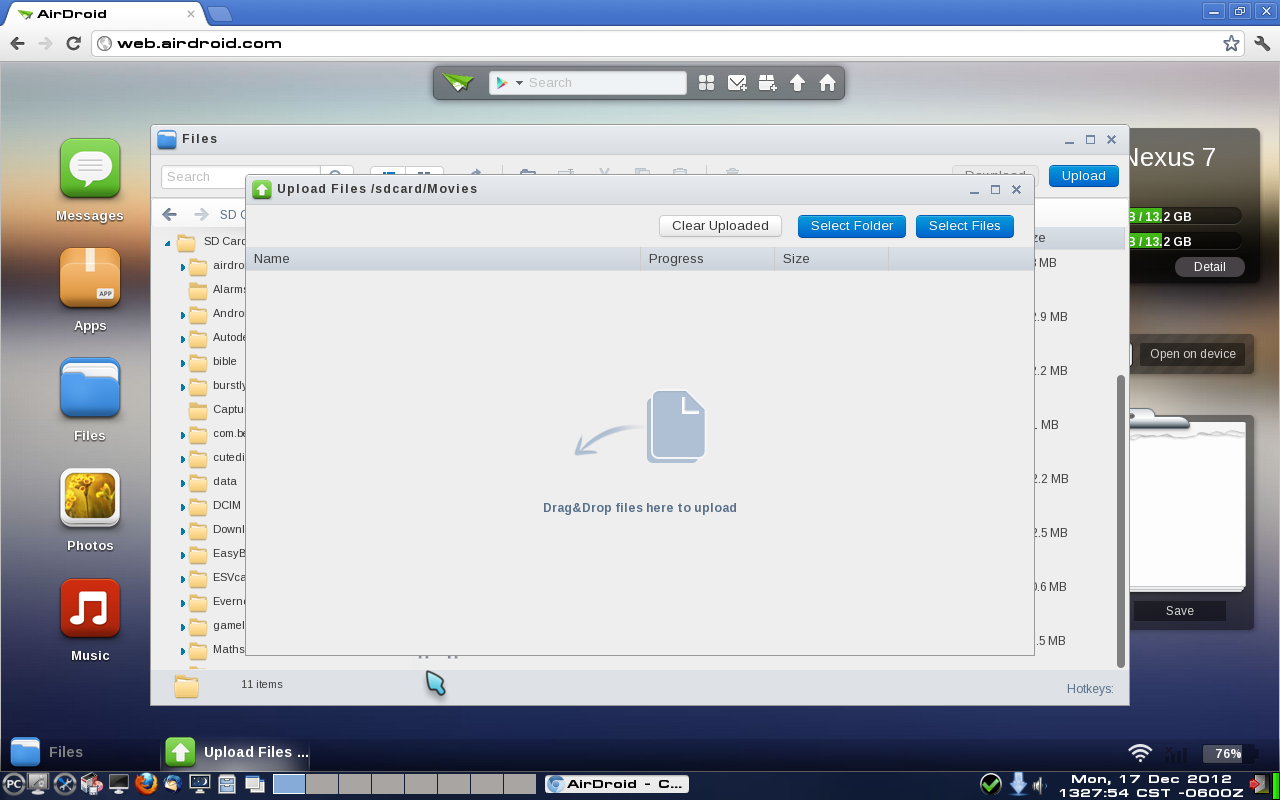
When the “Select Files” button is clicked, a PCManFM window opens on my system (you may see Dolphin or whatever file manager is your default depending on which desktop environment you are running.) The next shot shows that with file names blurred out.
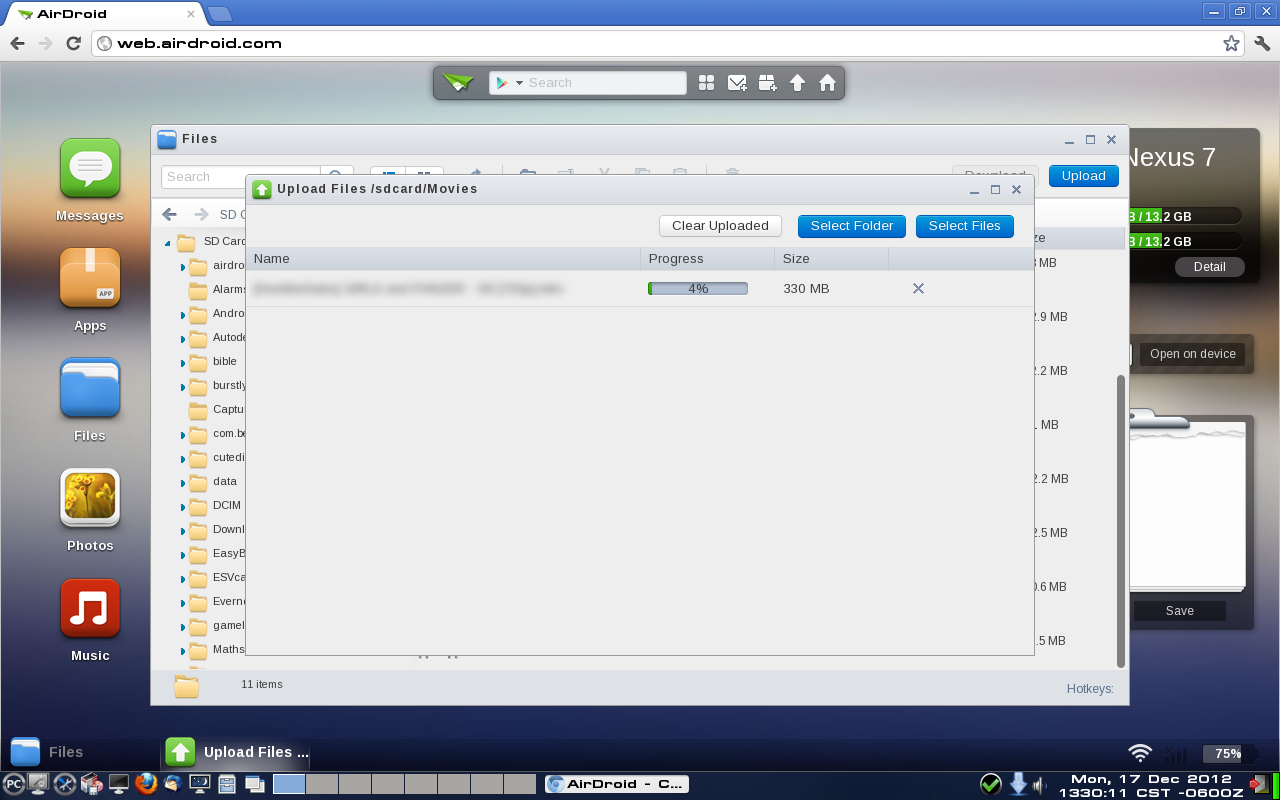
The next shot shows the upload dialog with progress bar indicating the file I selected is uploading. It is also possible to upload multiple files simultaneously by the usual selection methods in this window.
Once file moves are completed, exit from the Airdroid app on the tablet. (Press the back button at the bottom of the tablet’s window to bring up the “Exit Airdroid?” dialog and tap Yes to exit.)
The screen on the client will update to show the following message:
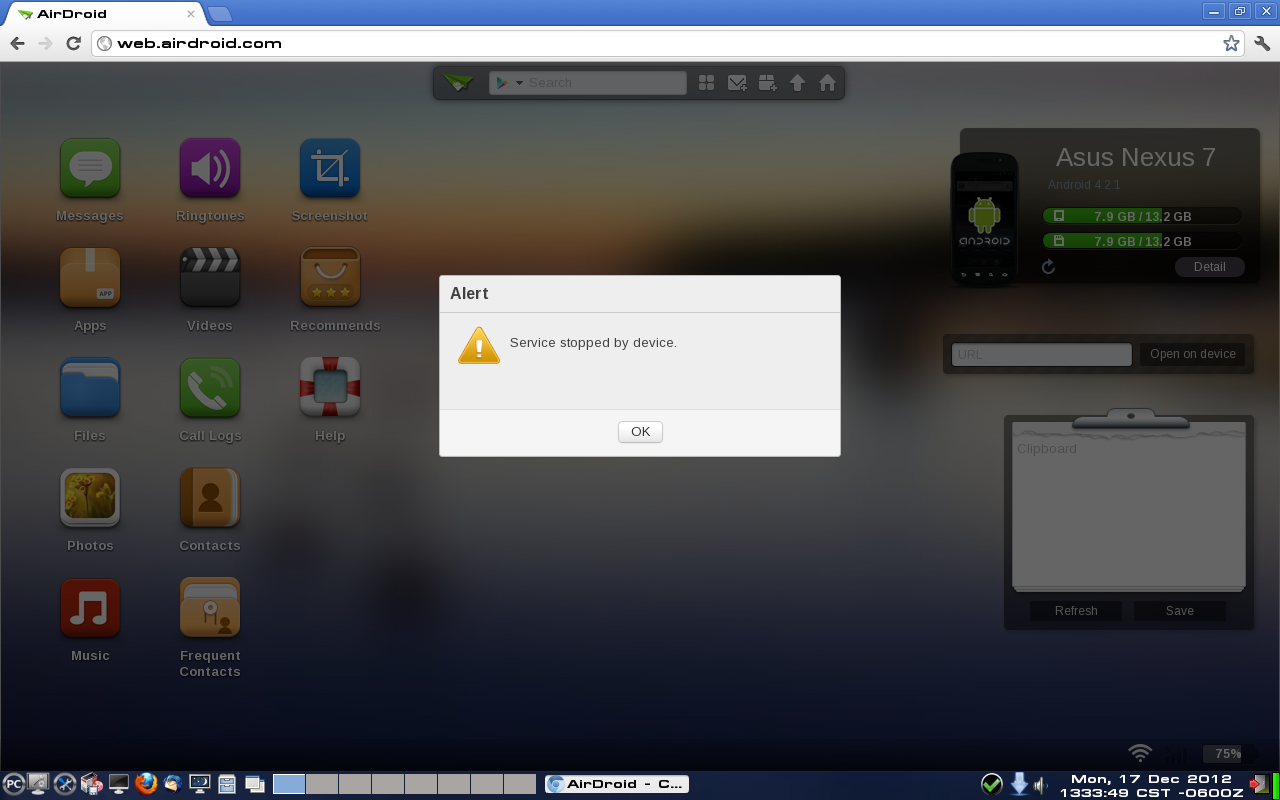
Now close the window or tab in Chromium for the Airdroid client on the computer. This completes file transfer operations.
There are other things that can be done from Airdroid, but I have not yet had opportunity or need to try them, and so, can’t comment.
Summary
Of the two methods I give here, direct cable connection is the faster. Neither method is as reliable nor as simple as I would like yet, but they do work with patience and a little persistence.
While I’m wrapping up, let me just mention a few Android apps I am finding I can’t live without:
- Airdroid - a free file transfer app, which I’ve just scratched the surface on here.
- MX Player - a free video player that rivals any I’ve seen for versatility and ability to play darn near any format or encoding. (Hasn’t failed to play even anime’ vids with Hi10P encoding!) {Note: ad supported, but not too heavy-handed.}
- Olive Office Premium - a free office suite that is capable of editing and viewing Microsoft Office files (which I can’t avoid using at work!) Note that if you don’t need editing ability, they also offer a viewer-only product (Olive Office Basic) that is optimized for viewing. Both handle PDFs well, too.
- File Expert - a free file manager with lots of features.
- File Commander - another free file manager I like a lot.
- Business Calendar Free - a free calendaring app that links in nicely to your Google Calendar. Can do multiple recurring events, and multiple reminders on events.
- Linux Pocket Guide - under $3.00 from O’Reilly Media, this is a handy app mimicking their popular back-pocket guide to everyone’s favorite free operating system. (Be careful searching for this one - there’s also a book that goes for just under $7.00 with the same content as this app.)
- Linux/Unix manpages - just what it says. Very useful, and yes, it is free. Who says there’s no such thing as Santa Claus?
- Fantasy Defense - I couldn’t wrap this up without a game to kill time between kernel compiles, now could I? Fantasy Defense is a completely free and free to play tower defense game which uses anime’ characters (always a big plus for me). It is addictive, richly appointed with stunning graphics, complex levels, and a wide variety of advancements and upgrades all available in-game. You can spend money to buy items, mana or gold points, but the game is completely playable (and winnable) without doing that, and it’s actually rather fun. Free for the downloading, as are all my picks here.
All of these are available at the Google Play store. Go get ‘em, kids! They’re cheap! (Most of them are free!).
My
next experiments will involve transferring data using an
On-The-Go cable and a USB flash drive. I’ve heard it can be
done, and might be even simpler than these two methods. If so,
I’ll do a follow-up at a later.