
| Previous
Page |
PCLinuxOS
Magazine |
PCLinuxOS |
Article List |
Disclaimer |
Next Page |
Inkscape Tutorial: A Torn Paper Effect
|
|
by Meemaw If you are like me, you want all your projects to look crisp and perfect, even around the edges. However, sometimes you may want a "weathered" effect on something you are creating. I scrapbook a bit - gotta chronicle the growth of my grandchildren, and make sure past memories are recorded for the future. Sometimes your design calls for a more antique effect. This tutorial is to give the effect of torn paper on the edge of a printed photo. Scan and save your photo. Open Inkscape and import your photo. As it has been repeated many times, always work on a copy so you don't lose your original, but once it is imported into Inkscape, you are working on a copy, so your original will remain unchanged. Before you do anything, create a rectangle the same size as your photo. Remember, when your photo is chosen, the dimensions are in the bar above your project. Just create a rectangle and change the dimensions to the same height and width as your photo. Make the Fill Black and Stroke none. Put it to the side to use later. Using the pencil tool, draw a box around your photo, cutting across the corners or sides where you want the edges to look torn. Draw a second one, and overlap the line on the first box, so they are kind of wavy back & forth. On my photo, the top right and bottom left corners are going to be frayed the most. Notice my lines cross in a few places. 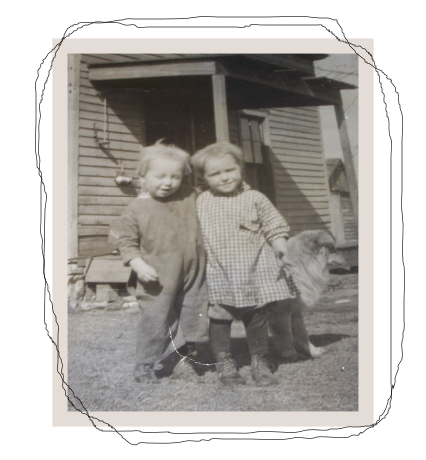 The next step will be done to both lines. We want to make our curves more jagged, so it will look like a rougher tear. Choose both lines, then click Extensions > Modify Path > Add Nodes. You will be asked whether you want to add by segment length or segment number. Choose segment length and change that to 5 px. Click Apply, then Close. Then, with the same line chosen, click on Extensions > Modify Path > Jitter Nodes. You will be asked about displacement. I put 2 px in each space and left the rest alone. Click Apply, then Close. In the example below I have only done one of them so you can see the difference. 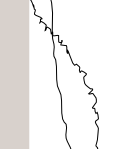 We are going to use one of these lines to "cut off" part of our photo. Choose one of the lines and duplicate it, setting the duplicate aside. (We'll do enough duplicates here that you can probably use the keystroke <CTRL> + D faster than you can click on Edit > Duplicate.) Choose the same line that you just duplicated, and then the photo (hold the Shift key to choose the photo), click on Object > Clip > Set. Any corners outside the line should now be gone. 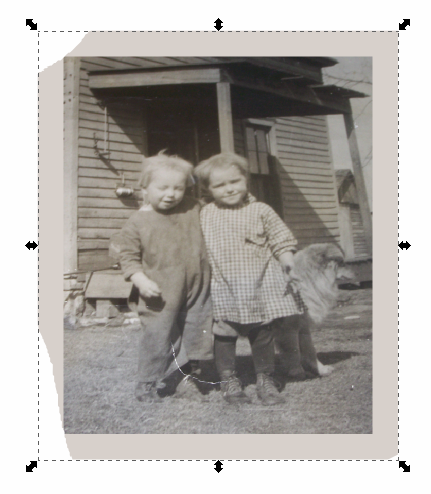 Using the same line you just used, change the fill to black and the stroke to none. Set the blur on it to 0.5, and send it down behind the original. Duplicate it, and on the duplicate, change the fill to something similar to your photo's border, and change the stroke to none. Align those two with the lighter one on top, and slide them under your photo with the lines matched up. That is going to give a little shadow to the torn border of the photo. These three objects can be grouped so you don't have to line them up over and over.  Just as a reminder, the Selection toolbar, just above your project, is activated when your Selection tool, or cursor is chosen. It has the Levels buttons, so you can stack things in a certain order. From left to right, you can Lower to Bottom, Lower One Level, Raise One Level, or Raise to Top. We'll use these many times while we're working on this project.  Many photos have two layers of paper, and when they tear, the layers tear in different spots. Using the second line you created will give this effect. Duplicate your photo, and the line, and slide the line off to the side. Using this line and photo duplicate, click Object > Clip > Set again to cut off the corners in different spots. Slide it back over the photo you did earlier. Then, click on the line duplicate you just made, set the fill to something just a bit lighter than the photo border, and the stroke to none. Duplicate it again, and on the duplicate, set the fill to black, stroke to none, and set the blur to 0.5. Line these two up with the black underneath and group them, then send them to the bottom. Then slide them behind the photo where you want them. You can group these as well.  Now you need to position these photos directly over each other. I should be fairly easy with some of the corners cut off, but you probably need to zoom in on your edges and use your arrow keys to move a pixel at a time. 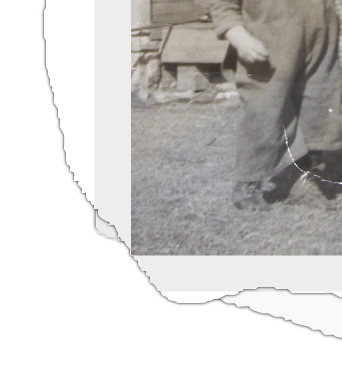 Position the black rectangle you created earlier over the photo and make sure everything is lined up. Using your cursor only, click and drag around the edges of your project to select everything, then click on Object > Clip > Set again. Your photo should now have straight sides again except for the torn parts and the torn parts should look like they have a little shadow around the edges.. 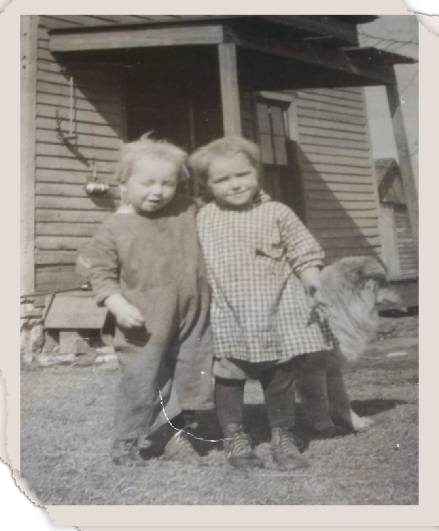 Some of this may have been a bit difficult, and I hope your photo came out the way you wanted it. As with anything, practice helps. This torn paper effect can be used other places too. Your only limit is your imagination! |