
| Previous
Page |
PCLinuxOS
Magazine |
PCLinuxOS |
Article List |
Disclaimer |
Next Page |
GIMP Tutorial: Tree Silhouette In Sunset, Part 1
|
|
by Meemaw 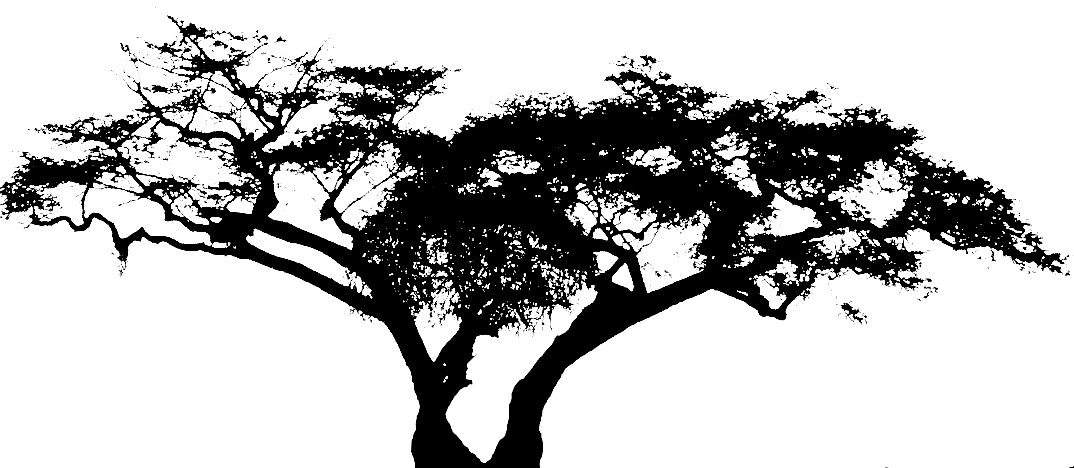 This month we will make a silhouette of a tree using Gimp, then next month we will put a sunset behind it using Inkscape. I was sent this tutorial and it looked really fun. You can use one of your own photos or download one from a free site, making sure it is legal to use it. I downloaded five from Google Images, and then looked at them together to see which one I wanted to use. 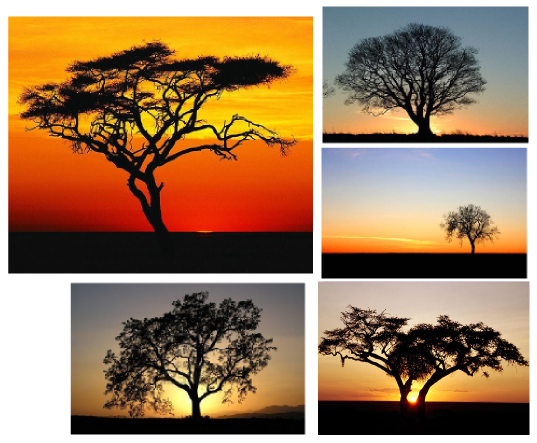 When you find the photo you want to use, open it in Gimp. I think I want to use the one at bottom right. 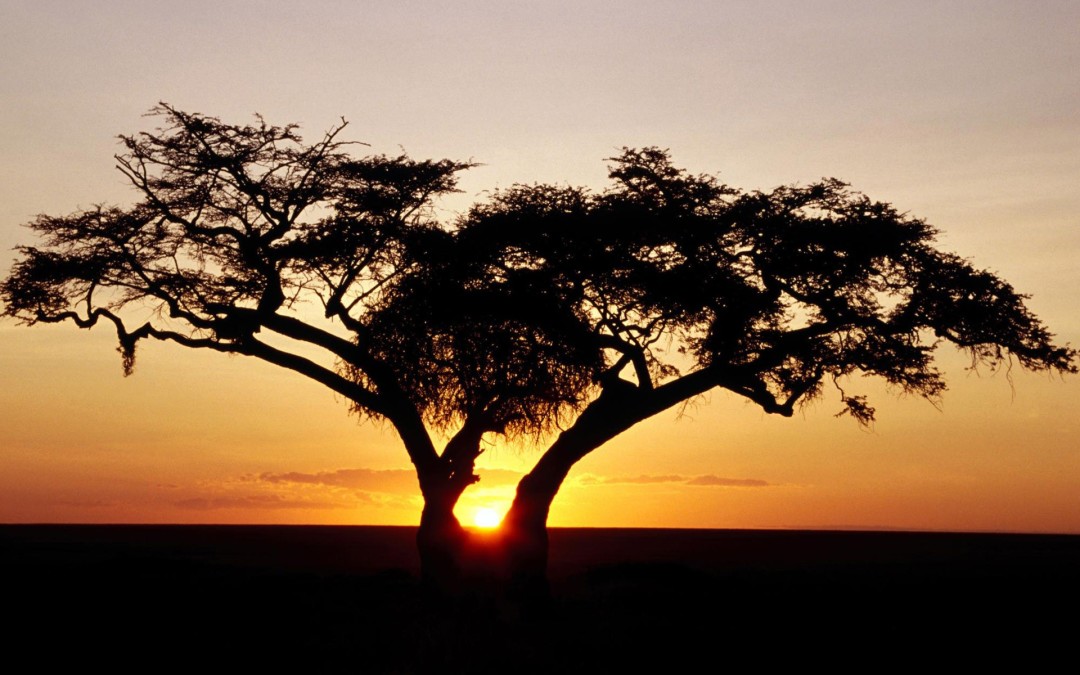 Crop the photo down to only the tree. Yes, my Gimp workspace has a grey background. 
Now we will start adjusting the color, so click 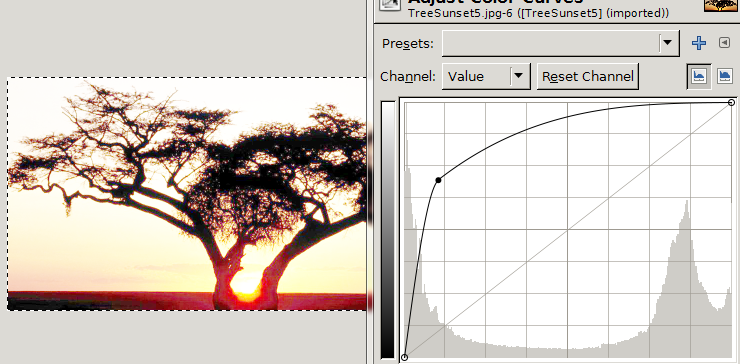 There are several methods that will remove the background but let's use the Clone tool. Clone everything you don't want the same color as the sky so you only see the tree. Notice that I have some sunlight in the center of mine. I will want to clone that as well.  Now that I'm finished cloning you can see what I have left. I know it looks a little red, but we'll fix that soon. 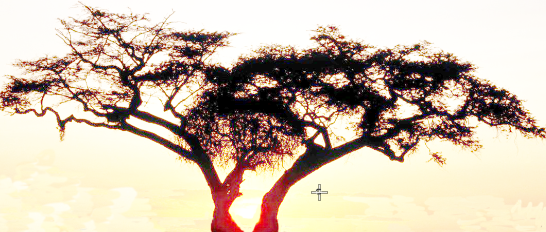 Now, click on Colors > Brightness-Contrast. Change the Brightness and Contrast up by moving the sliders to the right. Increasing the brightness make the background lighter and increasing the contrast will make the tree darker. Keep an eye on your tree, though, because just sliding everything clear to the right may cause you to lose the detail in your tree. Mess with it a bit and discover the settings that look best to you. Every photo is different too, so my settings probably won't work for your photo. 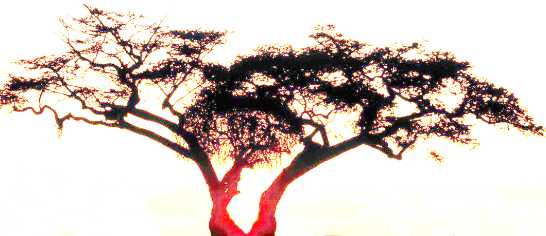 Click on Image > Mode and change it from RGB to Greyscale. 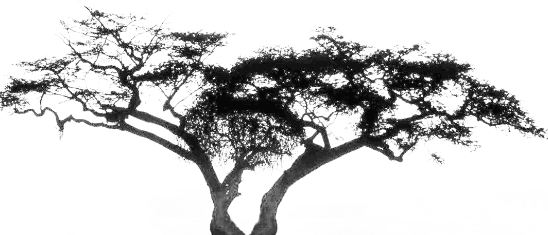 Notice that part of my tree is grey and not black. Now we will go back to Colors > Brightness-Contrast and adjust again. This time we will adjust the brightness down, and the contrast up. Make the brightness -100, and the contrast 110. There's your silhouette.  Sometimes we can sharpen our image just a bit. Click on Filters > Enhance > Sharpen and see if it helps, because sometimes it doesn't. It didn't make any difference on mine. Save your tree, and then export it as a picture file. I usually use .png or .jpg. Next month we will finish this project with Inkscape. |