| Previous
Page |
PCLinuxOS
Magazine |
PCLinuxOS |
Article List |
Disclaimer |
Next Page |
LibreOffice Tips & Tricks: LO Draw
|
|
by Meemaw We have learned many new things in this series. This time we will look at LO Draw. There may be some things you can use to make drawing easier or add a little spark to your creation. In LO Draw, each page can also be called a slide, just like in LO Impress. The window layout is similar as well, having a page/slide list in the left column and having a workspace with the currently selected slide in the center. You will notice that there are more drawing tools all around your workspace. I'm sure you probably know what most or all of them are, so we won't go into them in any depth. You can always refer to the OpenOffice Draw article I did earlier, since all of the tools are the same. They may not be in the same spot, but you will see them all. There are some tools that we didn't look at before. Duplication Sometimes in your artwork, you create a certain figure, but you find you need several copies, all exactly the same size. Maybe you are creating a cartoon and need callouts, or speech bubbles.  Make sure your shape is the size you desire, then click on Edit > Duplicate. A window will pop up asking you how many duplicates you want. You will also be able to designate how they should be spaced out, if necessary. 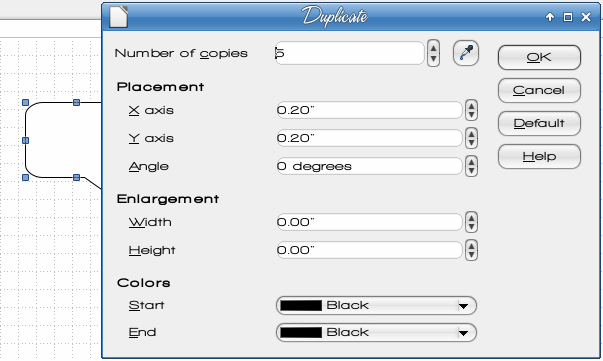 I finally decided I wanted 5 copies, and left the placement at .20" each, and left everything else the same, although you can make each copy a different size, color and angle. 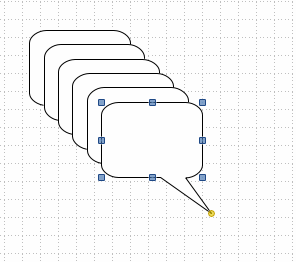 Now you can move these around wherever you want them. They can also be manipulated as usual now, if you have decided you need one bigger, smaller, rotated or flipped. Merge Shapes Sometimes you want a shape that's more complicated than what is available in the program. For instance, LO Draw can be used as a tool to do a simple floor plan. If you just want to plan your office arrangement, but not build a house, you could use LO Draw rather than SweetHome3D or something similar. But how can you draw the walls and have the shapes stay together if you move the drawing on the page? In the example below, I drew two rectangles, 7" x ¼" and overlapped them at right angles to each other. (I made the borders heavy so they could be seen.) 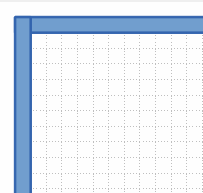 These can be combined into a single figure by clicking Modify > Shapes > Merge. 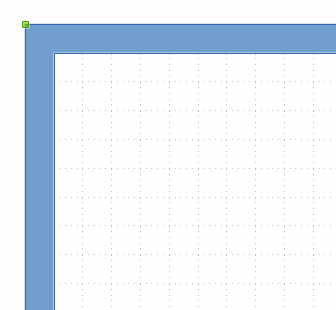 This figure can now be moved easily. You can merge any number of objects to make your walls, or merge a couple of different shapes to make furniture or something else. 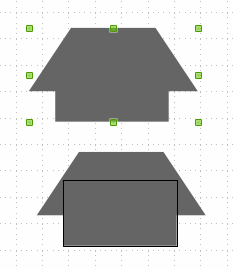 However, if you design an object that needs to remain two different colors, you should Group them rather than Merge them. Use Modify > Group to be able to move them together easily. I made an image of a computer desk that has a shelf on the lower side for the tower. I wanted both parts to show independently, so I grouped them (see the office plan later in this article). I also made a representation of a swivel chair by placing a circle under one chair and grouping, mainly so the two chairs look different. Cross-fading Cross-fading is an interesting effect by which you can "morph" one shape into another. Create two shapes, select them both, then click Edit > Cross-fading. You will see a window pop up with three settings: how many steps you want from one shape to the other, whether or not you want the colors (attributes) to cross fade or not, and whether you want the figures to have the same orientation or look twisted. 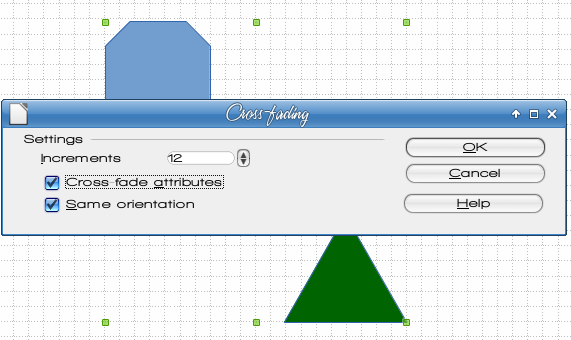 The result of the settings shown is below. This results in a group of objects, which can be un-grouped (Modify > Ungroup) and can be manipulated one at a time. 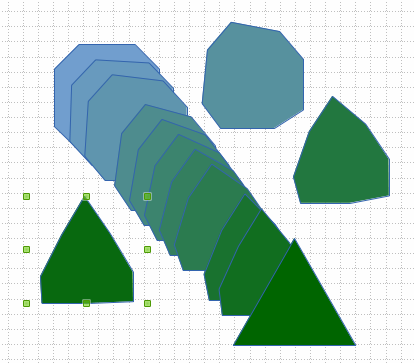 Splitting drawings on multiple layers Many graphics programs allow you to put objects on more than one layer. LO Draw is no different. This can be very handy if you are working with several objects and want to move them around, but want other objects to stay in one spot. In the case of our room arrangement above, we can put the walls on one layer, then create a new layer for the furniture. In the example below, I have made four walls using the merge command, then filled them with hatching rather than blue. I will then create another layer and switch to it to create the furniture. I have enabled the grid in the background (View > Grid) to help me with the scale drawing. My grid has a line every .25 inch (like the old graph paper my math teacher made me use!) 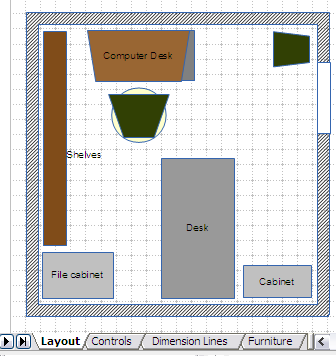 I added a layer named Furniture. Notice that there are already three layers (they show up as tabs at the bottom of the workspace). The Layout, Controls and Dimension Lines layers are default in the program. From the LO Help screen, "You cannot delete or rename the default layers. You can add your own layers by Insert - Layer. The Layout layer is the default workspace. The Layout layer determines the location of title, text, and object placeholders on your page. The Controls layer can be used for buttons that have been assigned an action, but that should not be printed. Set the layer's properties to not printable. Objects on the Controls layer are always in front of objects on other layers. The Dimension Lines layer is where you draw, for example, the dimension lines. By switching the layer to show or hide, you can easily switch these lines on and off." You can use those layers or add one or more of your own. I used the Layout layer for my office walls, and added a layer for my furniture. Now I can move furniture around as I desire. To lock a layer, simply right-click on the tab with the layer name and choose Modify Layer. You will get a small window with the layer attributes, including a checkbox called "Locked". Simply make sure that box is checked and the layer will be locked. You won't be able to modify or add anything on that layer. Something else I discovered in my experiments is the ability to add text to any of the figures. Double-clicking inside the gray rectangle, for example, gives you a blinking cursor, and there you can type "Desk" into the center. 3D Text While we are talking about text, it's fairly easy to create 3D text in LODraw. Create a text box on your page, and type your text into it. Make sure your spelling is correct because you can't correct the text after it's converted to 3D. Choose the font you desire. When you get it edited as you like, right-click the text box and choose Convert > To 3D.  Black text doesn't look real good when converted, so you should probably change the text color if you haven't already. My font is one I downloaded called A.C.M.E. Super Agent. 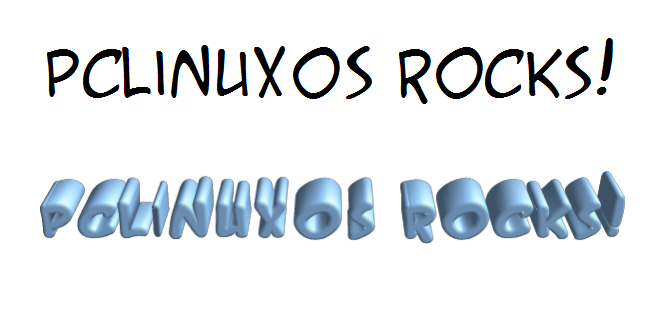 You can right-click the 3D text and open the 3D Effects window. Play with the settings to get what you want. Also, double-click the text itself for the rotation handles (they are red dots). The corner ones rotate the text, and the other ones change the perspective of the 3D.  We've seen several methods to bring variety to your drawings, and I hope you have learned some new tricks as well. |