| Previous
Page |
PCLinuxOS
Magazine |
PCLinuxOS |
Article List |
Disclaimer |
Next Page |
Enhance Your Home Brews With Brew-Target#, Part Two |
|
by loudog For this tutorial I will select one of my special recipes. Note: Brewing alcoholic beverages at home may not be legal in your area. Please check your local laws before brewing. 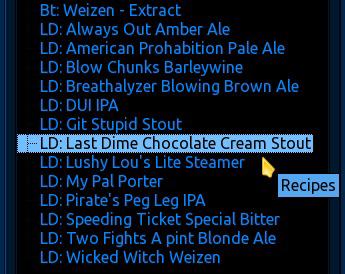 Now that the recipe has been loaded, let's check the style parameters. 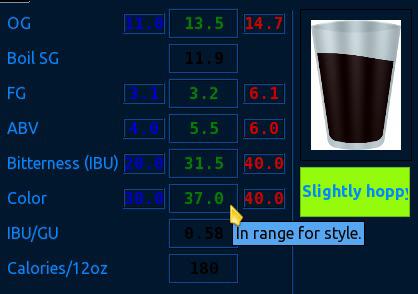 OK. Everything looks within the style parameters so let's get started. We will begin by selecting the brewday tab and see what step 1 has to say, but first some pre brew day orders, aah, I mean, information. For your first brew, plan on having at least 4 hours to set up, boil your brew and to clean up the mess. Make it easy on yourself, allowing plenty of time with as few distractions as possible. Don't worry too much about mistakes as extract beer brewing is generally very forgiving, and many a great recipe has been discovered through mistakes. Keeping a log of everything you do, including the mistakes, will enable you to recreate the recipe again if it turns out to be an exceptionally good brew. Remember, this is an extract brew, much easier and more forgiving than the traditional all grain brew, the perfect, "first brew". 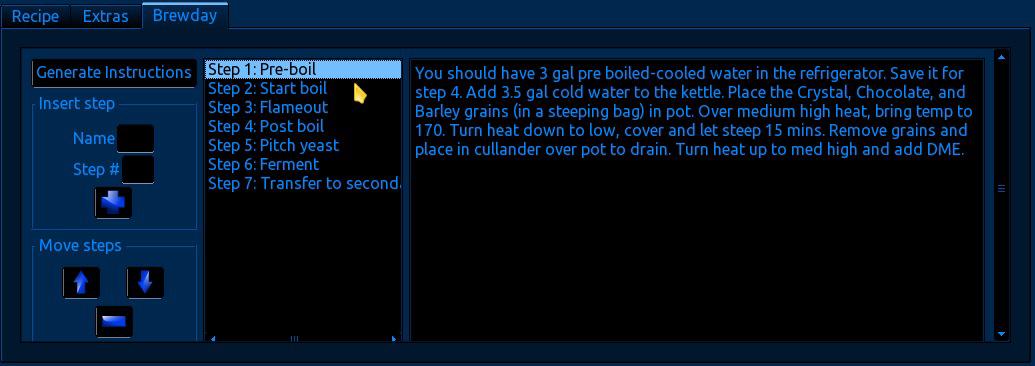
1) Yeast preparation: Remove your yeast from the refrigerator 1 hour before you start. It's important to let the yeast warm up gradually to room temperature before you pitch it into the wort. 4 to 6 hours is ideal.
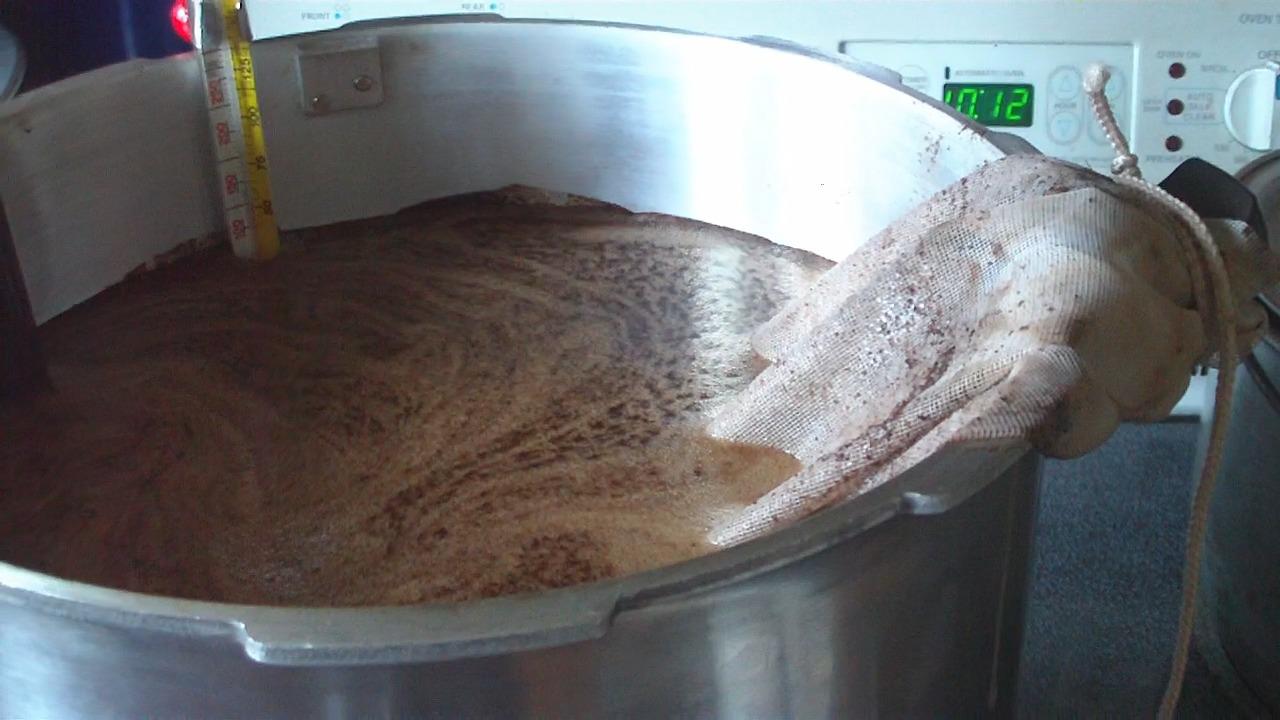 3) Dissolving the malt extract: After you have steeped the specialty grains, remove the bag and allow it to drain into your pot. I use a metal colander over the top of the pot for this. Do not squeeze the bag out, as this will release unwanted tannins into the wort. Throw the steeped grains away or compost them. While stirring briskly, pour in the malt extract and mix until dissolved completely. Any undissolved extract will settle to the bottom of the pot and possibly burn or caramelize. This is undesirable, as it will alter the final product quality, possibly for the worse. 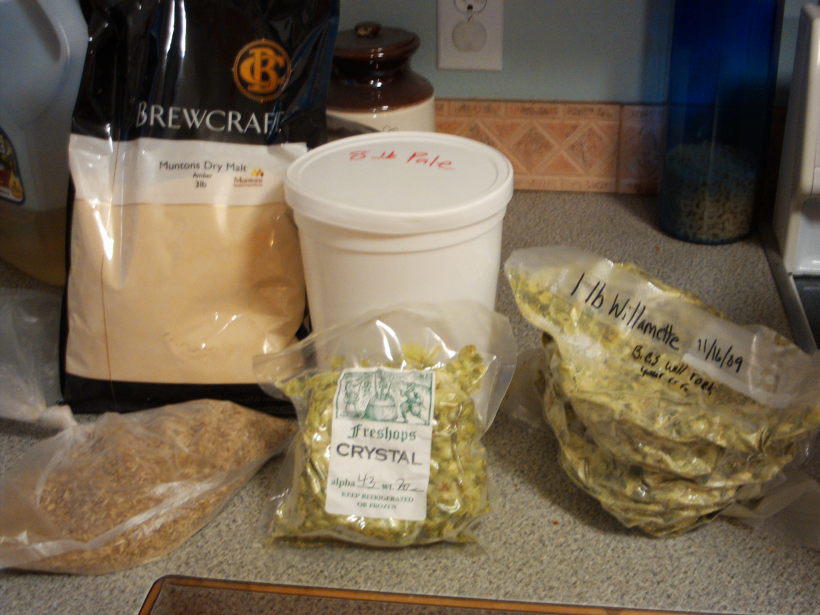 Lactose is a sugar derived from milk. Yeast cannot convert this type of sugar to ethanol. It is used to make some cream and stout beers sweet. Now that we're done with this first step, let's see what the second step has for us. 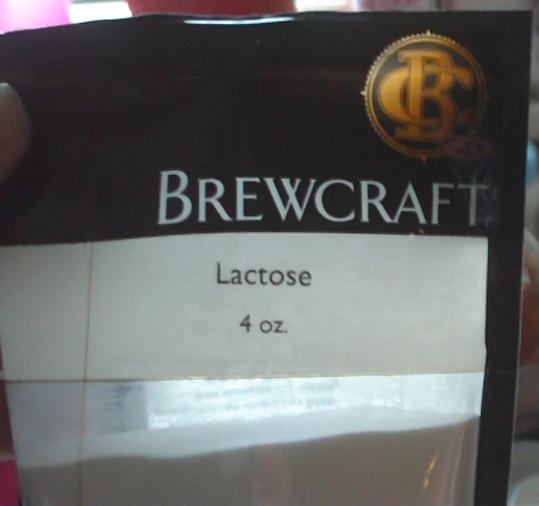  4) Boiling the wort: You may be tempted to try bringing the wort (beer without yeast) to a boil over high heat, thinking as long as you stir constantly to avoid burning, it will be OK. This is not recommended, as the chances of a boilover are substantially increased. It's best to use medium high. When the wort starts to boil, reduce the heat a little to avoid a boil-over. The potential for boil-overs is high, so find the sweet spot with the heat. After you are comfortable with the pot boil, add the bittering hops. Now you may set the timer for the additives. 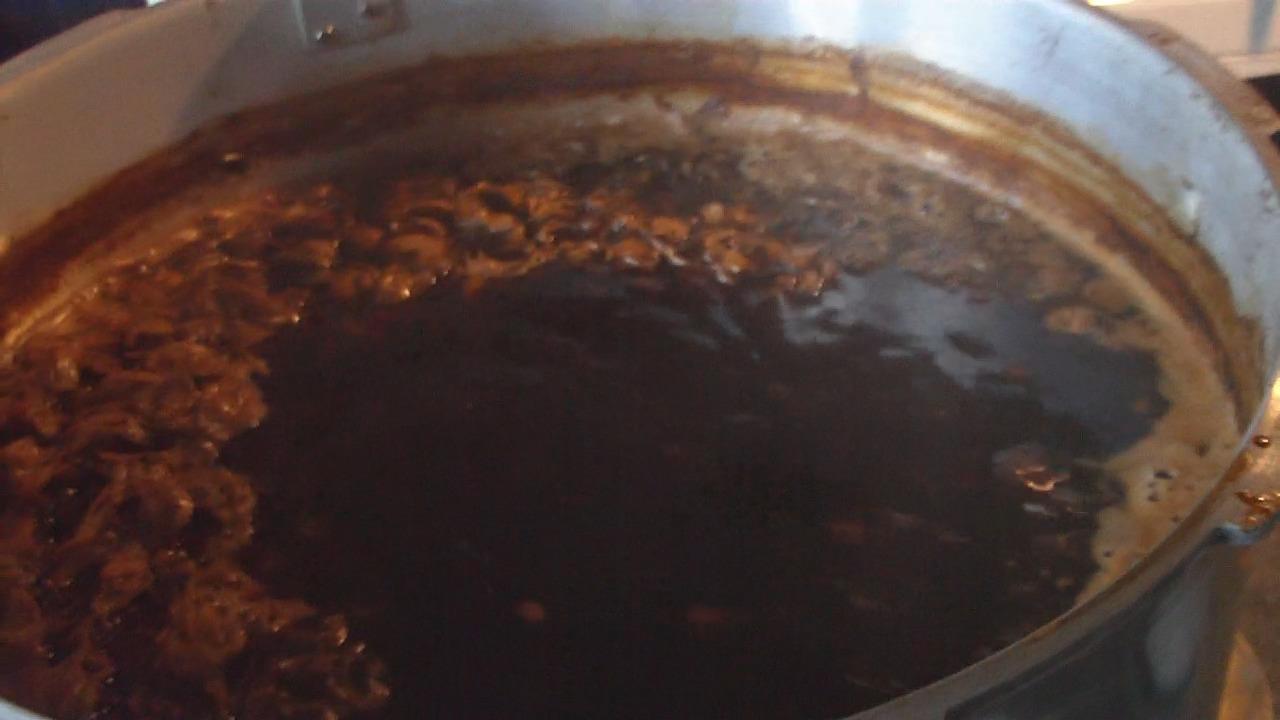 Note: some recipes call for longer boils and different timings for hop additions, additives etc., so some adjustment may be necessary for your particular recipe. Warning: leaving a boiling pot of wort unattended is risky, you may return to a substantial hot sticky mess that your significant other will not look upon favorably (you will instantly recognise..... the look), possibly putting the skids on future brews, not to mention that caramelized malt extract is very, very, very difficult to clean up! Take it from someone who knows. Generally speaking, once is enough to learn your lesson. At the beginning, the boil coagulates the proteins into a cruddy sea-foamy kind of floating crust, which is called the hot break formation. This is important, so the beer can be relatively clear of solids in the end product. The cold break, another important phase for clarifying the beer, happens later. The hops are weighed on a digital scale before adding. 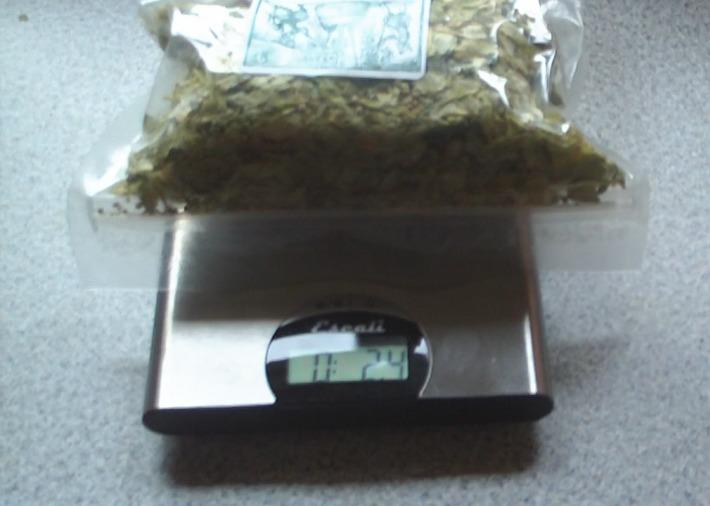 5) Adding the hops: In beer, hops add bitterness, flavor and aroma. The longer a hop is in the boil the fewer flavors and aromas it will provide as heat degrades the flavor and floral qualities of hops as the lupulin oils isomerize into bitterness. Also, the longer a hop is in the boil the more bitter the beer will become. Hops added for 60 minutes will produce only bitterness. Hops added at the last 15 minutes of the boil will produce a minimal amount of bitterness, lots of hop flavor and a little aroma. Hops added at the last 0 to 10 minutes of the boil will add no bitterness, very little flavor and lots of aroma. Add your hops according to the times and amounts listed in the recipe. Be sure to stir in the hops, making sure they are fully saturated and rolling with the boil. Hops that are not fully saturated tend to float at the top and create a thermal blanket, a common cause of boil overs. 6) Irish Moss: Irish moss is not Irish or moss. Then what in tarnation is it? It is a seaweed. It helps coagulate proteins in the wort during the cold break to further clarify your beer. As a general rule, add the Irish moss to the last half hour of the boil, if the recipe calls for it. I have had good results without it, but for a light steamer beer, or amber ales, it does make a noticeable difference in the final clarity. 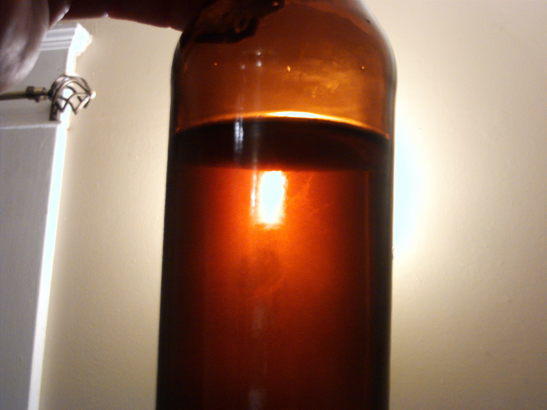 7) Gypsum: Gypsum increases the hardness of water and aids in the clarification process. Gypsum also helps to accentuate hop profile. Depending on your local water chemistry, you may or may not need to add this. I have had undesirable results on each and every occasion I used this in a DME (dry malt extract) and LME (liquid malt extract) recipe. Note: In my opinion, this product is more targeted toward all grain brewing and Brew-Target# reflects this. You see, the reason that there are many different styles of beer originated mostly from water chemistry. A beer brewer would move to a different location, brew up a batch of traditional beer, only to find it was terrible. With experimentation, he would change different parameters of the recipe until he found something that would produce a palatable product. In all grain brewing, (the traditional brewing method) water hardness and pH could and would change everything. The first pilsner came about this way. If memory serves me correctly, the pilsner fiasco is when they started to examine the water as the possible cause of traditional recipes working in one geographical location and not the other. All grain brewing is an art unto itself and my hat goes off to all who brew using this method. Step 3 says stop boiling the wort. Easy enough. So, all knowing Kenobi, what next? Let us consult Brew-Target# for step four, shall we? 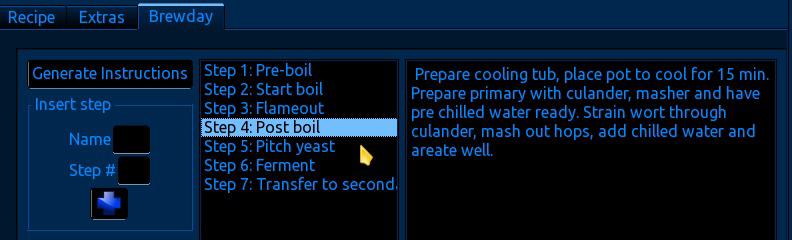 Now before we get to the wort cooling information etc, it's time to discuss, 8) Sanitation: The primary fermentor needs to be sanitized just prior to using it. There are many commercial grade sanitizers on the market for brewing, and they all appear to work well. I have had excellent results just using pure grain alcohol (190 proof) on a rag or in a spray bottle and wiping things down and or soaking them thoroughly. This is my preferred method and have never had an infection since I started using it. Chlorine bleach is not personally recommended but I know it is used by some brewers. Sanitation is important especially with beer as the wort is not usually as acidic (pH of 5.5 - 6) as say a wine must or a whiskey mash, so bacteria tend to really love the worts. On the other hand, yeast enjoy a rather acidic environment, with some whiskey mash and rum wash recipes having a pH clear down to 3.5. Yeast will compete with the bacteria for the food in the wort. Yeast double their colony size about every three hours whereas bacteria will double every 30 minutes or so. Sanitation gives the yeast an edge in this race. The yeast wins the race by converting sugars to ethanol and carbon dioxide which kill the bacteria before they can spoil the wort. It's important to sanitise the fermentors. Be sure your fermenter bucket is food grade quality. 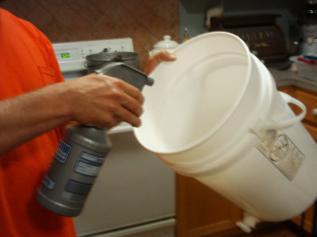 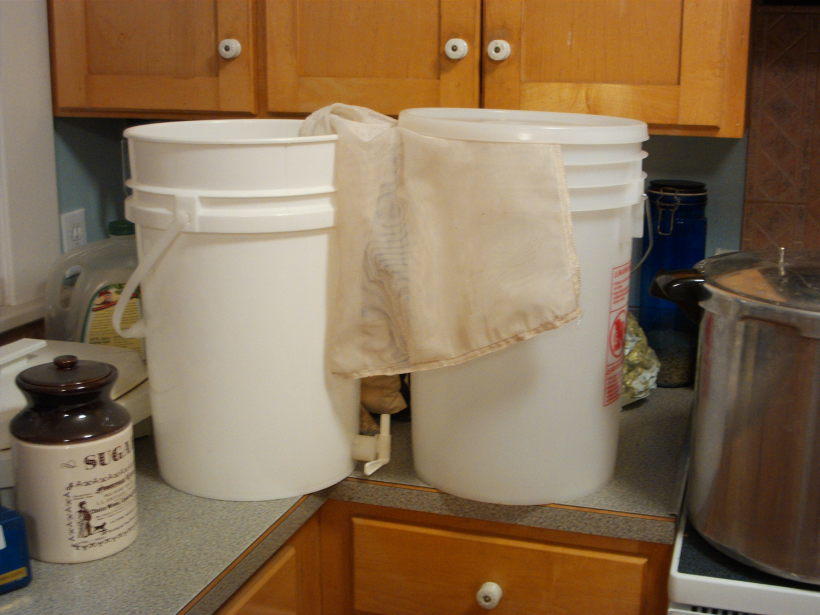 9) Cooling the wort: When the boil is done, it is time to cool the wort. At a certain temperature the solids in suspension suddenly cling together and precipitate to the bottom of the fermentor. This is known as the cold break. If the wort is too hot it will kill the yeast. We want a temperature of 68 to 75 degrees (ideal) although I have pitched yeast up to 80 degrees without any problems as long as things were sanitised properly. Now we are back to the yeast vs the bacteria race again. Bacteria love the 90's and really hit the race a running at those temperatures, but slow down drastically as temperatures drop, whereas yeast stay at a good jog from 68 to 78 degrees. Henceforth the need to give the yeast another advantage by quickly cooling the wort below 80. Typically, you can put the pot in the sink or bathtub with cold water or an ice bath. This works fine for most home brewers, but it takes a bit longer than I am comfortable with. There are many wort cooling gadgets out there too, and they all work fine, although some are rather expensive. This is how I do it on a budget. Start the water running in the sink or wherever you have decided to cool the pot so the water is as cold as it can be before filling it. Put the boil pot in the cold water and let it sit for about 15 minutes. 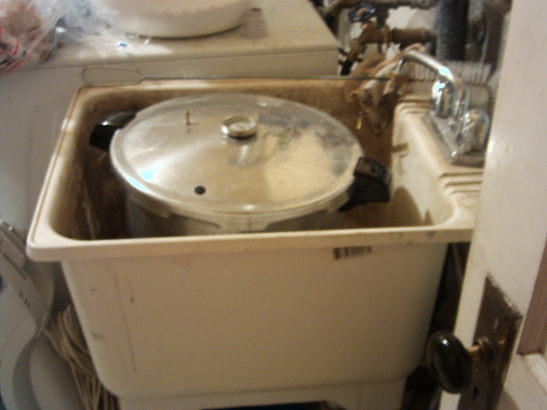 The primary fermenting bucket and a colander should be ready nearby. If you recall, we are trying for 5 to 5.5 gallons of beer and we only boiled 3.5 gallons of wort to begin with, so that leaves us with (minus hop absorption, steeping grains absorption and evaporation) 2.75 to 3 gallons of boiled wort. We still need three gallons of water. The morning before brew day, I boil three gallons of water, cover it and let it cool until evening. Before bed, I put it in the refrigerator. In the morning of brew day I put it into the freezer checking occasionally that it's not freezing. I take this prepared, sanitized, ice cold water and pour it into the primary fermenter, put the colander on top of the bucket, and carefully pour the wort through the colander. 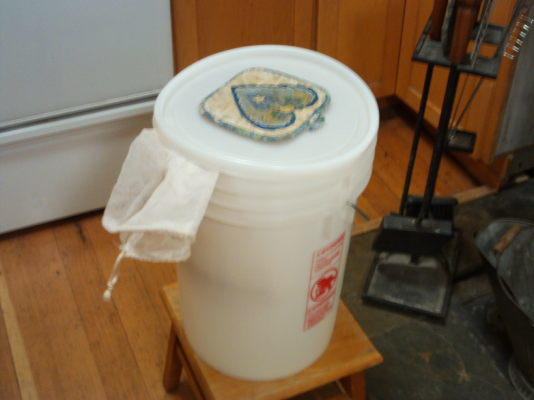 Using a potato masher, I gently press all the liquid I can out of the hops that are trapped in the colander. Then, removing the colander, I stir the bucket of wort fast and furiously for a couple of minutes to aerate. The purpose of aeration is that when you boil water, it loses oxygen and the quickest way to get it back is to stir it hard and frothy. The yeast need this free oxygen in the beginning of the race. You should now get a temperature reading of about 68 to 80. We have successfully completed step four.  This will bring up the subject of 10) Pitching the yeast. Yeast need free oxygen in the first phase of their life to grow quickly and multiply. This is called Yeast Respiration. Be sure that the wort is stirred to a froth before adding it. If in doubt, do it again. And again. During the fermenting process, the yeast quickly use up the available free oxygen and start looking for another source. That source comes from the sugar molecule. The yeast break the molecular bonds of the sugar molecule and harvest the now free oxygen molecule. That leaves a carbon dioxide molecule, an ethanol molecule and some others. 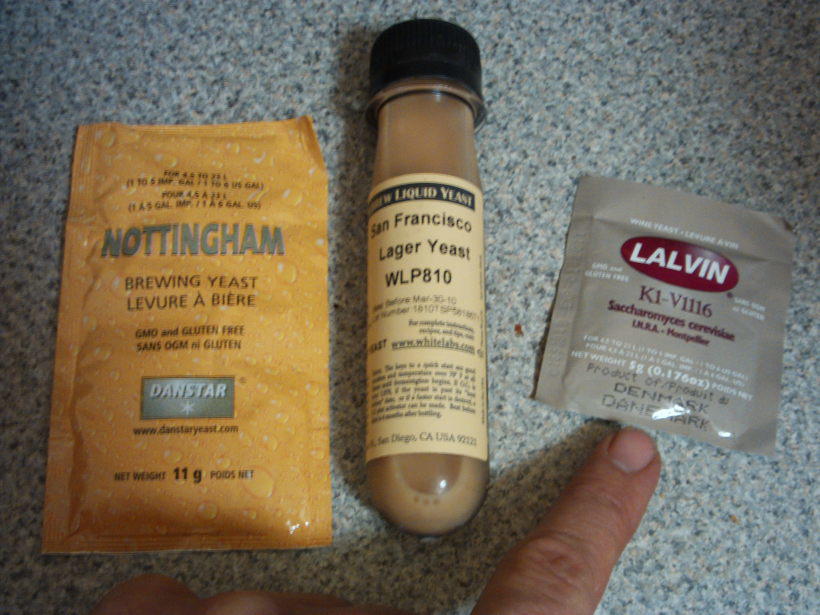 When the wort is properly aerated, pour the vial of yeast into it. If using dry yeast, sprinkle it over the top of the wort. Now that you have added the yeast, you have officially made beer. Snap the lid on the primary, add the airlock (don't forget to put water in it) and put it in a place where the temperature stays around 60 to 75. Step 6, per Brew-Target#. 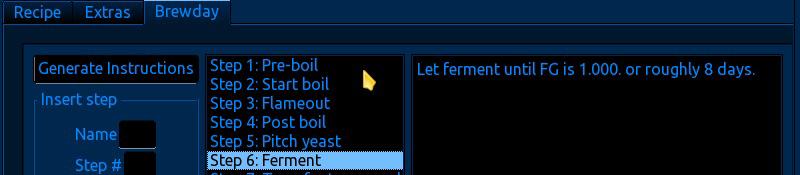 Final gravity is important in that, if the sugar has all been used up, then we know the yeast is going dormant. If you don't have a hydrometer or refractometer, you can take a small bit out with a sterile cup and taste it for sugar. This will not work very well for a sweet beer. Some brewers I know just leave it in the primary for a couple of extra days before racking it to the secondary. 11) Fermentation of your beer: Your ale yeast will be happier if kept out of the light. A dark shirt or paper bag wrapped around it will aid in this if you don't have a dark place for it. Check the airlock after 24 hours to see signs of fermentation (the airlock will bubble or something ... like this). 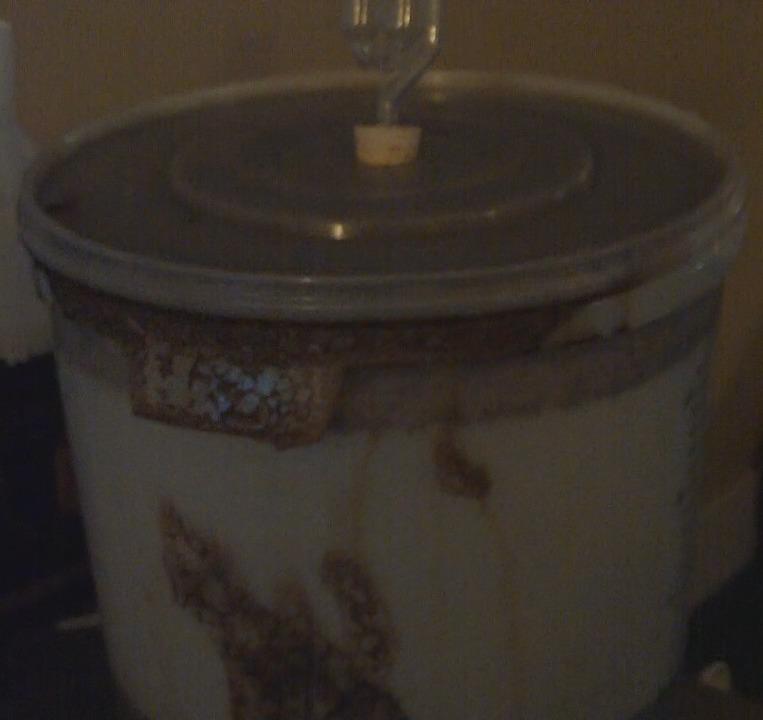 The forces yeast are capable of producing can be moderately explosive. Fermentation usually takes around seven to 10 days. After seven days, monitor the airlock, looking for the bubbles to come about one a minute or less. When this happens, you are ready to rack the beer to the secondary fermentor. It's pretty simple really, keep it warm, dark and let it sit. Our final step is step number 7. 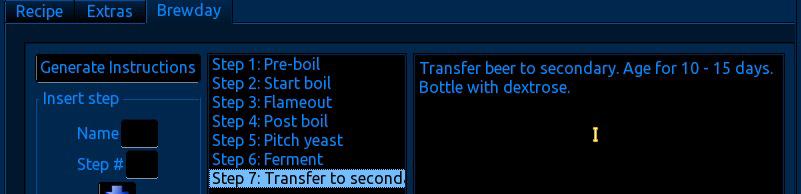 12) Secondary fermentor: Carefully siphon off the beer into the secondary, avoiding sucking up debris from the bottom of the primary bucket. This is called "Racking". Add the airlock to the secondary fermentor. This stage is for the mild aging and clarifying of the beer in a clean, oxygen free environment. This can last from a couple of weeks to a few months, depending on how clear your beer needs to be. This is why a glass secondary is preferred. Some of my primary buckets have a spout mounted a few inches from the bottom so I can transfer the beer that way, instead of siphoning, and they double as bottling buckets. Here are some pictures of transferring to the secondary and a full secondary (glass carboy) with the airlock in place.. 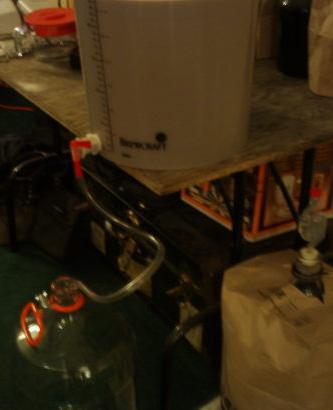 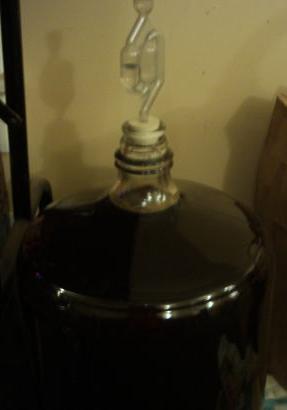 After the aging and clarifying stage is done, it's time to begin 13) Bottling your beer. Have ready at least 48 12 oz, or 33 22 oz clean sanitized bottles. The easiest way to sanitize bottles is in the dishwasher, just don't use soap. I usually shake up some 190 proof in each bottle. At this point your beer will be flat, without carbonation. To get the beer carbonated, we need to prime it with some sugar or DME (dry malt extract). In a saucepan, bring one quart of water to a boil, add ¾ cup sugar or 1 ¼ cup of dextrose (corn sugar) or 1 ¼ cup DME. Add 1 teaspoon of lemon juice (lemon juice is optional but makes for a creamier head). Boil for 10 to 15 minutes. Let cool. Now it's time to rack the beer into the bottling bucket. When racking from a carboy a racking cane is very useful. 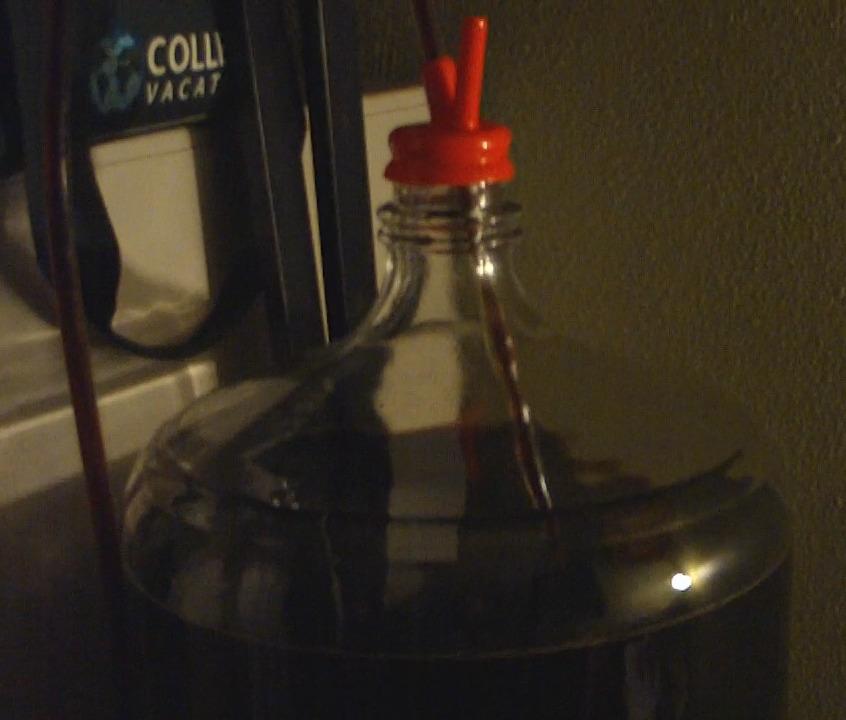 Remember to suck up about a tablespoon of the yeast from the bottom of the carboy into the bottling bucket. Slowly pour the priming sugar into the bottling bucket while gently stirring to ensure proper mixing. Using the bottle wand, fill each bottle to within 1/2 inch of the top and place a sanitized cap on it to avoid any contamination. 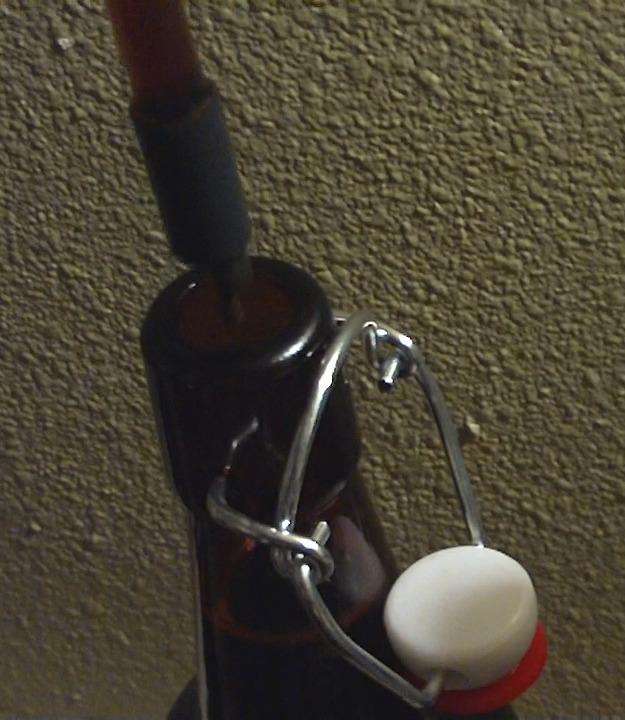 You will notice that when you pull the wand out of the bottle. it will leave some air at the top. This is called headspace. When all the bottles are filled, crimp or snap the caps in place depending on which style of bottle's you have.  14) Storing your beer: Keep the beer at room temperature for the first week to ensure proper carbonation. When the first week is over take one beer and put it into the refrigerator to cool before serving. If upon opening you hear the telltale pfffft sound then your beer is properly carbonated. If not, take each beer and give it a gentle shake once a day for another week and retry. I have never had a batch of beer fail the carbonation process.  15) Aging your beer: Beer requires some time in the bottle to mature, some styles longer than others. Age your beer in a cool dark place (45 - 60). Check the maturation time in your recipe. When you have reached the bottle aging minimum, take a beer and put it into the refrigerator. Taste it to see if it has matured. You will know if it hasn't. Wait another week and try again. Now beer is a funny critter when it comes to maturing. One day it tastes terrible, and a couple of days later it is totally awesome. I have experienced this very phenomenon. When storing your beer for periods longer than 6 months, it is important to refrigerate it to prevent spoilage. Beer does not have enough alcohol content to keep forever. The average alcohol content of beer is 4.5%. Winemakers know that an ABV (alcohol by volume) of 12% minimum is required to ensure long shelf life. Now crack one open, and enjoy what Brew-Target# has helped you make with your own hands! One final word of caution. While sharing your brews with Tux be advised, after a few he quickly transforms into SuperTux, ten feet tall and bulletproof, ready to save the planet from software slavery. |