| Previous
Page |
PCLinuxOS
Magazine |
PCLinuxOS |
Article List |
Disclaimer |
Next Page |
KDenLive Mid Term Review |
|
by loudog Hello friends, spring has finally sprung here, and although I'm not sure about where you live, chores are suddenly appearing as if out of snow-where. I am personally befuddled how I found the time, let alone the energy, to write this for the PCLinuxOS fans that read the monthly mag, but it simply appeared, like spring's tender shoots, from out of nowhere. Speaking of shoots, we have a special video for you this time, one that was specifically asked for me to create, in .... get this, "make it in that Linux thing you have on our computers." My wife's best friend, bless her soul, (in the pink blouse in the video) who has been using PCLinuxOS on my advice for about 5 years now, requested a video that could be featured in the mag with her and friend's permission. After such a long and stagnating winter, I feel it is time for a review of what we have learned so far and ask that you take some time to reflect on the important points I make. This will prepare you for some exceedingly intricate and detailed video editing tutorials in the future. In Part One, we discovered the basic functions of the GUI, how to import clips, add clips to the project timeline, download audio/video files from the open source library, create an intro and exit strategy, and stitch some videos together in a basic manner. The biggest reminder I would like to convey from Part One is the open source audio/video library. This resource has many, many items to use in the editing process, and is invaluable at times. So please, do not forget about it. 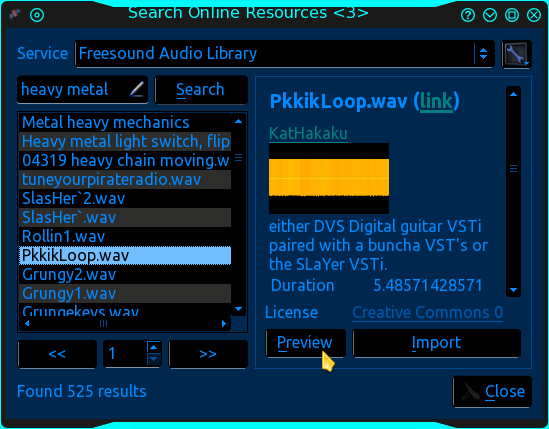 In Part Two, we discovered how to extract images from a video, how to expand the project timeline right down to the individual frames, how to extract particular zones from a video clip, how to split the audio from the video track, how to add an audio track for background feeling, and how to adjust the volume of the background audio for balance. I want to emphasize from Part Two, the importance of splitting the audio/video tracks for enhanced editing purposes in "future articles." 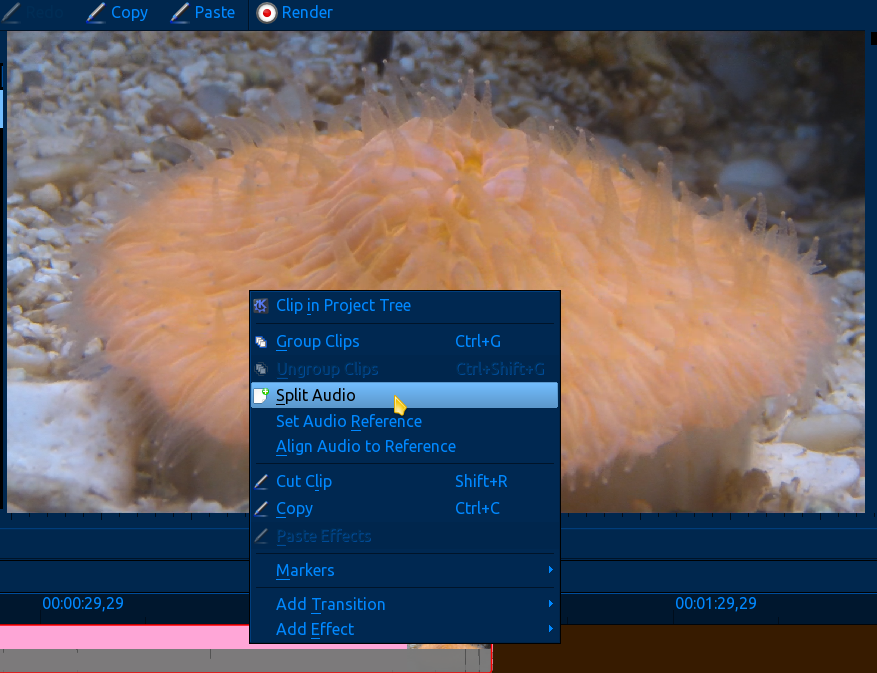 In Part Three, we started learning about KDenLive's default applications, and how to change them. We also covered working with single images, utilizing the pan and zoom effect, the "distort" checkbox, how keyframes work, the "save your booty's hard work to this point" "save" button, the importance of reviewing the edited project many times before rendering, reviewing the rendered project before deleting the project, and the basic "how to cut clips in the project timeline" tool. I am implicit on the importance of the need to fully understand the what, why, who, where, when, and how keyframes are used and manipulated in the editing process. Keyframes are not the bread and butter, but the meat of video/audio editing. It is the "most important" thing we touched on in the third tutorial. 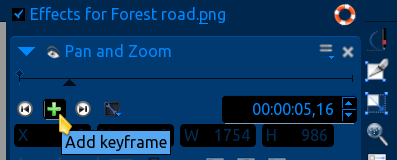 In Part Four, we learned how to prepare an image/video to have a transparent area so we may insert an image/video within the specified zone (in the background) with the blue screen effect. The information paramount in video editing that I want to draw your attention to from this article is the fact that: You will have greater feel/effect if you take the time to manipulate the video/image in the foreground and at the same time manipulate the image/video in the background. I quote from the Part Four article: "As the camera zooms in on the window, the background image is also zooming in at a much slower rate giving the appearance or reality of walking to the window to look out. This may take a few tries to get right, just keep reviewing and editing it until you have something you like." This is paramount for giving a polished "look" to your videos. In the foreground effect stack image (effects for door2.png), notice the timeline readouts in both images. 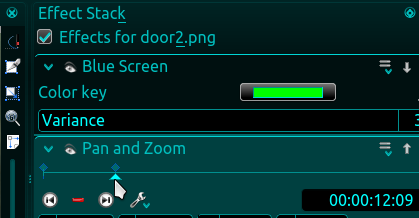 Background effect stack image (Effects for Supercell_Thunderstorm2.png). 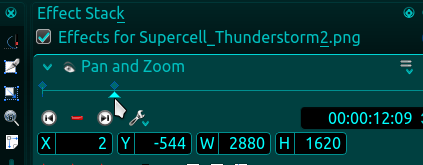 The timeline readout will let you get your effect edits exactly aligned. In Part Five, we explored some of the effects that you can implement with the "Affine" transition. We covered the background color/video/image choices that you have, the rotational axis controls and how to zoom in or out while also selecting the position of the image/video, and timing of the effects. At this time, without trying to sound redundant, I want to point out the importance of keyframes and the timeline-readouts between two different clips for getting things perfectly aligned for the best "look." The affine transition rotations can be very visually pleasing when combined with other effects in a "composite edit," if the timing is spot on. 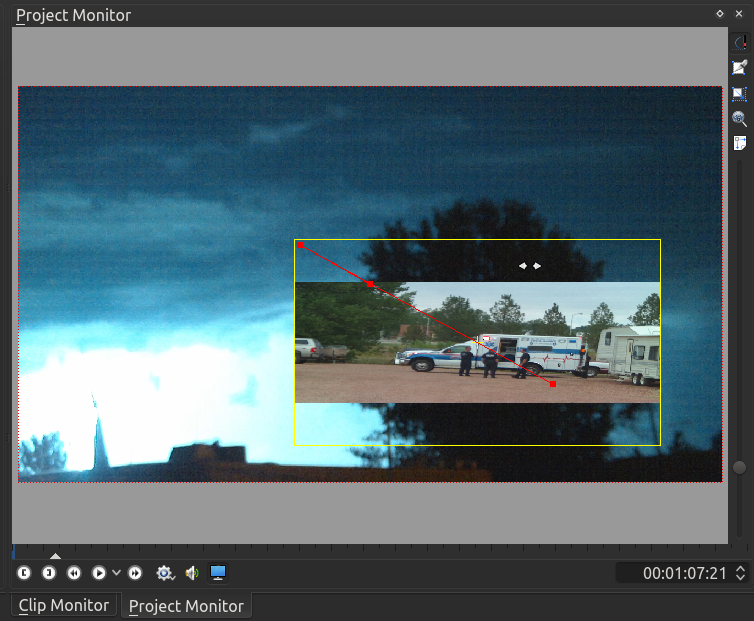 This is a screenshot of our first video project timeline with the kindergarten effects that we learned. 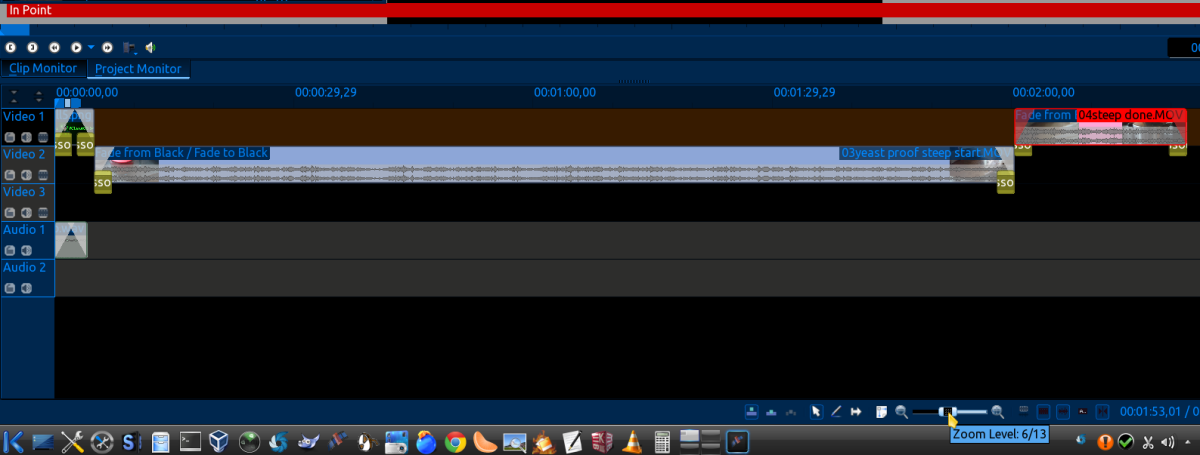 Here is an image of the video project timeline of a video I made for a friend. You can't fit it all on one screenshot. She wanted herself and her friends to look like they were rough and ready ladies, but in reality they had very limited experience in shooting firearms. I "shot" many different videos that day of them practicing their shooting skills, and created something that has the look and feel of girlie rough/toughness. These girls were, in reality, not as hot a shots as what you see in the video but they certainly liked sharing it on the social network. My wife's best friend said "you made us look bad a$$ with that Linux video thingy." Got to love the trusting souls. They will use PCLinuxOS until you tell them no. By the way, never, ever believe what you see on the screen. 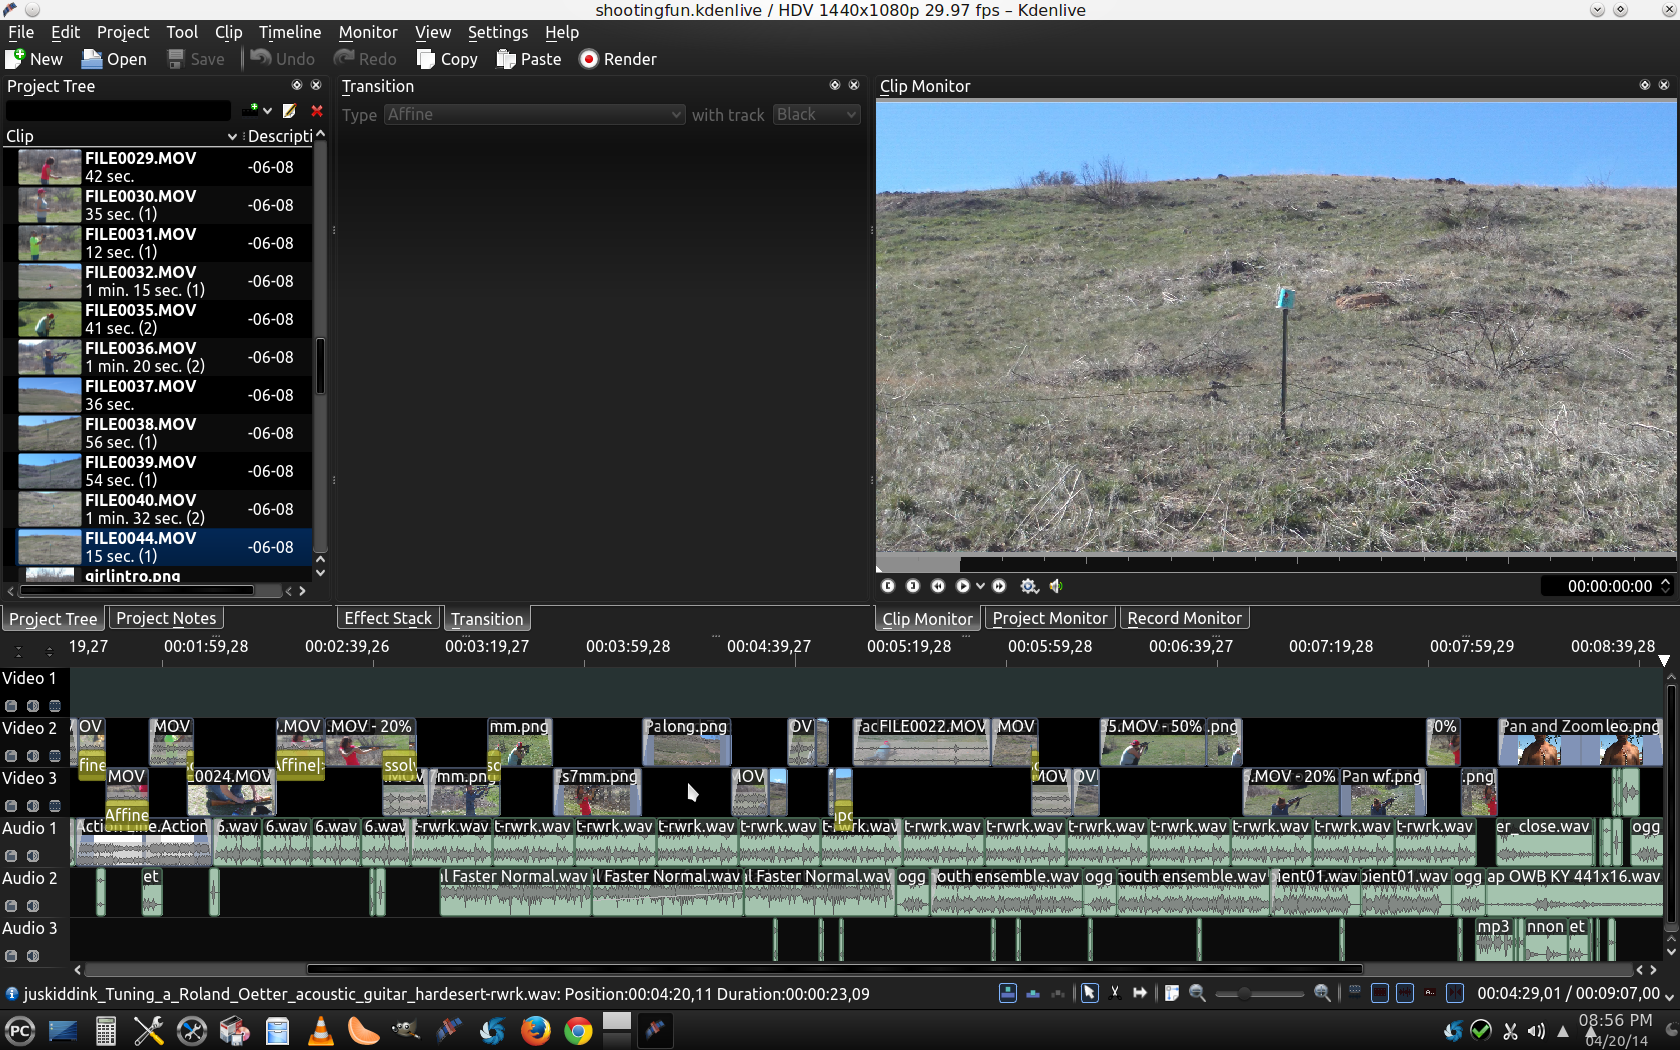 At this time, I would like to sincerely apologize for not spending this kind of time on the KDenLive tutorial videos, but so much other time is spent on creating/writing the article to begin with. And anyway, this is about teaching you to make the video's that your friends and families love, not tutorial videos. Let's see if you recognize the different effects that we have covered in previous articles, and the ones we haven't. To view the video, go here. I really wonder who in the community can tell me what effects I used in this video that we haven't covered, many, many I am sure. Until next time, Spring forward to spring. I'm getting a tan already, and Tux is flustered, becauses he can't find his sunglasses! |