| Previous
Page |
PCLinuxOS
Magazine |
PCLinuxOS |
Article List |
Disclaimer |
Next Page |
Inkscape Tutorial: Create a Paisley Pattern, Part Two |
|
by Meemaw Last month, we started a paisley pattern using our decorative patterns created the month before. I did a different colored paisley as well. 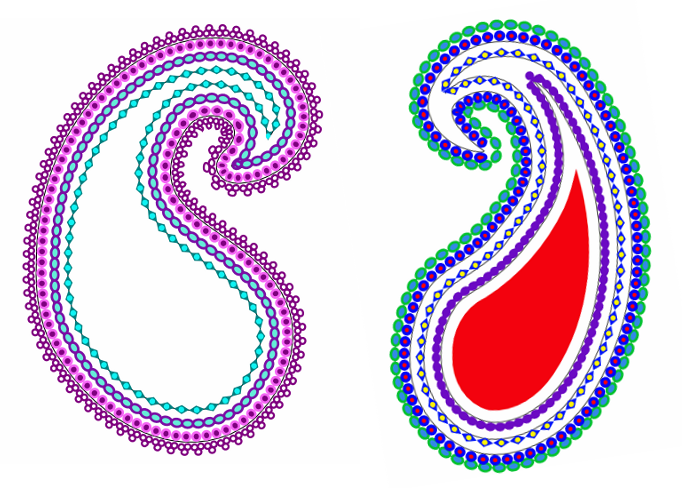 Let's take the original on the left and add a bit more to it. Click on the innermost curve. You will find that all you can select is the objects along that curve, so since you have them selected, press your right or left arrow key five or six times (remember how many times you pressed). This will move the objects over enough that you can choose the curve itself. Choose the curve and duplicate it as we're going to make another. Click <CTRL> + ( nine or ten times to make the duplicate smaller. Now, click on your objects that you just moved and press the opposite arrow key to move them back into place. Now choose the duplicate curve you just made. This one we're going to fill rather than putting a pattern on it. Choose a color that looks good with the rest of your project and fill your curve. If you want, you can choose another color and make it the stroke color. I used the purple and pink I've been using, and the pink stroke was size four.  Many times, a paisley design will have some sort of flower motif in the center. I am going to make a flower using the star tool. With the following settings: 12 corners, spoke ratio .25, rounded .45 - duplicating twice and setting fill and stroke different on each, plus a circle for the center, 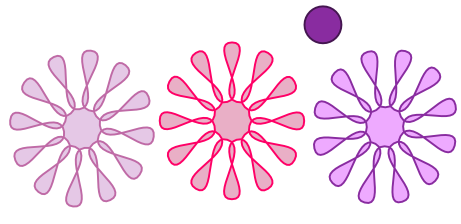 I made this object. You will have to rotate two of the flowers so the petals will all show instead of being stacked right on top of each other. 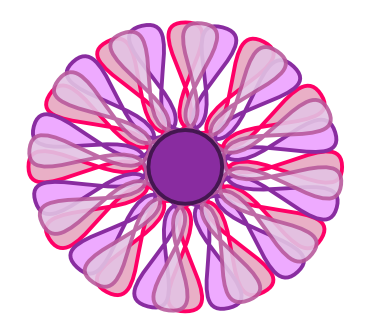 I made this flower lighter because the object I'm going to place it on is darker. I then placed it in the object we made at the start of this article. My paisley now looks like this:  If you don't like that particular pattern, feel free to design one of your own, or search for something you like among the millions of free clipart objects on the web. I like this, but I want to put in some accent strokes. Once again, using my Bezier tool, I drew a curve but this time it looks more long and pointed. Again choosing Path > Object to path, I used the node tool and auto-smooth to make it the way I wanted it. This one is only accent strokes, so it's going to be smaller. I duplicated it three times, then changed the fill and stroke for each. 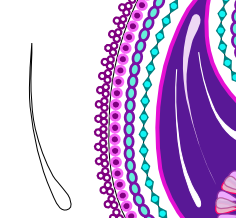 These can be flipped and rotated whichever way you want them to be placed into your pattern. I'm finished with mine, but you can certainly do whatever you want to yours, adding smaller flowers or some other accent shape. Your choices are up to you. You might also group it all, selecting your whole pattern by drawing a rectangle around everything with your mouse, and clicking on the Group tool. You can also export it in an image format, such as .jpg or .png. Mine now looks like this:  Wow! We learned several tools this time! I'm sure your paisley pattern is wonderful! It might be fun to show everyone else what you've made. I'm going to put mine up as a wallpaper, and post it in the desktop screenshot section of the forum. I'd like to see yours as well. You don't have to leave it your wallpaper if you don't want to...just long enough to take a screenie. Here's mine, but I posted it, too. 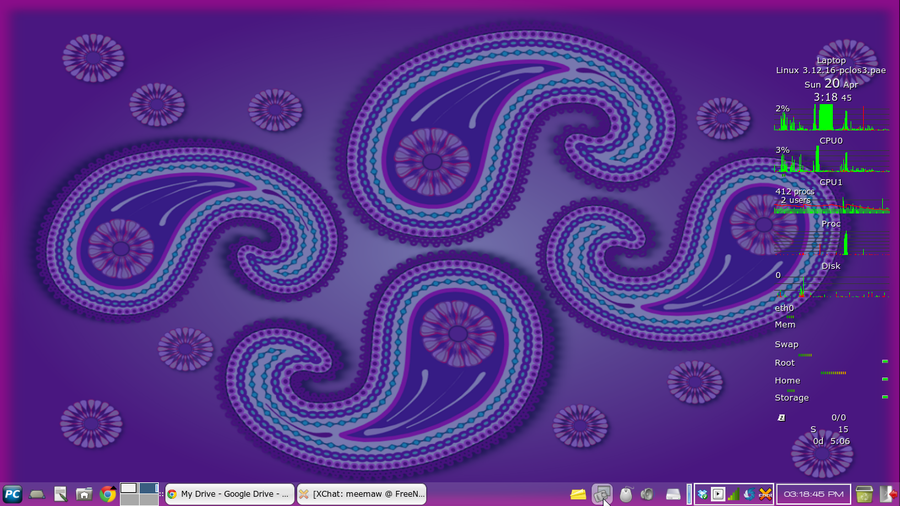
|


