| Previous
Page |
PCLinuxOS
Magazine |
PCLinuxOS |
Article List |
Disclaimer |
Next Page |
GIMP Tutorial: Quick Neon Text Using G'MIC |
|
by Meemaw In this tutorial, we can create a simple neon text with G'MIC. G'MIC is a program you can use online or as an add-on to Gimp. You can install it from Synaptic.  Open GIMP and create a new project. You can make it whatever size you want. Mine is 600 x 400 px. The background should be black. Choose your Text tool and write your desired text. You can use whatever font you want, but the neon effect looks really good using some sort of rounded font (the tutorial I found used Arista but I used Art Brush and Tango BT). Highlight the text and change the color to white and the size to 200 pt or so, depending on the font. Change tools back to the moving tool and move your text to the center of your drawing. 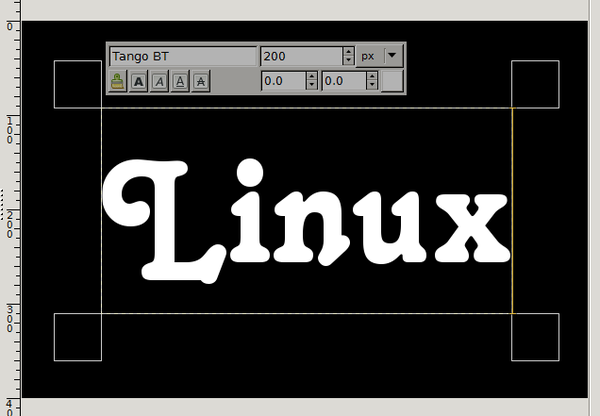 Right-click on the text and choose Layers > Layer to image size. Go to the Layers tab. Right click on the text layer and choose Alpha to Selection. Click on Filters > G'MIC. A window will open that shows a list of filters. 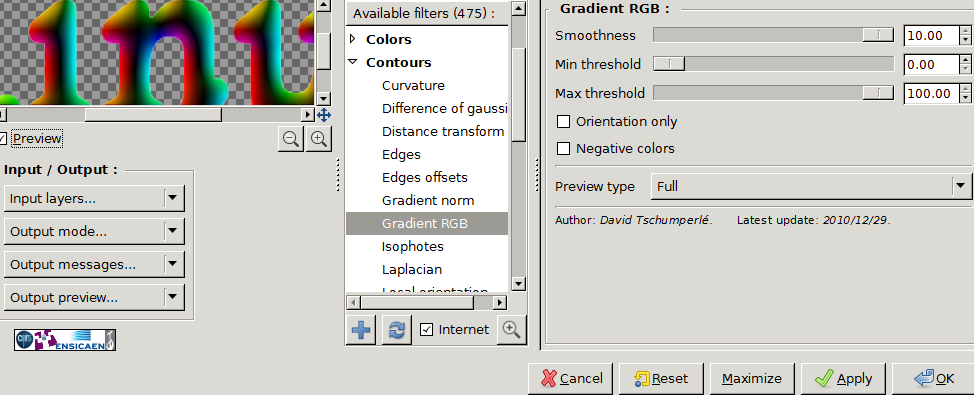 The filter we will use is Contours > Gradient RGB. From the sliders that appear, set the smoothness to 10 and max threshold to 100, then click OK. Click Select > None.  Duplicate this layer and, choosing the lower text layer, click on Filters > Blur > Gaussian Blur. Increase the Blur Radius to about 60. Then choose Hue/Saturation, and change the Saturation to 100 and Lightness to 70. 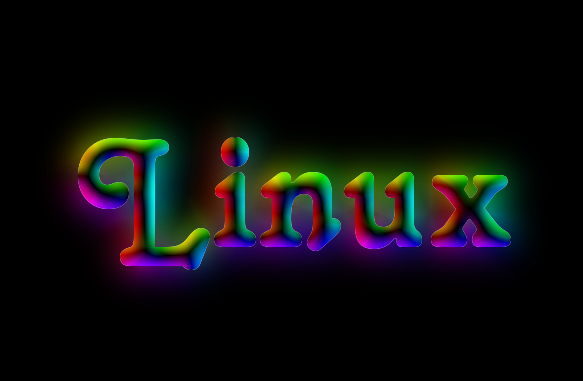 Quick, huh? You can change the background if you wish, and should merge the layers before exporting.. 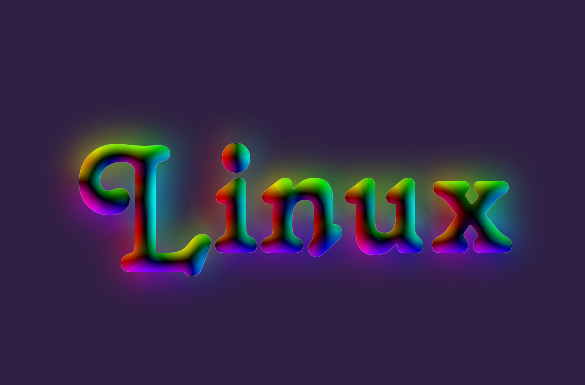  |