| Previous
Page |
PCLinuxOS
Magazine |
PCLinuxOS |
Article List |
Disclaimer |
Next Page |
HTPC: Getting Started With Kodi |
|
by Paul Arnote (parnote) Kodi ... formerly called XBMC ... is an open source multimedia powerhouse of a program that helps you organize your photos, music, and videos. It was originally released in 2002 as a media center application for the original Xbox, but it no longer supports the Xbox (with the exception of a third party fork, called XBMC4Xbox). In August 2014, XBMC officially changed its name to Kodi to somewhat sever its link to the now unsupported Xbox. It is available for Linux, Windows, BSD, Mac OS, iOS and Android platforms. Because of its open source and cross-platform nature, with its core code written in C++ (ANSI standard), modified versions of Kodi/XBMC together with a JeOS have been used as a software appliance suite or software framework in a variety of devices including smart TVs, set-top boxes, digital signage, hotel television systems, and network connected media players. Derivative applications such as MediaPortal, Plex, ToFu, Voddler, and Horizon TV have all initially been spun off from Kodi/XBMC. There are also special versions of Kodi available for specific computer platforms, such as the Raspberry Pi. Kodi is available for installation from the PCLinuxOS repository. What Kodi isn't is a media server, even though it has elements of a media server built in. Some people have even successfully used Kodi as a media server. But that is not Kodi's intended role. Kodi shines when used for its intended purpose, which is that of powering a HTPC (Home Theater Personal Computer). As you might imagine for a program that's been under constant development for the past 13 years, there are a LOT of options for setting up Kodi. There are so many, in fact, that it can be a bit intimidating to get Kodi setup and running as you like. So, let's take a look at getting some of Kodi's system-wide settings configured. While I'm not a Kodi "expert," I have managed to install and configure Kodi to meet my needs and expectations for a HTPC. I can at least share with you what I've been able to discover thus far. There may even be some of you reading this who know more about Kodi than I've discovered, but I suppose that's true of just about every article I write. Install Kodi Before you can do anything, you will need to install Kodi from the PCLinuxOS repository, and then start it from your PCLinuxOS menu (under the Video menu). When you do, you should see something like the image below. Note that this is an image from the first run of Kodi, and the time really wasn't 11:59 PM. I saved the changing of the time for later in this article. 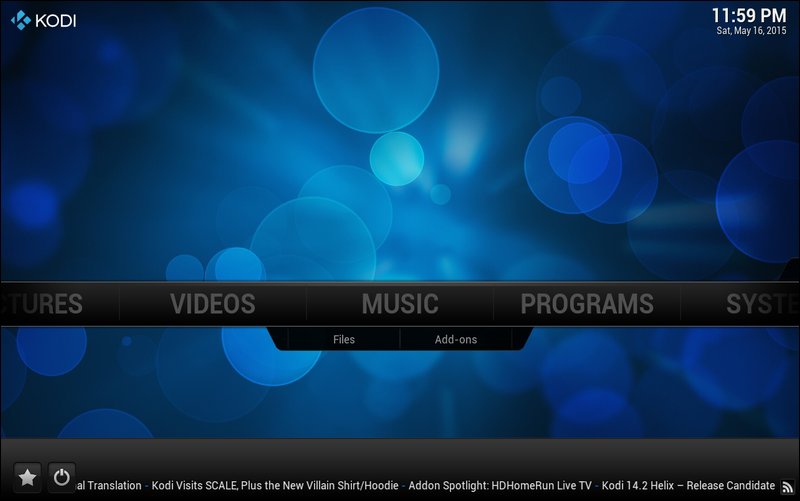 Kodi uses what's known as a "10 Foot User Interface." This means that the visual interface is intended to be used from a distance of 10 feet, or 3 meters. Next, you're going to want to navigate over to the "System" settings. You can use the mouse, but it can be difficult to stop on your chosen category, especially if your selection is in the middle of the main level categories. Things fly by rather quickly, and I've yet to find a setting to slow things down. You may find it easier (and less frustrating) to simply use the left and right cursor keys on your keyboard to navigate to the category you want to use, and the down cursor key to access the selected category's submenus. If you have a mouse with a scroll wheel, you can also use the scroll wheel to select the main level categories. 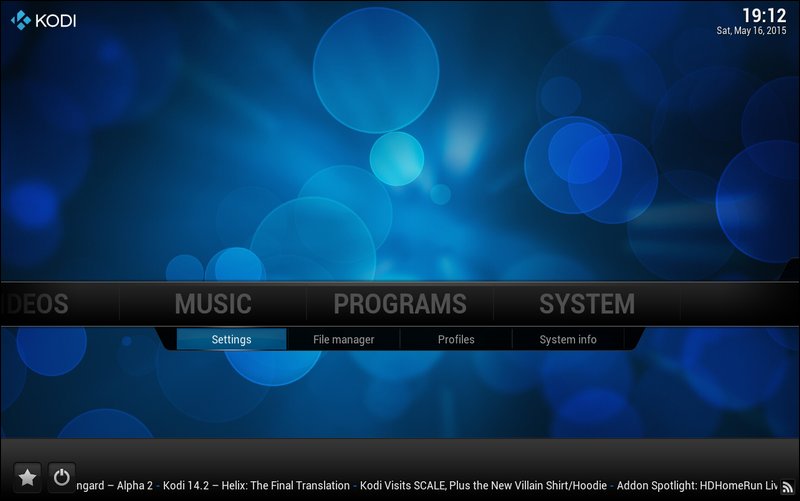 Once you've navigated to the "System" category, select the "Settings" submenu. In many cases, the default values will work just fine. Still, it doesn't hurt to know where things are, just in case you want to tweak and personalize Kodi to your own tastes. Kodi's Appearance Options 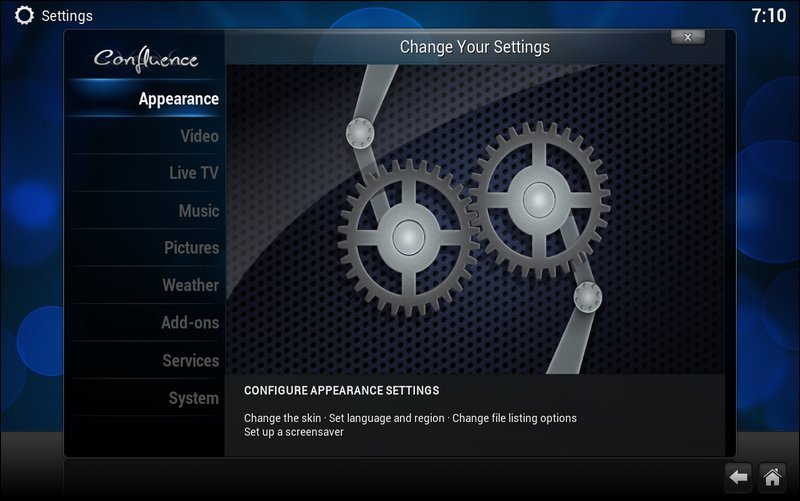 Select the first category, "Appearance." 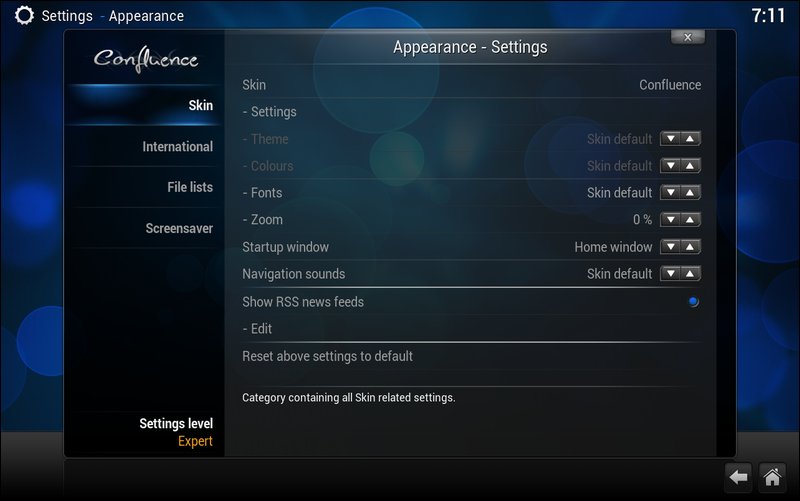 Notice that at the bottom of the settings window is a control called "Settings level." Your settings level will be "Settings level: Basic." I recommend changing this to "Expert" mode, simply by clicking on it. This will unveil several "hidden" settings in the various settings windows you'll visit. Under the "Skin" subcategory, you can change the "skin" that Kodi uses. The default is called "Confluence," and I've chosen to keep it. For me, it works and is attractive enough. The rest of the settings should be fairly self explanatory. 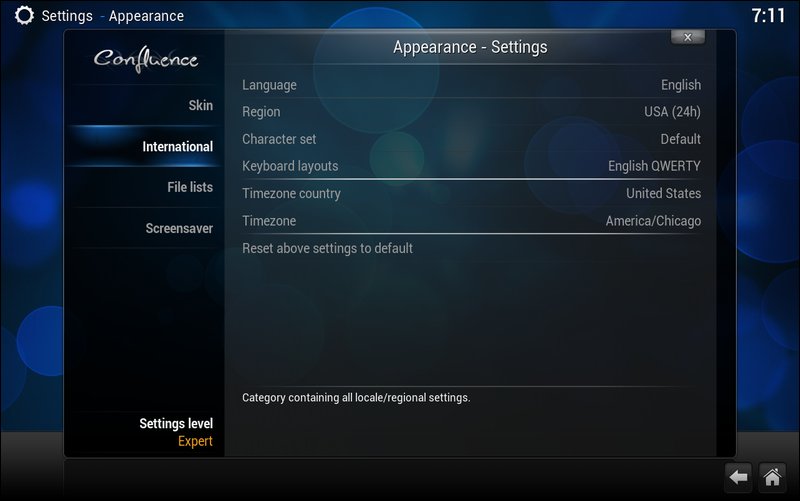 Under the "International" subcategory, you can change the language that Kodi uses. Click on the "Region" setting to set your region (I prefer a 24 hour time format, so I've chosen USA (24h) as my setting). The "Character set" and "Keyboard layouts" settings should be fairly self explanatory. Also, if you royally screw up things, you can always click on the "Reset above settings to default" selection to reset everything to the default settings, and start over. You will see this selection appear in many of the Kodi subcategories. 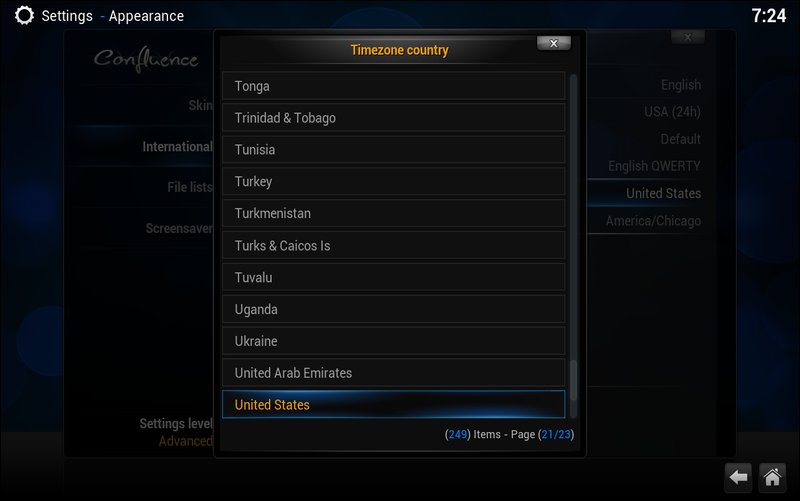 Click on the "Timezone country" setting to select your country from the list. 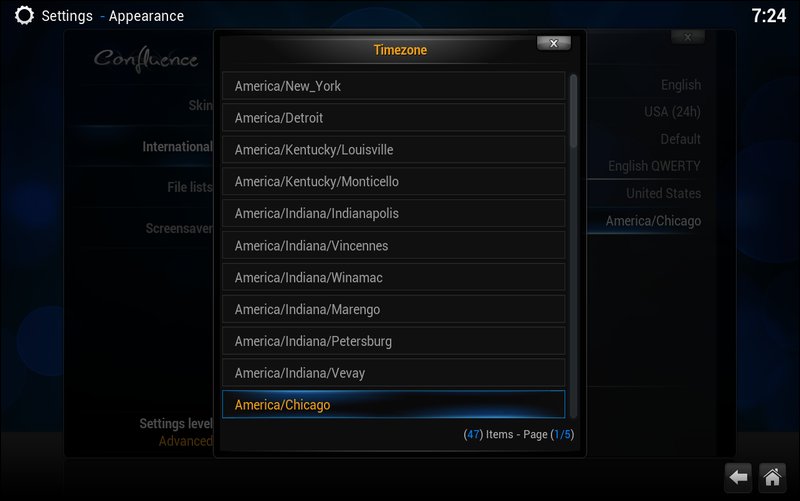 Then, click on the "Timezone" setting and select the appropriate time zone for your location. If your city or town isn't listed, just select another city/town from the list that is in your same time zone. Kodi will use the time from your PCLinuxOS installation, but most likely won't have the proper time zone preselected. 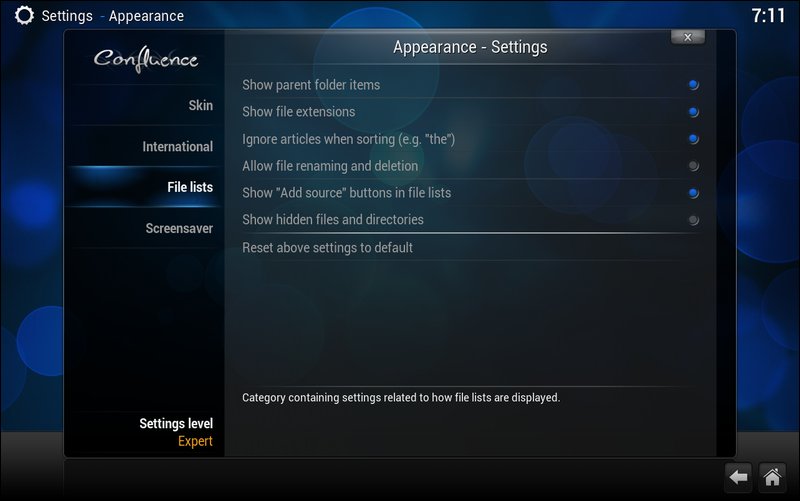 Under the "File lists" subcategory, you can select how Kodi displays files on your system. 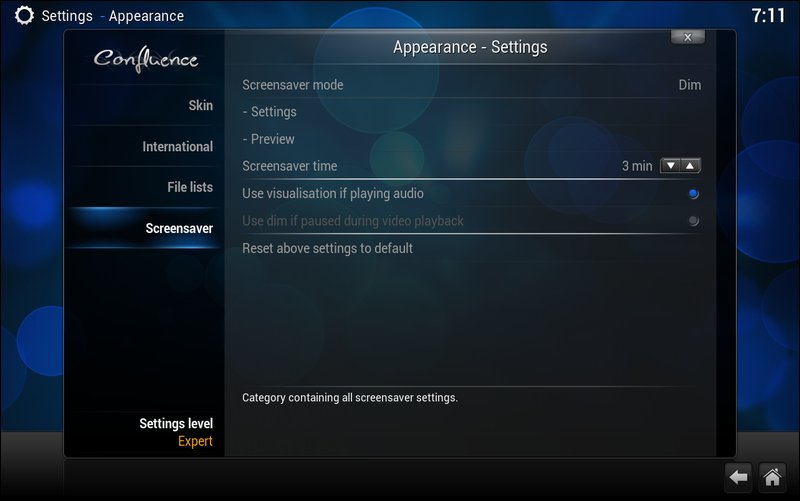 Kodi even has its own built in screensaver, and you can control its behavior from the "Screensaver" subcategory. Again, the settings should be rather self explanatory. Kodi's Video Options 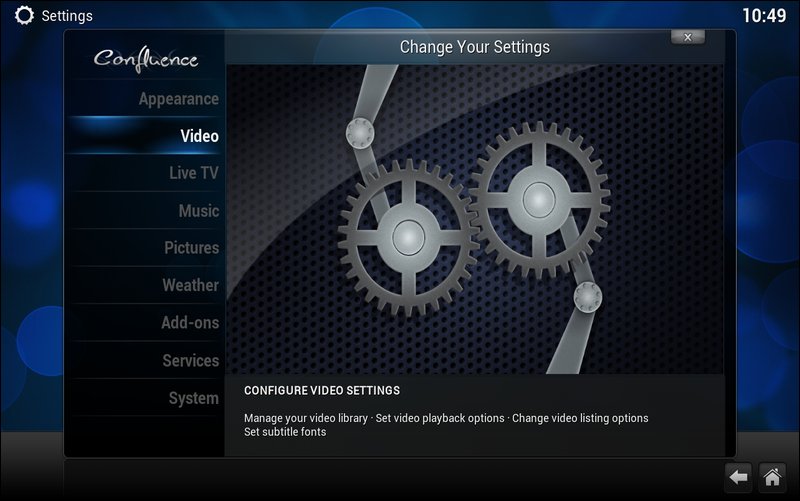 Under the "Video" category, you will find all sorts of settings for telling Kodi how to manage and display video. 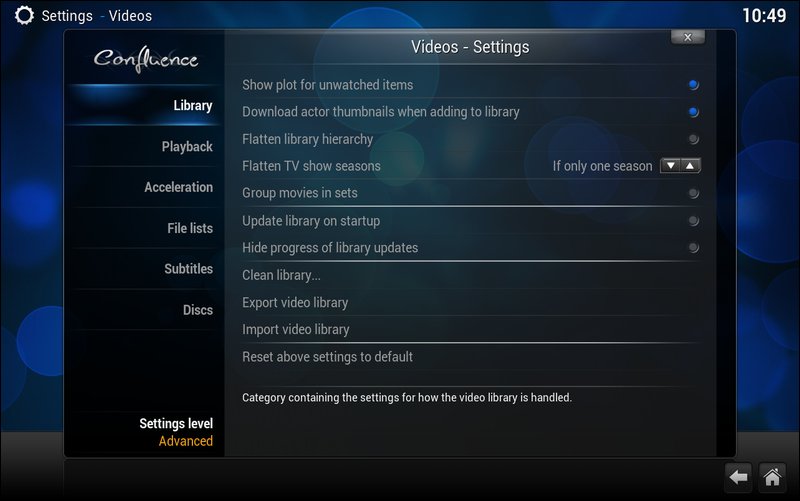 The "Library" subcategory refers to videos that you have stored on your computer, whether they are archived from DVDs or downloaded. The image above shows the default values. One item you may want to activate is the "Update library on startup" setting, especially if you are routinely adding videos to your library. The "Clean library..." setting will cause Kodi to scan your library, and remove any entries that are no longer present, either because they've been moved or deleted. The "Export video library" setting exports your video library to an XML list, while "Import video library" imports an XML list of videos. To add movies to your library, you will need to add a "scraper" plugin. We'll talk about plugins later. 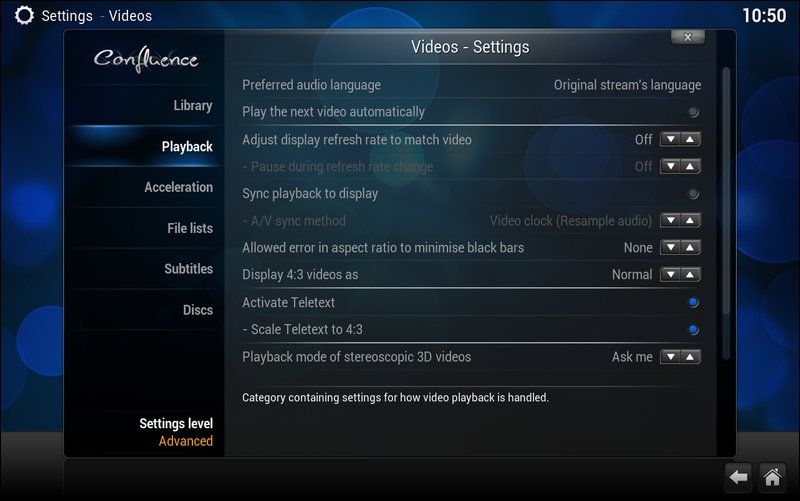 Under the "Playback" subcategory, there are most likely only two settings you will want to change. First, the "Preferred audio language" defaults to "Original stream's language." This means if you watch a Bollywood movie, the language will be Hindi. But, if you change it to "User interface language," it will playback the audio in your current language – but only if that audio stream exists. The second item you may want to change is the "Display 4:3 videos as" setting. The default value is "Normal." If you are playing back videos with a 4:3 aspect ratio on your widescreen HDTV, you may want to choose one of the other settings ... or live with the black bars on the left and right side of your screen. Those are Wide Zoom, Stretch 16:9, and Zoom, if you choose to not live with the black bars on each side of your image. 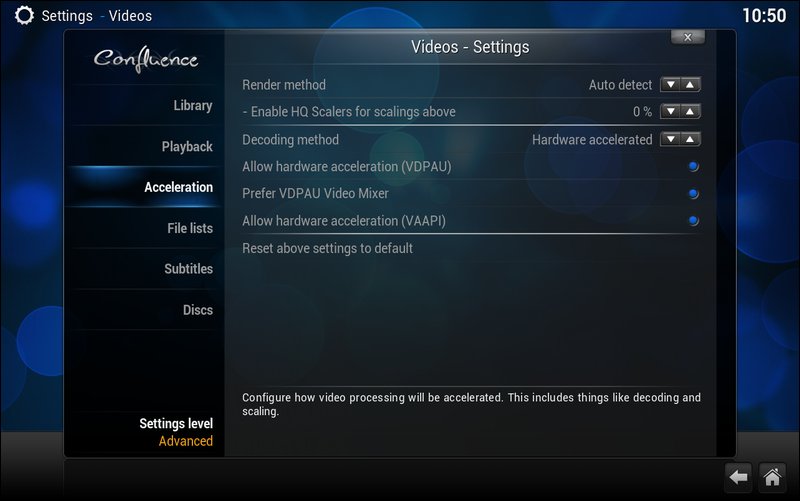 Unless you have a really good understanding of these settings, you might just want to leave them set at their default settings (pictured above). These settings allow you to adjust the video acceleration method that Kodi uses. 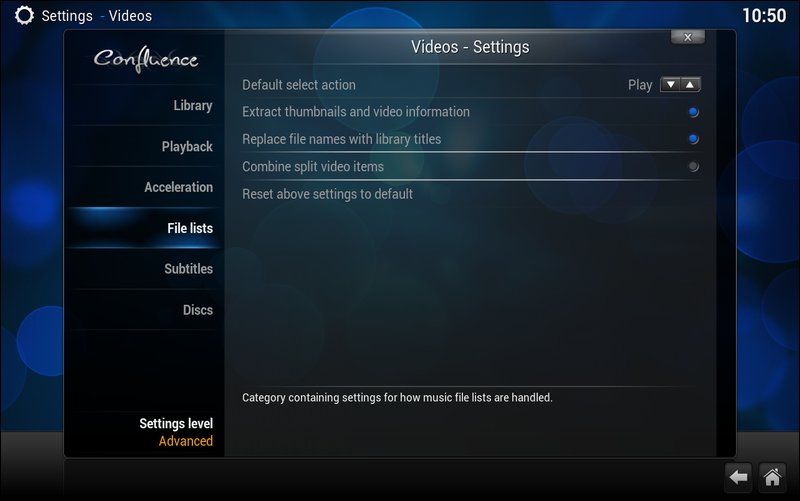 The "File Lists" subcategory allows you to control how Kodi handles files from a file list. The fourth item down – "Combine split video items" – is disabled by default (as depicted above). If you have video file in multipart files, you might want to enable this setting. It will then automatically combine those files and play them as one continuous file. BUT (there always has to be a but, right?), you have to make sure your multipart files are numbered in a certain way. If they are individual video files, you have to insure that they are named and numbered with either part#, cd#, dvd#, pt#, disc# or disk#, where there is no space before the #, and where # is any character between 1 through 9, and/or A through D – and they have to be in the same directory. You can also use moviename#.ext, where number may be any character A through D. Thus, if you had Star Wars stored as a multipart file, using the naming convention StarWarsPart1.mp4 and StarWarsPart2.mp4 would enable Kodi to play both parts (starting with Part1) as one continuous file. Similarly, StarWarsA.mp4 and StarWarsB.mp4 would accomplish the same thing. Kodi can also do something similar with video files in folders, such as VIDEO_TS folders representing DVD rips that are not in standard ISO format. You can stack the folders using a name that contains the movie name, ending with cd#, dvd#, disc# or disk#, where there is no space before the #, and where # represents a number between 1 through 9. For example, if you have folders named The Lord of the Rings - The Fellowship of the Ring DVD1/VIDEO_TS/etc... and The Lord of the Rings - The Fellowship of the Ring DVD2/VIDEO_TS/etc... will appear as a single entry in both the library and file views. 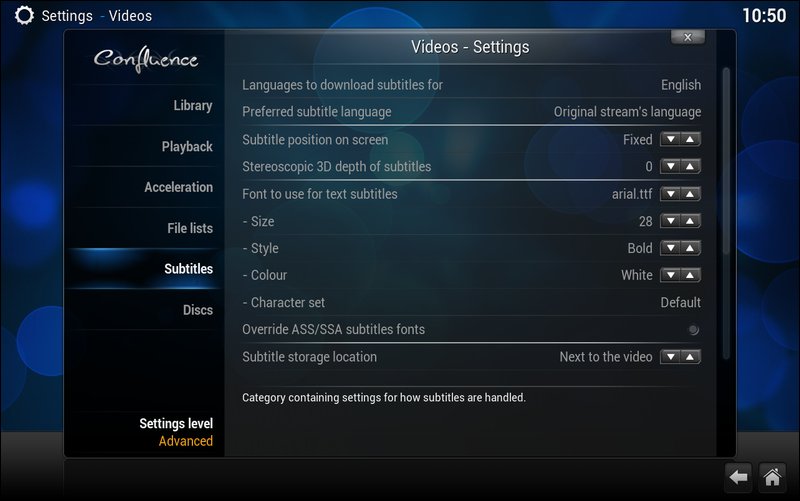 The "Subtitles" subcategory does exactly what you would expect it to do – it controls the display of subtitles, should you choose to turn them on or use them. The settings should all be self explanatory. 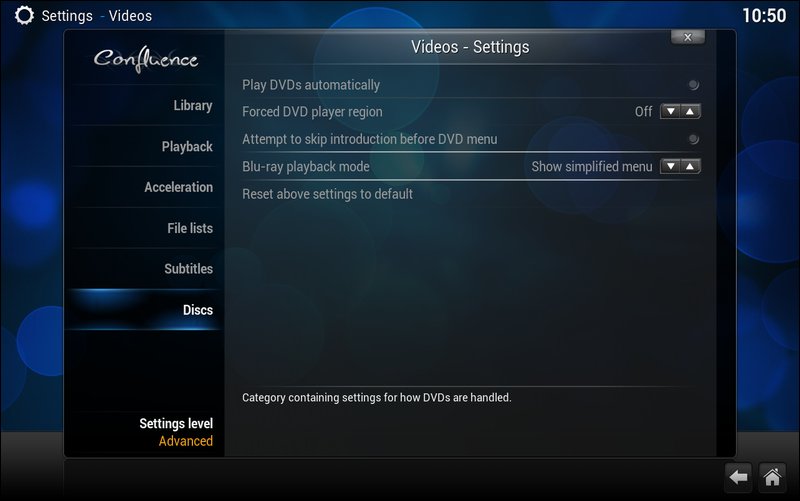 The final Videos - Settings sub category, "Discs," allows you to control playback of both DVD and Blu-ray video discs. The default settings are as displayed in the image above. You may wish to enable the two settings that are set to off by default. If you insert a DVD disc while Kodi is running, the DVD will begin playing automatically – if you enable the "Play DVDs automatically" setting. If you enable the "Attempt to skip introduction before DVD menu" setting on, Kodi will attempt to skip straight to the DVD menu, so that you don't have to sit through all the BS they put on DVDs these days before you can even watch the disc's content. Kodi's Live TV Options  To be fair, I'm going to defer going over the Live TV settings until a later date. My HTPC currently does not have a tuner, and without one, I don't feel that I can provide an accurate accounting of the settings in this category. When I built my HTPC, I did (do) have a tuner card (that I bought a couple of years ago, but never used) ... but it is a full height card, and the case of my HTPC only accepts half-height cards. So, I've purchased a USB TV Tuner from Newegg that has gotten excellent reports of working on Linux and with Kodi. Once I get the new TV tuner set up, I hope to be able to revisit the Live TV settings. Yes, there are IPTV (Internet Protocol TV) stations. But it has been my experience that they are somewhat flaky, and only work sporadically. In fact, I find more that don't work at all than any that do work at all. They are definitely not reliable enough, in my humble opinion, to depend upon as your only source for live TV. With a compatible TV Tuner card (or USB stick, in this case), you should be able to receive OTA (over the air) channels, as well as input from a cable provider's set top box. Kodi's Music Options  Select the "Music" category, where you can tell Kodi how to handle the music files you ask it to play. 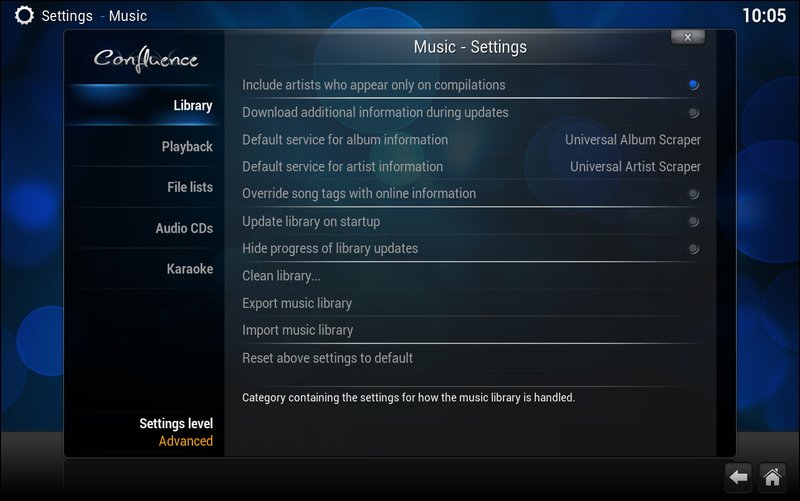 The "Library" subcategory for Music is very similar to the Video > Library subcategory ... with one huge exception: the "scraper" plugins are already installed and ready to go. The settings here should be fairly self explanatory, or similar enough to the Video > Library subcategory to avoid repeating here. 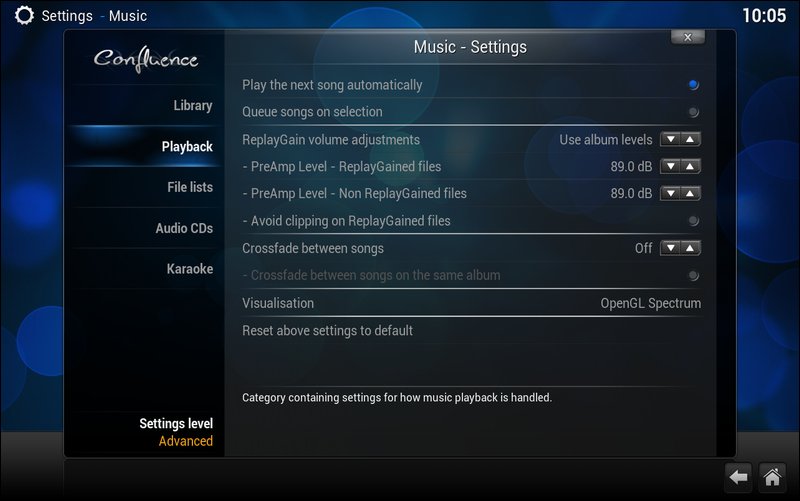 Under the "Playback" subcategory, you can tell Kodi important information about how you want it to play your music files. There are a few settings you may want to change. The default values are shown above. First, you may want to turn on the "Queue songs on selection" option. This will allow your songs to be queued when you click them, rather than played. Using this option, you can customize your playlist more easily. Second, you may want to turn on the "Crossfade between songs" option. You can set the number of seconds for the overlap. In many cases, it creates a very smooth transition between songs. You can also set it to only crossfade between songs on the same album. 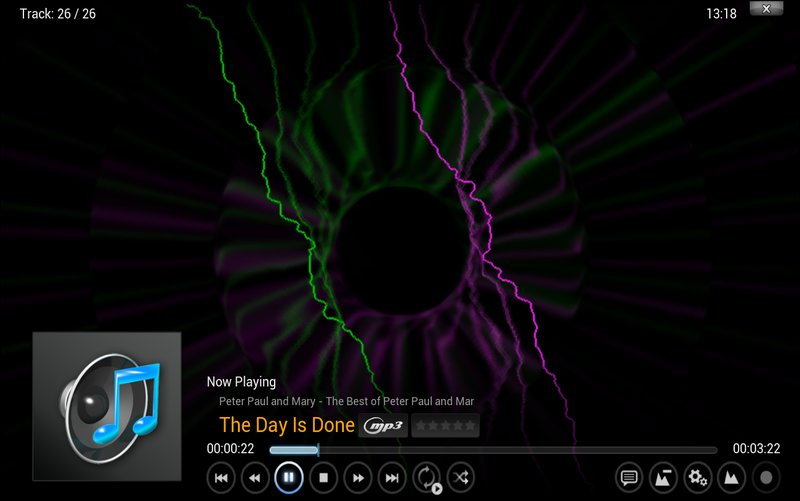 Third, you may wish to change the visualization that is displayed when your songs play. I've changed mine to the "FishBMC" visualization (pictured above). There are several available pre-installed, or you can get and install many others by clicking on the "Get More..." button. Of course, you can turn off all visualizations, if you like, too. 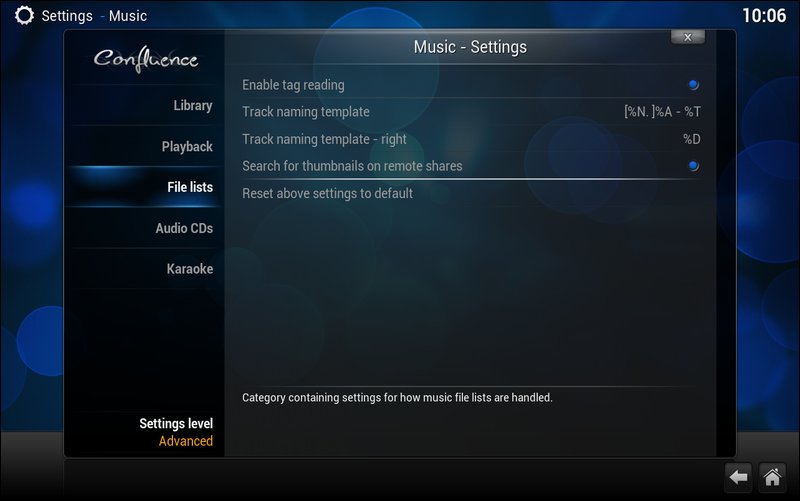 The "File lists" subcategory allows you to set the naming conventions that Kodi uses for your music files. Anyone who has dealt with music files should find the settings rather self explanatory. 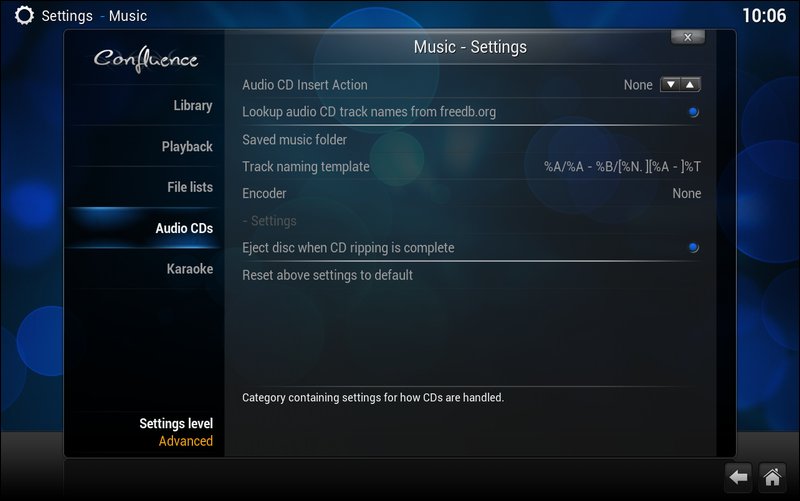 I bet you can't guess what the "Audio CDs" subcategory is for? Yep. That's right. It tells Kodi how to handle audio CDs. The default values are shown in the image above. If you want, and Kodi is running, you can have Kodi do nothing, automatically play the CD, or rip the CD. If you want either of the latter two options, you will need to change the default value of "None" to either "Play" or "Rip," depending on what you want Kodi to do. Whichever setting you make in Kodi, it will look up your audio CD's track names from freedb.org, by default. Of course, you can turn this feature off, if you wish. Especially important if you are going to have Kodi set to rip your audio CDs, you will need to tell Kodi where to store the ripped audio files. You will also have to set the naming convention you want Kodi to use for naming the folder(s), files, etc., if you have other ideas than the default values. (Hint: hover over the "Track naming template" setting to see a key that describes what each variable stands for.) 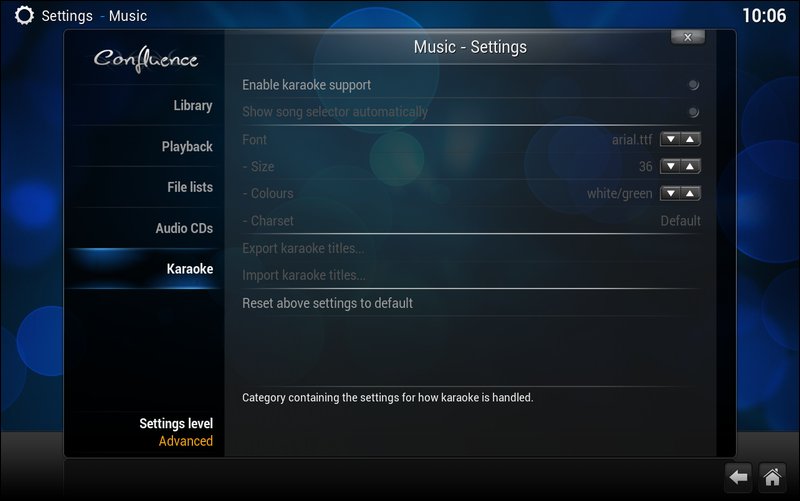 "Karaoke" is the last subcategory under the Music settings screen. I really can't comment much on the settings here. I simply don't "do" karaoke. I can't carry a tune in a lead box. If I tried to sing, dogs would howl in unison across multiple continents. Thus, I'll leave the discovery of what these settings do for those of you who sing, and who are inclined to explore these settings. Kodi's Picture Options 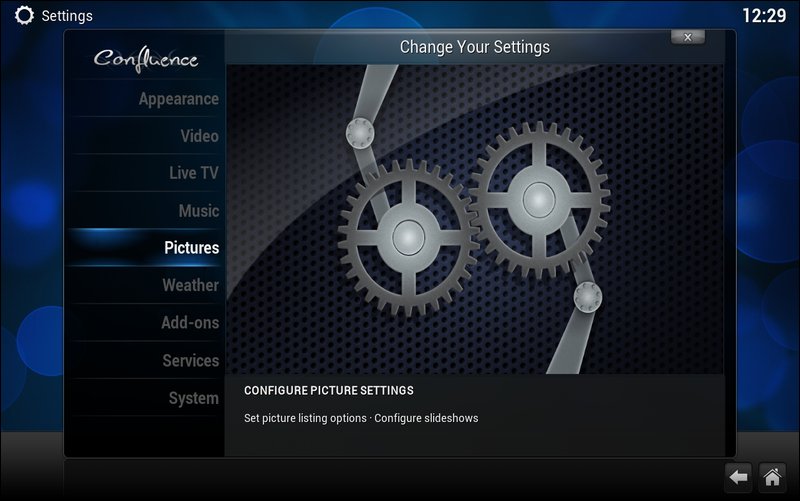 Select the "Pictures" subcategory to set up how Kodi displays pictures. 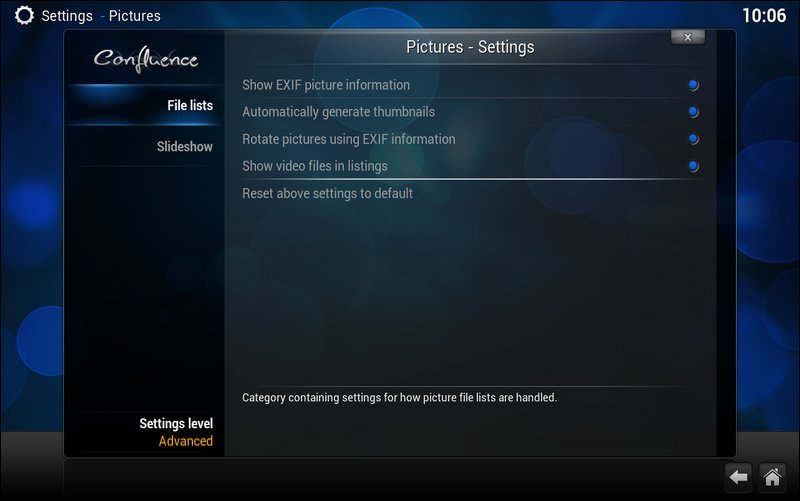 You'll most likely want to keep the default settings, as pictured above. The settings should be self explanatory. 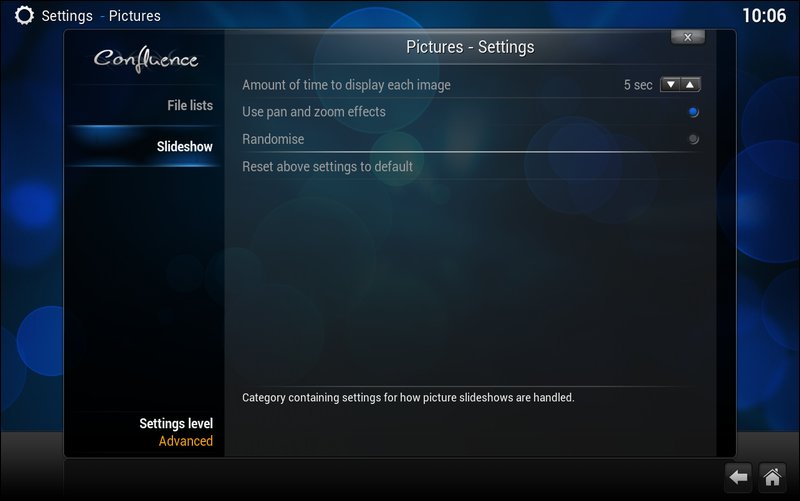 Kodi will even display your images in a slideshow. Again, the settings here should be rather self explanatory. Kodi's Weather Options 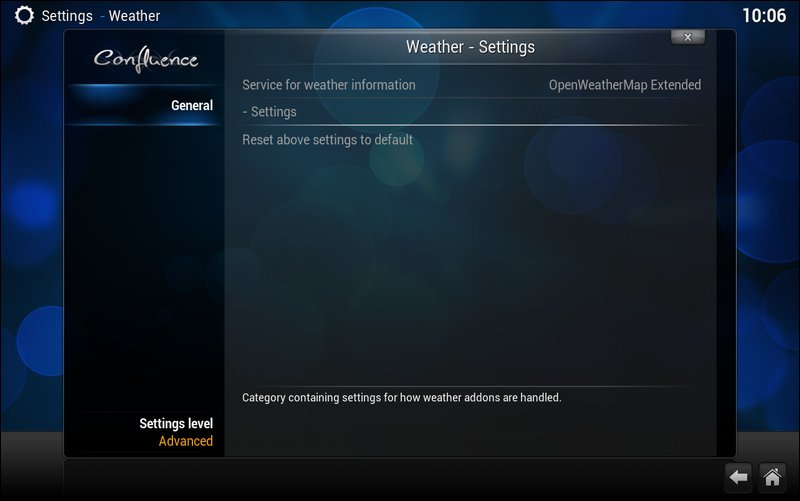 Here, you can setup Kodi to display a weather forecast for your area. 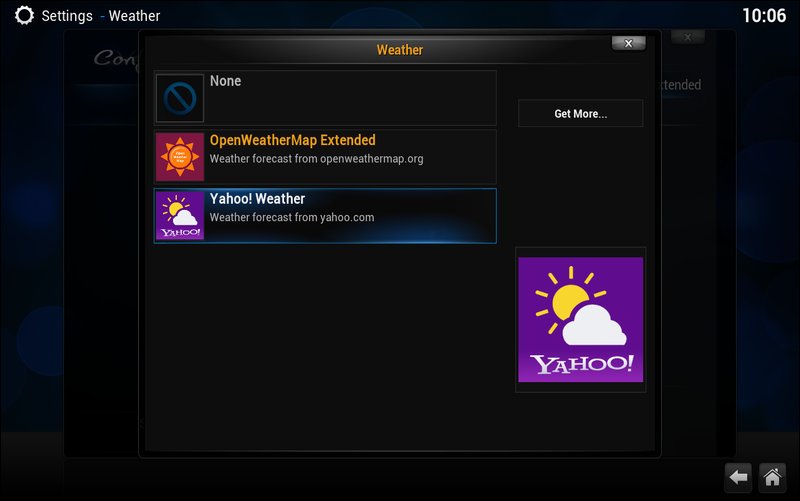 Clicking on the "Service for weather information" setting will display the screen depicted above. The Yahoo! Weather service has more cities to choose from, but the OpenWeatherMap Extended service will display various weather maps. If you choose the latter, you will have to pick a "large" city nearest to your location. 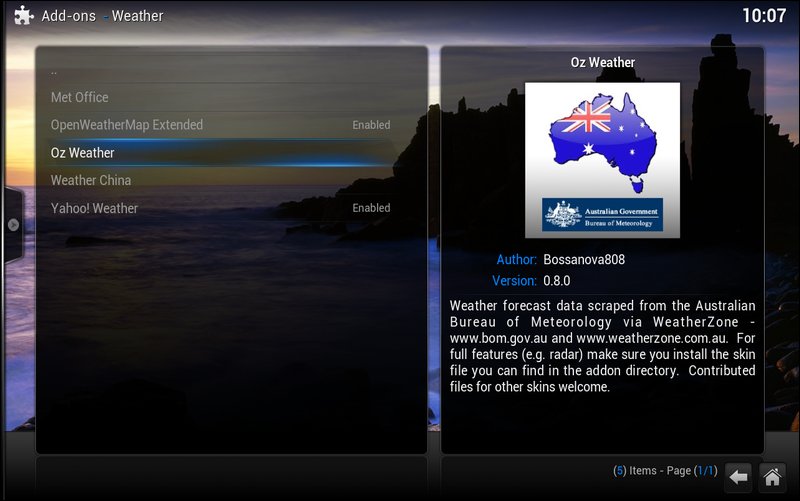 There are three other services to choose from ... if you click on the "Get More..." button in the previous screen.  To set the location, simply click on the location you want to configure. 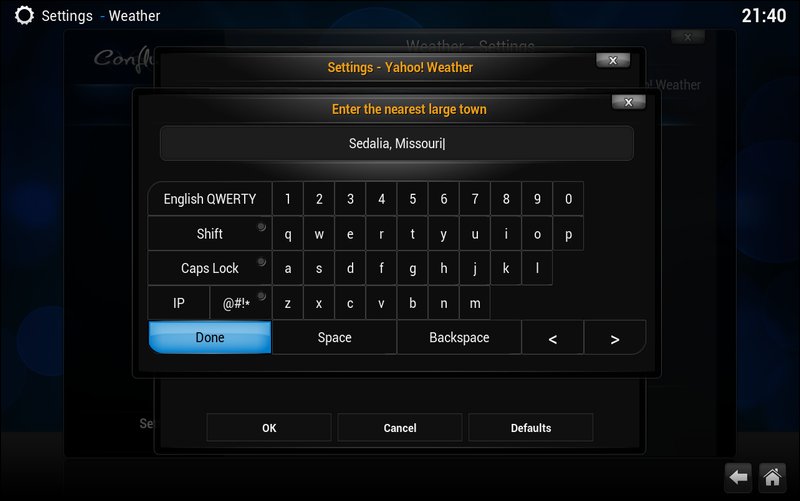 Then, enter the town that you want to add in the top text entry box. When finished, click on the "Done" button. 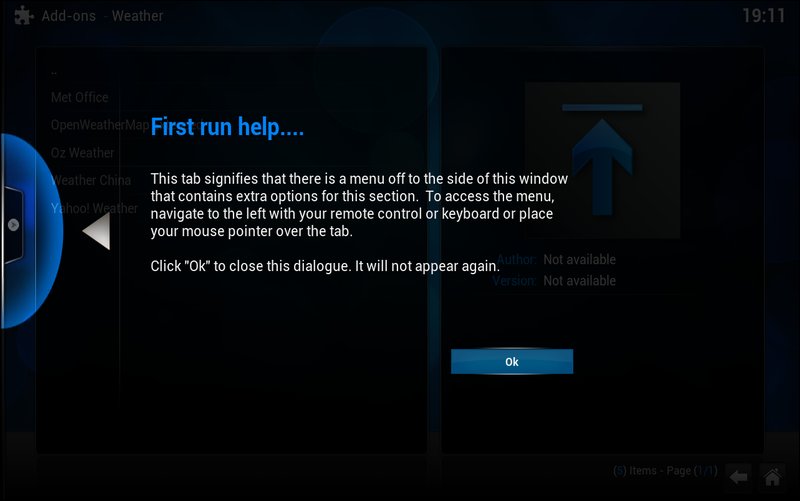 The first time you see the pop out menu on the left, you'll get a one time instruction screen (pictured above). Its contents will vary, depending on which main level menu entry you're currently using. 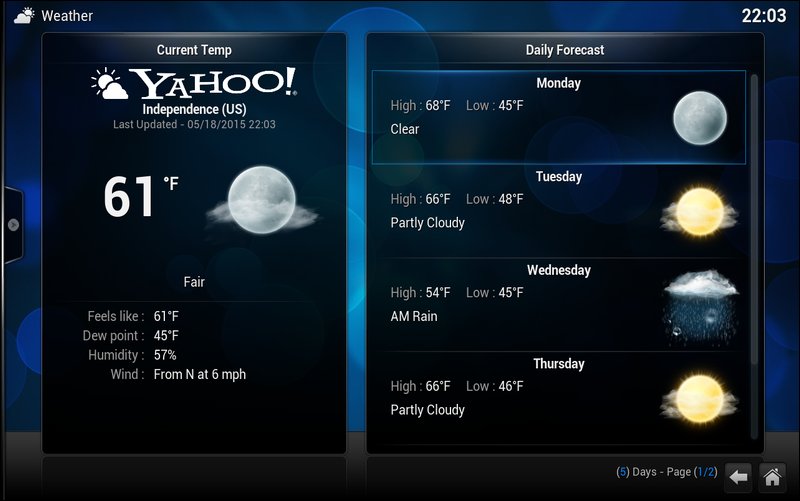 This is what the Yahoo! Weather service looks like when you select "Weather" from the main level menu. Kodi's Add-ons Options 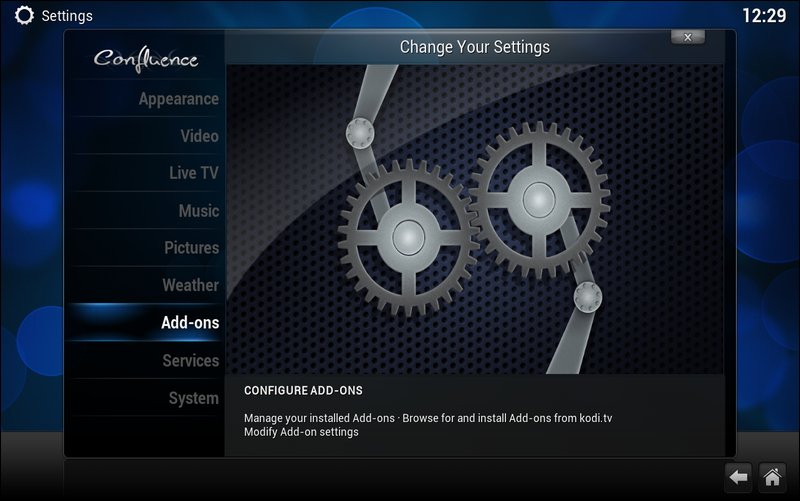 Here, you can setup Kodi with what seems like an endless number of add-ons. 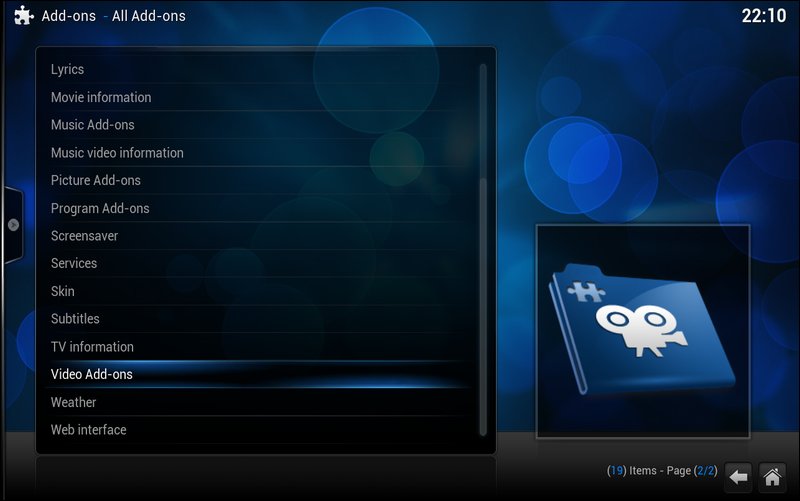 It seems as if Kodi runs entirely on add-ons and plugins. Once you choose the Add-ons category, you'll see a screen similar to the one above. Each item represents an entry to a world of more choices, which can often lead to even more choices. Don't fret if you begin to feel lost as you go deeper and deeper into each category. The back arrow in the lower right corner of the screen will take you back one level, and selecting it multiple times will take you back multiple levels ... all the way to the main level menus, if you keep going. We'll cover specific add-ons as we go through each main level menu of Kodi. But don't be afraid to explore. For example, under the Screensaver add-on subcategory, you can choose from several additional screensavers. Just click on the add-on you want to install, and Kodi will download and enable the chosen add-on. There's just no way we (I) can go through every add-on that's available. Kodi's Services Options 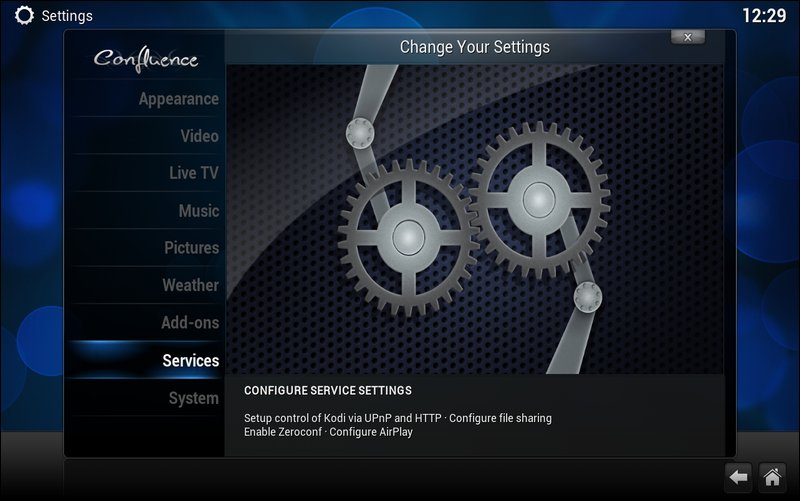 I doubt that the majority of users will find much need to change many of the settings in this category of settings. I know I didn't. The things that are configurable here include the device name (default is Kodi), setting up UPnP services (on by default), setting up a webserver that allows for control of Kodi via HTTP (off by default), setting up "Remote Control" (defaults are "On" for programs on the installed system, and "Off" for programs on other systems), setting up Zeroconf (default is on), allowing Kodi to receive AirPlay content (off by default), and setting Kodi up to connect to a SMB (Samba) server. Kodi's System Options 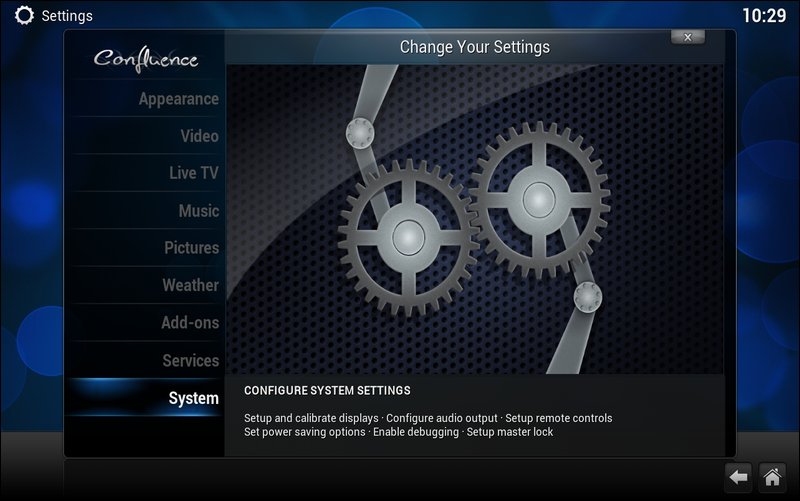 Under the "System" category, you can setup and calibrate your displays, configure your audio output, setup remote controls, set power savings options, enable debugging, and setting up a master lock for your Kodi installation. 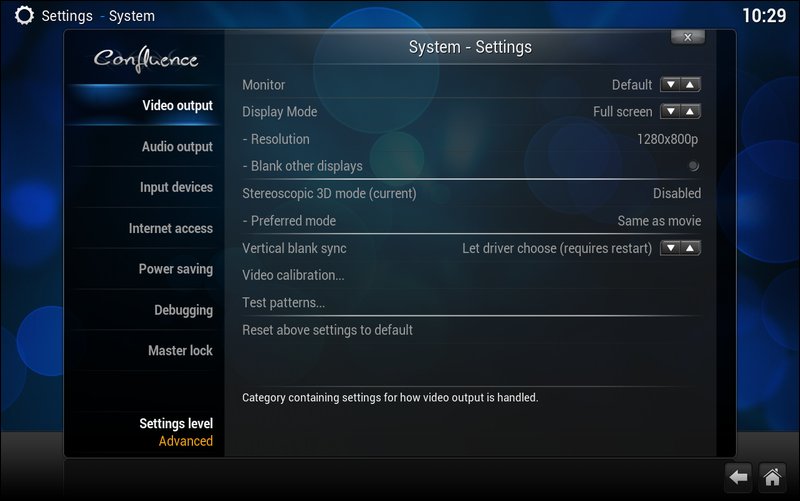 Under the "Video output" subcategory, you can determine how Kodi handles video output. Typically, you should be just fine accepting the defaults in this section, as Kodi will use the video configuration of the base system (which is PCLinuxOS for our purposes). However, if you go to setup Kodi using something like OpenElec as the base system, you might have a need to tweak these settings a bit. 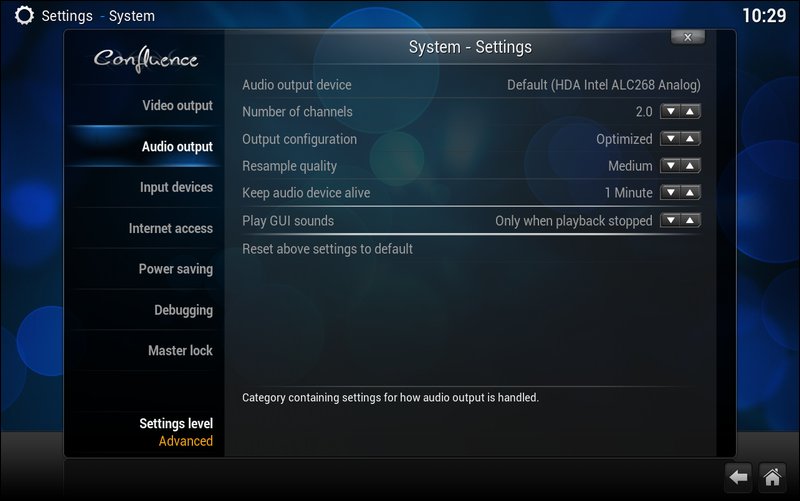 Under the "Audio output" subcategory, you can setup Kodi for how audio output is handled. Just as with the previous subcategory, Kodi will inherit the audio output settings from your base installation of PCLinuxOS. The extra settings in this section should be fairly self explanatory. 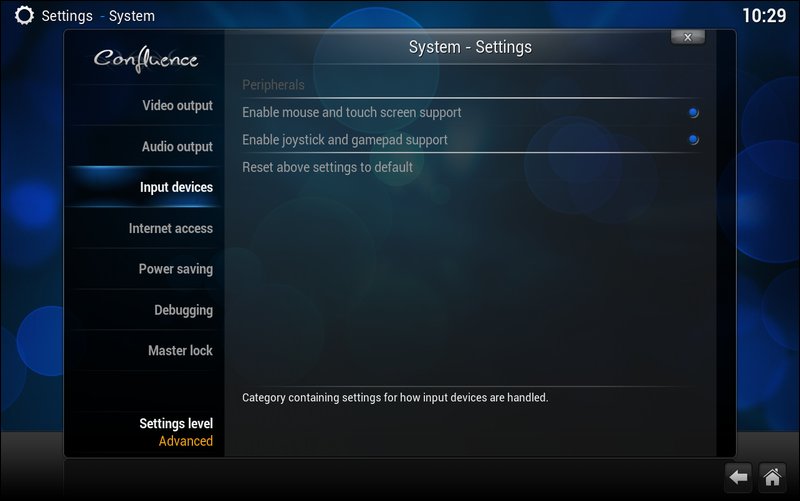 Under the "Input devices" subcategory, you can configure how Kodi handles input devices. Both of the available settings are on by default, and I'll forgo any further explanation of these settings, since they should be very self explanatory. 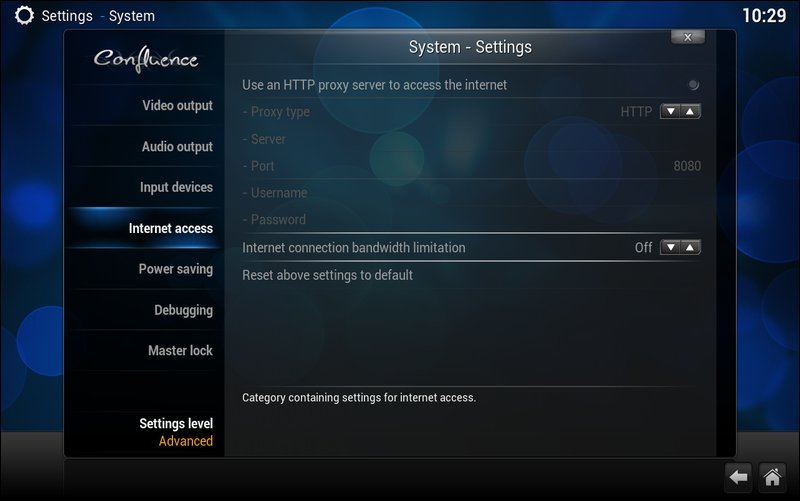 Most people probably won't have to change anything under the "Internet access" subcategory – unless you use a HTTP proxy server to access the internet. You can also limit how much of your internet connection bandwidth Kodi is allowed to consume. This latter setting may be important if you are using a shared internet connection and you find that Kodi is consuming the lion's share of your internet connection's bandwidth – and leaving very little for any other computers sharing that connection. The default settings are shown in the image above. 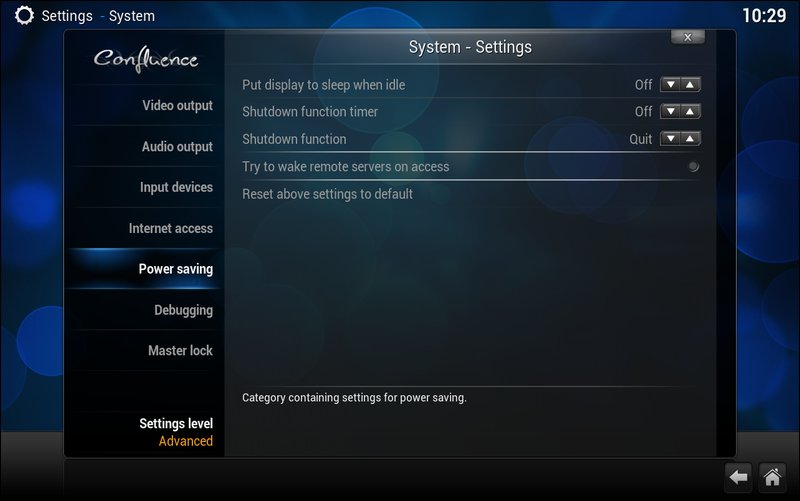 Under the "Power Saving" subcategory, you can setup how Kodi handles power saving settings. The default values are shown in the image above, and the settings should be self explanatory. 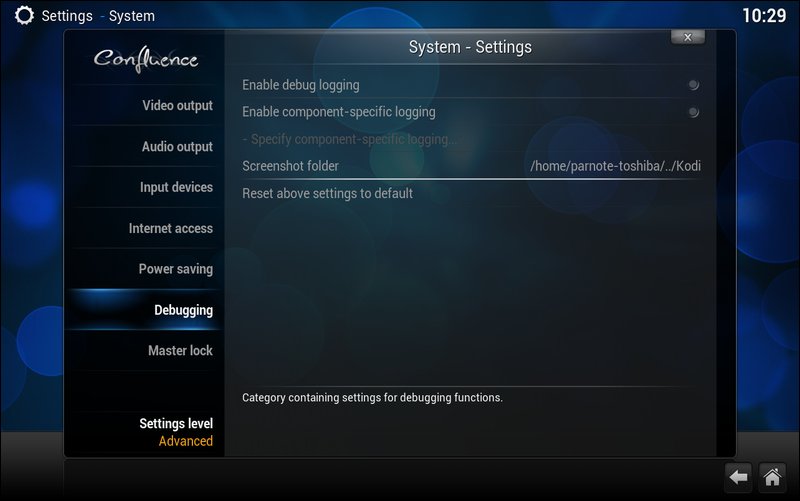 While I doubt that there are many users who will need to change the settings in the "Debugging" subcategory, I can easily see a few instances when you might. If, for example, you were having some issues with Kodi and you were seeking help with those issues on a Kodi user forum, someone may ask you for the debugging information to help track down the cause of your issue. So, you will need to go into this section to turn on the debugging settings. The default values are shown in the image above. One other possible reason to access this section would be if you want to change the folder where you have Kodi saving screenshots. To me, it seems like placing the setting for the screenshot folder here is an afterthought. I know I would NEVER think to look here for that setting. Plus, what the screenshot folder designation has to do with debugging is far beyond my comprehension. It would seem much more intuitive to place this setting under the Video, Live TV or Pictures category – and NOT the System > Debugging section. I guess this is just one of those things that make you go "Huh?" and defies logical explanation. 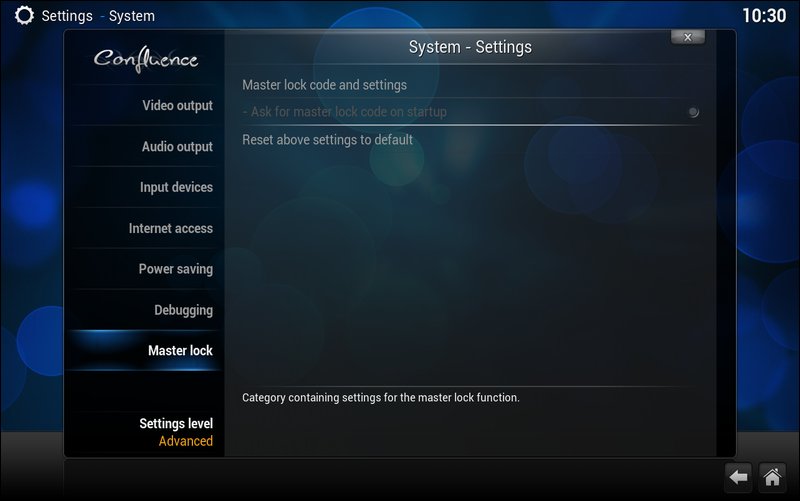 The final subcategory is "Master lock." The default values are as shown in the image above. While the settings in this section should be self explanatory, why you might want to use this may not be so evident. If access to your HTPC is unfettered – meaning, it's accessible to all members of your family or household – you may not want just anyone making changes to how Kodi is set up. If this sounds like something you want to avoid, you may want to "lock things down" so your kids/spouse/roommates/etc. can't install and uninstall addons and plugins, or otherwise change the functionality of Kodi. Summary Like I mentioned at the start, there are a LOT of settings for Kodi. This stands to reason, for a 13 year old program that does so much in the area of multimedia. Believe it or not, we've just started to scratch the surface. Each individual main level category has to be set up independently, as well. We'll take a look at how to set up each individual section of Kodi in the coming articles. Because of what all is involved in setting up each section, we'll focus each article on setting up one or two sections at a time. Yes, setting up Kodi is a lot of work. But, in the end, it's worth it. For the most part, with the exception of routine maintenance, this is something that you will have to do once. When it's all said and done, you will be enjoying many hours of entertainment bliss with Kodi. Stay tuned! |