| Previous
Page |
PCLinuxOS
Magazine |
PCLinuxOS |
Article List |
Disclaimer |
Next Page |
Multiple Command Line Windows Using GNU Screen |
|
by Peter Kelly (critter) When you are working in KDE, or whatever your favourite PCLinuxOS graphical environment happens to be, each application opens in its own window. This allows you to hop about between applications leaving your work open in previously visited windows until you return to save your work and close the window. You also have the option to switch to a different virtual workspace and open more applications, perhaps different ones, perhaps more of the same applications you have already open. KDE even takes this a step further with the introduction of activities. This freedom is very convenient when you need to reference some other information, change the music or answer an incoming message. It allows a massive amount of flexibility. Unfortunately, this freedom is not possible when working in a command line environment, or is it? Of course it is. Unix and Linux are command line based operating systems, although most modern distributions now bolt on a graphical user interface. Because of these terminal based origins, the demand more flexibility has been around for decades and one solution, screen, since 1987. There are several solutions to this. Two utilities that you will find in the PCLinuxOS repositories are named screen and tmux. Screen is now part of the GNU project, and tmux is released under the BSD licence. You might also be interested in byobu, a front-end to GNU screen and tmux, but this is not currently available from the PCLinuxOS repositories. Both screen and tmux work in a similar manner, but screen is the 'standard,' will be available in almost all Linux distributions, and so here I will concentrate on screen. If you read this article and decide that you could use some of these features, then do please try tmux. You may prefer it, or find some feature you like that is not available in screen. The screen utility is not another terminal emulator, but a window manager for the command line (also called a terminal multiplexer), allowing you to have multiple windows open in a single terminal, virtual terminal (as found when pressing Control+Alt+F1 - F6) or terminal emulator. Admittedly you can't move them about as you can in KDE. They are all contained within the boundaries of the terminal, but you can switch between them, add and delete windows and give them names for easy reference. You can also give a name to a session (set of windows) for later recall. It is possible to have multiple screen sessions open and detach or re-attach them at will. You can even start a screen session on one machine, detach the session, and then log in and re-attach from another machine to continue your work.Getting started After installing screen from the PCLinuxOS repositories, you will need to run the following command as your normal user and from your home directory, or you will get a warning similar to this. “Directory /home/pete/tmp must have mode 700.” chmod 700 ~/tmp When you first start screen, by typing 'screen' into a terminal or terminal emulator window, you are greeted with a welcome screen which requests that you press space to continue.  When you do, it may look as though nothing has happened and that the program has aborted, although in reality screen is running just fine. It just got out of your way as a well behaved utility should do. 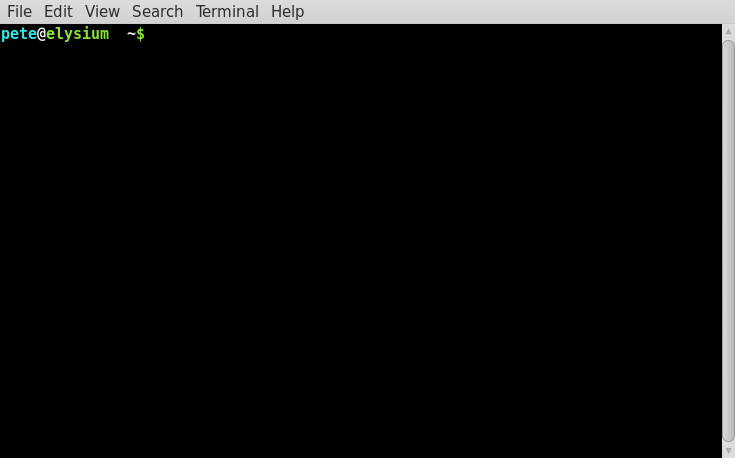 We can change this default behaviour so that we get seamless integration, but also so that we can still tell where we are. The screen utility, like many things Linux, uses a plain text file for its configuration settings. A basic configuration file is installed as /etc/screenrc which is used for users who don't have their own, personalized configuration file. Screen will first look for a hidden file named .screenrc in your home directory. If such a file exists, then it is used in preference to the global file. You can then have your own version of screen set up exactly as you like it, which is a much better prospect. Unfortunately, like many things Linux, although the configuration file is in plain text, the contents are not exactly plain, and it can take a while to get to understand them. All is explained in the documentation, but I will show how I have set up my .screenrc file, and you can take it from there. The first thing that we need to do is to get rid of that introductory screen. To do this, open a plain text editor and enter this one line: startup_message off Save the file into your home directory as .screenrc (include the leading period). The next thing is to have a different prompt when we are in screen from the one normally displayed. I have the following lines in my ~/.bashrc file to define two different prompts:  It is then followed by this line to export the correct prompt to the system environment: export PS1 The prompts don't need to be as fancy as those as long as they are different. If you need more info on the prompts, have a look at the end of this page http://pclosmag.com/html/Issues/200911/page19.html This should produce the following prompt when you enter screen, leaving you with no doubt as to where you are. 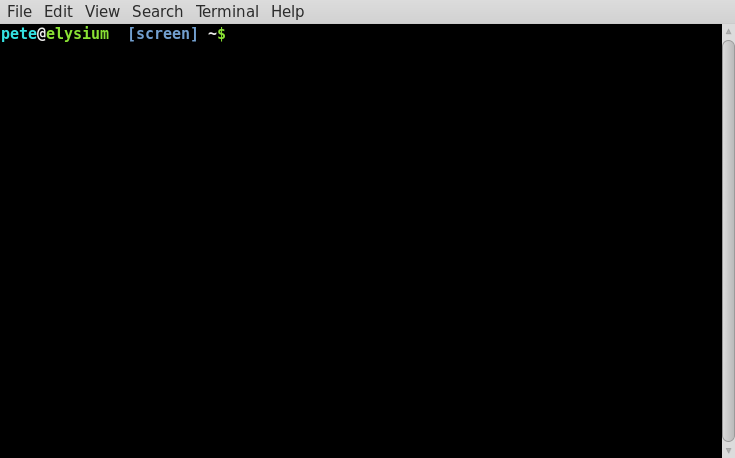 Before we do any more customizing, let's see some of the things that we can do with screen. I'll run through some of the more useful commands, and then provide a summary in the form of a cheat sheet at the end of the article for reference. The Commands To issue a command to screen, you need first to type the 'command character,' which defaults to Control+a (written as C-a after this), followed by the command, which is a single character or key press. The command character ensures that the keystrokes go to screen, and not to the process running in screen. So for example, to quit screen type C-a \. Helpfully, for most of the commands screen accepts both the key-press and Control plus the key-press for those occasions when you forget to take your finger off the control key. The default, C-a, can be changed, a feature which will be welcomed by those people who use that combination to move the cursor to the beginning of the line on the command line (me), but C-a a will will send a literal C-a to the screen, which also works. A list of available commands can be seen by pressing C-a ?. To demonstrate some of the features of screen start it up and then type top Now we have a continuously running process in the terminal, and one that fills the terminal window. Next, issue the command C-a c. This will create and switch to a new, blank terminal window. Enter another command. mc is good if you have midnight commander installed (if you don't then install it now, you won't regret it). Type C-a c again to create a third window, and then type C-a “ to get a list of currently available windows. 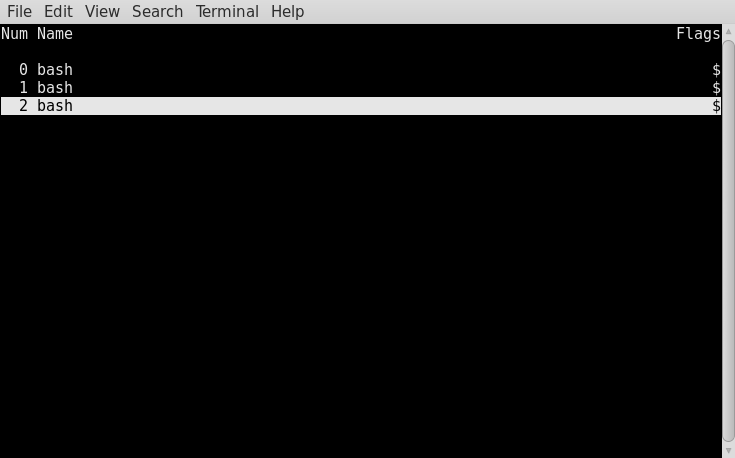 Move the arrow keys to select window zero, hit return and you'll find yourself back looking at top, the very first process that we started in the very first screen window. The problem with that listing is that all three windows are named bash which is of course the process that screen is actually running in each of the windows. But which screen window is doing what? We can improve this situation by naming the windows more realistically. Type C-a A (that's an uppercase A) to bring up a panel in lower left where you can rename the window. Backspace over the name bash to delete it and type top. 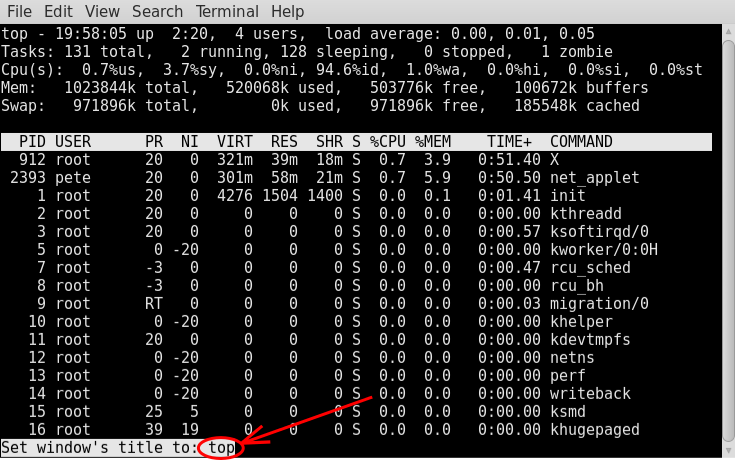 Now type C-a n or C-a space to switch to the next window (C-a p or C-a backspace will change to the previous window, as this process is cyclic) and name that one mc. Repeat the process for the final window, and rename it shell as any newly created windows will start with the name bash. Now type C-a “ again, and you will see your changes, and it now all makes a little more sense. 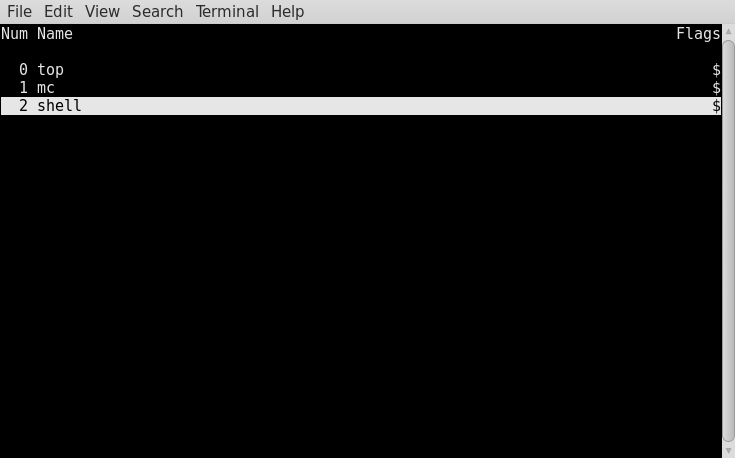 Select window 2, (the one named shell) and type C-a k. You will be prompted “Really kill this window [y/n]” Answer “y”. The window will be deleted and you will be placed in the next lowest numbered window, in this case window 1, which we named “mc”. To switch to a particular window, use C-a ' and you will prompted in lower left for the required window. You may use either the window number or name. If you specify the current window, you will get the rather terse message “This is window 1 (mc).” For windows numbered 0-9 you can use C-a {number}. The previously used window can be returned to with C-a C-a. The split command C-a S (upper case S) is used to divide the current window horizontally. The newly created window is blank and has no session running in it. You may switch to the newly created window with C-a tab and then use C-a c to create a session in it. To delete the region use C-a X (upper case X). 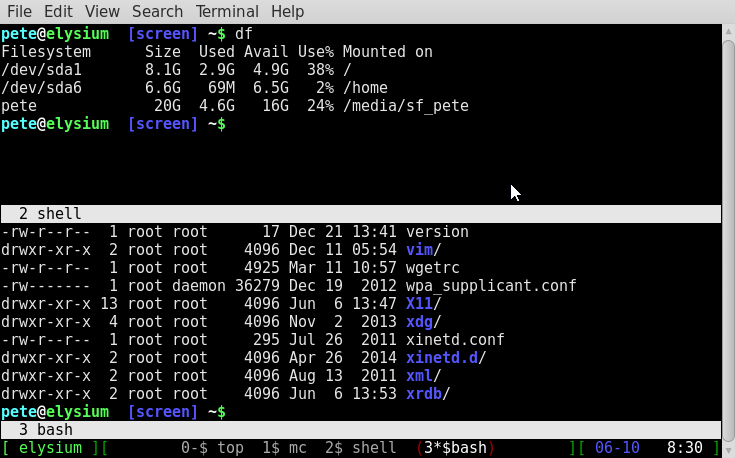 Screen allows you to copy and paste between windows with the commands C-a [ and C-a ]. When you issue the command C-a [, you enter a full screen copy mode. From here you can use the arrow keys to move around. The 0 key takes you to the beginning of a line, and $ to the end of the line. You can search forward in the text with /, and backwards with ?. To move backwards and forwards a screen at a time in long documents, use Control b and Control f. When you reach the start of the text that you want to copy, press enter then navigate to the end of the text you want to copy. The text is highlighted as you move around, and press enter again. The highlighted text is now copied into what is known as the copy buffer, and you will get a confirmation of the amount of text copied at the bottom of the screen. 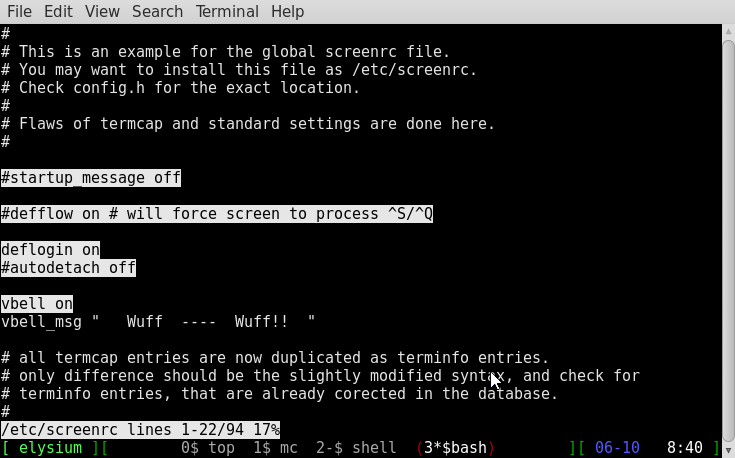 Now open your preferred text editor, either in this or another window, and type c-a ]. The text is pasted into the editor. 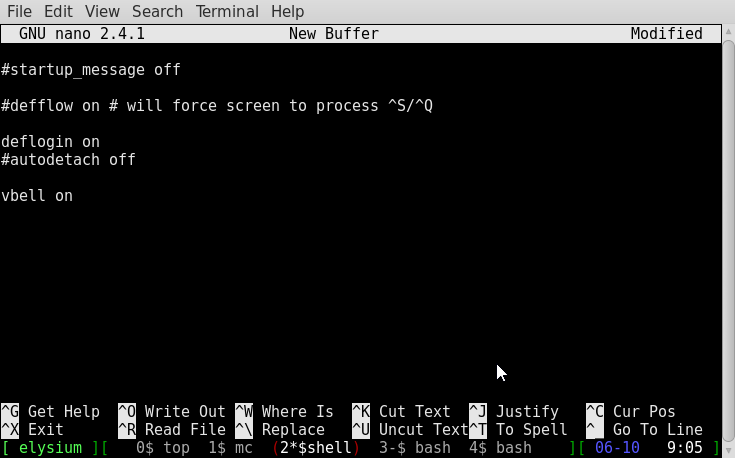 Do not copy the text directly into a window containing only the command prompt, as the shell will attempt to execute each line with unpredictable and potentially disastrous results. Now comes the clever part. Type C-a d and you will be dumped out of screen, returned to a command prompt, which is different from the one displayed when we were in screen, and the simple message “[detached]” will be printed out. 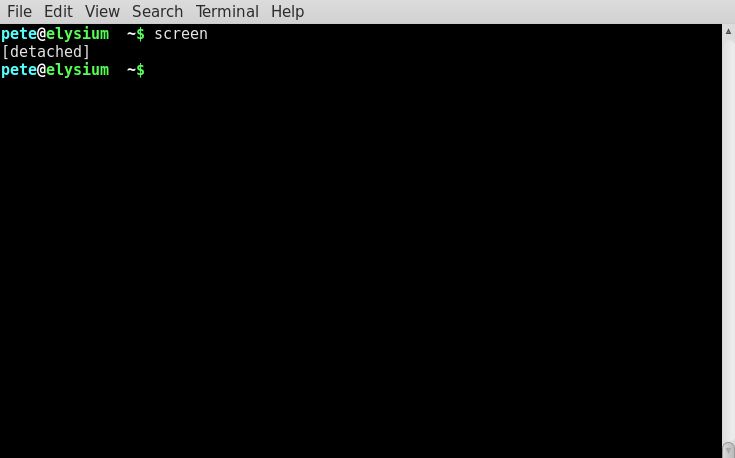 Now it looks as though top and Midnight Commander have gone but they are in fact still available to screen. Type Control-Alt F1 to go to one of the virtual terminals and login (Control-alt F8 will get you back to your graphical environment if you get homesick). Now type screen -r and there are your two screens, “top” and “mc.” You can even do this over different machines. If you have access to another networked machine, you can log in and connect to a screen session that you previously detached and continue working. 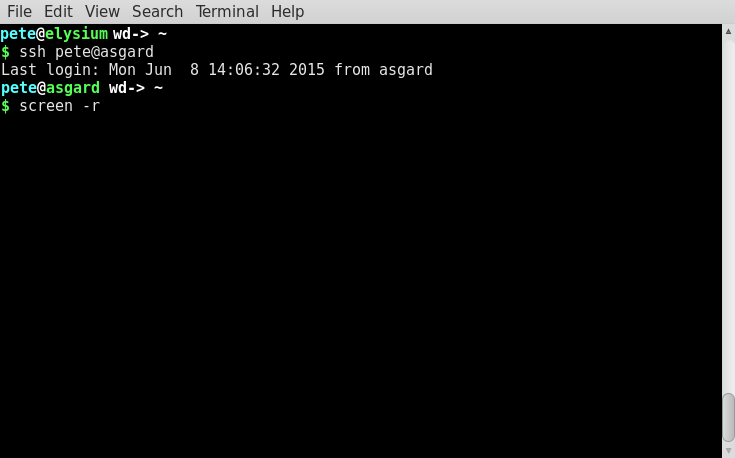 Here I establish a secure shell connection to another machine on my network named asgard, and pick up a screen session I started some time back. 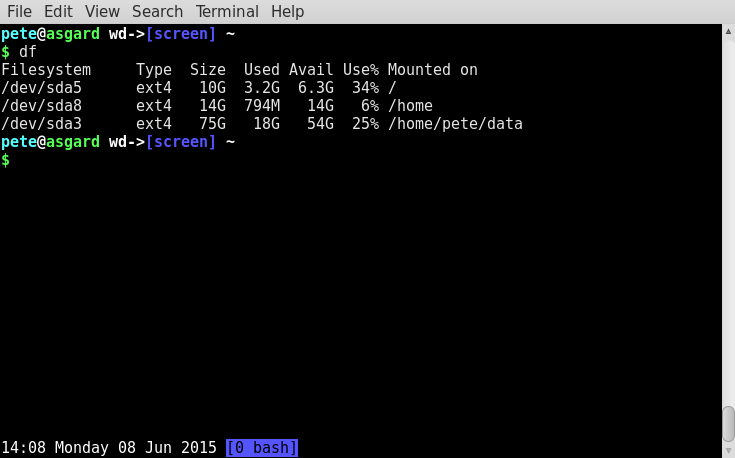 This is great for working on a remote server, or for having a set of command line tools always open on a long running machine. If you are working remotely and suddenly lose the connection simply reconnect, log in and re-attach to your screen session. You may log in and out, but as long as you don't power down to re-start the machine hosting the screen session the processes started in screen will be available from that screen session. If you intend to use more than one screen session you may name the session by starting screen with the command screen -S {session-name} This will make it easier to switch between sessions. Without a name, you will have to supply the sessions PID. To get a list of current screen sessions use screen -ls 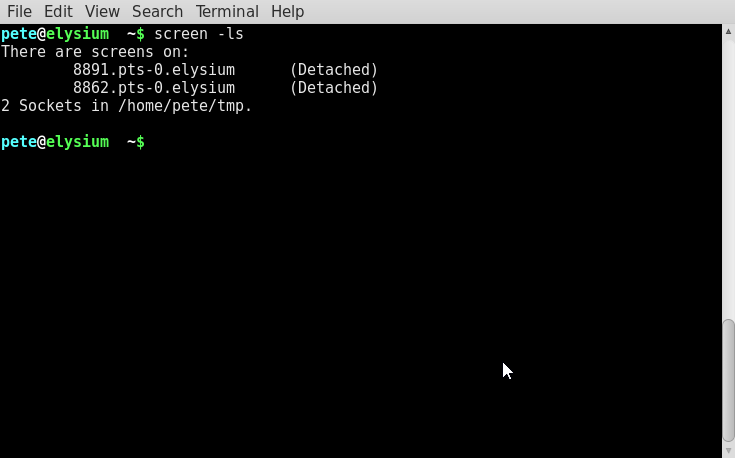 This screenshot shows two sessions both currently detached, but to re-attach to one of them, I need to type the full name screen -r 8891.pts-0.elysium This can get a little tedious. When the sessions are named, then I get something like this: 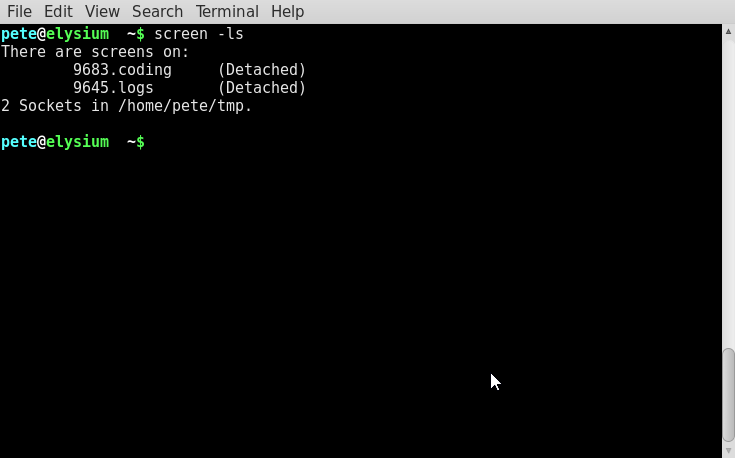 Now I have two named sessions so to check my system logs I can use screen -r logs This is much easier. Make the session names unique. If you have names like 'test1' and 'test2,' screen will not be able to differentiate. Perhaps there is a way, but I haven't found it yet. If you want to connect to a session that is already attached, perhaps on a remote system, then you will have to combine, then detach and re-attach commands, like this. 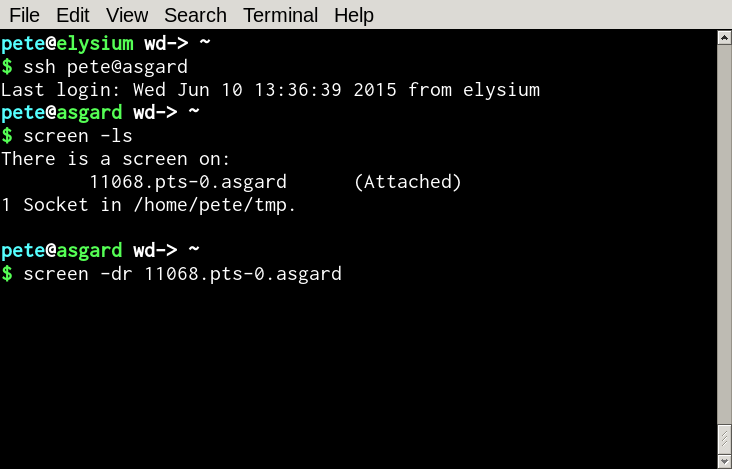 Which gets you into the session ... 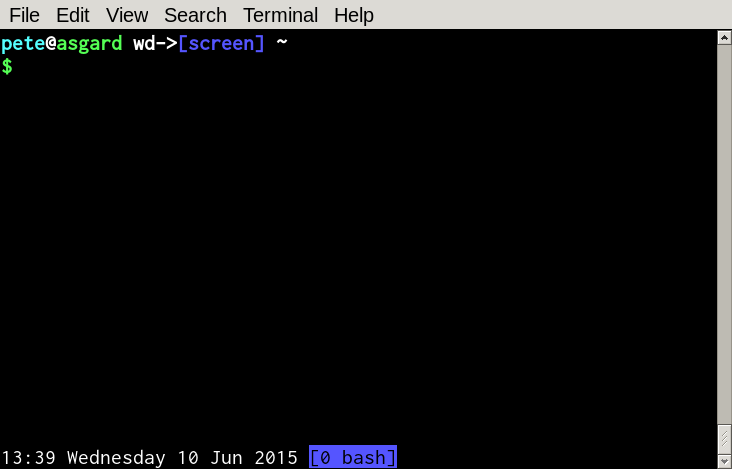 The remote terminal will show something like this. 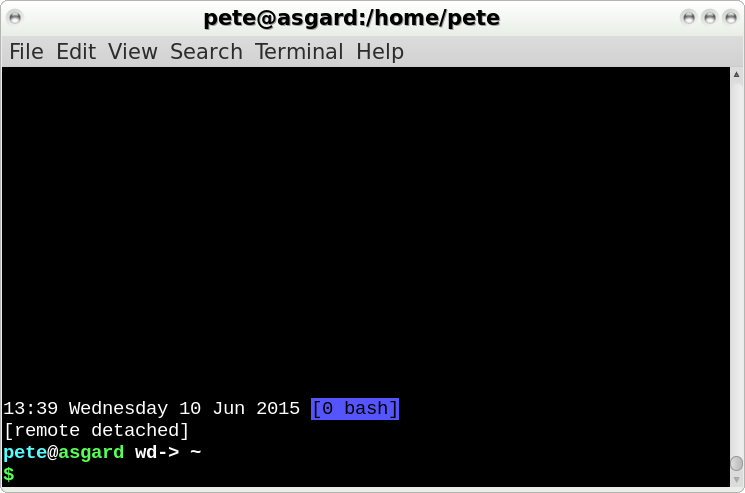 Screen has a command prompt of its own, which you can access with C-a : The prompt appears as a colon in lower left of the window, where you will type in the command. The commands you can enter here are all described in the documentation for the benefit of power users, but most commands will be issued in the configuration file ~/.screenrc or /etc/screenrc. The three commands that you may want to execute from within screen are: C-a : quit Which will close all windows and quit the screen session. This means that it cannot be reattached. C-a : source ~/.screenrc This command will reload your configuration file or load a new configuration file if that is specified. C-a : sessionname name This will name or re-name the current screen session. If you look at the screenshots of screen running on the remote machine, you will notice a status line at the bottom that we don't currently have. This is done in the ~/.screenrc file with some configurations that we will look at now. Customizing screen The status line at the bottom of the screen can be as simple or as complex as you like. However, setting up the line is no mean feat, and how you do it seems to depend on what kind of terminal you are using. The code is explained in the documentation, but still seems pretty obscure, so I cheat. I copy one I find online, then 'hack it around a bit' until it does what I want. The one I use started as something I found on the arch wiki (a very useful reference). I have changed things quite a bit, but it works in mate-terminal, konsole, xterm and over a ssh connection. These are the two lines I added to my .screenrc.  This gives me the current time and date, in UK format, and my current screen highlighted in blue. The string consists of a series of macros or 'string escapes', attributes, modifiers and literal characters. I told you it wasn't simple. This is how the first line works: 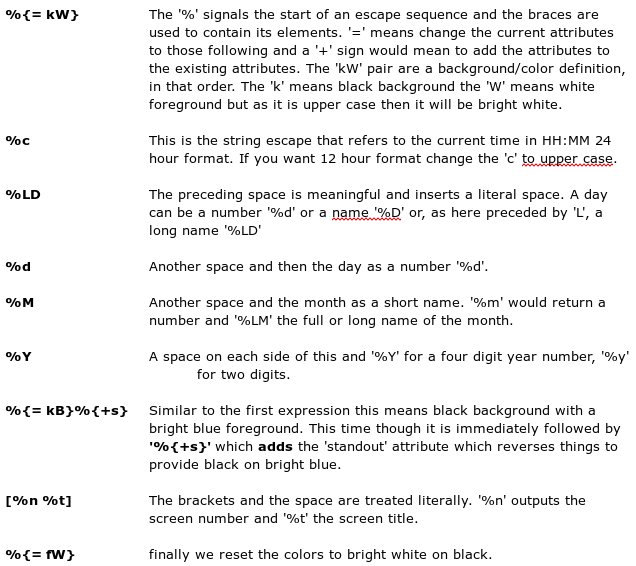 This is not overly difficult, but it does seem a lot of work to display and format some simple information. The second line simply tells screen to always display this line. Other text, such as the window list provided by C-a w, will temporarily overwrite it. If your terminal supports 256 colors and you want to take advantage of this, then you need to add a line like this. term xterm-256color Often, when you use a utility such as the vi or nano text editors, the text remains on the screen after you exit the utility. To overcome this, add this line. altscreen on Some terminals flash to represent the bell, a feature inherited from the days of typewriters. To turn off this annoying habit, add this line. vbell off The format of the display of the window list provided by C-a “ can be adjusted in a similar manner to the caption string. windowlist string "%3n %{= kG}%t" The '%3n' provides the screen number padded out to three characters wide. '%{= kG}%t' displays the screen title in bright green on black. To start screen with some pre-defined windows.
screen -t top 1 top The format above is screen -t {title} {number} {command} Finally, you can create your own shortcut keystrokes. bind m screen -t 'mc' 8 mc This would allow C-a m to open midnight commander in window 8, name the window mc and then switch to it. Or, if window 8 is currently in use, the next highest available slot. This introduction covers only a small sample of the abilities of the screen utility, but what I have demonstrated here are the features that I have found most useful. 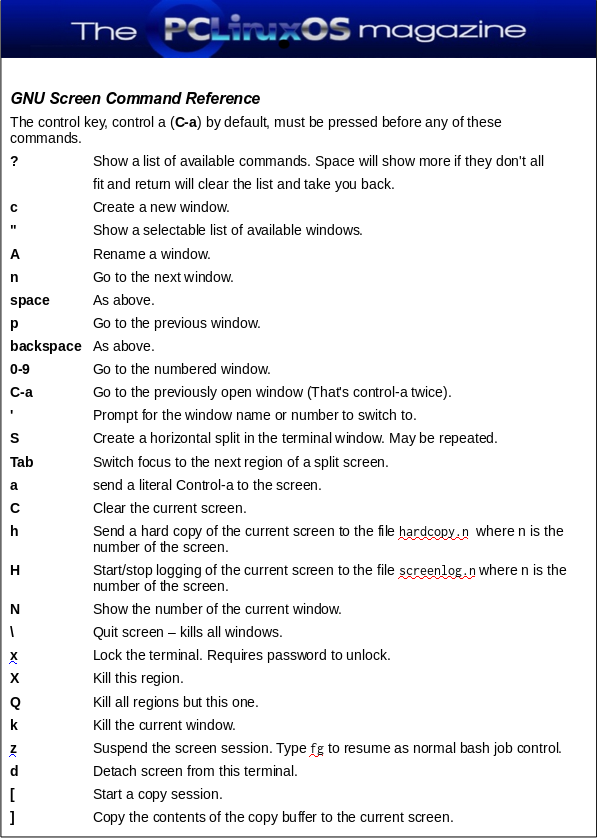 |


