| Previous
Page |
PCLinuxOS
Magazine |
PCLinuxOS |
Article List |
Disclaimer |
Next Page |
Inkscape Tutorial: Create Transparent Text |
|
by Meemaw I saw another fun text effect that I want to do for you. In Inkscape, import an image file that you would like some text in. I'm using a photo from a trip I took to Utah several years ago. This is Butler Wash, with Native American rock art. I want to put the text "Butler Wash" at the top. 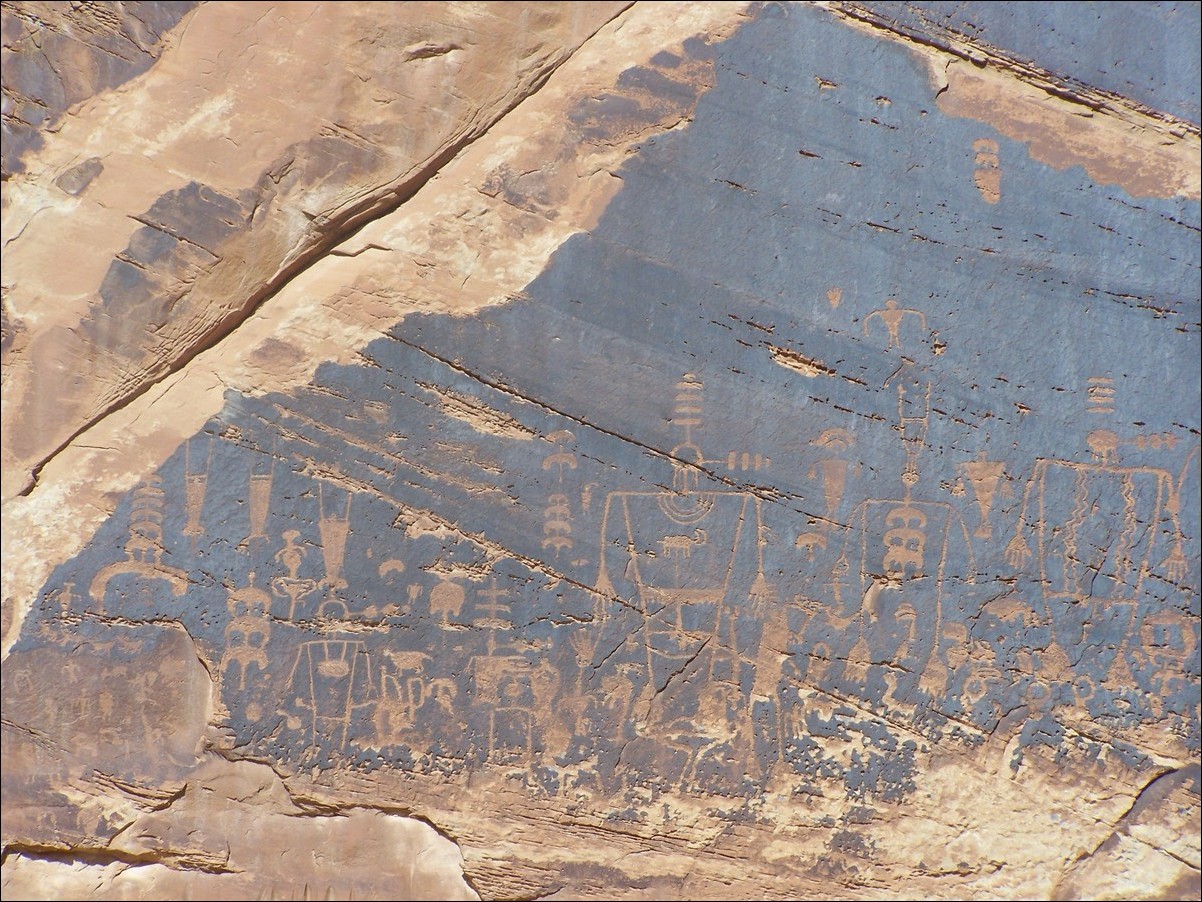 Load your photo, then create your text. Change to the selection tool, and make the text the size you want. Now, make 4 copies of it using Edit > Duplicate or <CTRL> + D. It helps to make them different colors so you can tell them apart. Change the top copy to black, change the blur to 0.5, then do Path > Outset two or three times, depending on how big everything is and whether you used bold text or regular. Move your black text to the right just so the next copy is visible, then lower it one level. Now you should have a different color text above the black text. With that text selected, hold down <SHIFT> and select the top level text, then choose Path > Difference. You should now have a blurred text edge with your third color showing. Move the blurred text to the bottom of text stack (but above the image). Choose the top text and change the color to white, then do Path > Outset once or twice. Move it below the text it is above (1 level), select both and do Path > Difference on them. It will look like a white outline with your last color showing. With the white text outline selected, change the opacity to 30%, and move it down to just above the black blurred text. Select the top text, and change it to white, then make a gradient (linear, from above the top of the text to about the center of the text so the white is barely visible at the top. Now you should have transparent text with a bevel, highlight and shadow sitting on top of your image. |