| Previous
Page |
PCLinuxOS
Magazine |
PCLinuxOS |
Article List |
Disclaimer |
Next Page |
GIMP Tutorial: Engraved Text |
|
By Meemaw I found another fun text effect to show you. This effect makes your text look like it has been cut or burned into the background. 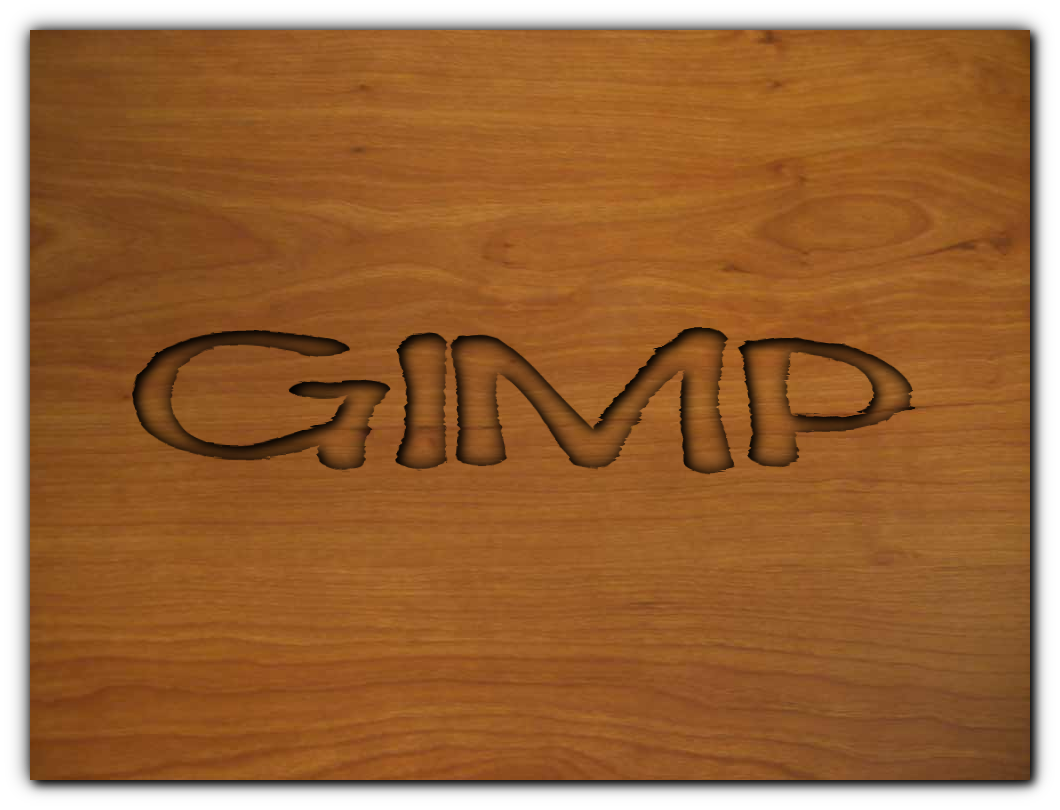 Load in whatever image you want to use. I am using a couple of different wood images. Place your text on the image. Move the text layer to where you want it, then choose Layer > Layer to Image Size. Also, choose the image you imported and choose Layer > Layer to Image Size again. This will make sure the changes we make will work correctly. We are going to use the Displacement tool to roughen up the edges of our text, so it looks like it follows the contour of the wood. To use that filter, both layers have to be the same size. With the text layer chosen, click on Filters > Map > Displace. In the window that appears, choose the wooden background in both boxes, and leave the other settings at default, then press OK. Now it should look like it has picked up the texture of the background. 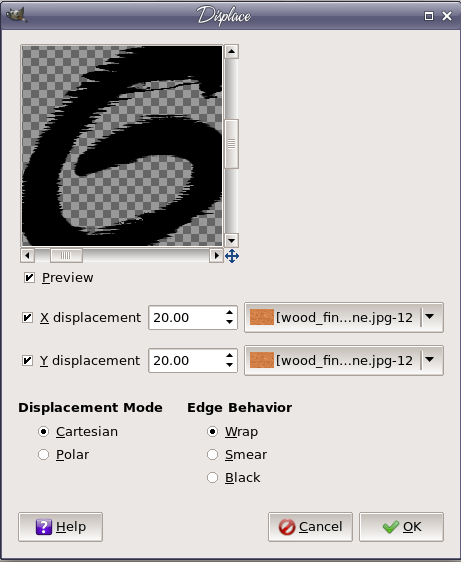 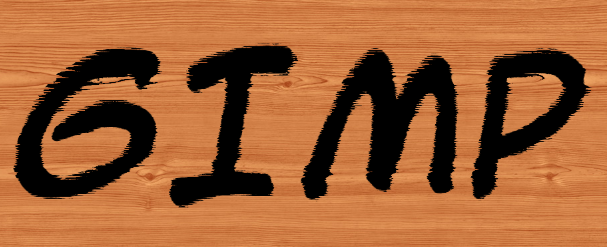 Select the text layer, right-click it and choose Alpha to Selection to outline your roughened-up text. At this point you can delete the text layer, and we'll work with just the selection. Now we want a drop shadow, but sort of inside the text so it looks cut in rather than popped out, like we did in March. To do that, we will first invert the selection, then choose Filters > Light & Shadow > Drop Shadow. Leave most of the default settings, but change the Opacity to 100%. Now you can see a shadow inside the text that is starting to make it look engraved. 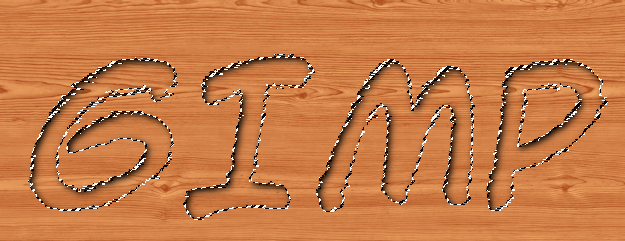 However, we need another drop shadow with different settings. Choose Filters > Reshow Drop Shadow (because the Filters menu saves our work as well), then change the settings to X = 0, Y = 0, and Blur Radius = 30. This puts a bit more shadow where the first one was, plus adds some to the other side of each letter. 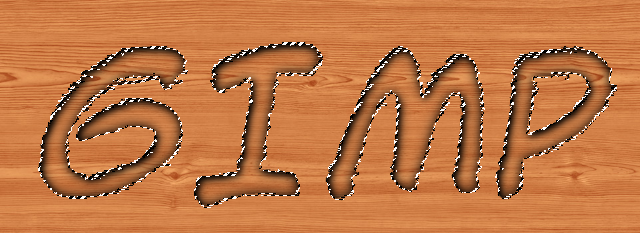 Now you can click Select > None to remove the selection lines. 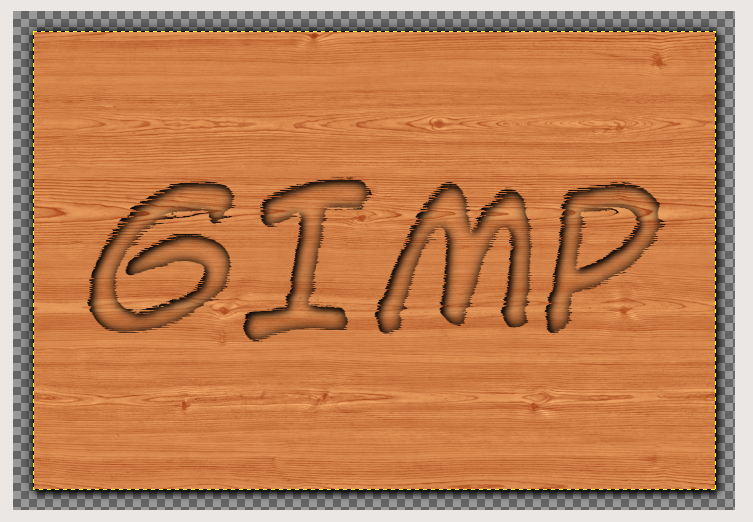 Save your work, if you haven't already, then crop your image and export it as your desired image file. 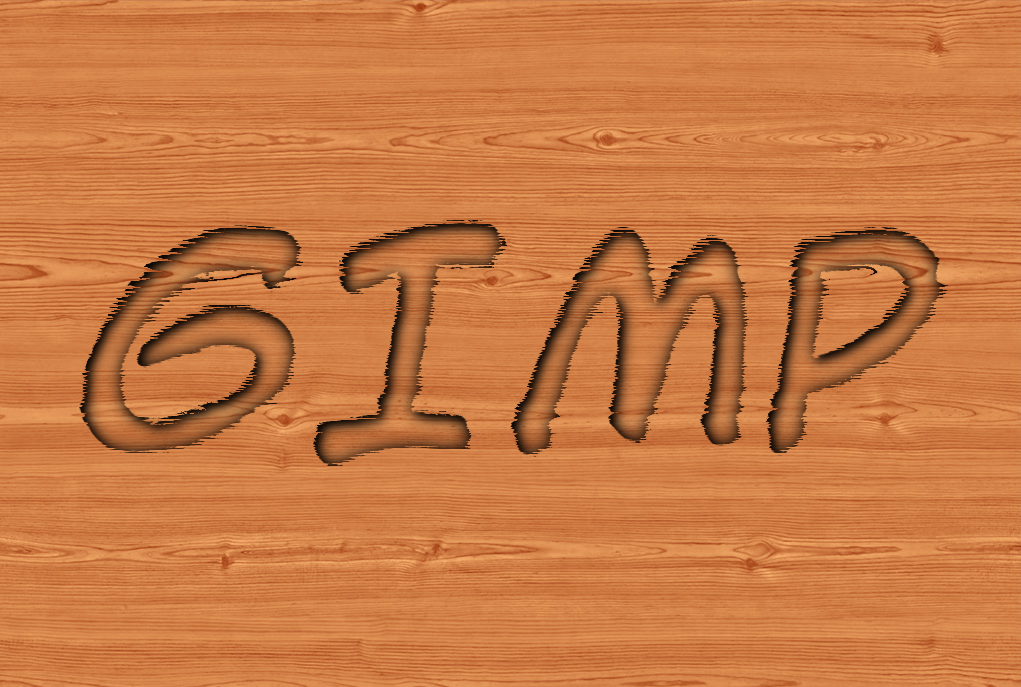 |