| Previous
Page |
PCLinuxOS
Magazine |
PCLinuxOS |
Article List |
Disclaimer |
Next Page |
Inkscape Tutorial: Create A 3D Landscape |
|
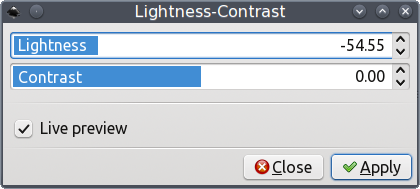
by Khadis Creating a 3D photo using image editing software isn't something new. How about if we create it using Inkscape? It is totally easy, and can be done in minutes. Let's start! 1. Create the following shapes. You can use the rectangle tool (F4), or manually draw them using the Bezier tool (Shift + F6). 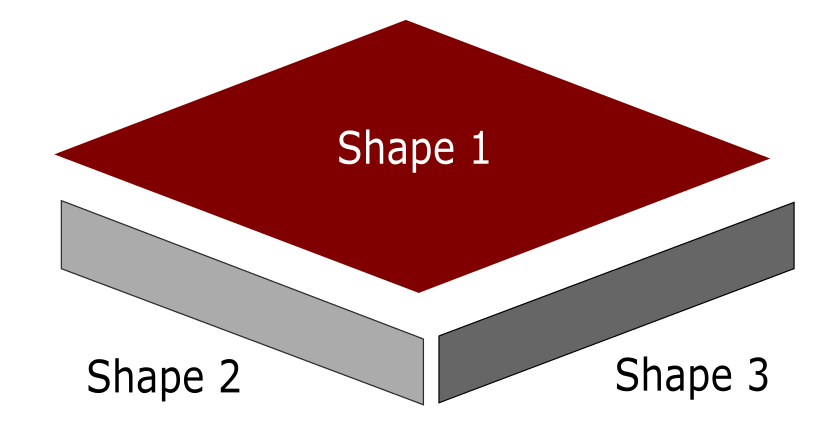 2. Arrange those object like this: 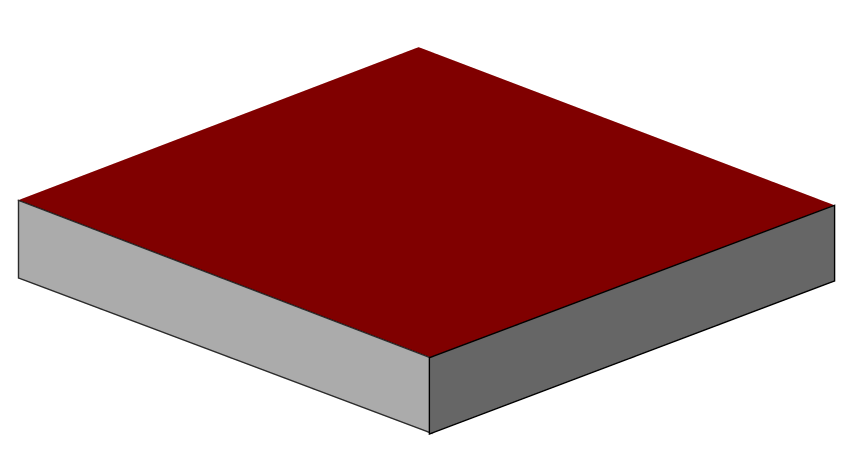 3. Import a grass image. I took a random image from Google Images. Put the image behind the first shape. If the image isn't behind the first shape yet, press Page Down once, twice, or many times until it moves behind the first shape. Press Page Up to return it to upper position.  4. Select the grass and the shape, then go to Object - Clip - Set. The grass image should now fill the shape. 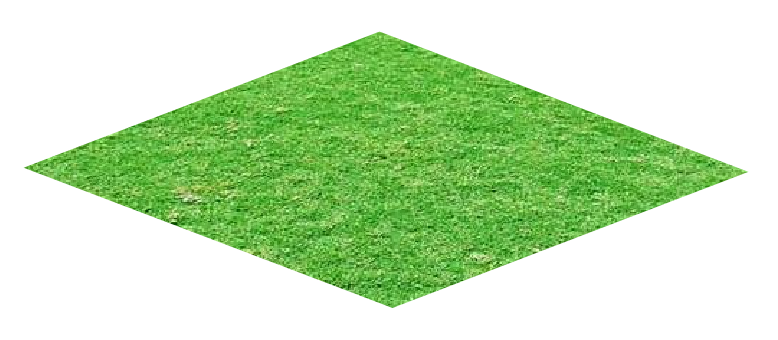 5. Import a soil texture image in PNG format. Again, I took randomly from Google Images. Before you put the image behind the second shape, it is better for you to duplicate the image (Ctrl + D) so we do not need to re-import the image to fill the third shape. 6. Put the first soil image behind the second shape like in the step #3. Select them, then go to Object - Clip - Set. 7. Before doing the same step to the third shape, let's make the second soil image darker than the first. 8. Select the second soil image, go to Filters - Color - Lightness-Contrast. Set the lightness lower than the original value (make the image darker). Check the Live Preview to see the changes, then click Apply once you are satisfied with the darkness level.
9. Put this second soil image under the third shape, then go to Object - Clip - Set. 10. Now, import some rock and tree images in PNG format. You can easily find them in Google Images using a search keyword like "rock png", "tree png", or something like that. 11. Arrange those rock and tree images. Mine is like this: 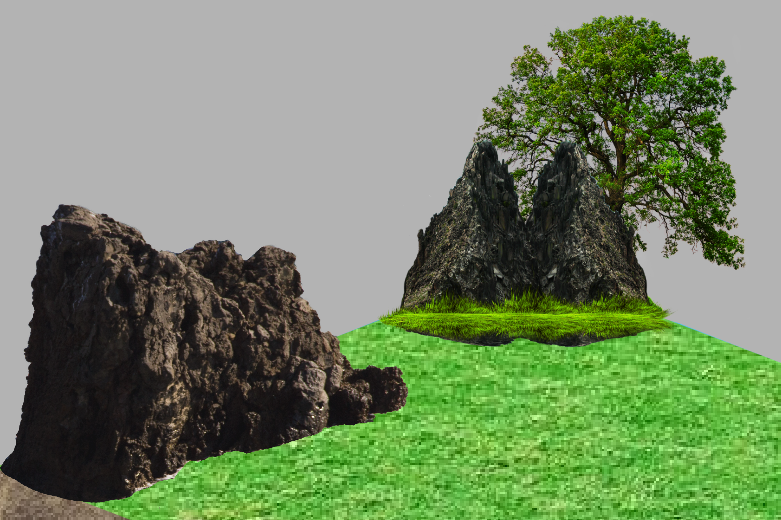 12. Later, you can add a lake, pond, or river, or even buildings. I added a pond by creating it manually, using the Bezier tool (Shift + F6).  13. Then place a water image using Object - Clip - Set action. Again, I took the sea water image from Google Images. 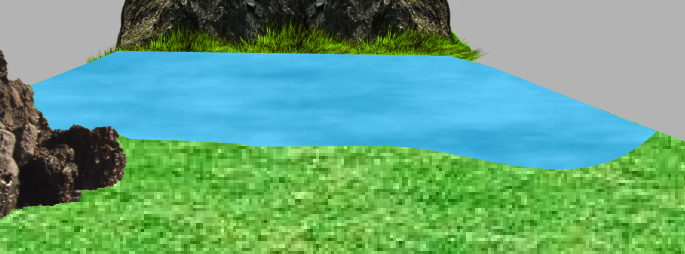 14. The final result might be like this:  |