| Previous
Page |
PCLinuxOS
Magazine |
PCLinuxOS |
Article List |
Disclaimer |
Next Page |
LibreOffice: Create A Fillable PDF |
|
by Meemaw The Portable Document Format. The PDF has become a critical element in business. Of course, we're still moving towards mobile apps and other digital tools, but the PDF is still very prevalent. Why? It's easy to use, easy to create, and can be viewed on nearly every type of device. I'm sure most people have wanted to create a PDF for something at one time or another. Most of us assume we have to buy a PDF maker from someone who makes it. Sometimes the catch for us is having to get the software and find a (Windows, possibly) computer to run it on. With an ordinary PDF, we can use LibreOffice or most other word processing programs, but a fillable PDF is a little different. We can use Scribus to create a PDF (we use it for the magazine every month) and soon I'll outline this same process in Scribus, but not everyone uses it, so let's use LibreOffice. The first thing you want to do is design your document. I need to make an application for a scholarship (since my company awards two every spring), but I'm going to start with a forum questionnaire. You should put the "unchangeable text" into your document first (things like "Name", "Address", etc), and decide where you want everything before you add any of the PDF elements. When you have that done, click on Edit > Design Mode to allow you to work with the items you are going to insert. Now, click on Insert > Form Control, and you will see an entire list of elements: 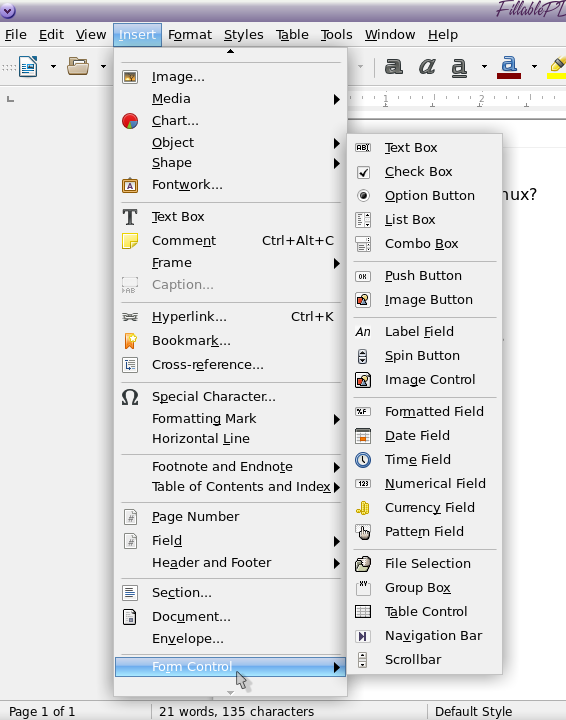 You can also click on View > Toolbars > Form Control to add that toolbar to your work area. Make sure Design Mode is active. Let's first add a text box. Say you need users to enter their name. Click Insert > Form Control > Text Box and the cursor will change to a plus sign so that you can draw the box. If the text box doesn't wind up where you need it, don't worry, you can drag and resize it accordingly. 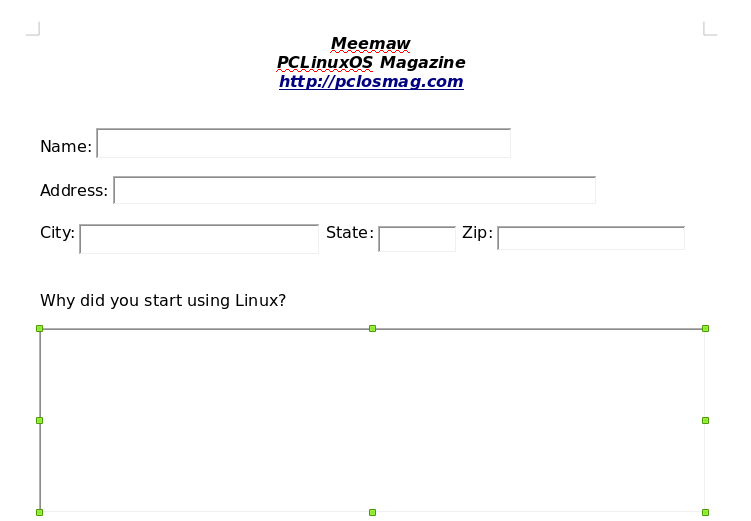 Once you have the text boxes in place, you're ready to move on to the next element. Let's say you also want a group of checkboxes so the user can select an option. Each checkbox will also contain a label, so you don't have to worry about first creating the text for each. Click Insert > Form Control and the select Check Box. Once the cursor changes, click on the document and drag it to draw the element. Double click on the new check box to bring up the Properties window and fill out the options as needed. You should be able to add one after another, as many as you want. 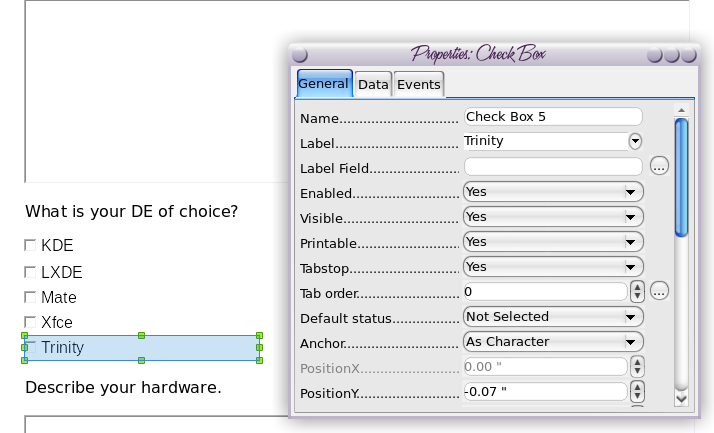 If you've added the necessary elements to your document, click File > Export as PDF (or click that menu button at the top), accept the defaults, click Export, give the document a name, select a location to save the document, and click Save. We can stop here, if you only want text boxes and checkboxes, but there are many other elements you can use. You will notice, in Insert > Form Control, that there are a number of other elements there (such as List Box, Combo Box, and Group Box). These items require the addition of a data source. Let's do List Boxes next. To do that, we must also create a LibreOffice database. Suppose you want a clickable list rather than all the checkboxes. It would certainly take up less room. I know it seems to be difficult, but it isn't. Create a spreadsheet with your choices. My survey has a list of DE's, a list of countries (because I want to know how far and wide our member base is), and a list of age ranges. 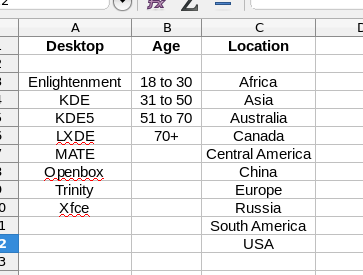 Now create a new database using this spreadsheet and save it (of course). Going back up to the form example above, we will replace the list of DE's with a List Box, so instead of six lines in the form, you'll have only one, and you can include more than six items (my database has eight). Click Insert > Form Control > List Box. You will get the box cursor and you should draw the box you need. Since you chose List Box, your rectangle will have a down-arrow on the right end. The wizard should open, and ask you where your list is located. The wizard has several screens, which are shown below in a series. 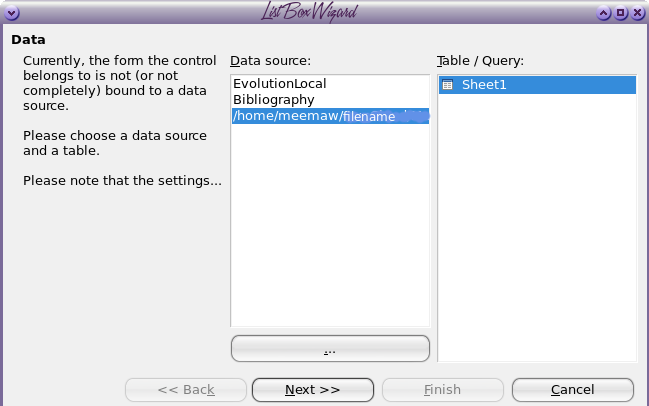 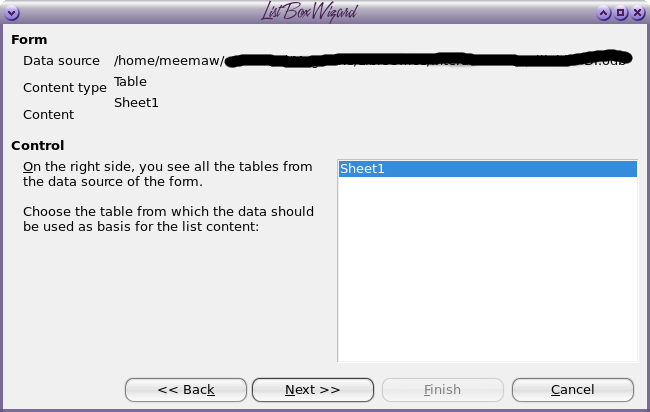 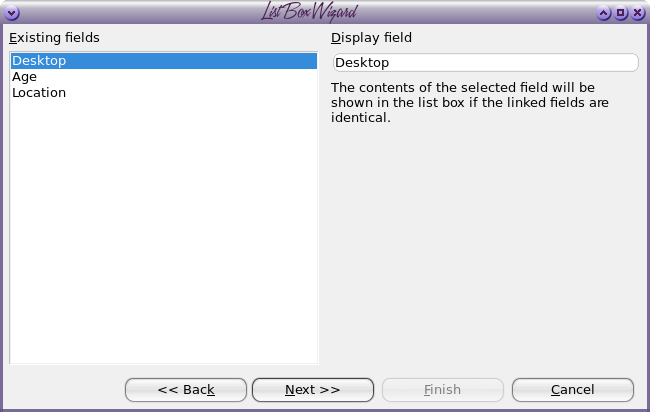 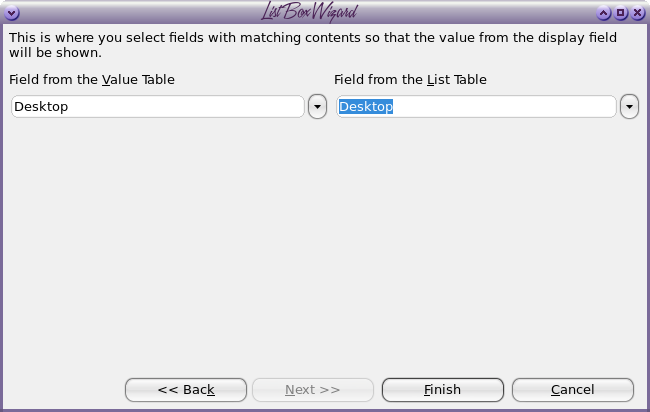 Now that you have identified your database and the correct field to use, select Finish from the final screen. Your List Box will look like the one below: 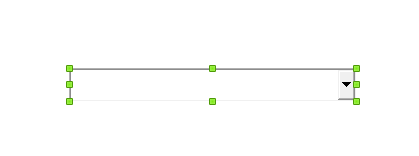 Double-click your box to get the properties window: 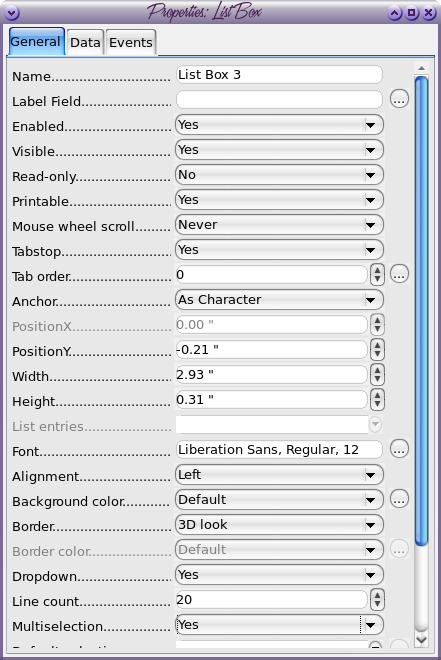 You might have to experiment with these a bit, but there are many ways you can fine tune your list box. Make sure you save your document before you export to PDF. My list box looks like this: 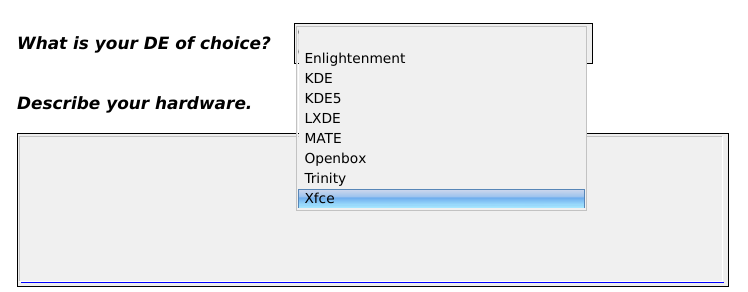 Another type we can create is a group box, which has two or more radio items to choose from. In this one, the items are grouped so you can choose only one. The one on my form will be Gender, so I only need two items. Click Insert > Form Control > Group Box. Again your cursor will change so you can draw your rectangle, and a wizard will appear, as show below: 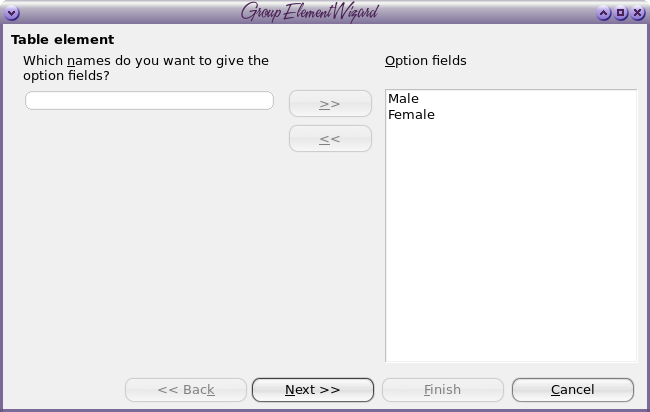 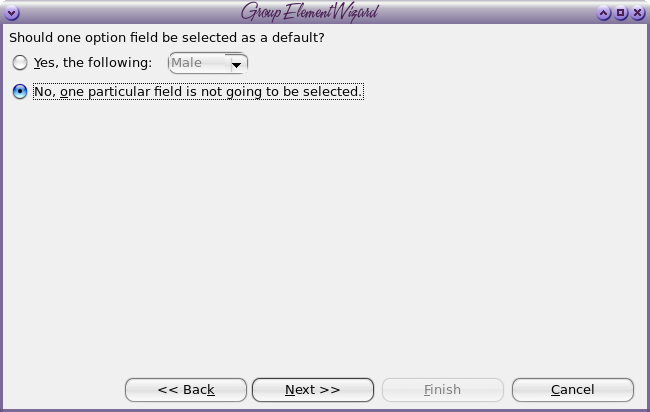 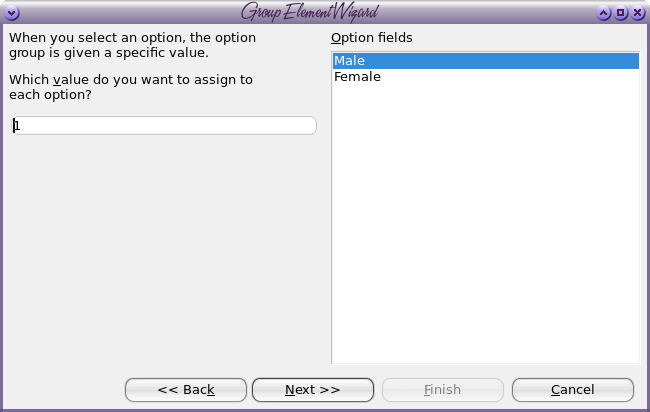 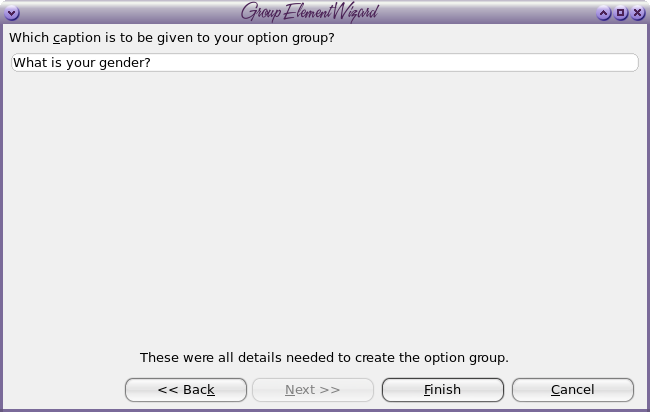 You should also double-click the box to edit the properties. You can format the font so it matches the rest of your form. 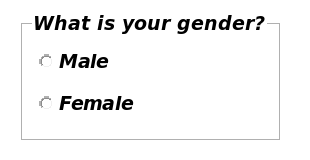 Again, save your form and convert it to a PDF. Be sure to test your form before sending it out to make sure that things work as you wish. On one of my first ones, I discovered that the setting in LO making it a fillable form wasn't checked, so make sure you do that! 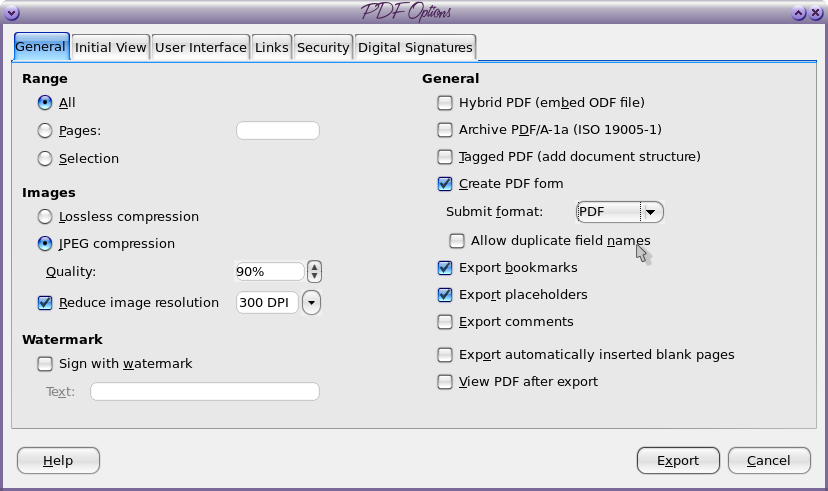 I will follow this up with another article with a few more of the features you can add. |