| Previous
Page |
PCLinuxOS
Magazine |
PCLinuxOS |
Article List |
Disclaimer |
Next Page |
Inkscape Tutorial: Create Tiled Clones, Part Three |
|
by Meemaw We've spent some time doing tiled clones for stars, shamrocks and confetti, and I hope you have experimented with your own projects to see what you can do. Each of those made use of the row and column concept. However, many of our designs are circular. Can we do that with tiled clones? I actually went back to Inkscape's tutorials list and searched. In their Tips and Tricks section, Inkscape Tutorials, Tips & Tricks, I found some instructions: It's easy to see how to use the Create Tiled Clones dialog for rectangular grids and patterns. But what if you need radial placement, where objects share a common center of rotation? It's possible too! This is where we use the Rotation tab. Let's create the start of a clock face. Open Inkscape and draw a line. 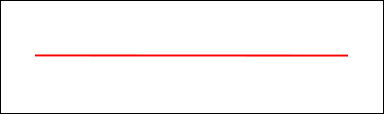 I want a line on each hour, so I want 6 lines (since we're rotating the line around the center of the starting line, we'll only need half as many), so set the rows to 1 and the columns to 6. Click on the Shift tab and set the Per row/Shift Y and Per column/Shift X both to -100%. Now click on the Rotation tab and set the column rotation to 30°. Click on Create. 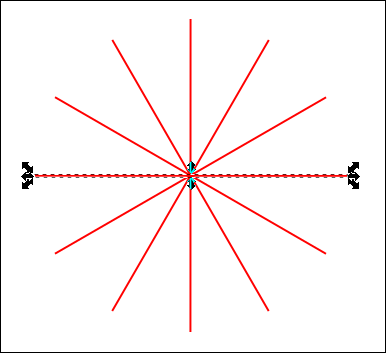 I want my clock face a bit fancier, so I'll zoom in on the original line (which should already be selected). Click on the Paths tool just under the selection tool at left, then double click on the line at the center and halfway between each end. I just moved the lines between the nodes a bit so my line looks a tiny bit curved. The great thing about doing this with your line and then cloning it (or doing it after it's cloned, like now) is that each clone will turn out exactly like the original. If you aren't happy, make changes to the original, and the changes will be made to the clones as well... I'd rather do it once than 6 times. 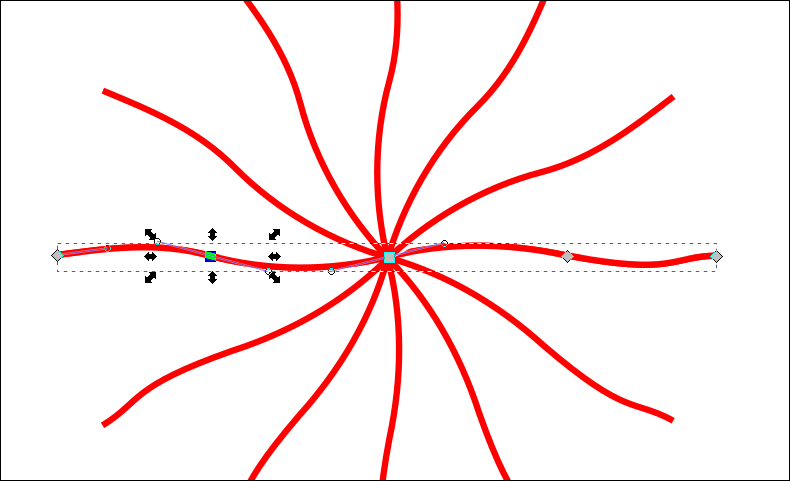 After messing with it a bit more, and adding the numbers and circles for decoration, my clock face, while not real fancy (or even to your liking), looks like this: 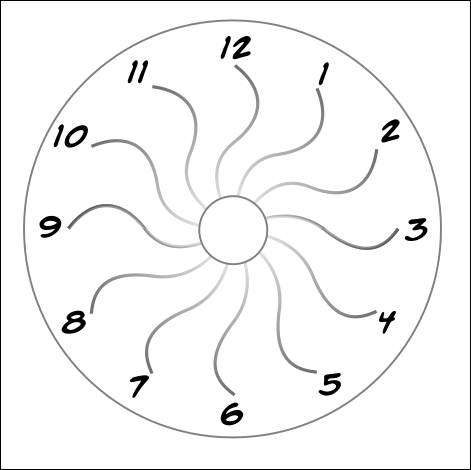 There are some presets in the program, so you could try the P3, P31M, P3M1, P4, P4M, P6, or P6M symmetries and see how they work out. That was a relatively simple design. You can do more if you vary your row and columns, varying your rotation along with them. These settings (with the shift left at -100 like before), you'll get the result shown below. 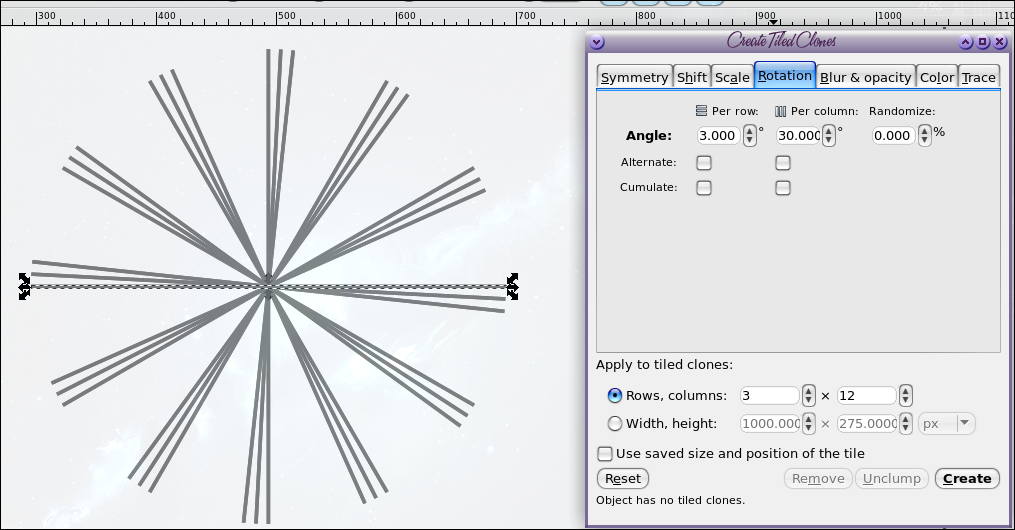 The groups of 3 are the rows, 3 degrees apart, and the groups are the columns, spaced 30 degrees apart. What if you don't want to use only lines? This time I made a teardrop shape, and when I was satisfied with the design, I clicked on it twice to turn on the rotation arrows, then grabbed the cross in the center and moved it away. The cross is the center of rotation for the one object, and if I move it away from the center of the object, and use the exact settings we used before, then the clones will be arranged as shown below. Notice that the cross in the center was the one I moved from the original teardrop. 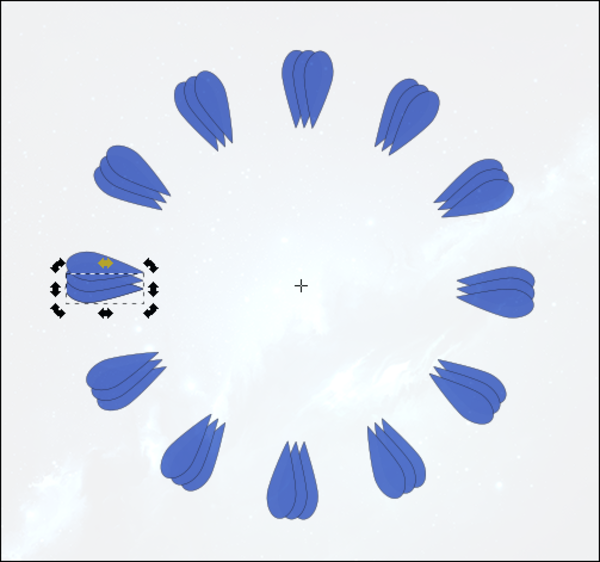 Let's try another. With the following settings, I obtained the figure below, which looks more like a flower than a starburst:
P1 Simple Translation with 3 Rows and 10 Columns 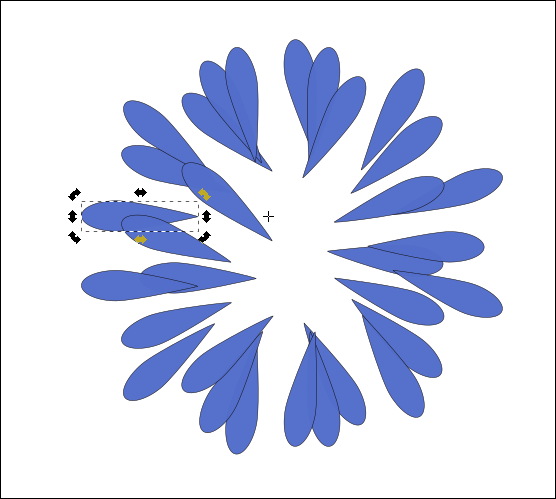 Duplicating a couple of times, and re-sizing the duplicates larger and smaller, and even rotating one of them, we end up with this: 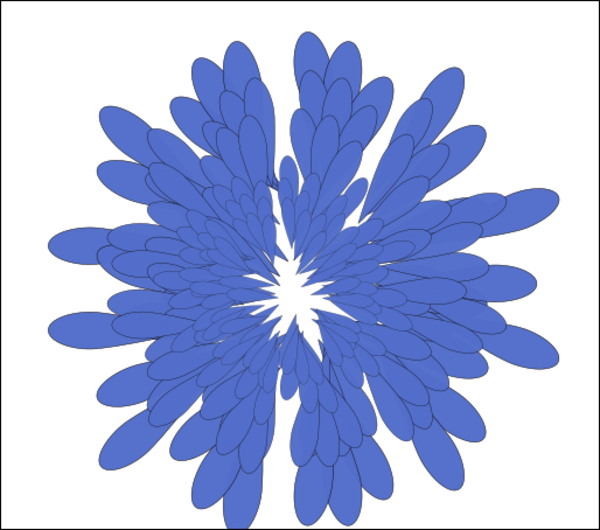 To get a really full flower, we should duplicate it more. This is just a sample of things that can be done with the Create Tiled Clones tool. Honestly, you should just experiment to get your desired result. Remember, the Remove button is at the bottom of the window, just like the Create button is. If you Create something that isn't what you want, just click Remove. |