| Previous
Page |
PCLinuxOS
Magazine |
PCLinuxOS |
Article List |
Disclaimer |
Next Page |
Inkscape Tutorial: Easily Create A Neon Effect |
|
by Meemaw We've done many text effects in Inkscape and GIMP, but this is a really quick and easy way to create the effect on almost any path you draw. I experimented with a font called Scriptina, and came up with the following effect in just a few minutes. I'm sure you can do the same. The good thing is that if you draw any spirals or curves to accompany your text, you can use this method to match them. 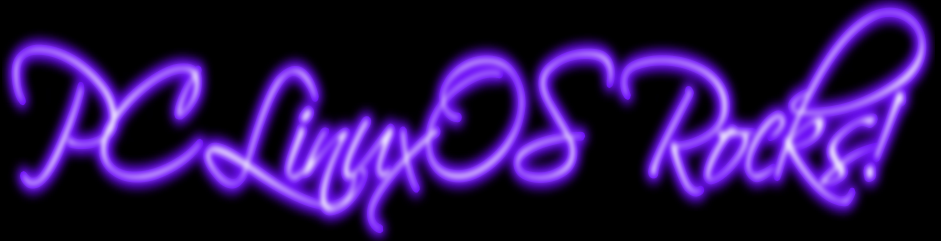 Open Inkscape and set your document as you desire. I always start with an 8.5 x 11 page, oriented landscape, but you do whatever you like. One of my good friends designed a template that he opened every time, then renamed to the project. His was 1600 px by 1200 px, I believe, also oriented landscape. Anyway, now you have a new page, ready to create! Design the item you want to change to neon. It may be text like above, or a stroke of some kind. Let's start with a stroke. I'll use my "pencil" and draw a line. Then I'll click on the node tool, and move the nodes around until I like my curve, then click on the selection tool. Change the color of your line to the color you want. 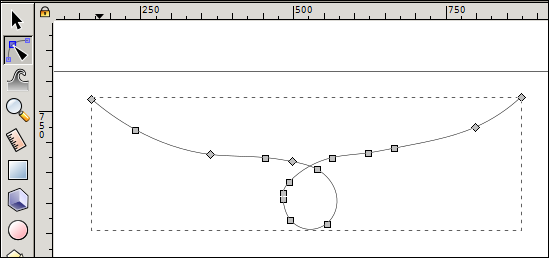 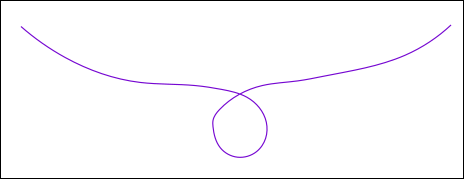 You want to duplicate this line twice. Hold down the CTRL key, and press D twice. You won't see much but your line seeming to darken, but all duplicates are stacked on top of one another. Grab and move the two duplicates. 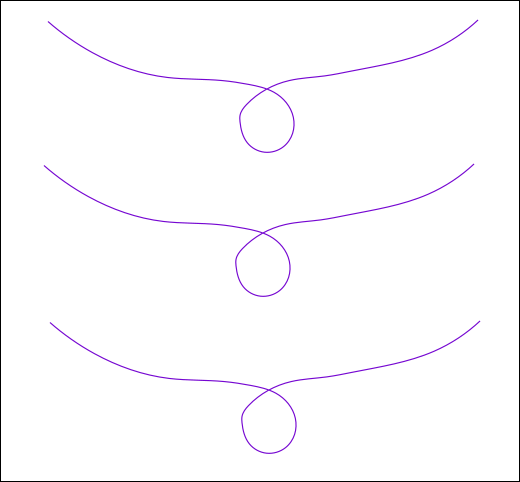 Let's change things now. Open your Fill & Stroke window, and click the Stroke Style tab. Select your top curve, and change the stroke to about 18. Also,click on the buttons that make your curve round on the corners and at the ends. Go down to Blur, and change it to 3. In your main window click on "Lower selection to bottom". We want this curve to be behind the other two.  Choosing the center line, change the stroke to about 8, and make sure the round corner and end buttons are clicked. This curve will be between the other two, so leave it where it is. 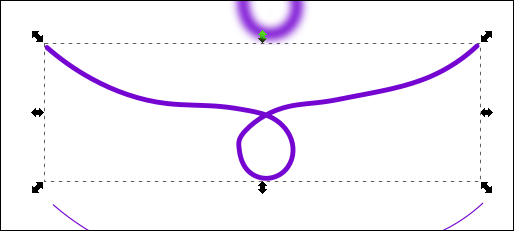 Now for the bottom curve. This one will be on top, so select it and click on "Raise selection to top". Change the stroke to 2 or 3, whatever looks good to you (I used 3), and change the color to white. Give it a blur of 1, and make sure the rounded curve and corner buttons are clicked. I changed mine to a very light purple so you could see it in the following image, but then changed it to white for the next step. 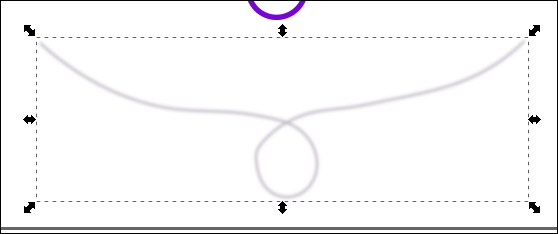 Now we want to stack them up for our neon. Using your mouse, draw a rectangle around all three curves to select them all. 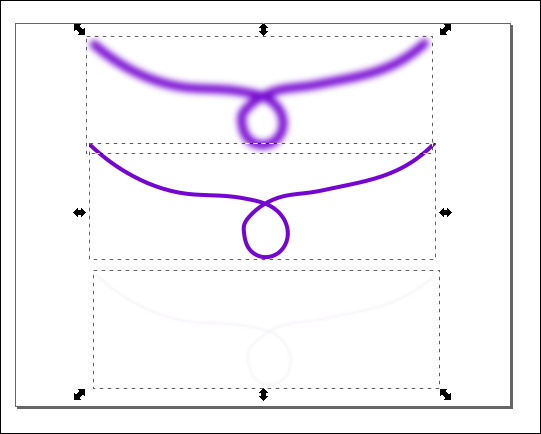 Open your Align and Distribute window. With all 3 curves selected, click on Align vertically and Align horizontally. This will put them right on top of each other, something like the following: 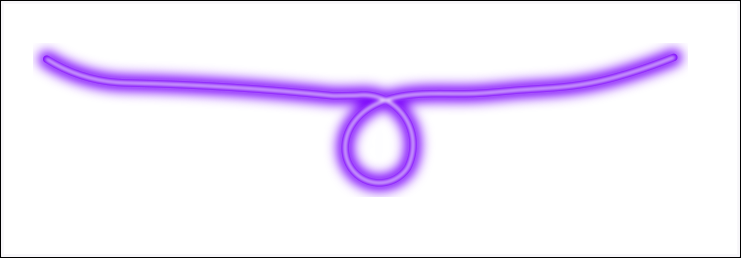 Now I can export this as a .png so the background will be transparent, then add it to my text:  This is fun! I did the text first, and you will have to set the stroke differently because your text has fill as well. Setting your stroke to 18 will make a mess (since the stroke is basically an outline, and it will overlap the letters a lot), so make your stroke about 4 or so. If you use text, you can also try making the fill and stroke different colors, which may enhance the neon effect.   |