| Previous
Page |
PCLinuxOS
Magazine |
PCLinuxOS |
Article List |
Disclaimer |
Next Page |
GIMP Tutorial: Exploring G'MIC |
|
by Meemaw GIMP has many wonderful filters you can use to enhance, fix or wildly change your photos, and more are being developed all the time. If you click on Filters, you will see one that says G'MIC at the bottom of the menu. The letters stand for GREYC's Magic for Image Computing, and you can get G'MIC as a plug-in for GIMP or Krita, a command-line interface that works with ImageMagick or a stand-alone online program. It is available for Linux (and Windows), and is in the PCLinuxOS repository.  From their website: G'MIC is a full-featured open-source framework for image processing, distributed under the CeCILL license. It provides several different user interfaces to convert / manipulate / filter / visualize generic image datasets, ranging from 1d scalar signals to 3d+t sequences of multi-spectral volumetric images, thus including 2d color images. After opening a photo in GIMP, click on Filters > G'MIC. You'll see the following window: 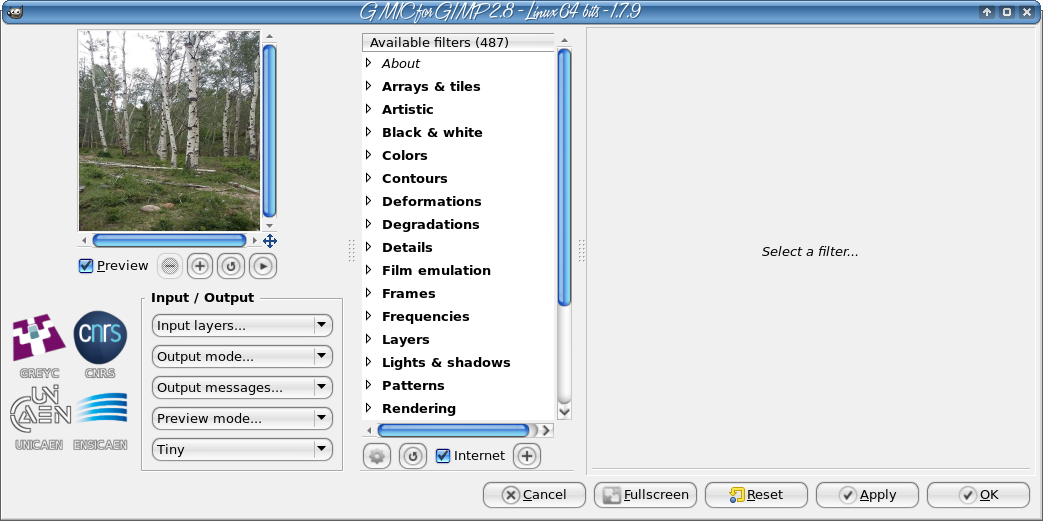 Let's see a few of the effects that you can do with G'MIC. I am not an expert, but many of the effects, carefully chosen and used, can enhance your photos. There are also many that will give you some really different outcomes. I'm going to be using G'MIC on the two following photos, both of which were taken in Colorado a couple of weeks ago. 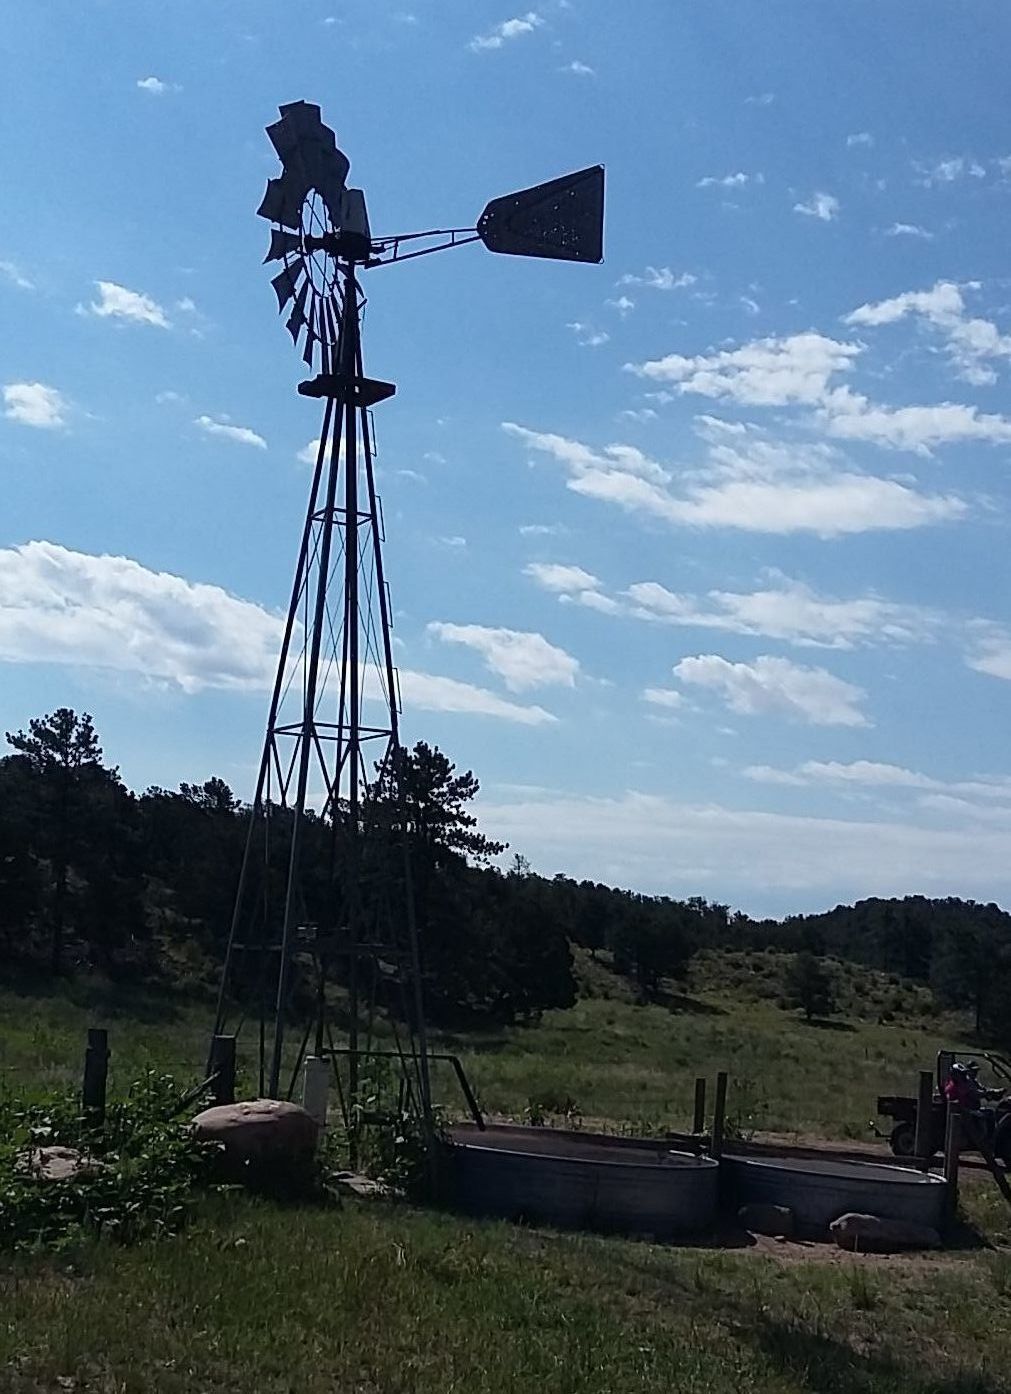 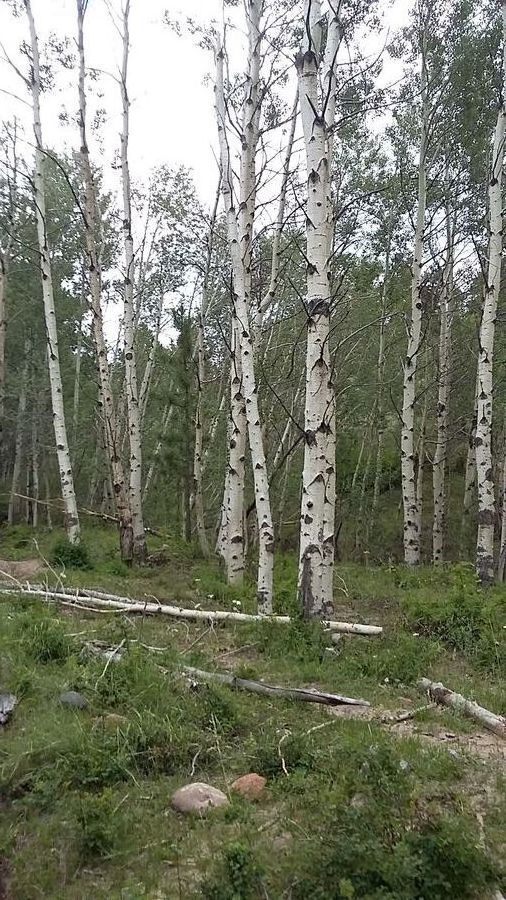 As you saw from the G'MIC window above, there are MANY categories with many filters in each, so I will describe them by the section and filter name so you can find them if you want to play. Generally, starting out with one of these filters, I just use the default settings, then start "tweaking" to see if I can get a better outcome. Most of the time (depending on the photo), the defaults are right for the result I'm looking for, because I'm sure that in developing the filter, the author has spent many hours figuring out the settings that give the best result. So, using the photo of the windmill, and using the filter Details > Tone Enhance, we get this result: 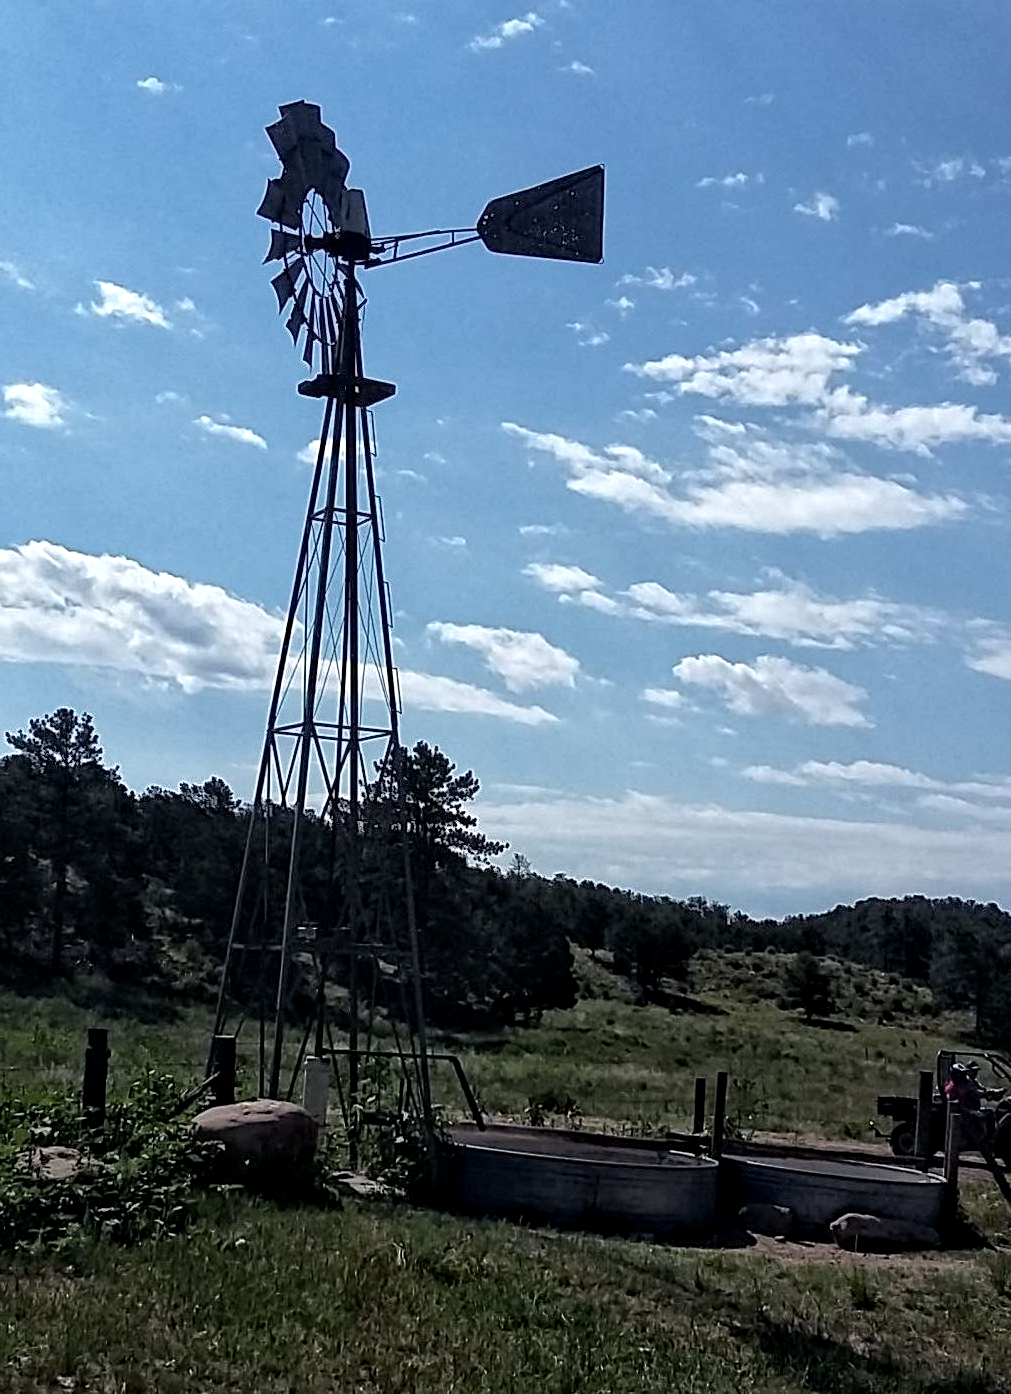 It seems to sharpen it up a bit. If we use the Light & Shadow > Equalize Shadow instead, it seems to make it a bit more dull with less color: 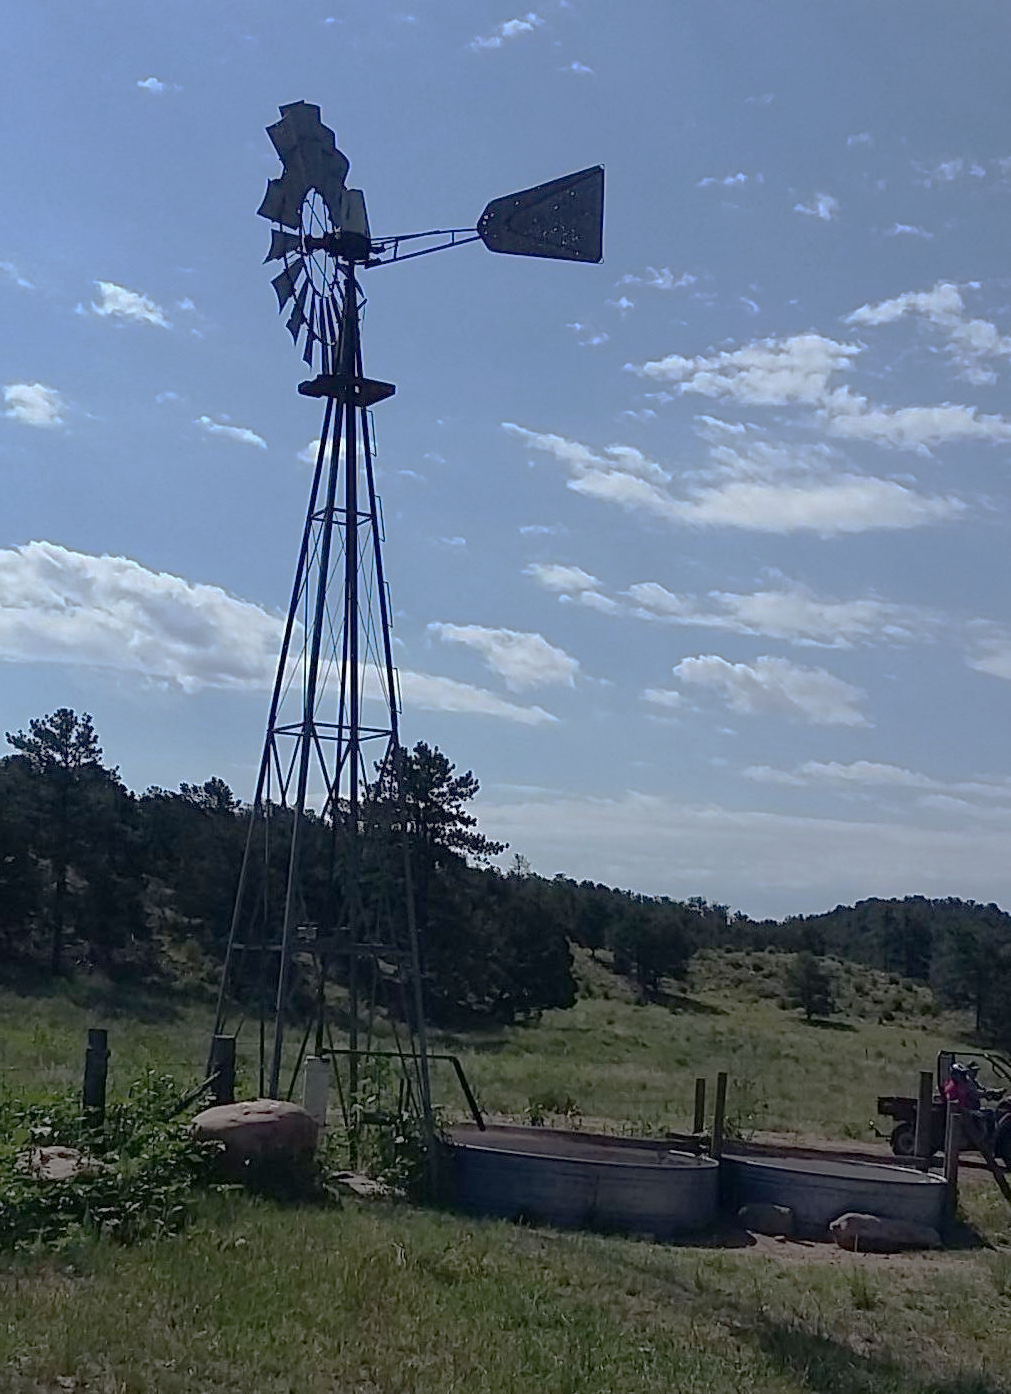 Both of these could be useful, depending on what your photograph looks like. If it's really bright and you want to tone it down a bit, the Equalize Shadow may work very well. For a really different look, I also tried the filter called Artistic > Pen Drawing. It gives a totally different effect. 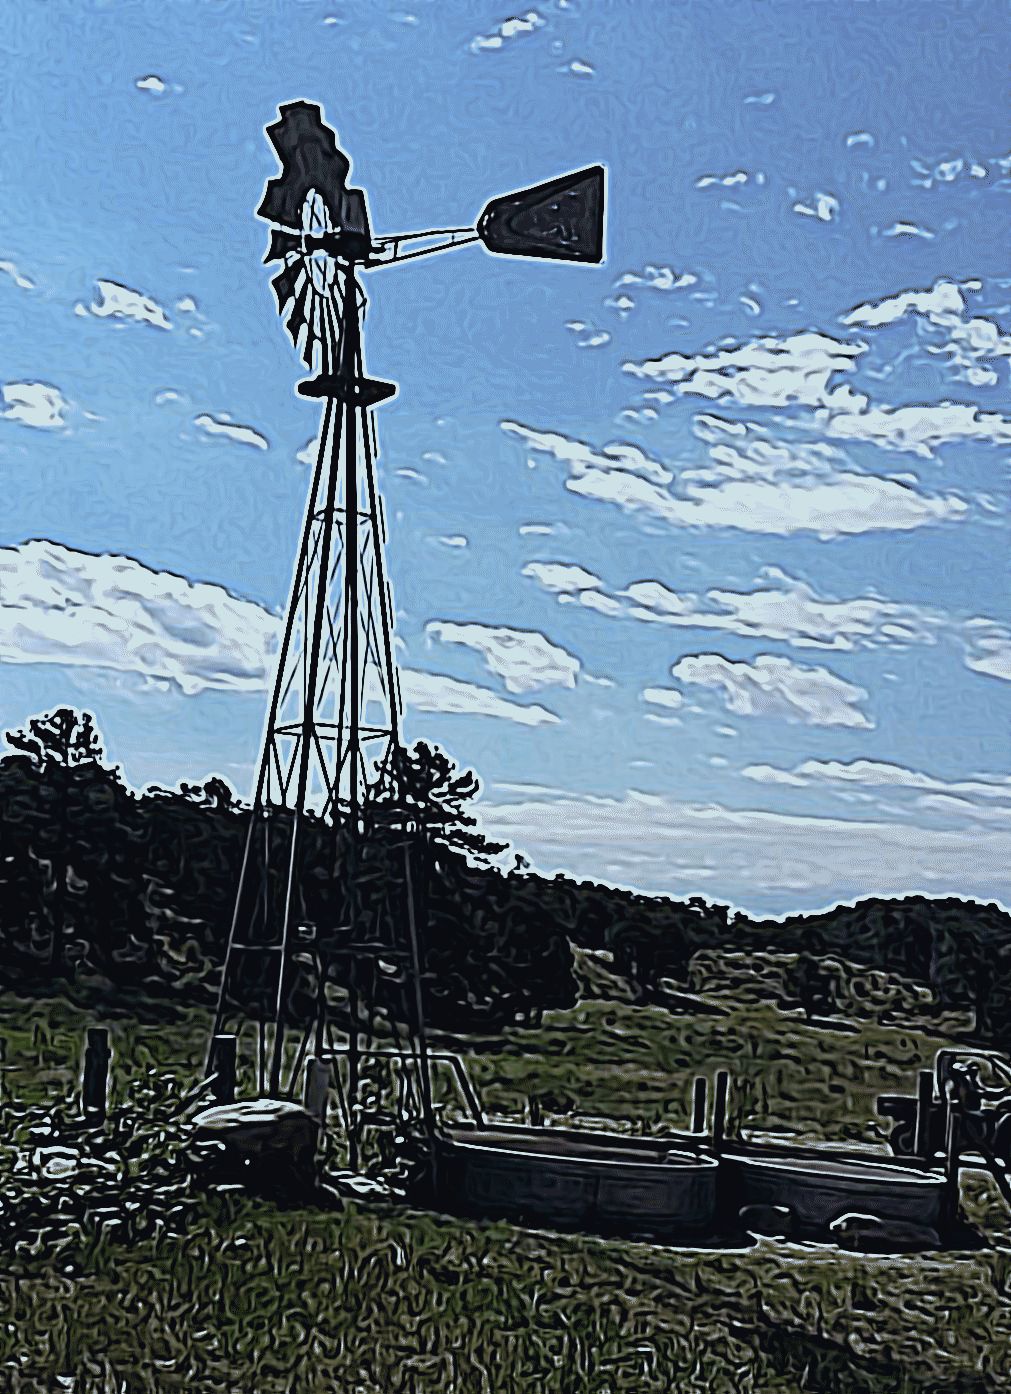 Using the the photo of the Aspen trees, I tried more G'MIC filters. One called Light & Shadow > Light Glow gives a glow effect to the photo. If yours is dark, this may bring out highlights. 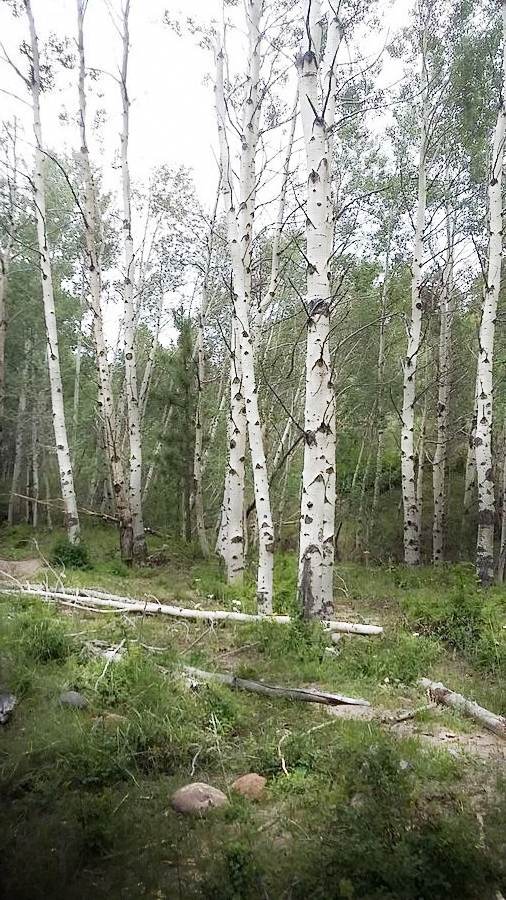 In the Testing section, under Photocomix > Psychedelic Glasswork, you can get some interesting effects. Go to the layers dialog and duplicate your layer first, then perform the filter on the top layer. Before you click OK, go into the settings for that filter and uncheck Activate Mirrors. When you are finished, change the layer mode to Overlay. You'll find that your layer mode will make a difference as well. 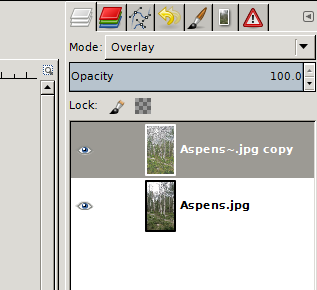 Mine came out like this: 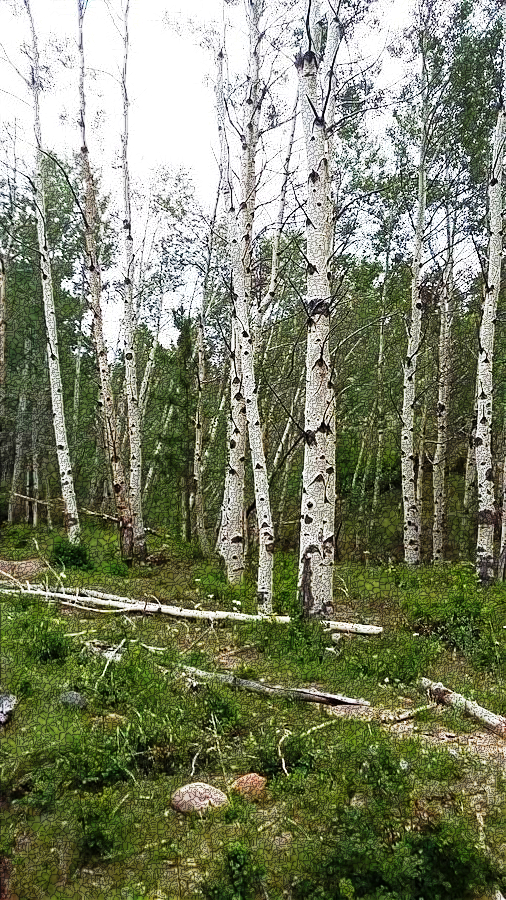 For something completely different, you can use Black & White > Threshold Etch. It made this photo look like a wood carving: 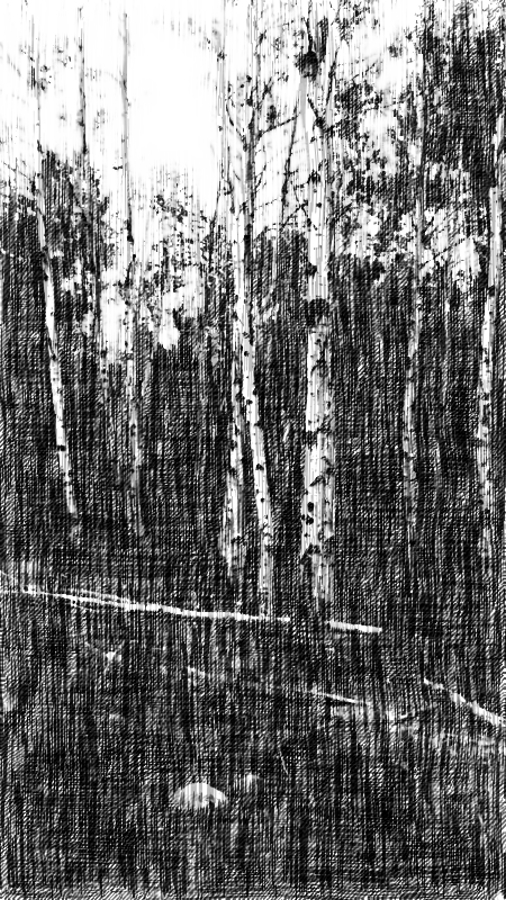 Not all of the filters in G'MIC just accent a photo: some of them give you something wild. I used this tiger photo, and did a filter called Artistic > Rodilius. You can see the result below the original. 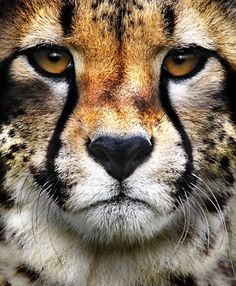 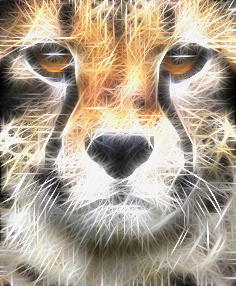
This article has barely scratched the surface of all the filters you can find in G'MIC. I hope in your experimentation, you find some more awesome effects! |