| Previous
Page |
PCLinuxOS
Magazine |
PCLinuxOS |
Article List |
Disclaimer |
Next Page |
GIMP Tutorial: Create A Color Swirl |
|
by Meemaw I found a neat tutorial that only takes a few steps and makes a swirl pattern that could be used for a wallpaper or a fun background. I think it will be fun. 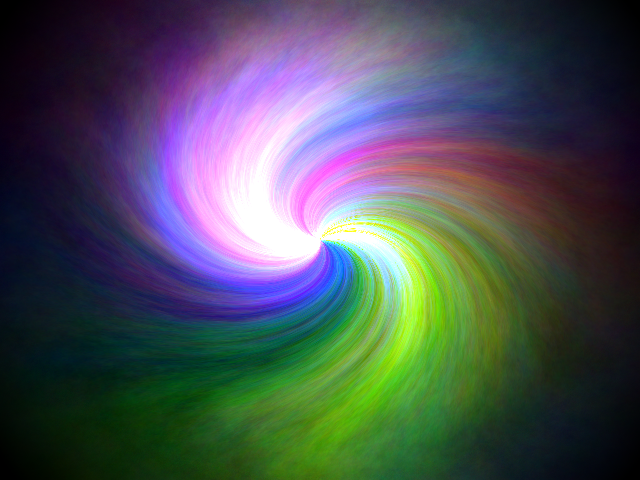 Create a new image. I made mine 640×480, but you can use any size. Choose Filter > Render > Clouds > Plasma. You can change the pattern by clicking on the New Seed button. When you get something you like, apply the filter. Your result should look similar to this: 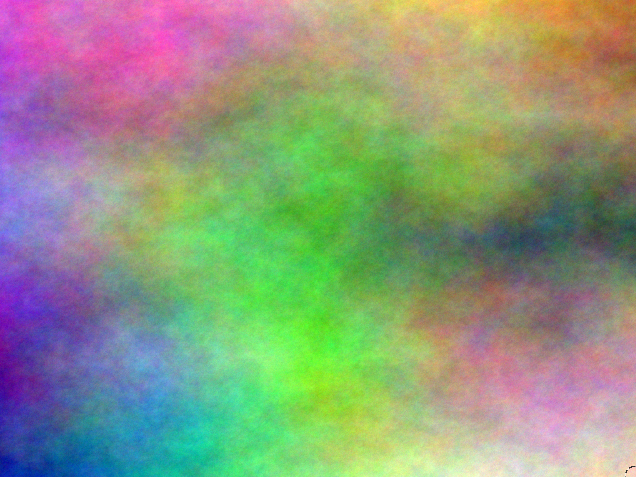
Now do Filters > Distorts > Whirl and Pinch, using the following settings: 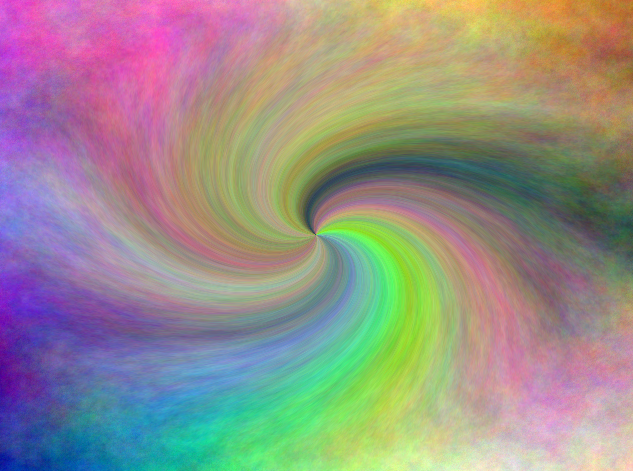 Create a new transparent layer. Choose the Blend tool, using white as foreground color and black as background color and choosing the shape: Radial. Click and hold the mouse button and move from the center of the image to one of the four corners. It should now look like this:  Duplicate the layer, naming the original one name “fade black”. For this layer, set the layer mode to Multiply. Rename the duplicate “light”. 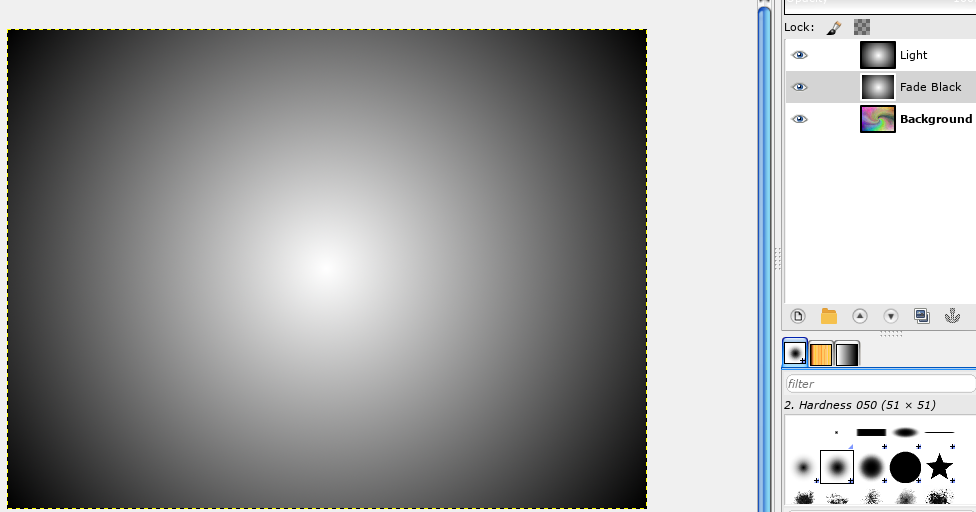
Click the layer named light. Choosing Colors > Brightness & Contrast, change the values to -65 (brightness) and +45 (contrast). Now apply Filters > Distorts > Whirl and Pinch, using the following settings: Set the layer mode for this layer to Dodge. Duplicate the light layer to enhance the effect. 
Now change to the background layer. Choose Filter > Blur > Selective Gaussian Blur with the following settings: 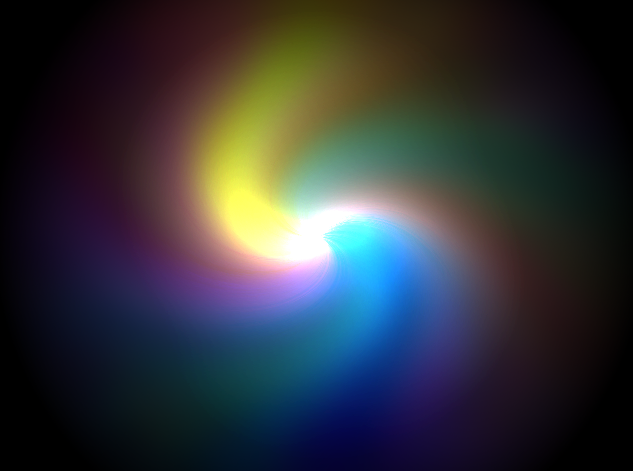 I actually liked it better before the blur, so I’m going to undo that and leave it without the blur.
You could make it a single color using Colors > Desaturate, then Colors > Colorize or Colors > Color balance. Using Color Balance, you might try the following settings: 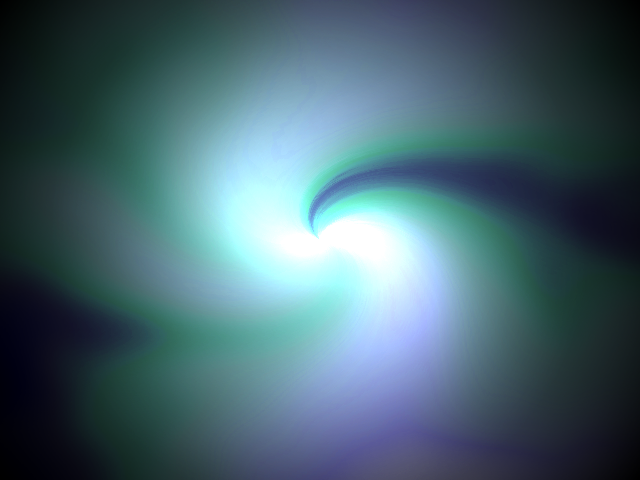 You can export your project any time you are satisfied with it. I chose to save it with the black around the outside, but I also used Colors > Color to Alpha and remove the black, then put a white background behind it. I got this: 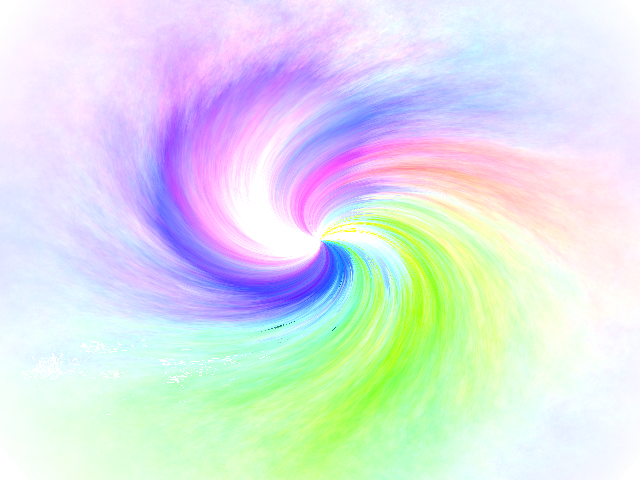 You can also leave out the black or white background and make it semi-transparent, then use it as an accent on something else, like a real quick letterhead: 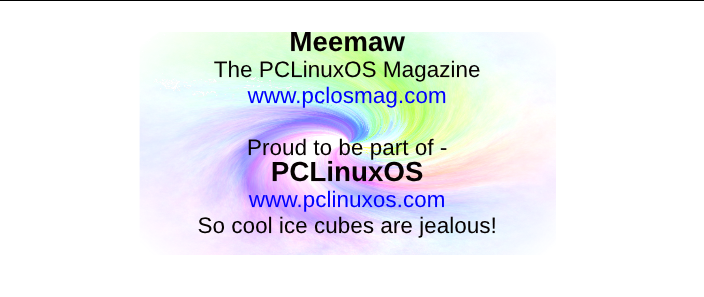 You can even make a wallpaper. I like mine a bit darker, so I kept the black. 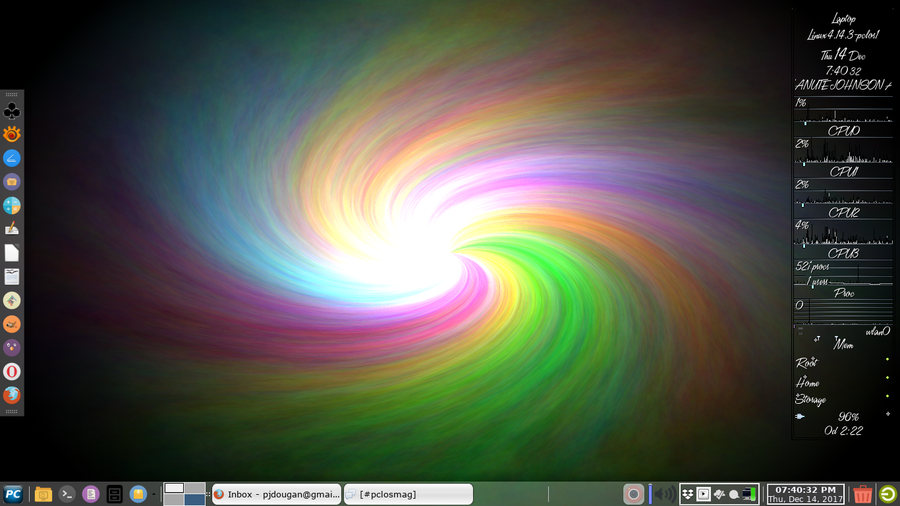
As always, you can get several effects, depending on your settings. Hope you had a bit of fun with this experiment! |