| Previous
Page |
PCLinuxOS
Magazine |
PCLinuxOS |
Article List |
Disclaimer |
Next Page |
DigiKam: The Other GIMP For Photographers |
|
by phorneker When it comes to digital photography, the first thing that Linux users have in mind for picture editing is the GNU Image Manipulation Program (or simply GIMP). Sure, I have used that product for years for digital photography. The other product I use just as often, is the photo management program that was designed for KDE called DigiKam, and that is the subject of this article. DigiKam was originally designed as a photo management program, with many of the file management functions that are available in the Dolphin file manager. However, many capabilities have been added to the software package, including a photo editor with capabilities that facilitate many things I could do in the GIMP (and less time consuming at that), and the integration of Internet services such as Google Photos and Flickr, as well as the creation of online photo galleries. When you launch DigiKam for the first time, it will scan the Pictures directory for anything that is considered a picture or a video file. This could be a JPEG, PNG, TIFF, MOV, MP4, or other supported standard format. If you have a large collection, this will take a considerable amount of time for DigiKam to scan for image and videos. 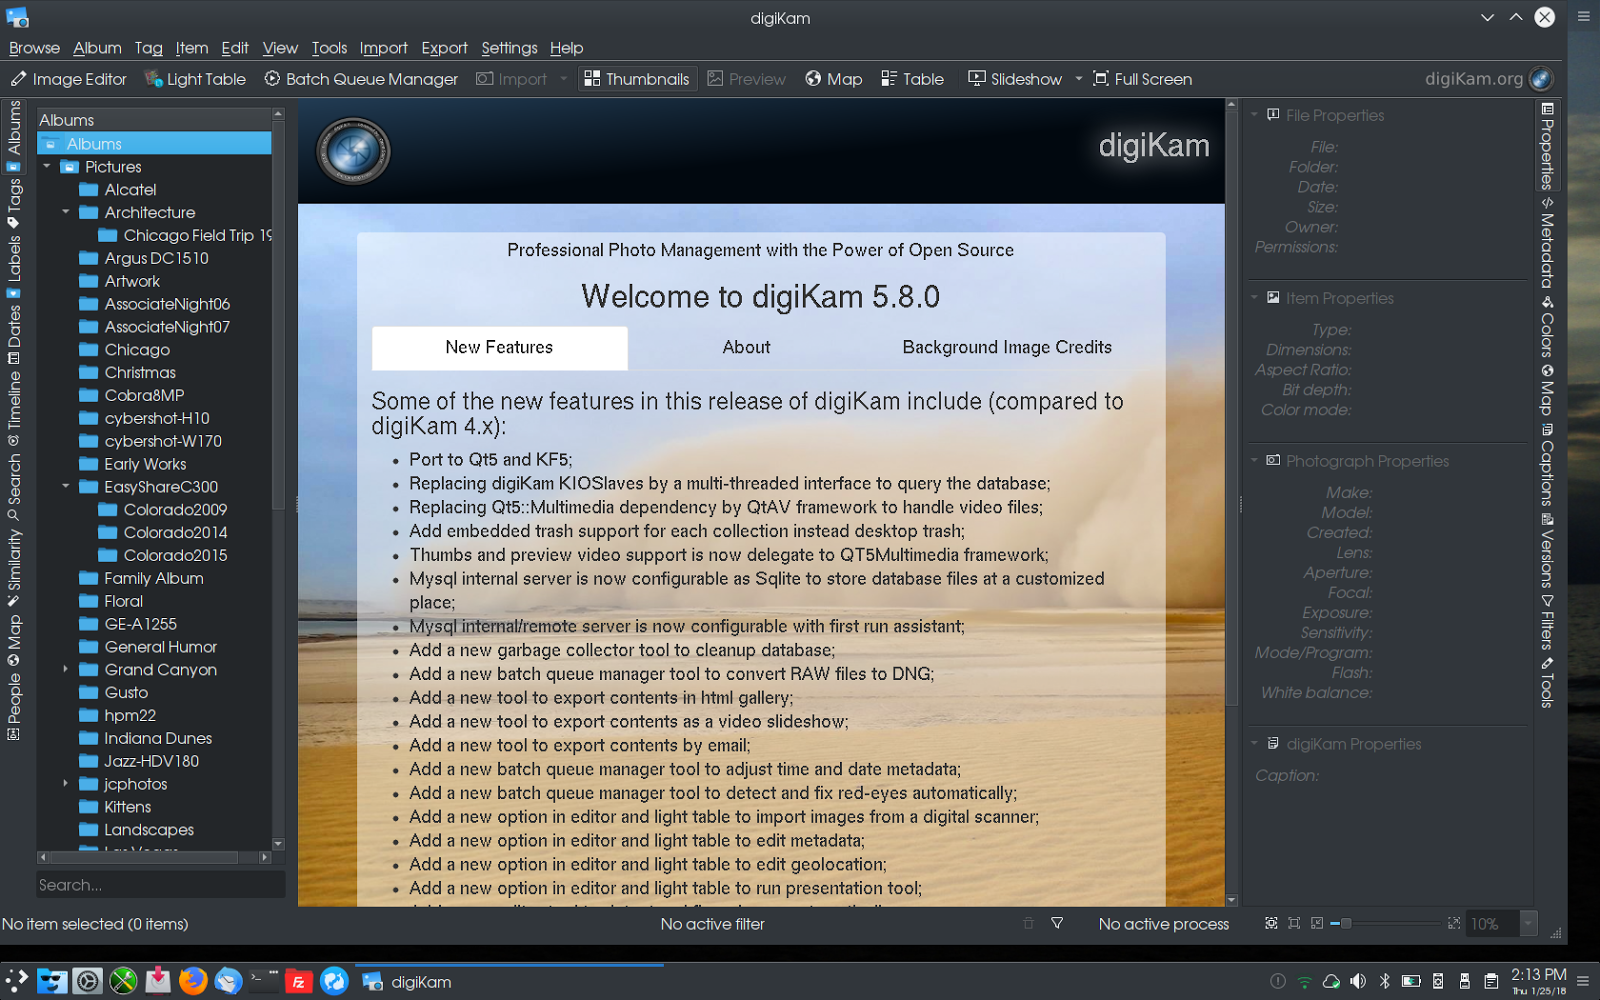 Within DigiKam, Albums are simply subdirectories created and maintained inside the Pictures directory on your hard drive. When you create an album in DigiKam, you are really creating a subdirectory inside the Pictures directory within your home directory. There are three panels and two sidebars that make up the user interface for DigiKam. The left panel keeps track of Albums that DigiKam uses. By default, DigiKam sources its photograph collection from the Pictures directory within your home directory. Here Pictures is an album within the list of Albums that DigiKam keeps track of. The main panel is where actual content is displayed. In this example, the top level Albums is selected, and the locally stored homepage for your installation of Digikam is displayed. Selecting any of the other folders in the left panel will display the contents of that directory in the main panel. 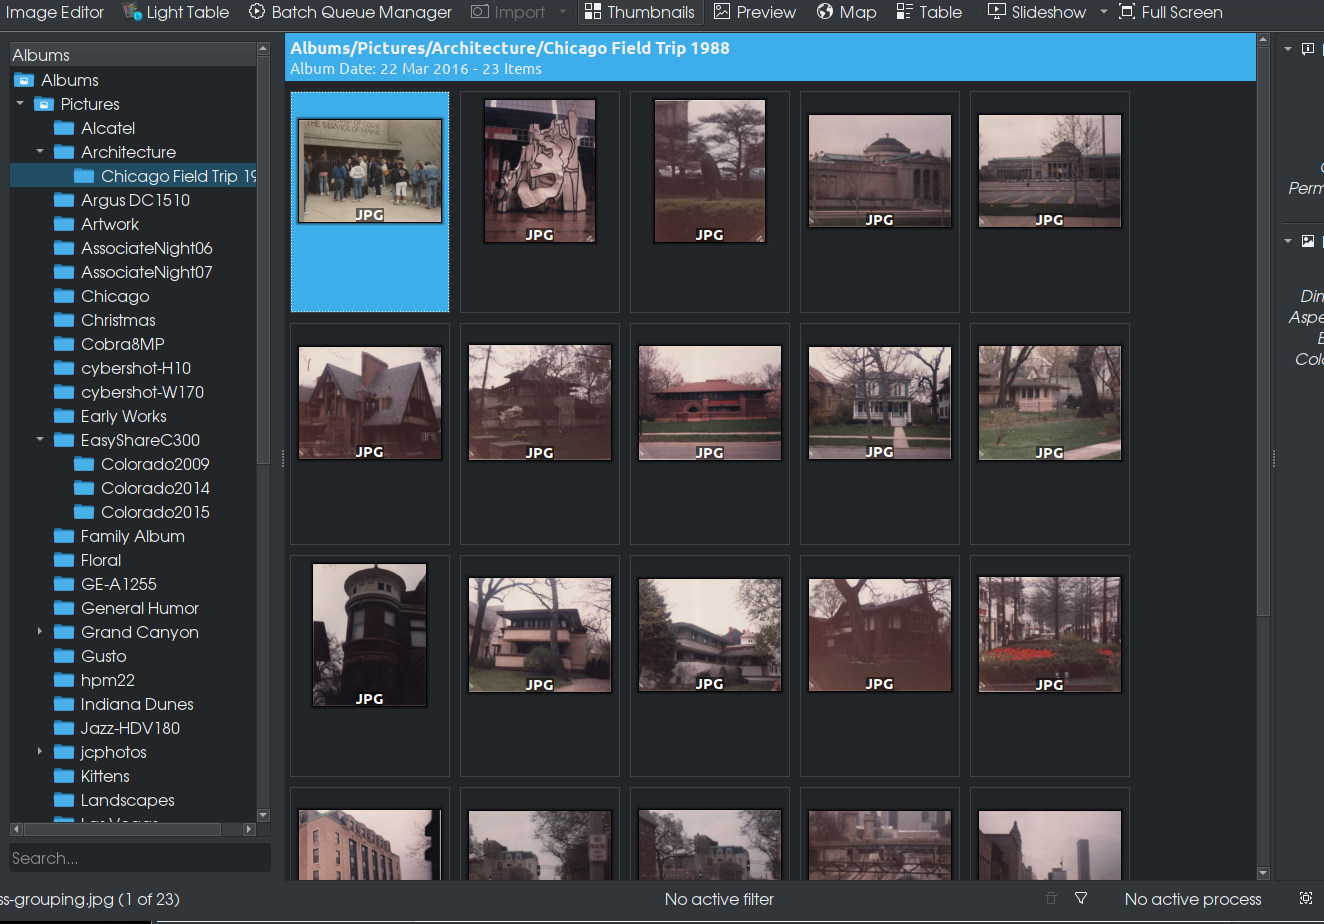 Here we have a light table view of a collection of photographs stored in "~/Pictures/Architecture/Chicago Field Trip 1988" on my laptop.
The panel on the right is a multipurpose panel, and is where most of the functionality of DigiKam happens. On the right edge of this panel are vertical tabs. What appears in this panel depends on what tab has been currently selected. The same is true for the left edge of the left panel. 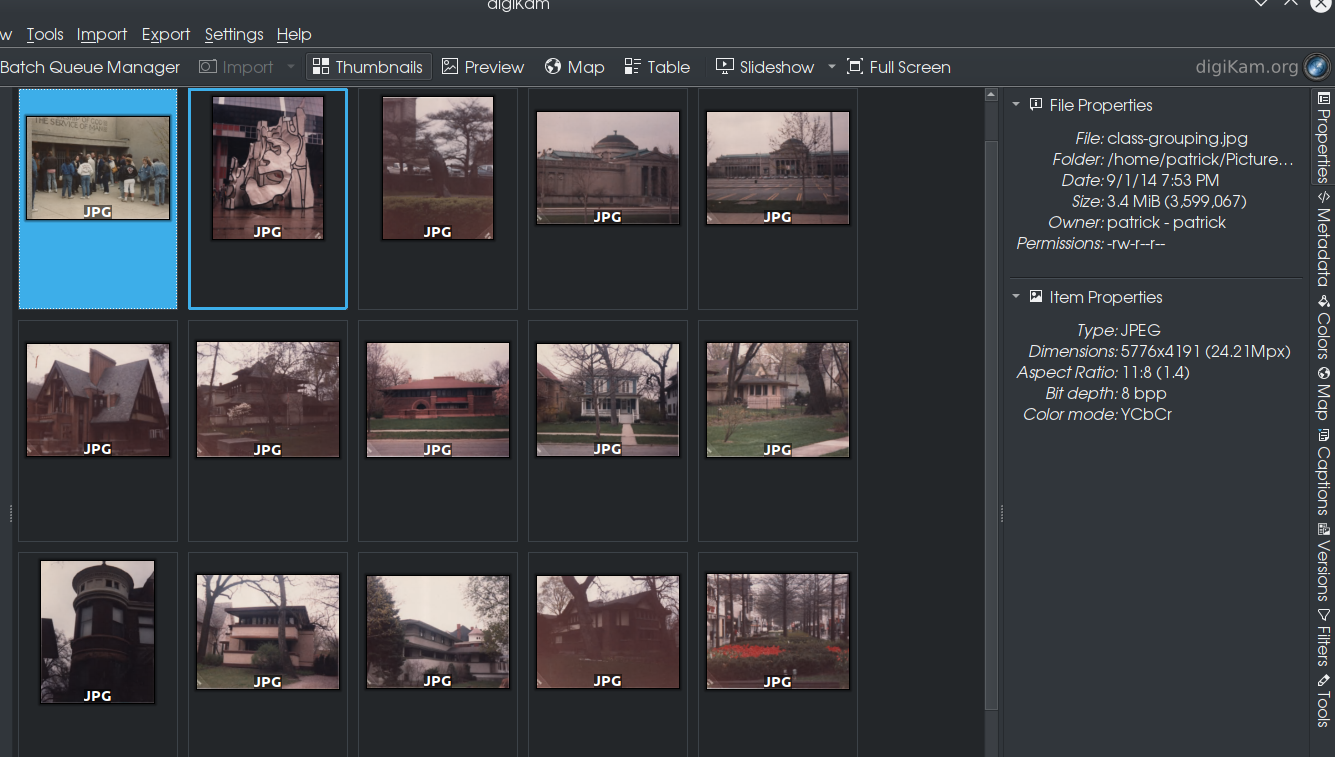 Here, the current tab selected is Properties. What is displayed here is some basic information on the selected photograph. In this example, the selected photograph is the highlighted image (in cyan) at the top left hand corner of the light table. 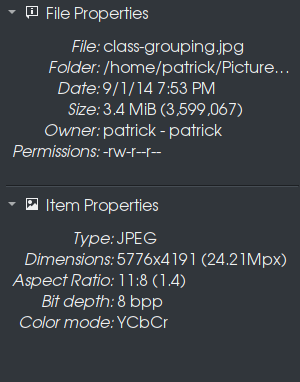 File Properties gives information about the file that has been selected. Here, the file is called class-grouping.jpg, located in "/home/patrick/Pictures/Architecture/Chicago Field Trip 1988" (without the quotes, but including the spaces in the pathname). This photograph was scanned at 600dpi and has a image size of 5776x4191, and weighs in at 3.4MB after JPEG compression. Let us now click on the highlighted photograph. 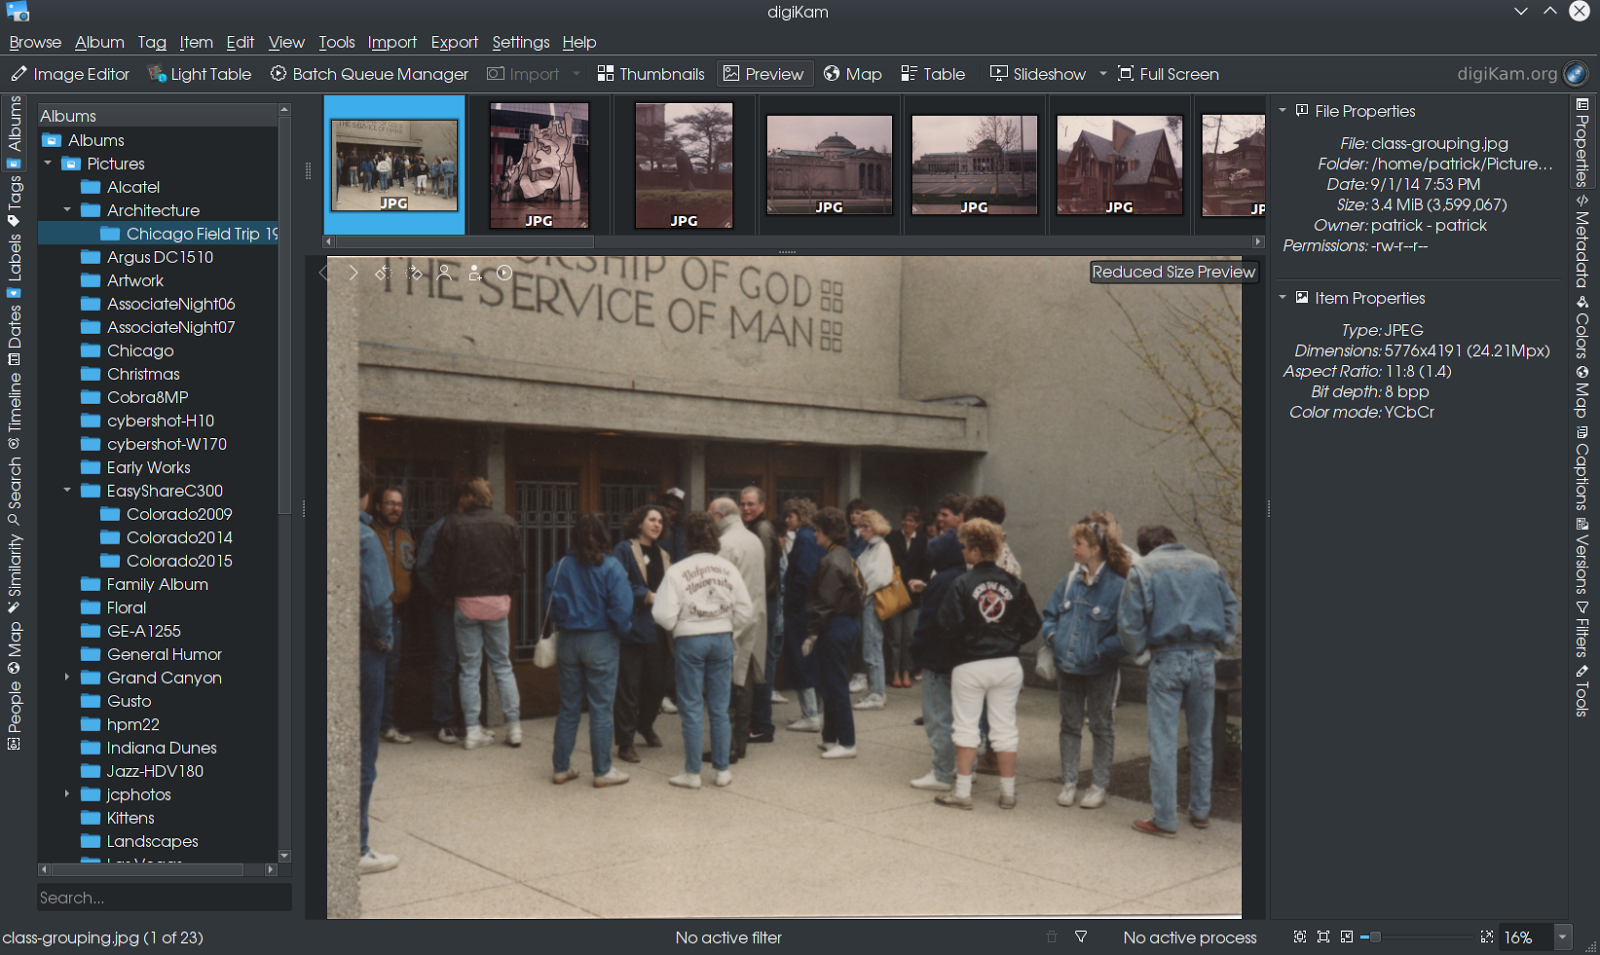 We now get a full view of the selected photograph, along with a filmstrip of adjacent images contained in the same directory. Click on any of those to scroll through the directory. 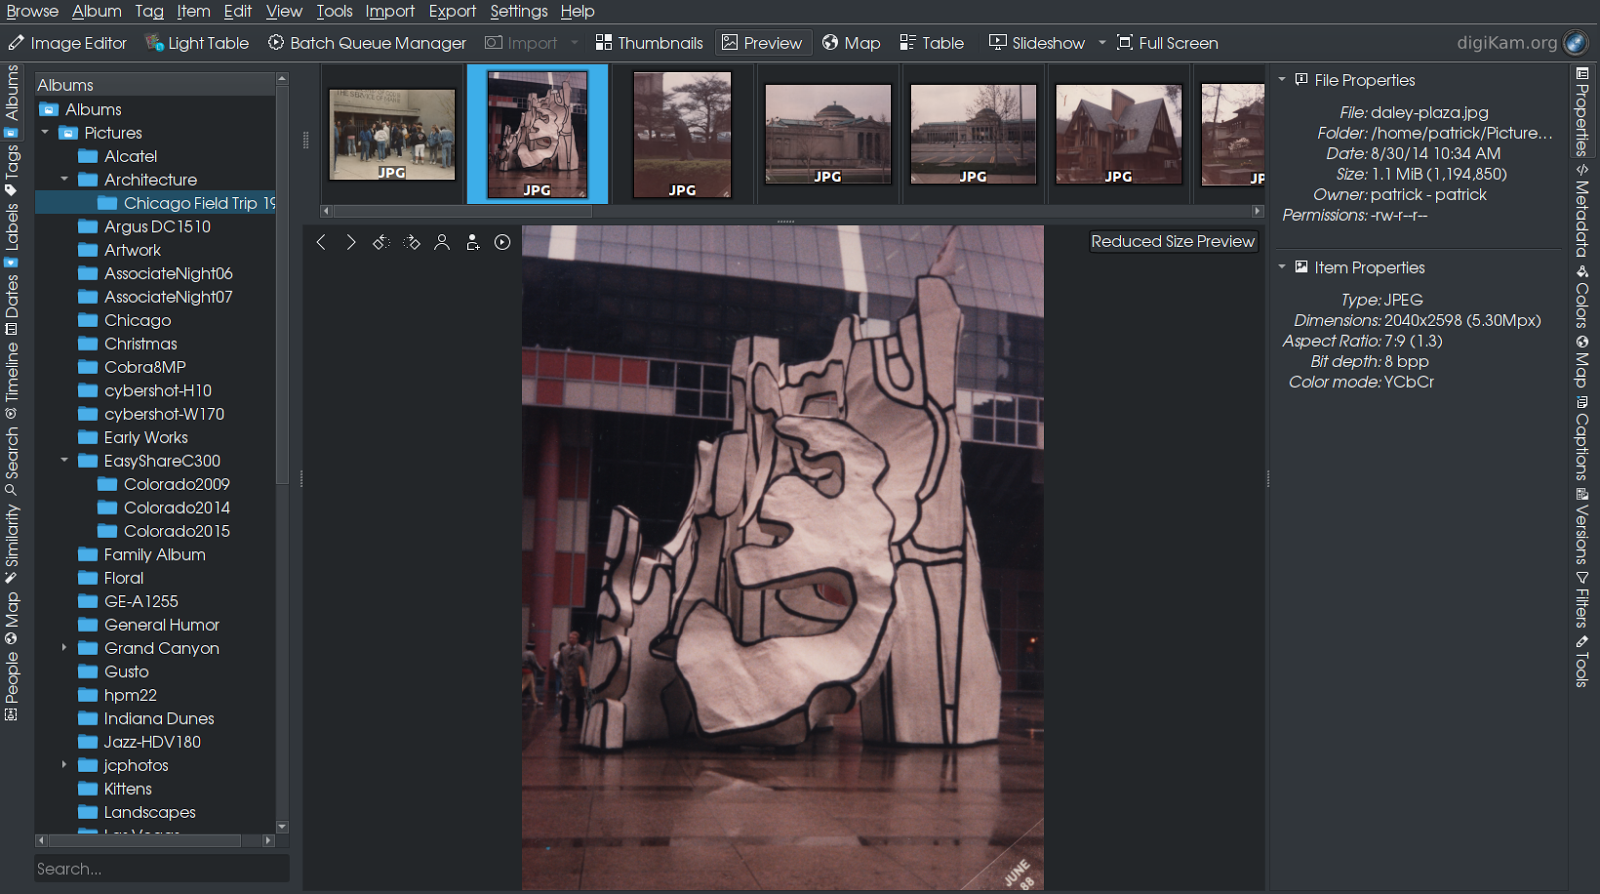 As we scroll through the directory, notice that the information displayed in the right panel changes with the selections.
 ...and this building used to be a functioning Marshall Field’s store in downtown Oak Park. Its architecture was obviously inspired by Louis Sullivan’s design of the State Street store (now Macy’s), including the clock at the southwest corner of the building. (The image was scanned at 150dpi.) 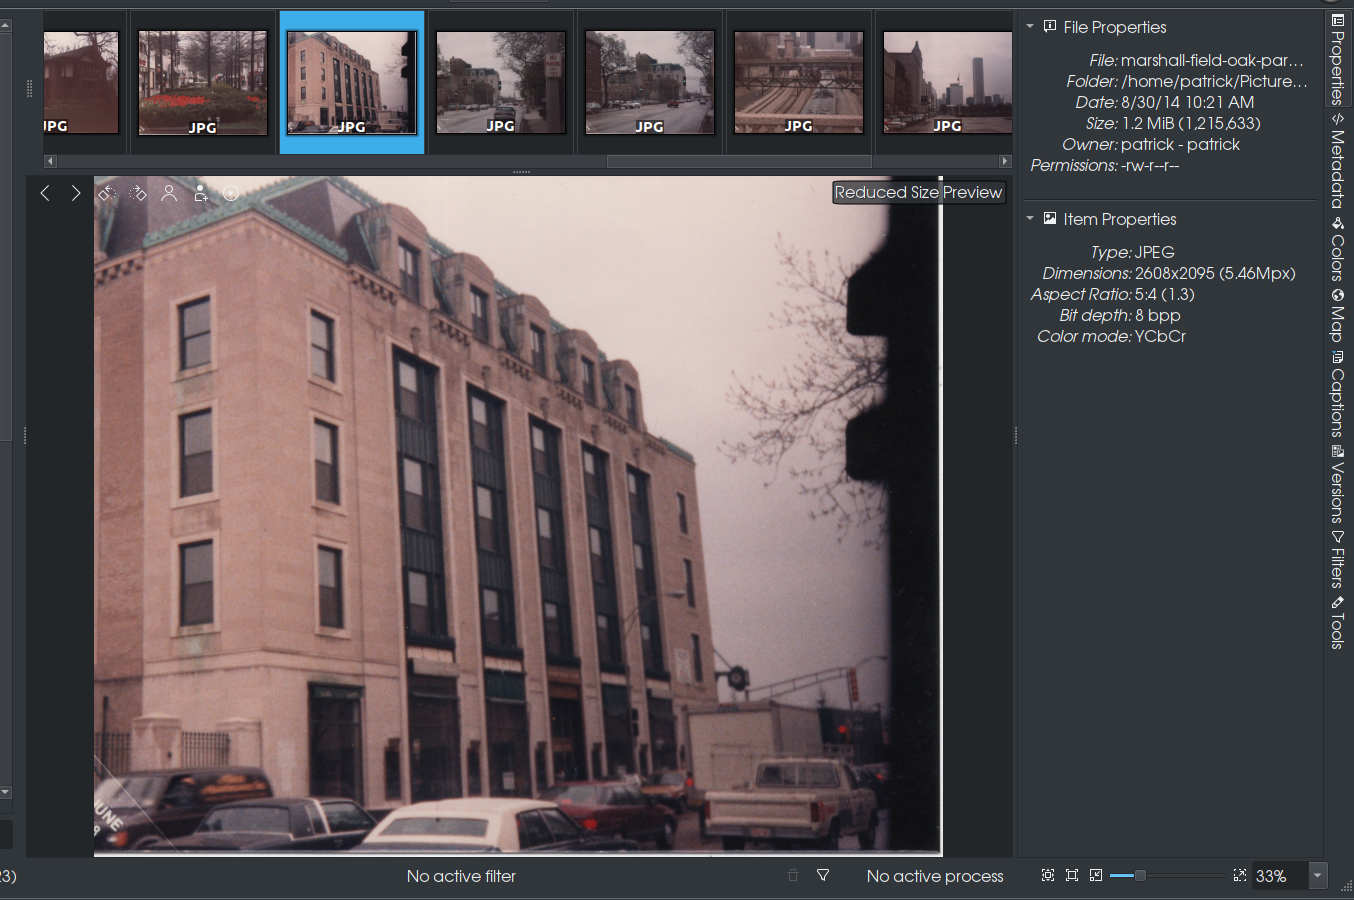 As this is a scanned picture, there are not going to be any metatags attached to this file. The other tabs on the right panel provide information (and editing where possible) on Metatags, Color Profiles, Maps (for Geotagging), Captions, Versions, Filters, and Tools. Filters here refers to searching the database of photographs and video. What can be searched here is the type of image or video, metatag and geographic location. 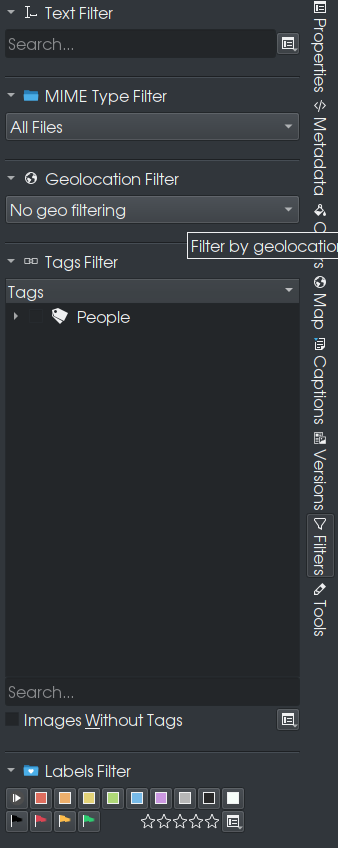 Also, tags can be labelled and images and videos can be locally rated (up to five stars). (This type of labelling also exists in Shotwell, the GNOME equivalent to DigiKam, which was recently added to the repository. Personally, I prefer to use DigiKam). The Tools tab, is what makes DigiKam the product that it is. 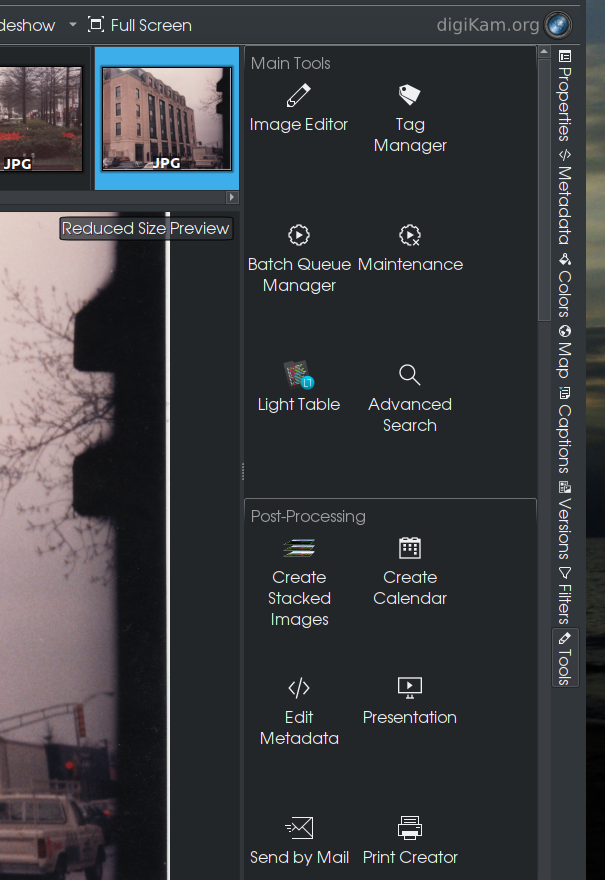 What is shown here is only a sample of what can be achieved in DigiKam. This is only an introduction to DigiKam. There is a lot more to cover starting with the Tools tab and the things it can do. Also, there is a powerful image editor (called showfoto in the repository and is downloaded at the same time DigiKam is installed from the repository.)
|