| Previous
Page |
PCLinuxOS
Magazine |
PCLinuxOS |
Article List |
Disclaimer |
Next Page |
Inkscape Tutorial: Drawing A Tree |
|
by Meemaw I found this tutorial in the same place as the grass tutorial we did a couple of months ago. This is to make a tree easily, rather than trying to draw one by hand. 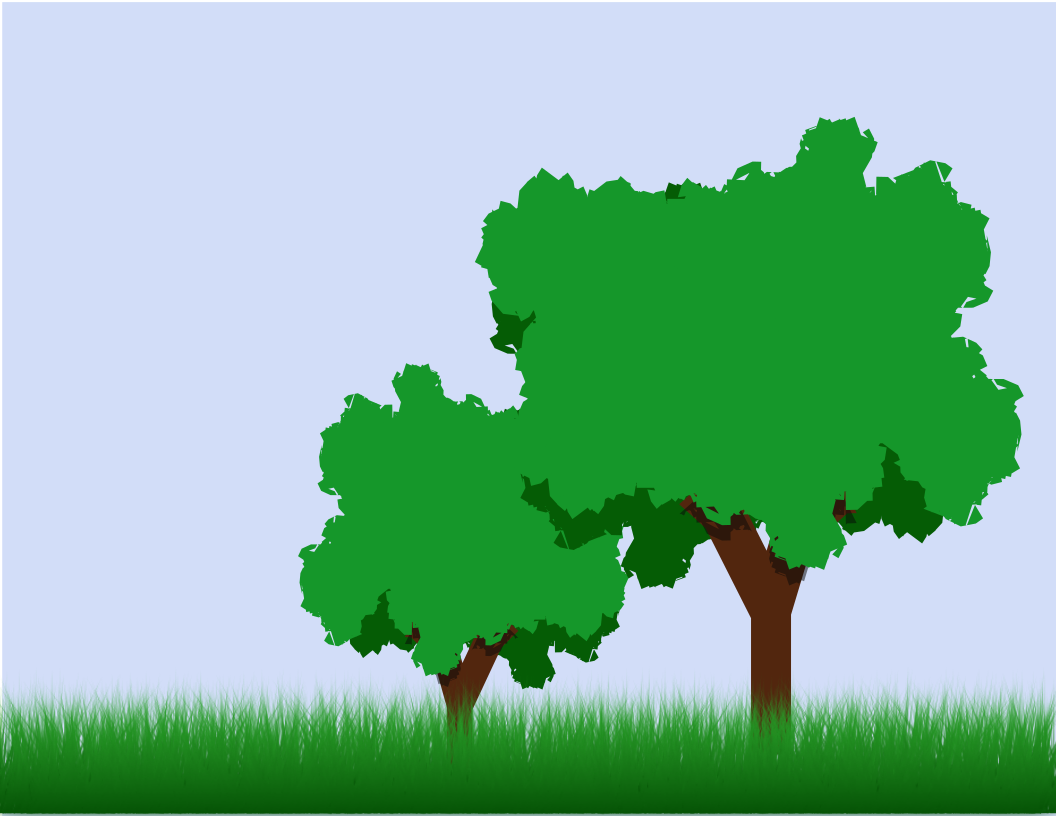 Open Inkscape and click on Extensions > Render > Random Tree. You'll see a dialog box like the one below. There are only two settings: Initial size and Minimum size. Set those to 100 and 4 respectively. Check the Live preview box and look at what you get. You can try again by unchecking the Live preview box and rechecking it. 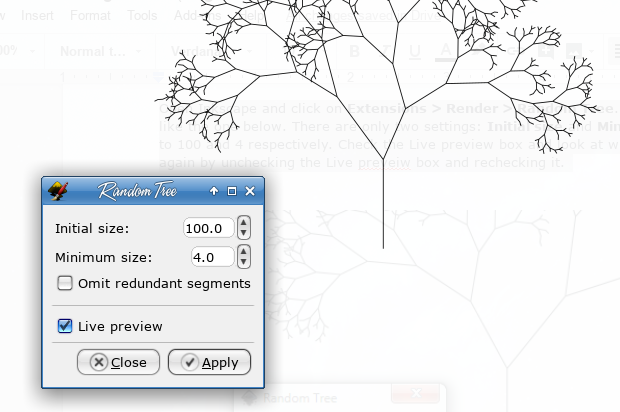 I decided on this one: 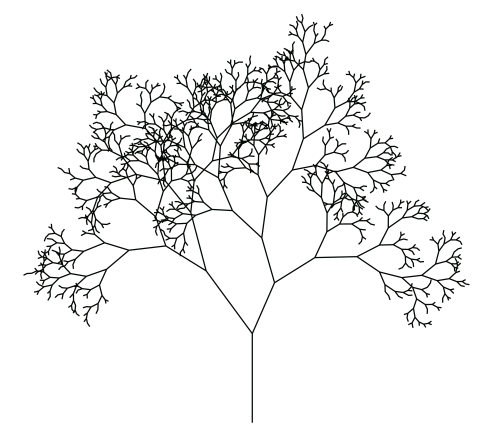 Open up the Fill & Stroke dialog and change the Stroke to a color green with a width of about 40px. Set the Join to Miter so it's still jagged, like trees are.  Select your tree and click on Path > Stroke to Path. This will convert your tree into a much more simple shape, because we're going to change it. We're going to deal with the leaves and the trunk separately so, using the Pen tool, draw a shape around the trunk. 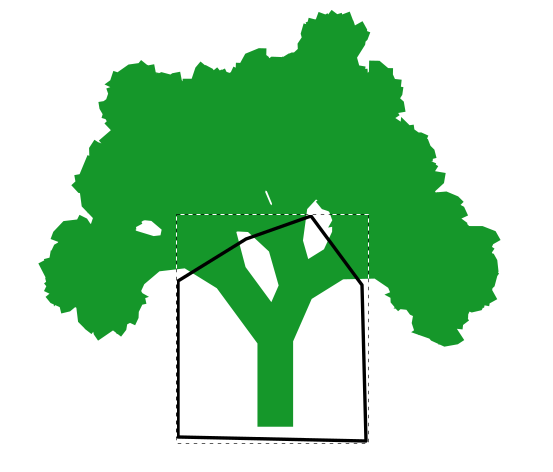 Select both the tree and the shape you just drew and use Path > Division. You should get something that looks like the tree below. Change the trunk to a brown color of your choice.  Now, with the cut we just made, our leaves look way too straight on the bottom. To fix this, copy and paste the leaf bunch and then flip it vertically.  Now place the two leaf sections together, one on top of the other. You can then group them, or you can select both leaf objects and do a Path > Union to merge them. I also lengthened the trunk as well. It's your creation, so it's up to you. 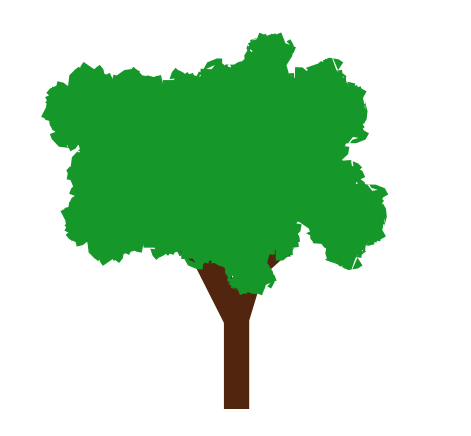 Now, to make it more realistic, copy the entire tree top and flip it horizontally and give it a slightly darker green color. You can also rotate it and/or change the size. Send it to the bottom of your drawing to give it some depth.  Now we also want to add a shadow to the tree trunk. Copy the tree top and tree trunk. Give the tree top copy a black fill with a 50% opacity. Leave the tree trunk in position as we'll be clipping it for a proper shadow. Move the tree trunk on top of the shadow, select them both, and click on Object > Clip > Set. What you will end with is a shadow of the tree top on the trunk.  Click on your tree top and bring it back to the front. I also moved the trunk down just a little, and shortened up the tree top so the shadow is visible. 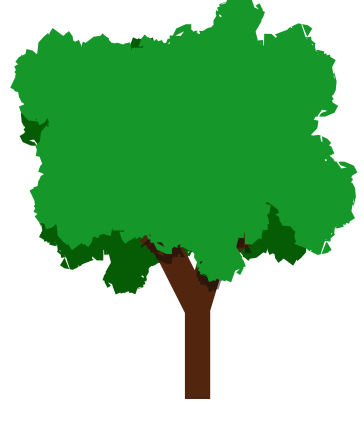 To add some finishing touches, I grouped all the tree pieces, duplicated the tree, changed the size of the duplicate and flipped it horizontally. Then I moved it elsewhere on the page. In addition, I put in some sky and some of the grass we made a couple of months ago. 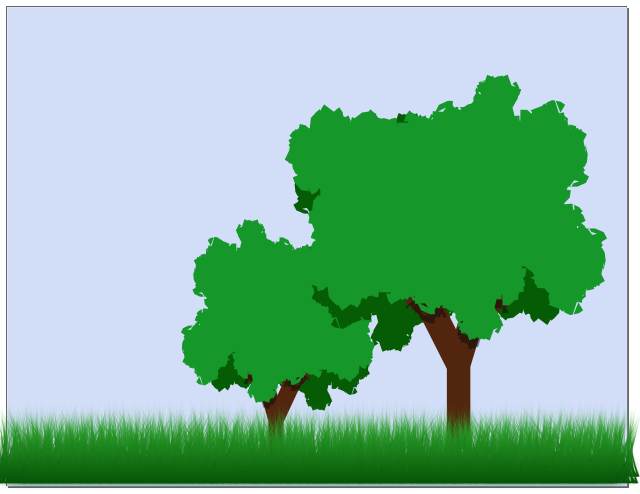 The last step is to export the drawing in the format of your choice. I'm sure your creation is wonderful! I hope you had fun with this! |