| Previous
Page |
PCLinuxOS
Magazine |
PCLinuxOS |
Article List |
Disclaimer |
Next Page |
GIMP Tutorial: Easy Ball Bounce Animation |
|
by Meemaw As I've told everyone before, there are a couple of sites I go to which help me learn about GIMP. One of them is GIMP Chat and the other is GIMP Learn. A while ago, I happened upon a fun tutorial on GIMP Learn from one of the masters there, named animicule. I thought it might be fun to do this one. It is an animation of a bouncing ball, but only the ball moving (and bouncing) from left to right. There was no allowance for the ball's change in shape when it hits the bottom, but I'm sure that is easy to do. I started by creating a "ball" in GIMP, 100 x 100 px, with a transparent background.  We need a canvas for this ball to bounce on, so I created a new file, using an 800 x 600 px preset canvas, with a transparent background. I created a new transparent layer, then copied and pasted the ball onto it. While I could still move the ball, I moved it to the upper left side of the canvas, then anchored the ball to the layer. 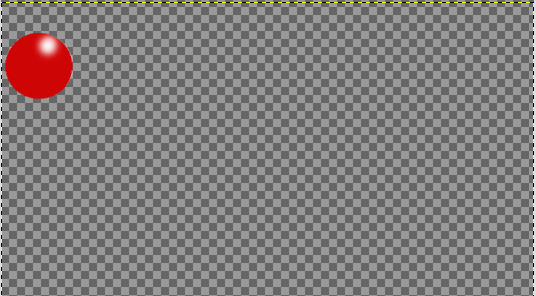 You're going to need copies of your ball layer, so choose it, and click on Duplicate layer as many times as you think you need. I made 20 copies, but you can make more or less. If you have too many, you can delete the ones you don't use, and if you need more, you can always make them later. OK, here is where we make things a bit easier. Instead of choosing each layer and moving it into place separately, let's link them and move everything at once. In your layer dialog is a link function, shown by the chain between the eye (making your layer visible) and your layer name. You can click on each one separately, but if you hold down your Shift key and click on one, they will all be chosen. 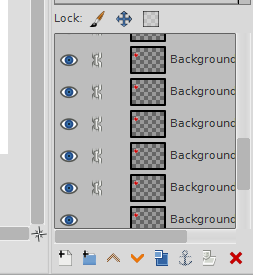 In an animation, layers are played form the bottom layer to the top, so we'll move them this way. In my file, the very bottom layer is blank (and can be deleted if desired), so I'm going to click on that link to undo it. Then grab your layers and move them where you want the first ball to be. I moved mine close to the top and a bit off the page so the ball looks like it's coming from off to the left. You have moved your whole stack, so go to the bottom of your layers, and unlink the next to the bottom layer, then grab the stack and move them to where you want your next ball to be. 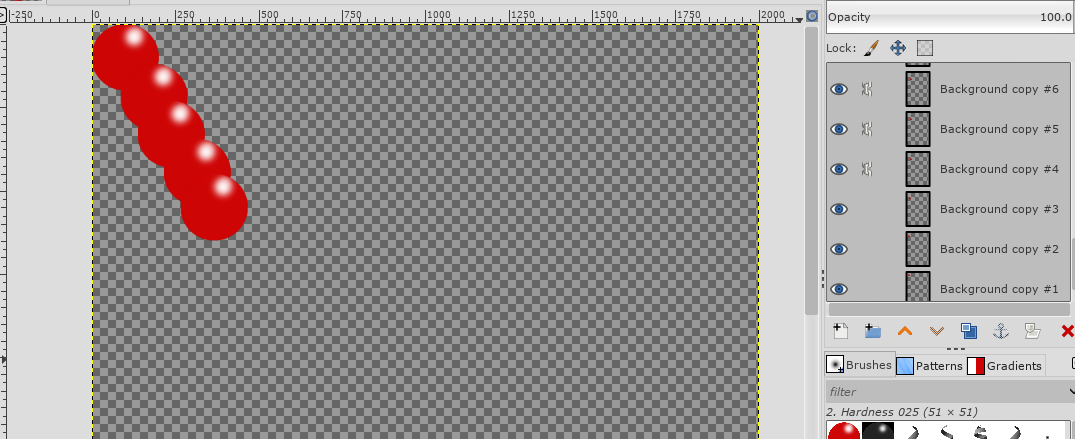 Continue to move and unlink until you have them all distributed. 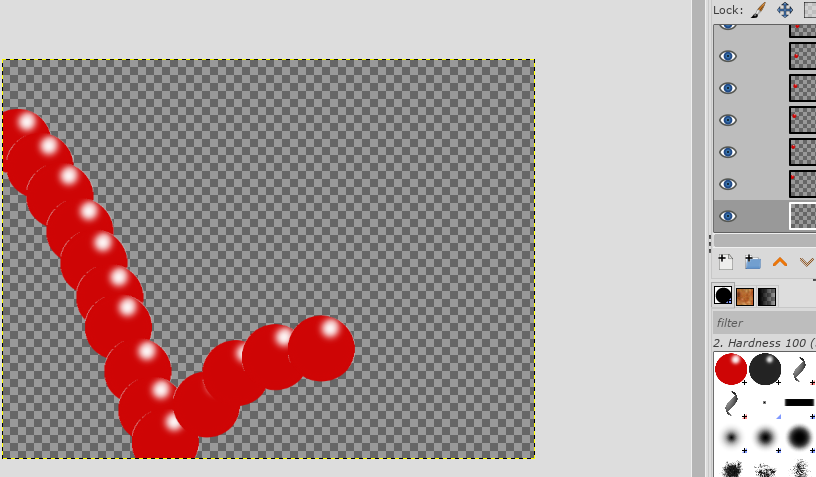 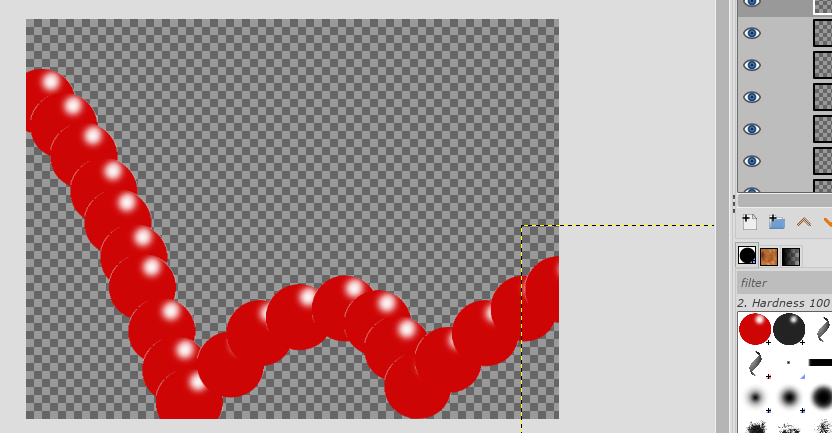 When you think you have them arranged, you can choose Filters > Animation > Playback to see if it looks the way you want it to look. Be aware that when you play it back now, all your layers will show up, even if you don't want them that way in the final product. 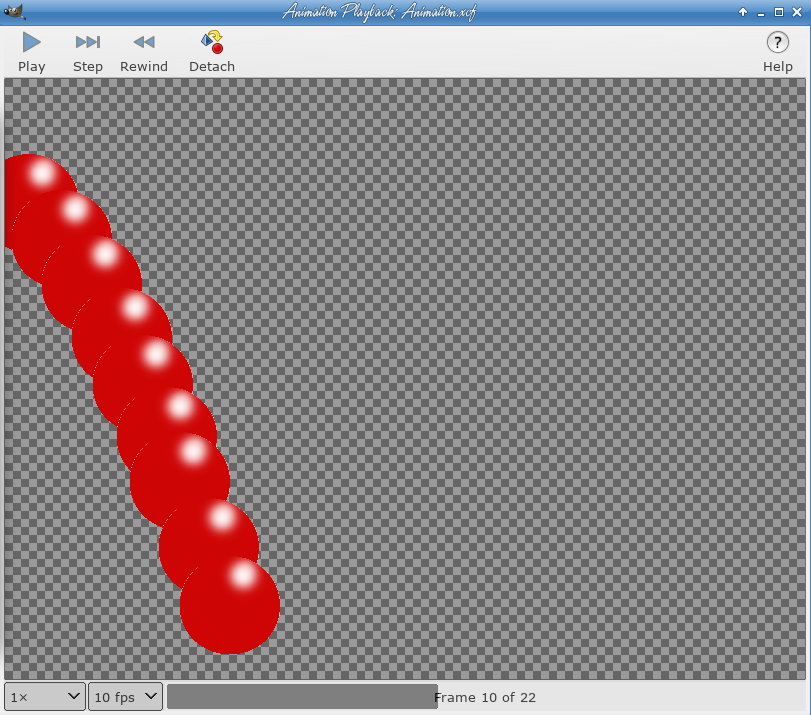 This is just to make sure each layer is positioned where you want it. If not, you can choose each individual layer and move it to your liking. Saving this as a GIMP file will preserve your layers in case you ever want to go back in and do anything. Now, export as a .gif. One message you'll get is this one: 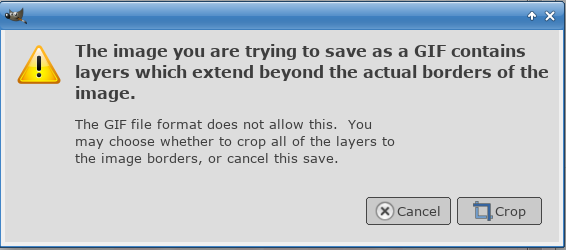 This just means that since all of our layers were 800 x 600 px, and we've moved most of them, the layer boundaries have spilled off the right and bottom of the canvas. Since the ball was close to the top left corner, the rest of the layers are empty. We can safely crop them off. The next window you get is the export as GIF window. 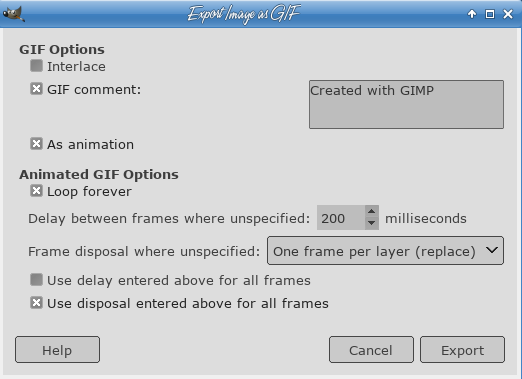 Of course, the first thing you choose is "As animation". Then put in the delay between frames (100 ms is the default, and I have changed it to 200 ms here, which will make it slower). I also chose "Loop forever" so it will play over and over until you close it. To make sure your animation looks like one ball bouncing, choose "One frame per layer (replace)" in the Frame disposal line.  Have fun! The animation won't show in the pdf, but you can see it in here. |