| Previous
Page |
PCLinuxOS
Magazine |
PCLinuxOS |
Article List |
Disclaimer |
Next Page |
Inkscape Tutorial: Stylized Text |
|
by Meemaw I came across this tutorial a few weeks ago. This is another method for decorative text, and pretty fun. I also chose it because it includes keyboard shortcuts for customizing your text. In some instances, rotating and moving individual letters will give your text a different look that works better for your project than straight text would. Open a new page, then choose your font and do your typing. Fat or heavy text will work better for this - I used a font called Flubber.  Now we need to move &/or rotate the individual characters. You can easily use the keyboard shortcuts as described below. Note that your cursor will have to be placed to the left of whichever letter you want to change, and if there are more letters in that line, your change may affect them all. Manual tracking is the distance between each letter. Using Alt-Right or Alt-Left, you can apply a shift of one unit left and right. Shift-Alt-Left and Shift-Alt-Right will apply a shift of ten units each direction. Rotation can be performed on each letter individually. Alt-[ and Alt-] can be used for counter and clockwise rotation around the lower left character anchor point. Adjusting baselines will move the lines of text closer together. Alt-Up and Alt-Down are the keyboard shortcuts. Note that your anchor will be the first character in the text to the right of the cursor, so adjusting the first character will shift the entire line up or down accordingly. I chose to space the letters out just a bit, rotate a few of the letters, and adjust the baseline on most of them. Playing with my text produced this: 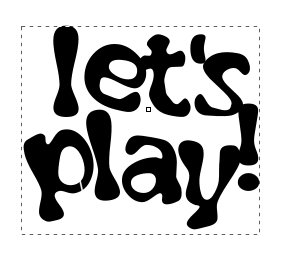 Next, select your text, then use the Linked Offset tool from the Path menu. This will create the single node handle to drag outward. Do not change your original text to a path. 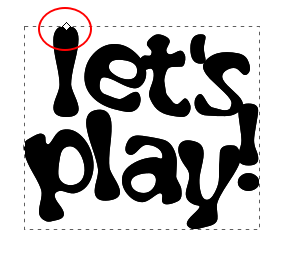 Grab the handle and pull it out, making the text look heavier. Change the colors on the two different text items, so you can see what you're doing. As you can see below, the white text is the original, and the blue is the offset text.  Select the original text object and give it a stroke of another color that works with your palette. It's your project, so pick the colors you like, and colors that complement each other. Do the same with the outset text. Choose the outset object and use Filters > Shadows and Glows > Drop Shadow to add your drop shadow. Choose your original text and do the same. You can see two samples below.  
|
