| Previous
Page |
PCLinuxOS
Magazine |
PCLinuxOS |
Article List |
Disclaimer |
Next Page |
Inkscape Tutorial: Create An Avatar |
|
by Meemaw An avatar is the graphical representation of someone, often used in social networks, forums, games etc. Usually, a 2D-avatar is a square image which has a small size (100x100px, 64x64px). I'm going to create an avatar for myself, and you can do the same. We'll start with simple objects like circles, ellipses, rectangles and squares. 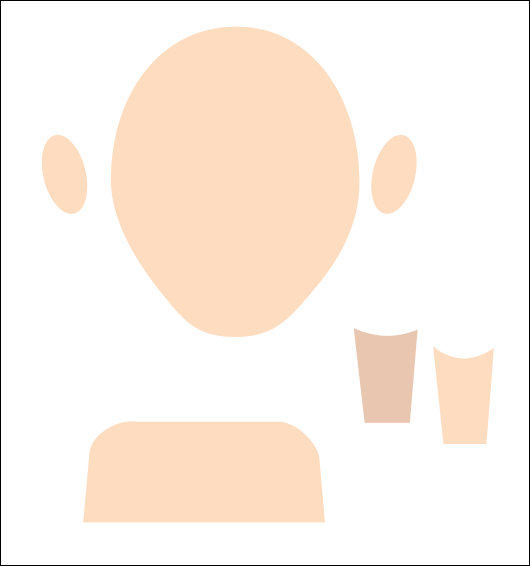 Create a circle using the circle tool. Convert the circle to path using Path > Object to Path. Edit the path by the nodes to make it look like a human head. Create an ellipse and edit its nodes, so that looks like an ear. Duplicate it (Ctrl+D) and flip it horizontally. Place both ears in the middle of the head. To create the neck, draw a rectangle, convert it to a path and place two lower nodes closer to each other. An easy way is to select them and press Ctrl+< repeatedly. Create shoulders with the rectangle tool and make the top nodes smoother. Make the shoulders narrower than normal to focus the viewer's attention on the head. In our shape collection above, we see that one is darker than the rest... that is a duplicate I made of the neck. Using that duplicate along with the original, you can create a “separation” between the head and neck in the form of a shadow. 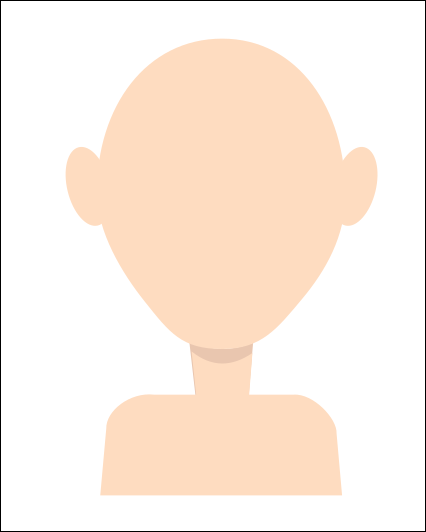 There are a couple of useful features in Inkscape that can help you create avatar easily: View > Icon Preview will let you preview the page or selected objects as an icon in different resolutions (16x16px/24x24px/32x32px/48x48px and 128x128px). Here's what I get: 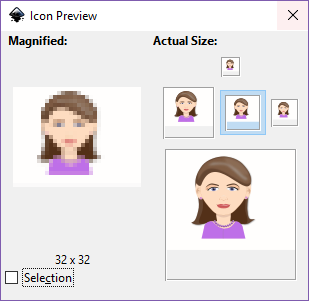 It shows the icons for several sizes on the right, and will show on the left what you get if you try to make your icon any bigger. It will show you how your creation looks in icon size, to help you determine how you want to proceed, as far as detail and how much to include. For example, you could zoom in and concentrate on the face and omit the shoulders. View > Duplicate Window will open a new window with the same document in which you are working. Editing the original document will duplicate the changes in the second one. However, you can make changes in both windows. This feature can be useful when working in Inkscape as a whole, not just for this project. Next, work on the facial features.. 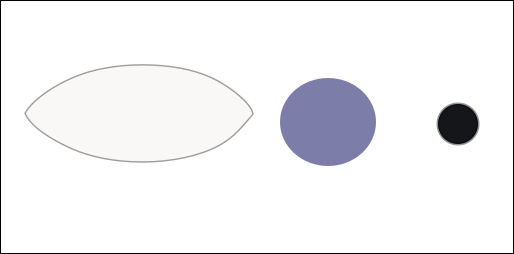 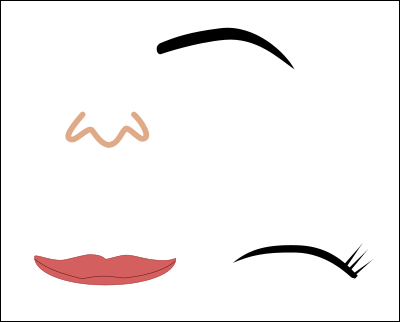 Usually eyes have an almond shape and are at the same level with the top edges of the ears. Create an ellipse and edit the nodes to get it the shape you want. Create two circles for iris and pupil. Draw an eyebrow with Bezier curve in “Triangle in” shape mode. Convert the object to path and smooth needed nodes. Draw a lash line with Bezier curve in “Ellipse” shape mode. Separate lashes can be easily done with Bezier curve in “Triangle in” shape mode. You can arrange them the way you want and then group them. Add details to the ears by using Bezier curve in “Ellipse” shape mode. Convert both objects to path and give them the desired shape, then group them. If there are a large number of unnecessary nodes, go to Path > Simplify or just press Ctrl+L after selecting the path.Also, many head elements are symmetrical and we can make things much easier. Simply create only one eye, duplicate it (Ctrl+D) and flip horizontally. You can also use your Bezier tool to shape some hair for yourself, and edit the nodes to shape it the way you want. I made a couple of shapes in blending colors, because the light gives everyone's hair different highlights (and I also have a big gray streak in the front). Stack them however they look correct. This will also give depth & some shading to your avatar. Now apply them to your avatar in the places desired. Mine is pretty simplistic, but it might be close to what I look like. Note: I'm terrible with facial features! However, just because I made my avatar similar to myself doesn't mean you have to. You can make yours look like anything or anyone ... it's your creation! In the tutorial I read, the next step was to add color, but I've been coloring everything as I went along. The next step here is to add some extra detail, like highlights where needed, and even jewelry if you want it. I added some eye shadow (I wear a kind of golden beige, so it really doesn't show all that much), highlights in my eyes and on my lips and hair, and edited the neckline of my shirt to add a necklace. It's easy! We've used this extension before. Create one bead with the Ellipse tool, then draw a necklace path with the Bezier tool. Use the Pattern along Path extension by clicking Extensions > Generate from Path > Pattern along Path. Make sure that you place the bead on top, otherwise the extension won't work correctly. To see the result before you apply, make sure you click Live Preview. You can make the highlights the same way. (Make earrings to match!) 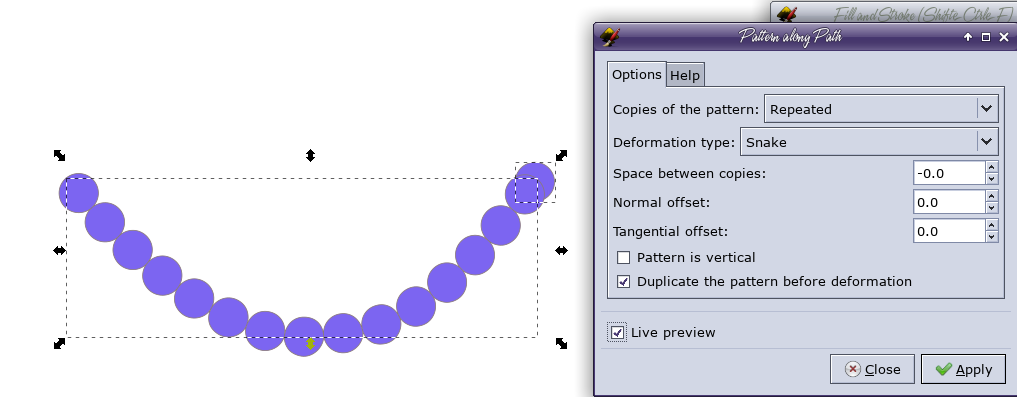 You should get one object consisting of many beads along the path. All that's left is some fine tuning, like shadows on the face. Add more details to the hair -- most of this can be done with lines using the Bezier tool. After that, add shadows under the eyes, a seam/opening on the shirt and pink highlights on the lips if you haven't already done it. How involved you want to get is entirely up to you. Now export your avatar! You can export an icon sized avatar as well. This one is 128 x 128. |