| Previous
Page |
PCLinuxOS
Magazine |
PCLinuxOS |
Article List |
Disclaimer |
Next Page |
Inkscape Tutorial: Fun With The Bezier Tool |
|
by Meemaw One of the tools we use a lot is the Bezier tool. It draws lines, of course (that's how I make the word find answer sheet), but depending on the settings, it does tons more.This time we will just play with this tool a bit to see what it can do.
When you choose the Bezier tool 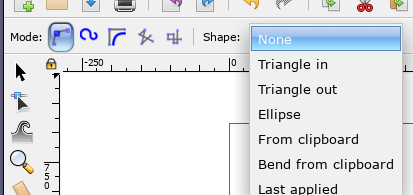 The regular path does just what it says it does: draws paths - straight lines. The difference is what shape you choose. In the image below, from top to bottom, the lines are drawn from left to right, and shapes are None, Triangle in, Triangle out and Ellipse. These are just lines drawn with one starting point and one ending point. 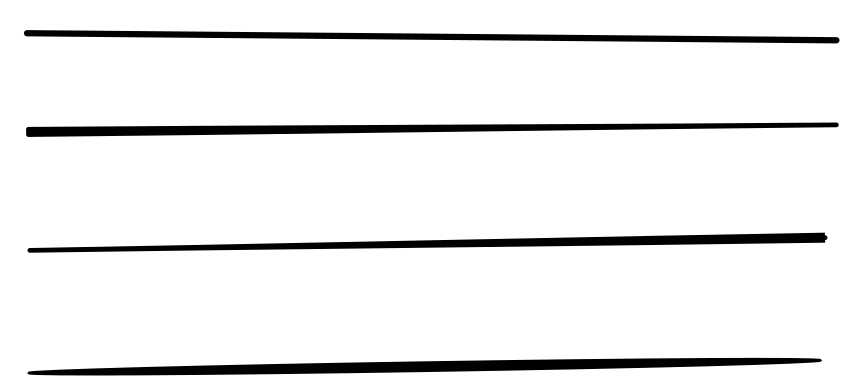
Notice that the top one is the same width throughout (Shape - None). The next one is wider at the left side than at the right (Triangle in), and the third is wider at the right end (Triangle out). Finally, the last is wider in the center (Ellipse). After you draw these, you can go to the Path Editing tool  If you draw your lines with a click - move mouse - click - move mouse, you can make zig-zag patterns. 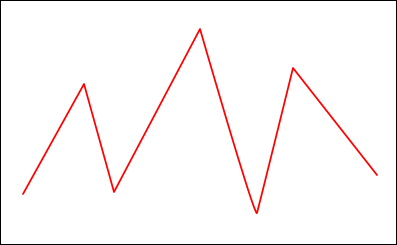 If you click - drag - click - drag, you will get curves. 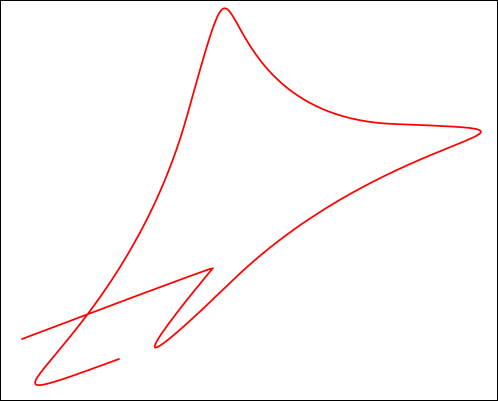 Remember, any curve you draw can be edited with the node editing tool. If you don't like the curve you drew, before you end it, you can backspace and delete one node at a time until you get back to where you want. If you start a line by mistake while you're trying to do something else, you can do the same thing. Also if you finish a line before you want to, you can click on the end and continue, or even click and draw another line that connects to the end of the one that wasn't finished. If you are trying this stuff, you should now have several lines. Let's move on... Instead of using the regular path mode, choose the Spiro tool. Click - move mouse - click - move mouse... your line should curve by itself, and depending on the shape, be wider somewhere. Below you can see None, Triangle in, Triangle out and Ellipse. With a little practice, you can make a very nice swirl. 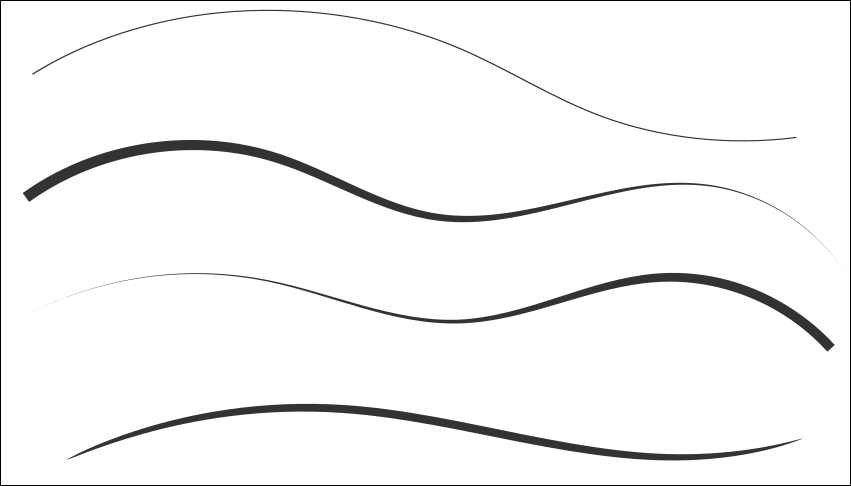 These lines can be used for all sorts of things, but I'm going to start a kind of flourish that could be used to decorate other artwork.  I'm also going to describe a few more things that can be done with this tool. BSpline mode will do a different kind of curve. All you have to do is draw an angle with a couple of lines... click - move mouse - click - move mouse - click. The red path below is the path I drew, and the blue curve is what was made by the BSpline. 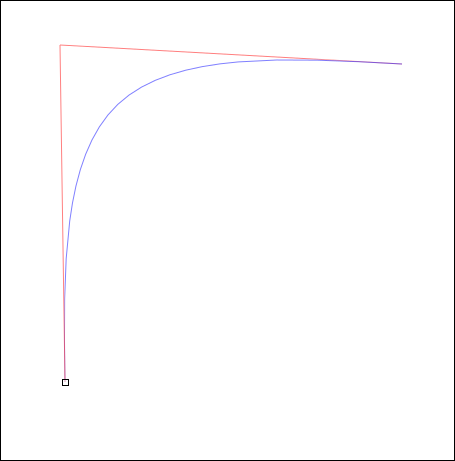 The next mode will draw a series of straight lines: 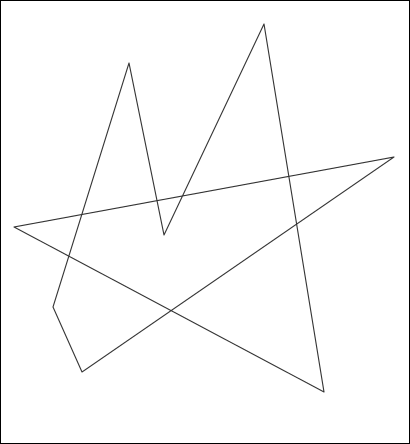 Amazingly enough, this mode can do something else as well. If you hold down the <CTRL> key and click ... click .. click ... you will end up with a series of dots (one for each click). The last mode, called Paraxial lines, draws perpendicular lines no matter where your mouse goes: 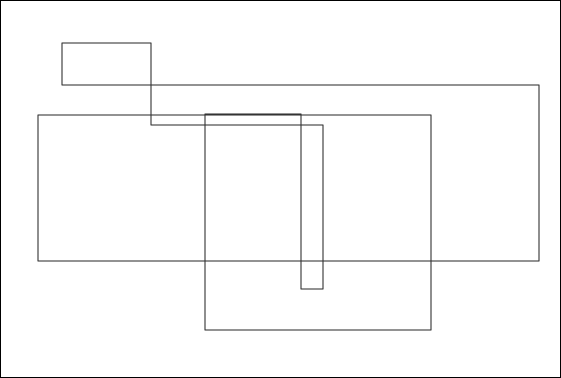 You've probably noticed that I haven't said anything about the next two shapes. They use objects that you create and copy to the clipboard. I made a kind of fork, with the fill purple and the stroke black. Then I copied it to the clipboard. Choosing many of the modes, and choosing From clipboard as the shape, I am able to make designs using the "fork" shape I copied. Below, from top to bottom, are Paraxial, Spiro, two regular lines, and BSpline, plus the original "fork". 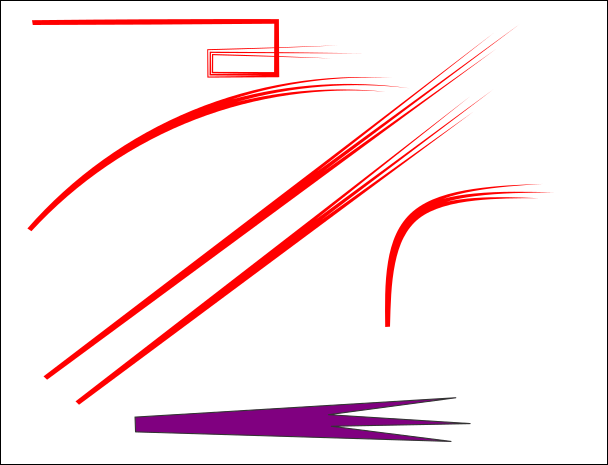 In a different example, Bend from clipboard uses the "fork" and actually makes it follow the curve I drew using Spiro.  Playing with all these tools and then editing and stacking the curves, I came up with the flourish above, and made another later. They are both below. 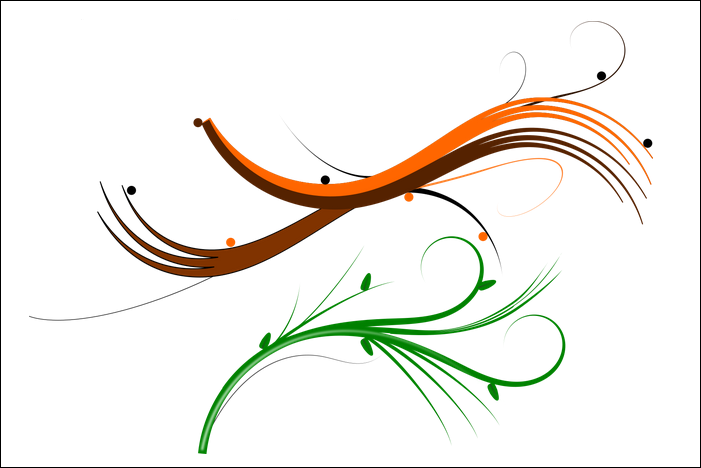 I'm sure your holiday decorations will be even fancier now! |