| Previous
Page |
PCLinuxOS
Magazine |
PCLinuxOS |
Article List |
Disclaimer |
Next Page |
GIMP Tutorial: Beginners Tips |
|
by Meemaw I'm always looking for new GIMP tutorials for you! Recently, I've been looking on the website called Davies Media Design to see what he's doing, and found a video tutorial he called "10 Things Beginners Need To Know". While I did a beginners article way back, GIMP has changed considerably since then, and it was interesting to see his ten things. Most of these things we should already know, but if we have beginners, I'll summarize his ten. 1. His first thing was to tell the beginners where to download GIMP: https://www.gimp.org/ but we already knew that. The thing we know that he may not know is that we can get GIMP from our own PCLinuxOS repository. He did emphasize that GIMP is open source and you should never have to pay for it. 2. The next thing, of course, is how to open an image. In most all programs, it's nearly always File > Open and lets you navigate to the correct file. Also, as we all know in many programs, there is more than one way to do everything. In GIMP, you can drag the image you're opening over the top of your toolbox and it will open as well. As you can see below, I've dragged an image to the top of the toolbox, and a black outline has appeared. When I let go of the mouse pointer, the image will open in GIMP. 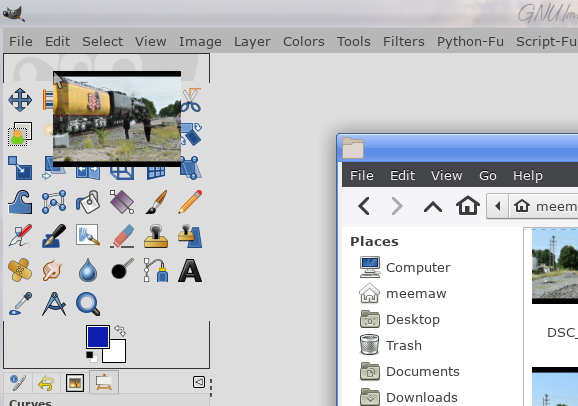 In the newer versions of GIMP, you'll probably get a window asking if you want to convert some of your images to GIMP's native color profile. That's recommended. 3. The tools can now be grouped according to similarity. I believe that was a new feature in GIMP 2.10.18. The difference is below, showing ungrouped tools on the left and grouped on the right. Clicking on a tool in the grouped toolbox drops down a list of tools in that group for you to choose. 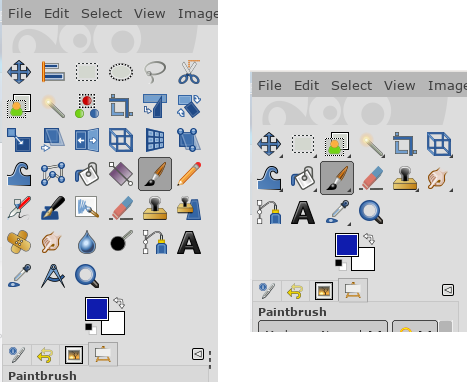 You can group or ungroup in the Preferences window, under Interface > Toolbox. Just click the box in front of Use tool groups. There's a configuration window as well, if you want to group them differently. 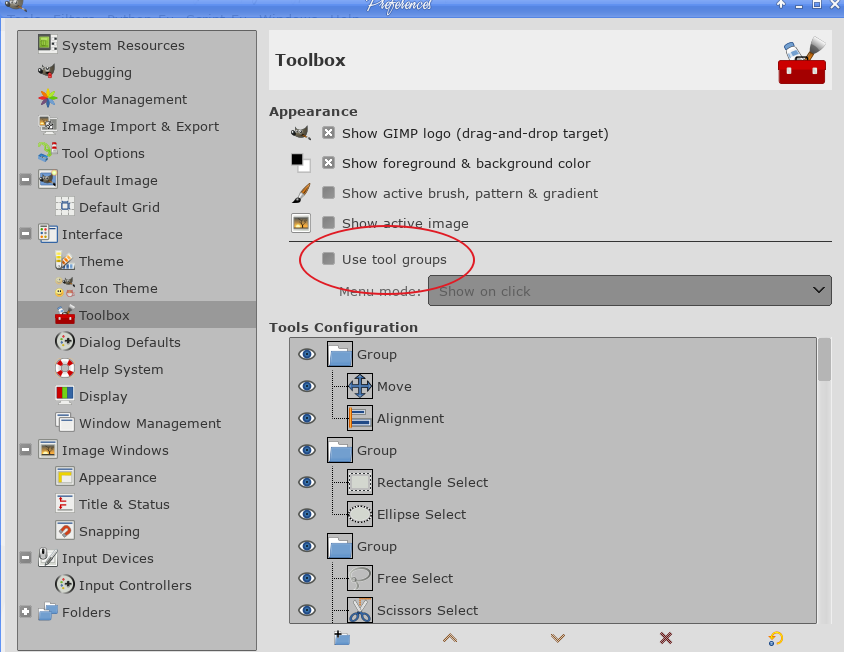 4. Another thing we already know - GIMP is highly customizable. You can change the theme (dark or light) and change the tool icon appearance. You can also change the icon size. In the Preferences where you change the icon appearance is a slide bar that lets you change the size of the icons. In the View screen, you can change the padding color (that's the background that your image is on). Clicking on View > Padding Color you can change it to dark, light, same as the window theme you're using, or choose a custom color. 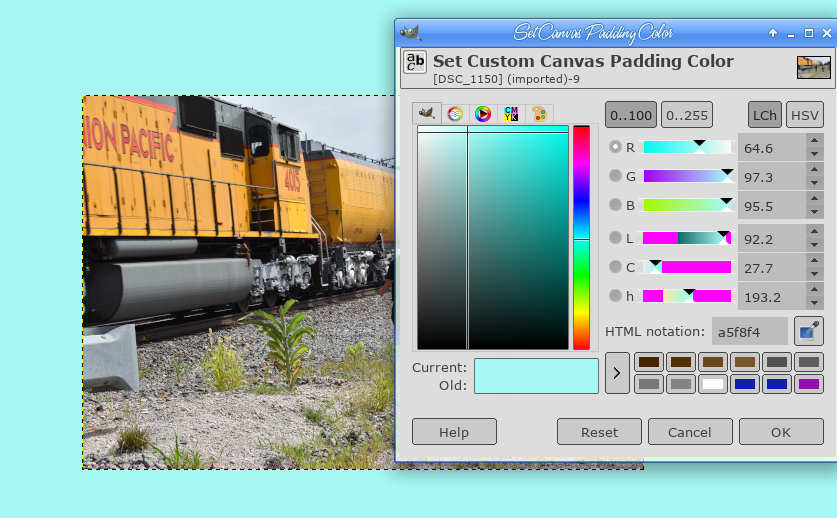 5. In addition, you can rearrange the tools to suit yourself. You can open any tools you need or close tools you don't use. If you want the options all on the right side and ONLY the tool icons in a line down the left side of your window, you can do that. Here, I moved all the tools to the right and narrowed my toolbox. Tool options are at top right. 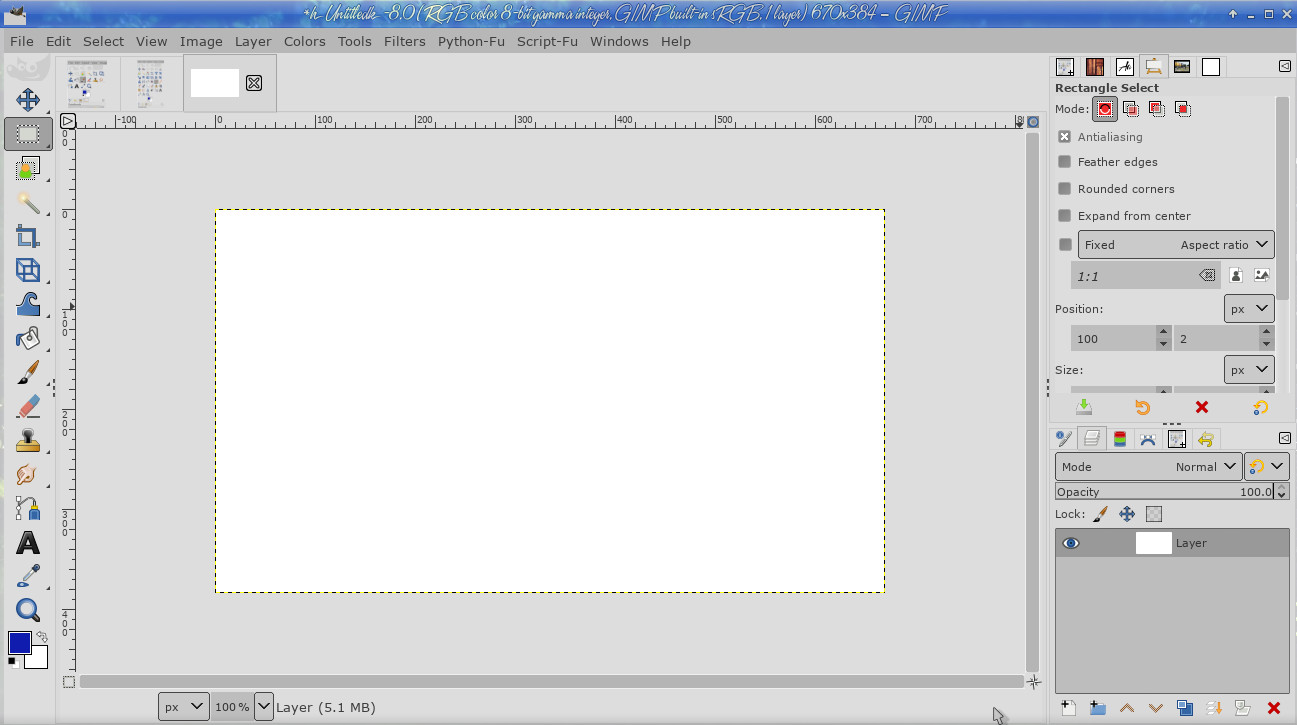 6. Going along with our last tip, you can close or detach any of these tools. Simply click on the little left arrow at the right of the tab, and choose Close Tab, Detach Tab (which makes it a separate window) or Lock Tab to Dock. Also present is the tab style which lets you see icon and text or icon only, and Show Button Bar, which hides the tools at the bottom of that particular tab. For example, if you are in Layers, unchecking the Show Button Bar box, your New Layer, Duplicate Layer, move layer up or down, etc, would be hidden. 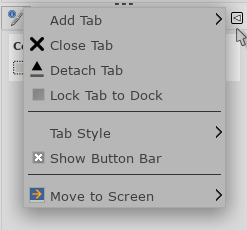 7. GIMP uses a layer system. While I'm sure most of us know that, beginners will learn that the usefulness of layers is something you should get used to. You can create layers in the layers dialog tool. Having different parts of your creation on different layers makes them easier to manipulate. Putting text or another image on another layer can help you get your creation arranged just the way you want it. 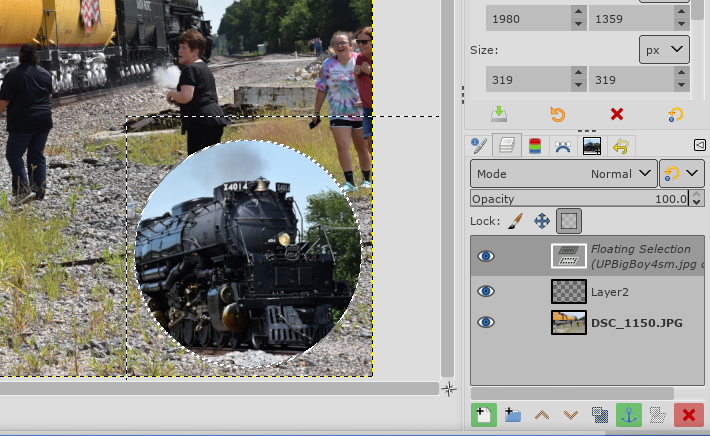 In fact, when you make an animation, you have to put each of your changes on a new layer. Using a different layer allows you to move things just to where you want them, or if you've made a mistake, you can delete the layer it's on and start again. 8. The majority of the image adjustment tools can be found in the Colors menu. Yes, I know that there are dozens of filters, extensions and other tools. His point is that when you start working on an image, starting with one or two of the top 10 items in this menu will give you a great start on an awesome image. 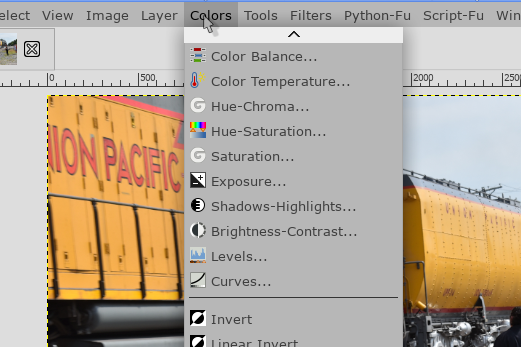 9. If you want to add an effect to your image, those tools are in the Filters menu. You can create a mosaic from your image (Filters > Distorts > Mosaic), or even put a frame around it (Filters > Decor > Add Border) as shown below. The Filters menu has loads of possibilities. You'll just have to experiment.  10. Every time you work on an image, you need to save it occasionally, and when you are finished, you can export it to a different image format. If you are saving, GIMP will want to save in its native .xcf file format. This is good if you are happy with your work up until now, and need to close GIMP for some reason. The .xcf format will save all your layers, so you can start right in where you left off. When you are finished, you can still save, but you will also want to export your creation as an image in one of the image formats, such as .jpg or .png. Both are available from the File menu. 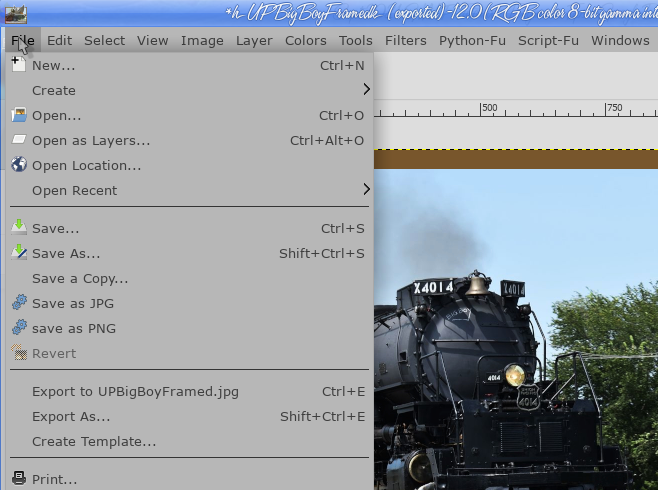 Bonus! As an additional beginner tip, I was talking to The Heat Exhausted CrankyZombie in PCLOS-Talk about posting photos in the forum, and noticed that many of them had his name in the bottom right corner. He said, "I just created a brush in GIMP and it's easy to add." So I researched a little on creating brushes in GIMP. Create a new file with a width and length of 250px. In the advanced options, Color Space in Gray Level and Fill with white. Now, zoom in and add black text to it (or whatever color you want). Save it in the directory /home/yourusername/.config/GIMP/2.10/brushes/ with a .gbr extension. Mine is named MeemawPic.gbr. In the Brushes dialog window, click on Refresh brushes. Now it's there and ready to use. If you see that it's rotating when you try to use it, go to the Brushes Tool Options and change the Dynamics to Off.  I hope you'll go to Michael Davies' video and watch it as well. He has many other videos on his site and on YouTube. If you knew everything, that's great, but I have learned a few things. |