| Previous
Page |
PCLinuxOS
Magazine |
PCLinuxOS |
Article List |
Disclaimer |
Next Page |
GIMP Tutorial: An Uncommon Fishbowl |
|
by Meemaw On the YouTube channel, Logos By Nick, he uses a light bulb image to make a fish bowl. It looked really fun, so let's do something like it. 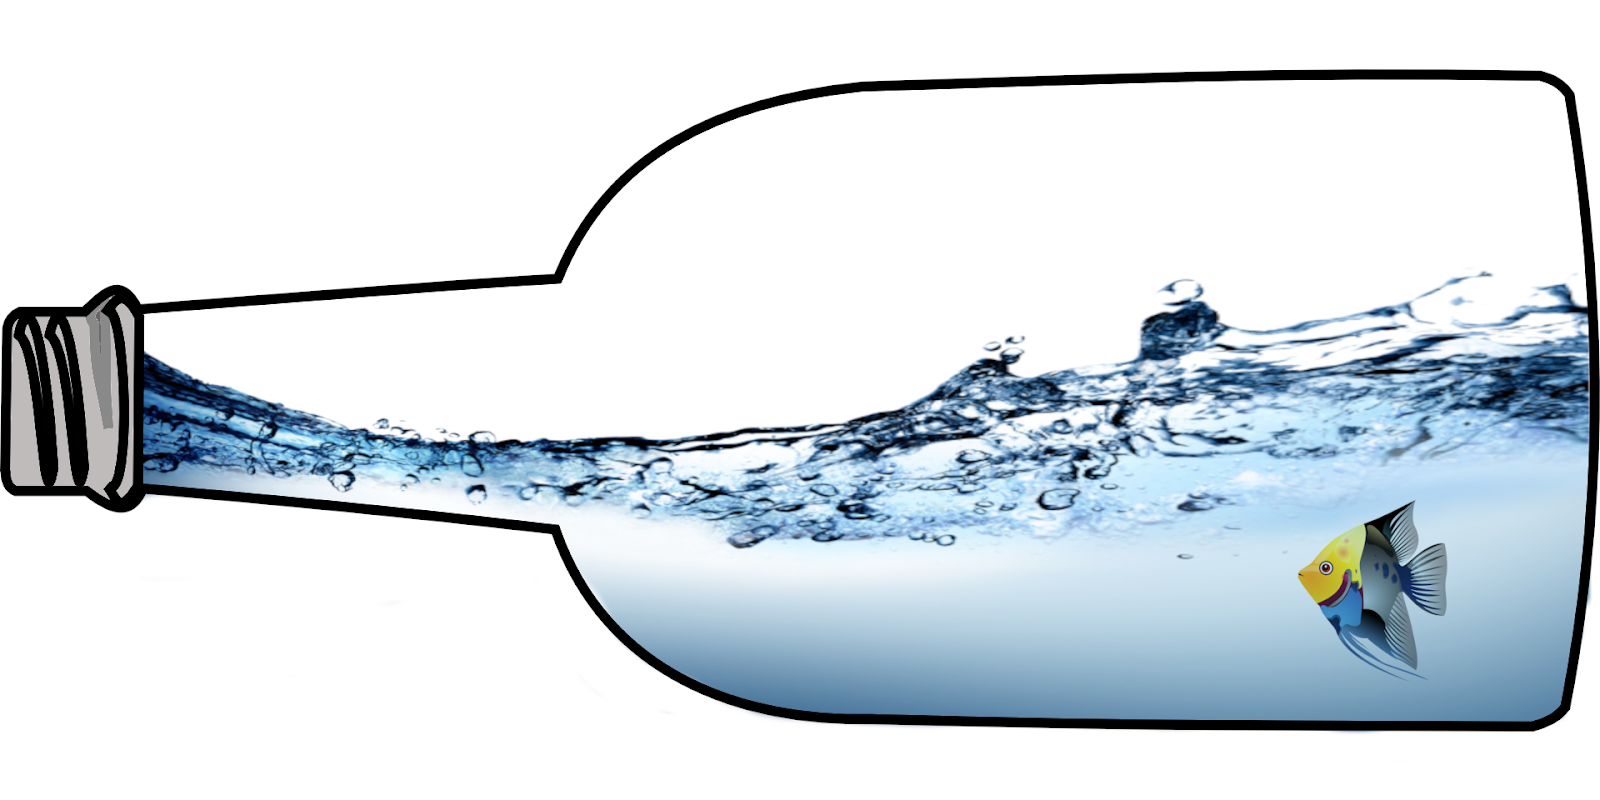 I'll use another container, and we'll also need a picture of our fish and some water. I generally search on Wikimedia Commons or any of several free graphics sites, like Pixabay and Free SVG, to find free graphics images. You can also go to deviantart, which is where he found the water splash. Open your GIMP and the container you want to use, along with the water splash and the fish you're using. In the image above, I used a clipart image of the bottle, but you can use anything you want. I'm going to try it again with a flask (like in Chemistry). It has some transparency, but I'm going to put a light blue background behind it, adding a layer and bucket filled with the blue I want. 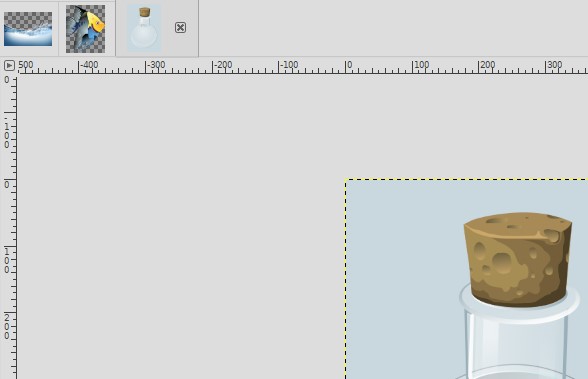 Now I'll bring in the water as a new layer. Mine is bigger than I want it, so I will choose the Scale tool and make it smaller. 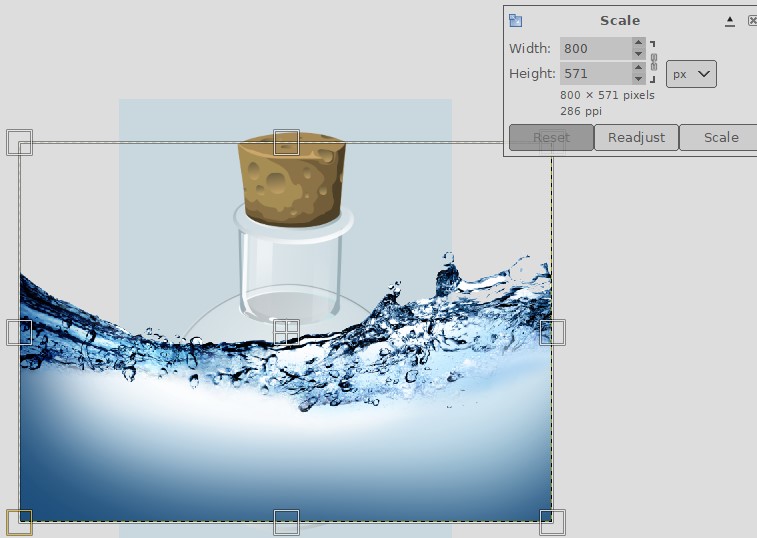 I'm going to scale it down to the width of the flask by grabbing the corner handles and moving them inward. When you have yours the way you want it, click the Scale button in the window at upper right. Then change your layer mode to Multiply. This lets you kind of see the edges of the container so you can make some additional changes to the water. When I went in closer, I found that my water wasn't positioned correctly. I'll use the Unified Transform tool to move and stretch the water. Just as a reminder, the Scale tool's default is to preserve the aspect ratio of the image but you can change that by clicking the chain link to the right of the dimensions. The Unified Transform's handles let you stretch and scale regardless of the aspect ratio. Now there's some water outside the flask, so I'm going to edit that out with the Eraser. Use a softer brush to fade the edges a bit. As you can see, my erasing is kind of messy, but since my flask has transparency, I'm going to move the water layer under the flask layer so it won't show (just as soon as I'm finished erasing). 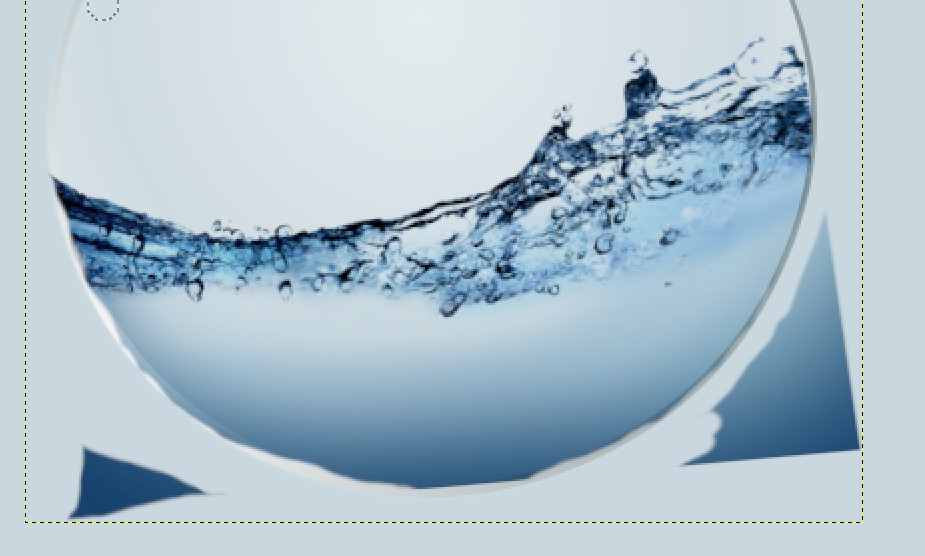 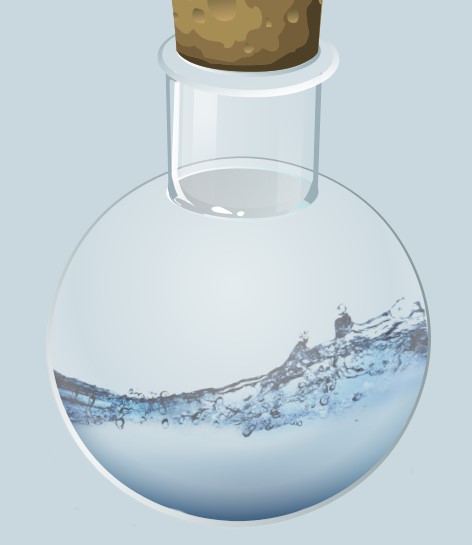 You can use another method to edit the water, adding a Layer Mask to the water layer. Make it a white mask (Full Opacity), and paint over it with a black brush. You'll get the same results as erasing. Your choice. Now let's bring in our fish. You can open it and then copy & paste into the project, or just drag the file from your file manager into GIMP. My fish is WAY too big, too, so I already have the Scale tool open, and will scale it down to the size I want. Remember that the cross in the middle of the Scale tool is the Move tool, so you can place it after you scale it. I'm going to flip mine horizontally as well, because I want it facing the other direction. You can change the layer mode to Multiply on the fish too, in order to make it look like it's in the water and not just pasted in. I'm going to skip this in favor of putting the fish behind the flask, because my flask has a gradient in it to look like a bit of a reflection. If I change the layer mode to Multiply as well, it looks too dark to me. 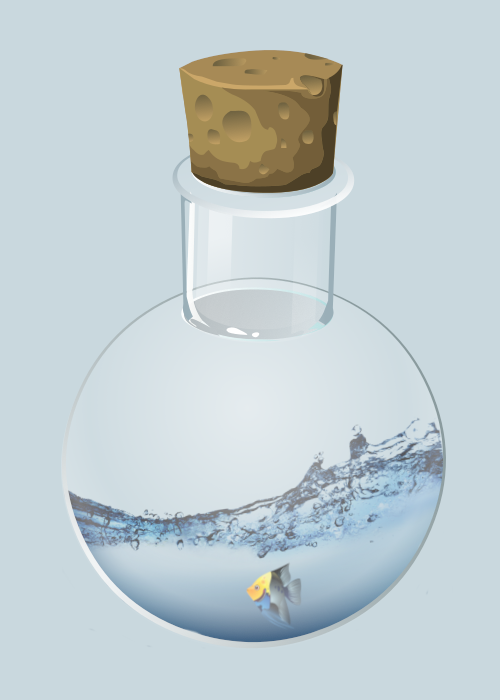 Another thing we can do is add a reflection. For this you have to have the container, water and fish merged into a single layer. Duplicate the layer and flip it vertically, then move it down to where it's just under the original (it may extend off your page, but that's ok). Set the opacity of that layer to 30 or 35. Then with your eraser and a really soft brush, just lightly go over the bottom of the reflection until it looks like it's fading out. 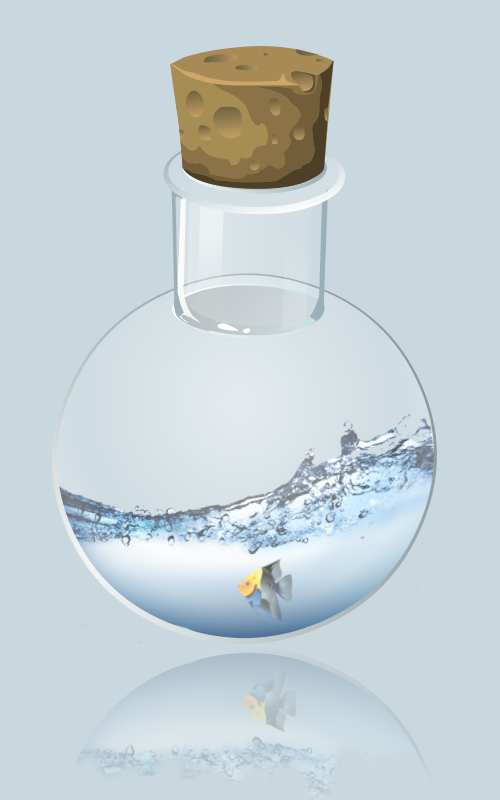 So here we are. You can merge everything down, or right click on one of the layers and choose Flatten Image. Or you can export it as it is. |