
| Previous
Page |
PCLinuxOS
Magazine |
PCLinuxOS |
Article List |
Disclaimer |
Next Page |
GIMP Tutorial: Using The Heal Tool |
|
by Meemaw I still watch tutorials to learn new skills, and came across this one on Davies Media Design's YouTube channel about the Heal tool. The Heal tool is similar to the Clone tool, but uses a bit different algorithm. While the Clone tool copies the exact pixels selected, and paints them over your chosen area, the Heal tool seems to take the surrounding pixels and imperfections into account as well, making your subject easier to paint (they are, after all, both brushes). Let's look at the difference between the Clone tool and the Heal tool. If you have the tools grouped in GIMP, they are in the same group. If not, the Clone tool icon looks like a stamp, and the Heal tool looks like two bandages in an X-shape. 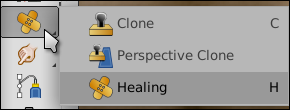 The photo I'm using is a nice one I got from WikiMedia Commons. It's a beautiful picture of a mother and child, but the mother has some imperfections on her face. 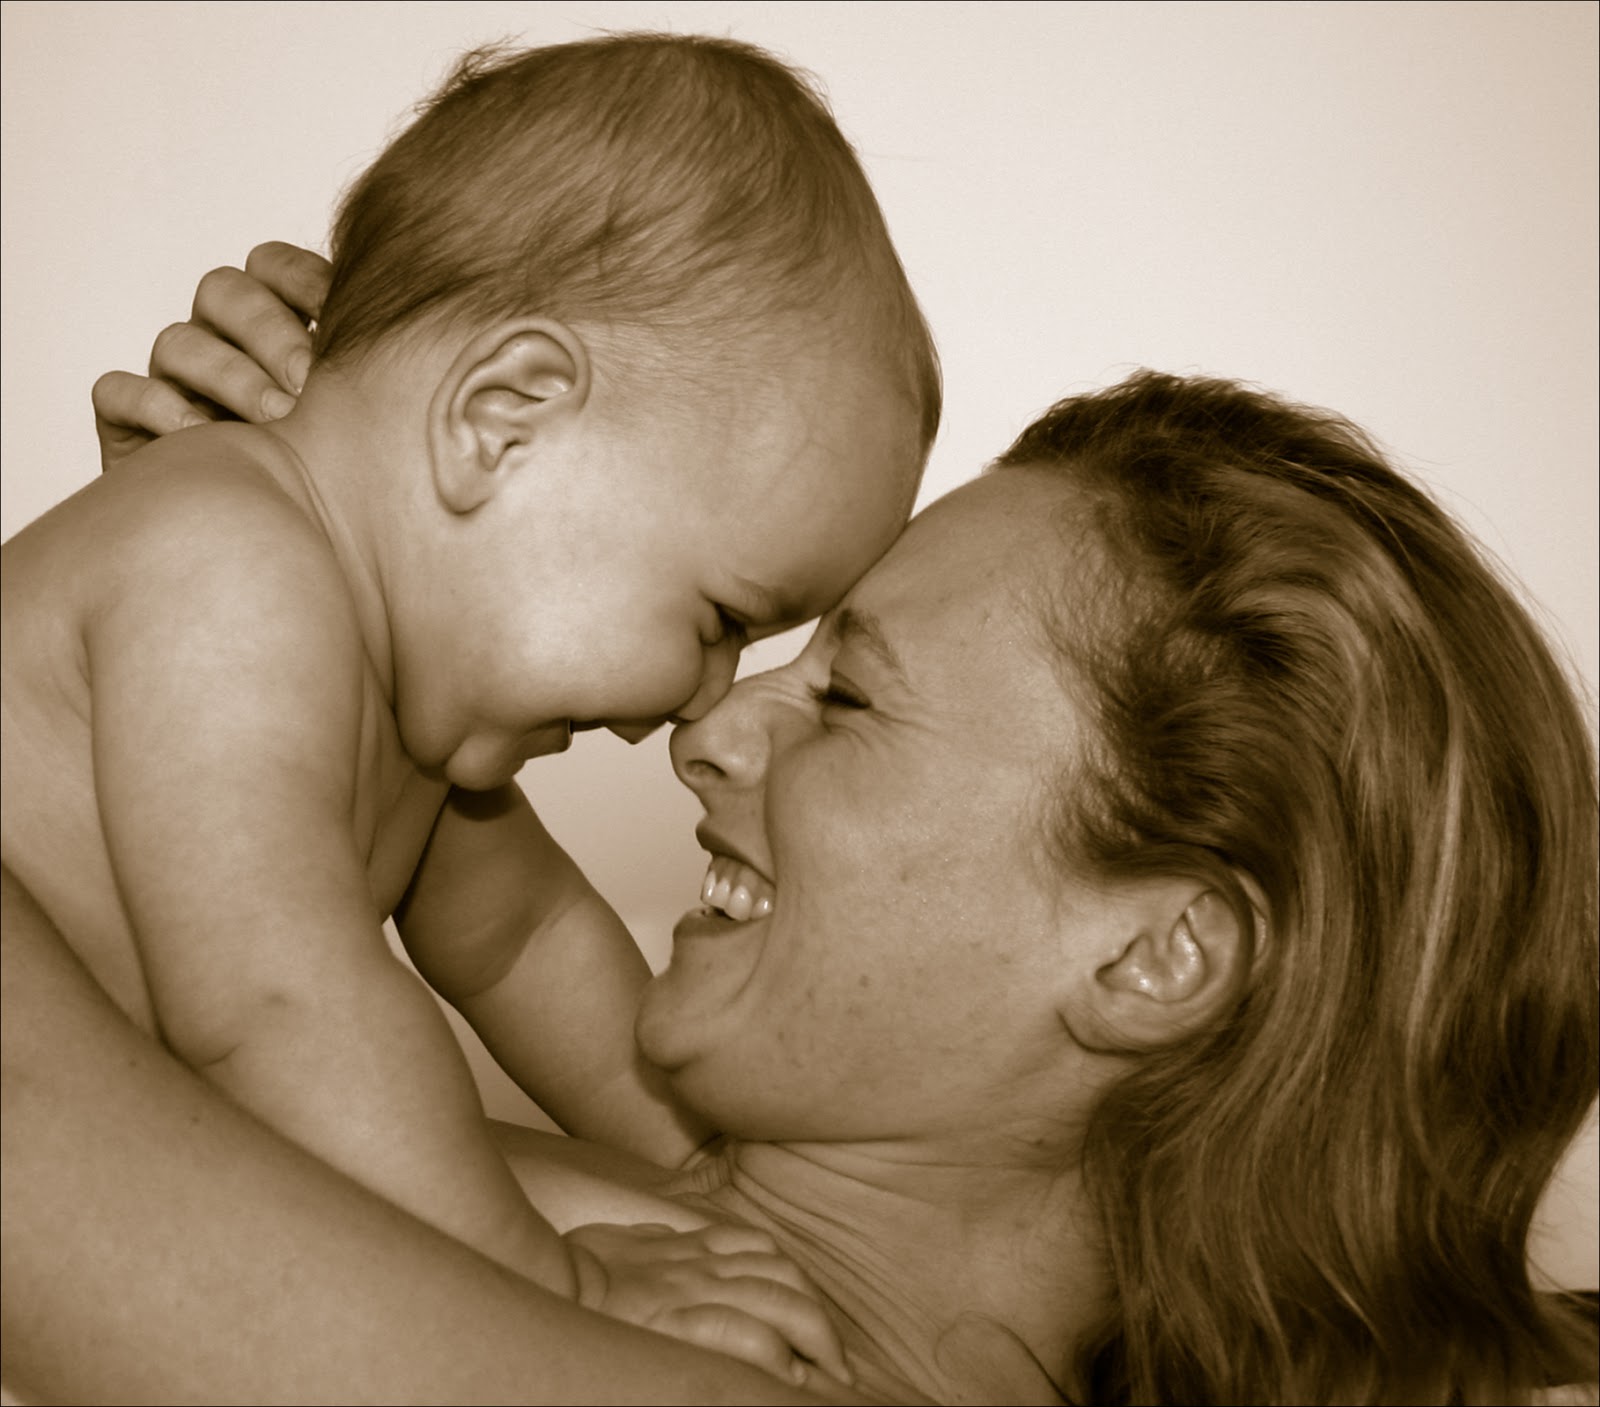 Now, if I use the Clone tool on her face, I'm seeing a streak right next to the selected pixels, which is where I "painted" with the clone tool. You might not see it very well in this photo, but for others in color, it might be more pronounced. 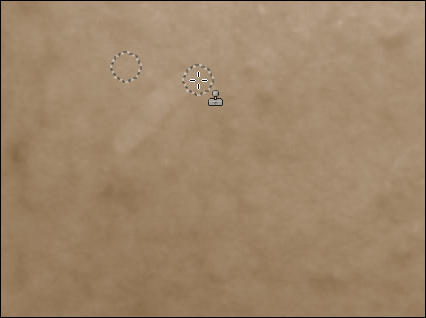 In this one, which I used for the original Clone tool article, it's not taking the sign post out very well yet. 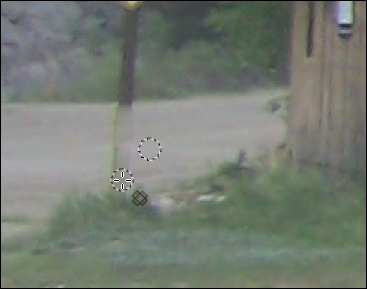 Let's use the Heal tool and see if it works better. 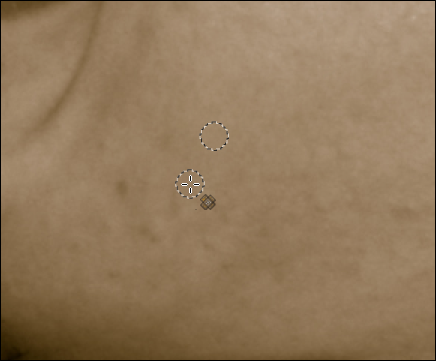 With the Heal tool, the facial imperfections can be evened out and blemishes can be taken out. The blemishes can be done easily using a brush size only slightly bigger than the blemish. Now let's try it on the signpost, While even Michael Davies says in his tutorial that darker colors are harder to clone or heal, I think healing has worked pretty well on this. I'll just have to go over it again. 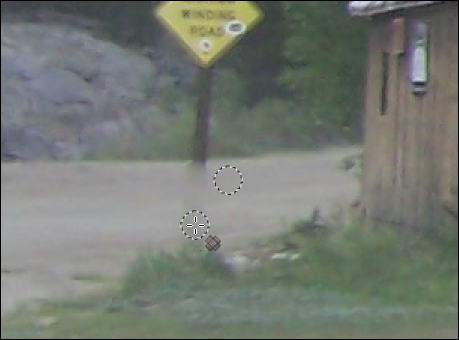 Let's also look at the tool settings for the Heal tool. Since it acts like a brush, most of the settings are similar. 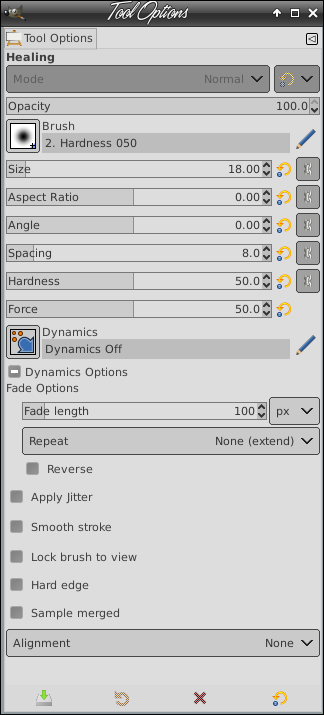 Opacity - While sometimes a more opaque brush works, it's probably not a tool you can use with the heal tool, but it's still there. Brush - You can pick the brush you use with the Heal tool. I generally use a soft round brush but you could choose something else depending on what you are trying to heal. Size - As in the paint brush tool, you can resize your brush to fit into any situation. Move the slider left or right. You can also use your bracket keys - [ or ] - to increase and decrease the brush size. Aspect Ratio - This is the ratio between length and width of your brush so even if you choose a round brush, changing the aspect ratio can make it long and thin or short and wide. Angle - If you have a round brush, this won't matter, but if for some reason you are using an oblong brush, you can change the angle to make a certain effect or possibly work in a smaller space. Spacing - The Heal tool takes samples from the selected spot (which you can select by holding the <Ctrl> and clicking in the area you want). As you paint, GIMP takes the samples from your selection and the selection moves with the brush stroke. The spacing setting changes the distance between the samples taken. Hardness - Here you can change the hardness of your brush without actually changing the brush you are using. Force - This was explained as most useful if you are using an exterior tablet, like a Wacom, and want to change the force with which you push on the tablet with the stylus. Dynamics - This setting has a lot of sub-settings for different effects, which may not help with healing a photo. I didn't try any of them, so if you find one that works particularly well, please let me know. Apply Jitter - This setting does what it says: applies a jitter to the stroke you are painting, which for some textures, may help immensely. Smooth Stroke - This setting is the opposite of jitter. If you are already shaky for some reason, this setting can remove some of that. Lock Brush to View - This keeps the brush the same size no matter how far you zoom in or out. The same size means that if it's 5 pixels, and you zoom in, the brush on the picture will be the same size but may only cover 1 pixel now. Hard Edge - This changes the hardness of your brush to 100%, disregarding the hardness you chose above. Sample Merged - If you are working on an image with multiple layers, you can check this and the Heal tool will sample from all layers rather than just the one you are working on. Alignment - This setting has four sub-settings: None, Aligned, Registered and Fixed. This has to do with how the sample lines up with the brush. None moves the sample as the brush moves, then moves back to where you <Ctrl> + clicked. That's the norm for the Heal tool. Aligned moves your sample (after you choose it) right with your mouse. Registered keeps your brush and selection together. Fixed keeps your selection in the exact same spot no matter where you move your mouse, which tends to mimic the clone tool, giving you a streak all the same color. I've healed the mother and baby photo completely, and the signpost in the barn photo (I hope!) 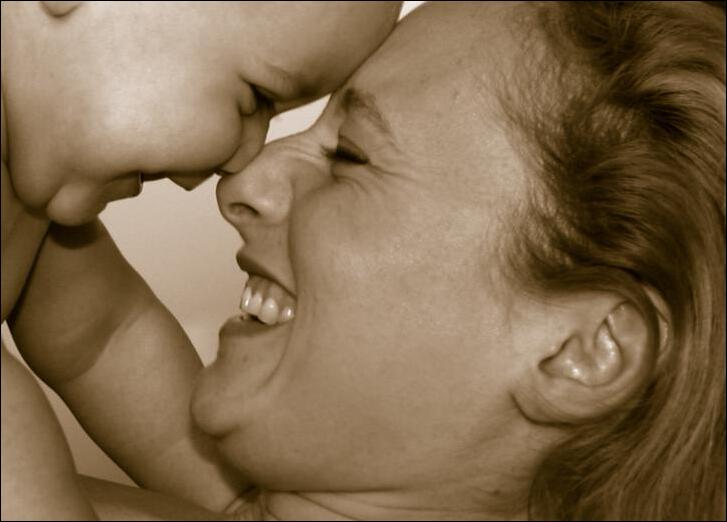 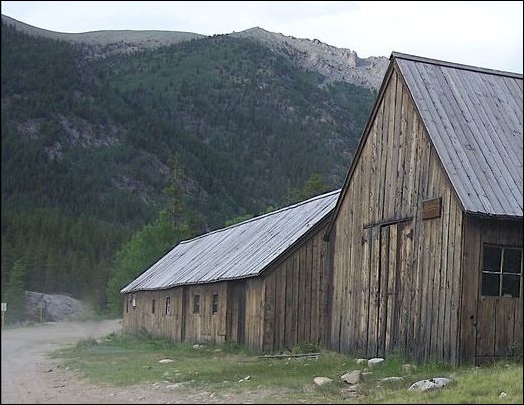 As with all tools and all images, you should experiment to see what works best. Davies says you can add a transparent layer on top, click on Sample Merged, and do all your work on the transparent layer. That is a cool idea since that layer can be deleted if you feel like you've ruined it completely. Hope your photos are more awesome than ever! |