| Previous
Page |
PCLinuxOS
Magazine |
PCLinuxOS |
Article List |
Disclaimer |
Next Page |
GIMP Tutorial: Time-Saving Tips |
|
by Meemaw I've been on YouTube again, looking for extra knowledge about GIMP. As I've said before, one of my faves is Davies Media Design. He outlined ten time-saving tips, which are mostly keyboard shortcuts, but they are really good, so I'll share. Some of them have two tips in the same section, so you'll end up with more than ten. 1. Opening a new project - Pressing <CTRL> + N, then <Enter> quickly opens a new project using the last size & configuration you chose. Also, <CTRL> + 1 opens the last project you had open, <CTRL> + 2 opens the one before that, and so on… 2. Create guides easily using the Guides menu. <CTRL> + A selects all, then Image > Guides > New Guides opens a window where you can enter the location of your guide and which direction it needs to be. You can do this by percent or by measurement (there are two menu items - one says New Guides by percent). If you have something selected, you can do New Guides from selection, which will put guides around the borders of your selection. Below, I have added a horizontal guide to my blank project, and have opened it again to add a vertical one. My width was 1024 px so adding the guide at 512 px will make it centered. 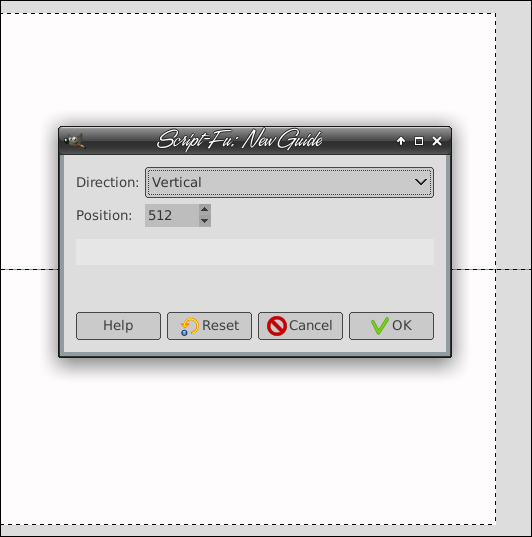 3. You can open multiple images at the same time. All you have to do is select the ones you want to open and then drag them into the square at the top of the tools menu (where the GIMP mascot is), and all images will open in separate tabs. Also, if for some reason you want to open them all in the same project, drag them to the window where you do your work, and there will be one tab with each image on its own layer. 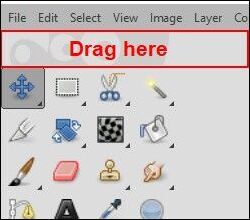 4. <CTRL> + F performs the last action you have done. On one of my photos, I used Levels to bring out the color of the vegetation. I thought that the same settings would work on one of the other photos, so I switched to it and pressed <CTRL> + F. Every photo is different, so that doesn't always work, but this time it worked pretty well for me. To bring up the last tool used (in my case it was Levels), press <CTRL> + <SHIFT> + F, and the tool's window will appear, and you can adjust it from there. 5. You can use the colors menu to change a layer mask. I know, layer masks are confusing, but if you have done one, you can change the effect. Years ago, I did a layer mask on an image of a flower for a different effect. 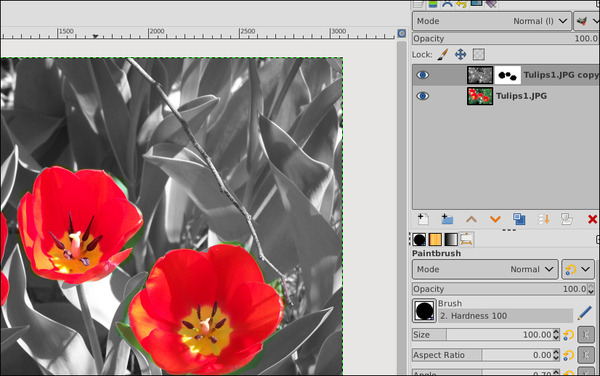 If I decide I want it to have the leaves colored and the flowers gray, I select the layer mask (that white square next to the upper layer), then choose Colors > Invert.  I don't like that - I like the red flowers, so I'll press <CTRL> + Z to undo the color invert. 6. Adding a folder location - If you put several things in one folder and don't want to have to keep finding it, you can add the folder location to your save window. I'm working on several photos I want to save in the same spot. When I export the first one, I can add that folder to my export window. When you navigate to the folder you want to save, select it, then click the little plus sign at the bottom left of the folder window. 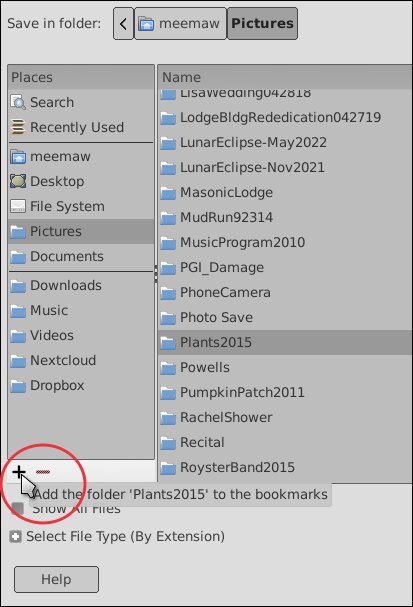 Alternatively, if you have a folder you use a lot, you can go into GIMP Preferences, and add the folder location there (in the section called Folders). 7. Find where you originally got your image. If you haven't saved that folder to your shortcuts yet, and can't remember where you got that image, press File > Show in File Manager, and your file manager (Thunar, Dolphin, whatever you use) will open to the folder your image came from. 8. Move tool settings - The move tool has two different modes - pick a layer or guide, which means you have to select the layer or item you want to move. What if you have several stacked levels? Do you want to move something on the 5th level down and can't get hold of it? Change your Move mode to Move the active layer and make sure the correct level is chosen, and move your item. 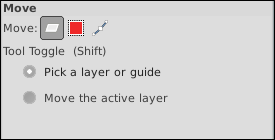 9. Bring any layer to the top immediately - Press <Shift> + Up Arrow and your chosen layer will move instantly to the top. This works particularly well if your project has several layers. 10. Use the search action in Help to find any filter. Help > Search and run command can find that elusive filter in the location you forgot. For some reason, I need to generate a coffee stain on my drawing, but I can't remember where it is, so I'll choose that help item. 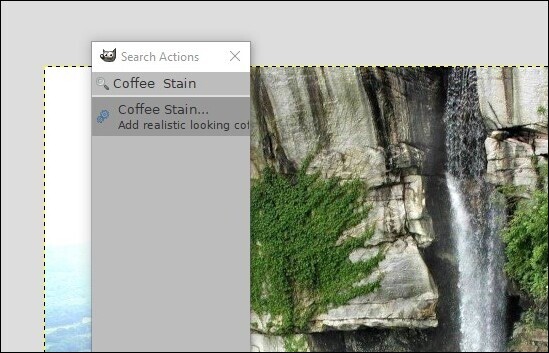 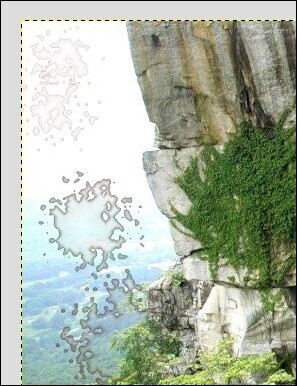 If you already know all of these tips, you're ahead of me! If not, I hope you learned some useful information! |